
NSW-14 - Smartwatch Naxa - Free user manual and instructions
Find the device manual for free NSW-14 Naxa in PDF.

| Product Type | Smartwatch |
| Brand | Naxa |
| Model | NSW-14 |
| Display Type | LCD touchscreen |
| Display Size | 1.54 inches |
| Display Resolution | 240 x 240 pixels |
| Touchscreen | Capacitive |
| Wireless Connectivity | Bluetooth 4.0 Low Energy |
| Pedometer | Yes |
| Sleep Monitor | Yes |
| Calorie Tracking | Yes |
| Sedentary Reminder | Yes |
| Remote Music Control | Yes |
| Remote Camera Trigger | Yes |
| Notifications | Call and app notifications (ringer, vibrate) |
| Speaker | Built-in |
| Microphone | Built-in |
| Battery Capacity | 300 mAh (rechargeable) |
| Battery Life (Active) | 1 day |
| Battery Life (Standby) | 7 days |
| Water Resistance | Yes (splash resistant) |
| Companion App | OWatch |
| Compatible OS | iOS 7+ or Android 4.2+ |
| Charging Method | USB POGO pin charger (DC 5V, 0.5A) |
| Included Accessories | USB POGO charger |
| Color | Black |
| Cleaning | Use dry soft cloth; avoid alcohol and cleaning solutions |
| Safety Precautions | Do not expose to water, extreme temperatures; read full manual |
| Repairability | Refer to qualified service personnel only |
| Manufacturer | Naxa Electronics (www.naxa.com) |
Frequently Asked Questions - NSW-14 Naxa
User questions about NSW-14 Naxa
0 question about this device. Answer the ones you know or ask your own.
Ask a new question about this device
Download the instructions for your Smartwatch in PDF format for free! Find your manual NSW-14 - Naxa and take your electronic device back in hand. On this page are published all the documents necessary for the use of your device. NSW-14 by Naxa.
USER MANUAL NSW-14 Naxa
natural_image
Black smartwatch with four app icons displayed on its screen (no readable text or symbols beyond icons)Instruction Manual
Please read carefully before use and keep for future reference.
Table of Contents
Thank You 4
In the Box 5
At a Glance 6
Getting Started....8
What You'll Need 8
Charging the Watch 9
Turning the Watch On....12
Setting the Time....13
Changing the Clock Face....14
Using the Watch with a Smartphone....15
Connecting the Watch to Your Phone....15
Installing the App on an Android™ Device 18
Installing the App on iPhone ^® 23
Using the OWatch App 27
Watch Modes....30
Use & Care 34
Warnings and Precautions.... 36
Specifications 45
Support 48
Thank You
We know you have many choices when it comes to technology; thank you for choosing us here at Naxa Electronics. Established in 2001 in Los Angeles, California, we are dedicated to delivering products that entertain and delight.
We trust that you will be happy with your purchase. Please read this manual carefully and save it for reference. You may also find the latest FAQ, documentation, and other product material at our website. Come visit us on the web at www.naxa.com and see all that we have to offer!
In the Box
Please take a moment to make sure that you have everything in the list below. Although we make every effort to ensure that each Naxa device is securely packed and sealed, we know a lot can happen in between us and you. If anything is missing, check back with your local retailer to get immediate assistance. If they cannot help you, please contact our Naxa Support team at www.naxa.com/supportcenter.
- NSW-14 smart watch
- USB PO-GO charger
At a Glance
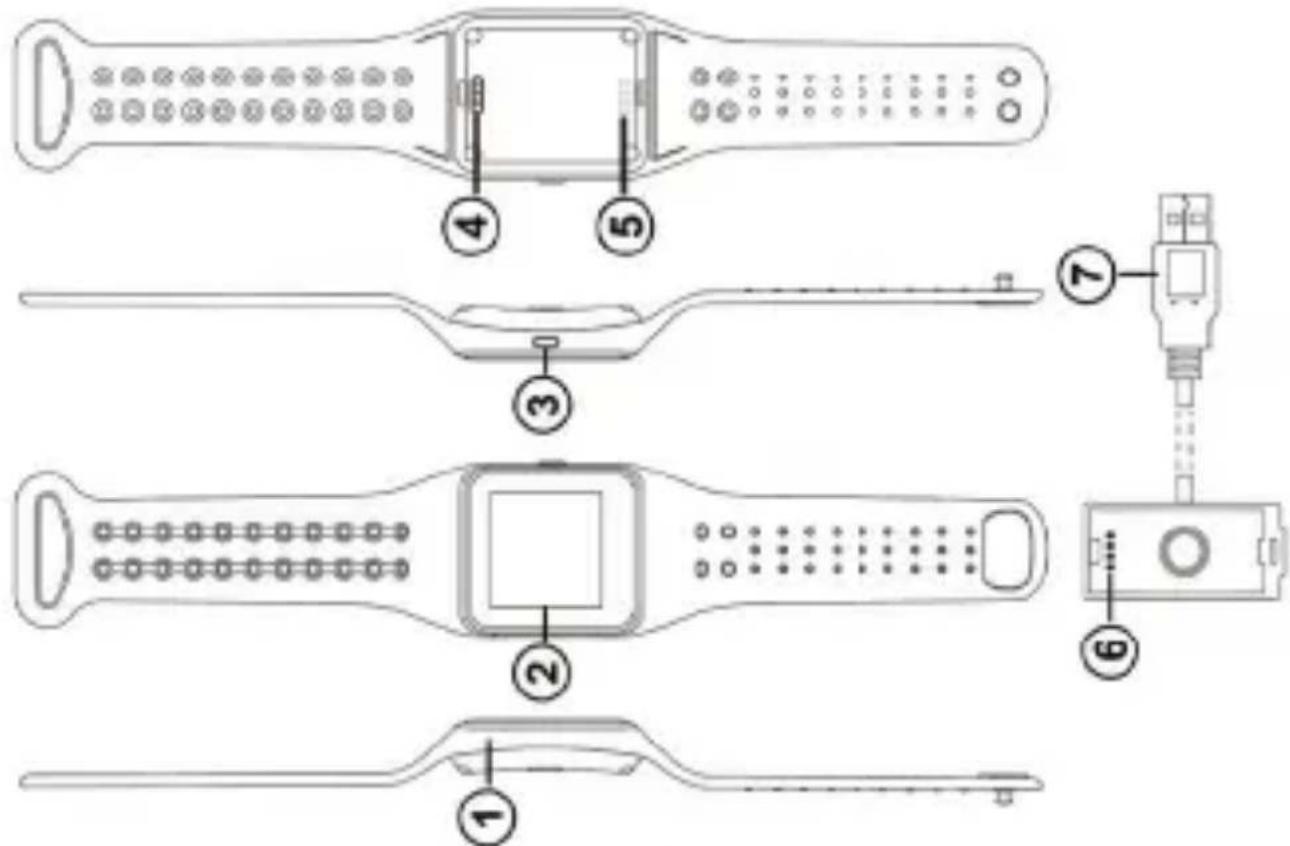
| 1 | MIC | Microphone |
| 2 | Screen | The screen is touch-enabled. Swipe and tap on the screen to control the watch. |
| 3 | POWER | Press and hold to turn the watch on or off. Press to wake the screen or to put it to sleep. Press and hold for 10 seconds to reset the watch. |
| 4 | Speaker | Built-in speaker. |
| 5 | POGO charge pins | Connection for power. Use the included POGO cable to connect to a USB power source. |
| 6 | POGOcharge cable | Align the pins of the charger with the POGO charging pins on the back of the watch. |
| 7 | USB | Connect the POGO charge cable to a USB power source. |
Getting Started
What You'll Need
To start using your LifeForce+ Smart Watch, you'll need the following:
• An internet connection
• A fully charged NSW-14
• A supported smartphone that has the following:
- Bluetooth® 4.0
- Android™ OS 4.2 or iOS® 7 or newer
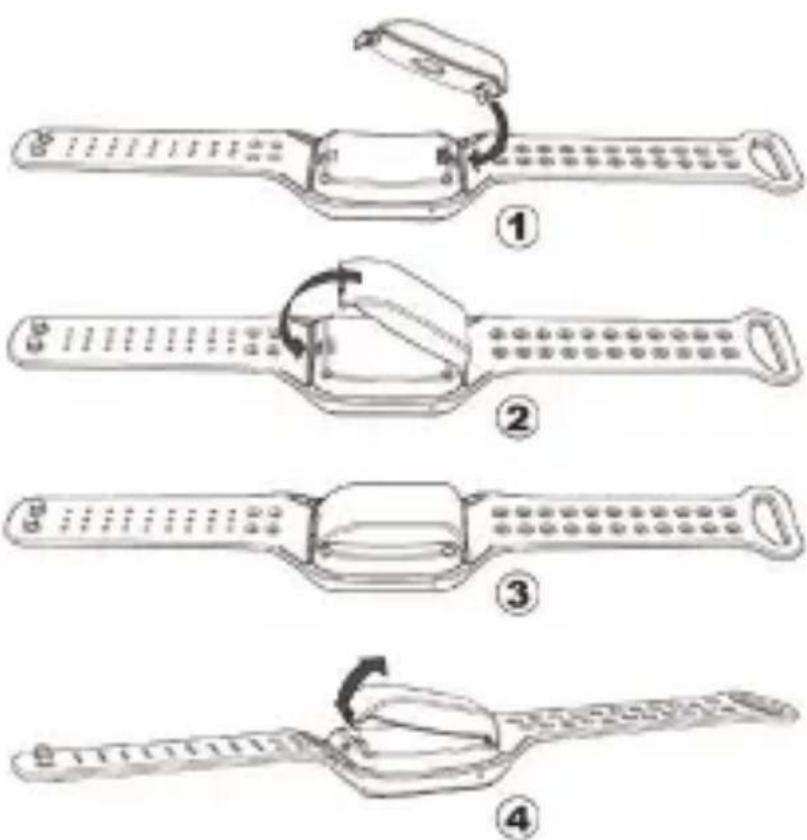
Charging the Watch
The watch contains a built-in rechargeable battery that will need to be charged from time to time.
Use the included POGO charging cable to charge the watch.
- Match the pins on the POGO charger to the gold contacts on the back of the watch.
- Position the charger so that it slightly overhangs the edge of the watch, then push the charger down onto the back of the watch
-
When the charger clicks into place, you are ready to charge the watch. Connect the USB plug of the POGO charger to a USB power source. (If you are using a USB power adapter, make sure that it is rated for standard USB output (DC 5 V, 0.5 A).
-
When the watch is done charging, lift the charger off of the watch one side at a time.

To ensure optimal performance, fully charge the battery the first time you use the band.
Turning the Watch On
To turn the watch on, press and hold the POWER button on the side for 3 seconds.
Swipe across the screen to change between the Menu screens. Tap an icon to select it.
To turn the watch off, press and hold the POWER button until the screen turns off.
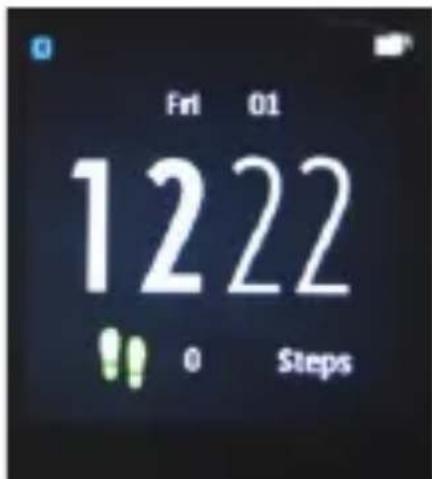
Setting the Time
Swipe the screen until you see the Settings icon.
When the watch is connected to a smartphone, you can set it to syn- chronize the time automatically. Tap Settings > Clock > Time Syn > Time Sync (Turn on).
You may also choose to set the time manually.
Changing the Clock Face
Swipe the screen until you see the Settings icon.
Tap Settings > Clock > Clock Type to choose a clock face.
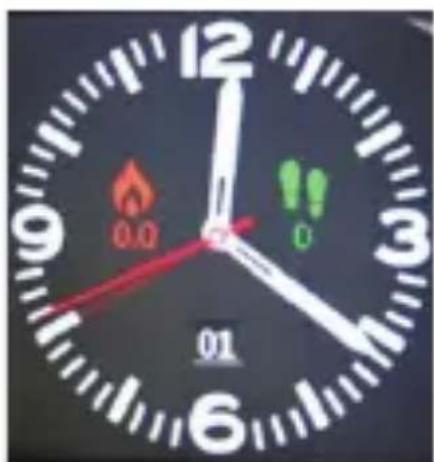


You can also tap and hold the clock face display for 3 seconds to change the clock face.
Using the Watch with a Smartphone
The OWatch app allows you to sync your activity and sleep data with your smartphone and to manage which notifications get sent to your watch.
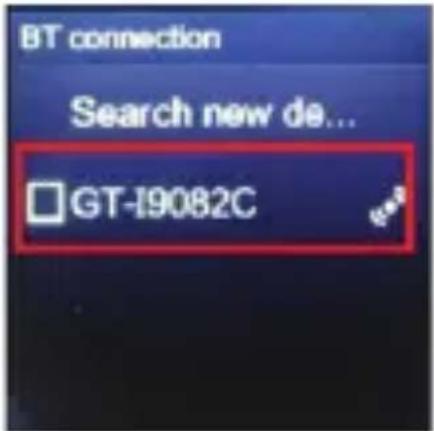
Connecting the Watch to Your Phone
Use Bluetooth ^® to connect the watch to your phone wirelessly.
-
Enable Bluetooth on your iPhone or Android phone and make it discoverable. (Refer to your phone's instructions for details.)
-
Find "BT" on the watch 3. Tap "Search new devices..." and tap the icon.
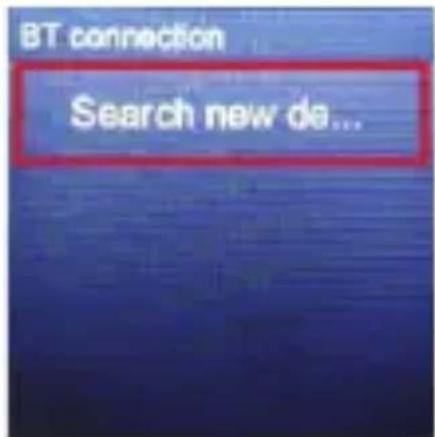
- Find the name of your phone in the list and tap it.
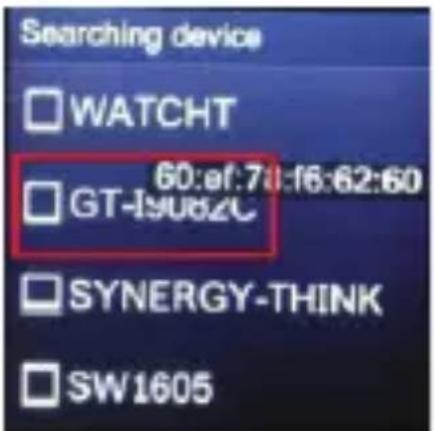
- If the connection is successful, a check mark will appear next
to the name of your phone and the Bluetooth icon will be visible in the corner of the watch screen.
Installing the App on an Android™ Device This watch will work with Android devices running Android OS 4.2 or newer. The device must also support a minimum of Bluetooth® 4.0.

Compatibility cannot be guaranteed with all devices due to the high number of different Android OS devices and manufacturers.
- Find and tap the Google Play store app on your device to launch it.

- Tap the search box at the top of the screen.
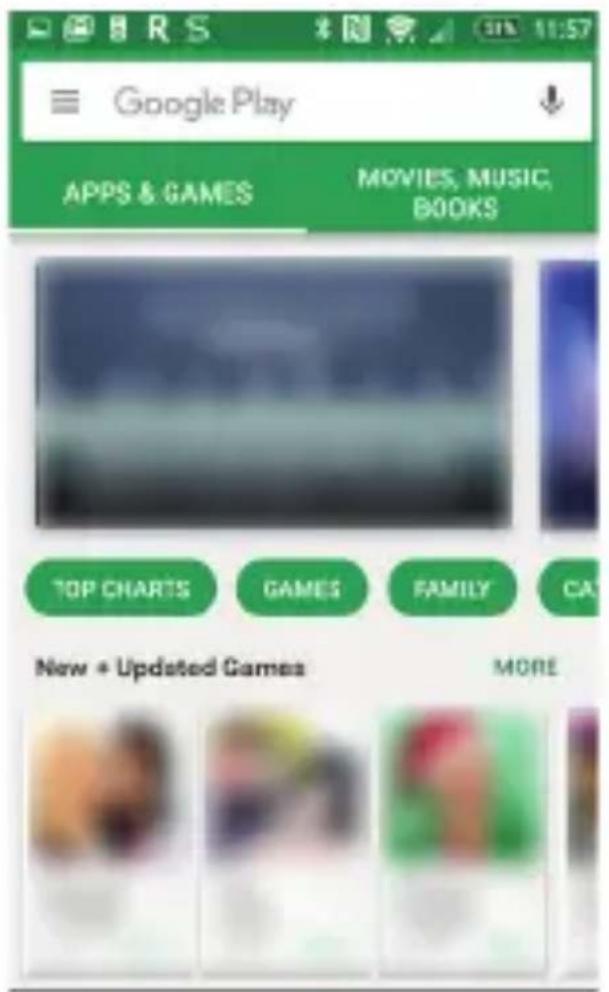
- Type OWatch into the search box. In the list of search results below, tap "OWatch".

- Tap the green install button. Follow the on-screen instructions to finish downloading and installing the app.

natural_image
Green square app icon with a white wristwatch symbol (no text or numbers visible)
Owatch
SYNERGY TECHNOLOGIES LIMITED
Everyone
INSTALL

Downloads

东

Health & Fitness

Sindar
Together with our Smartwatch, you can use your smartphone without taking it out.
READMORE

Installing the App on iPhone®
This watch will work with iPhone and iOS devices running iOS 7 or newer. The device must also support a minimum of Bluetooth® 4.0.
- Find and tap the App Store icon on your device to launch it.

- Tap the magnifying glass at the top right corner.
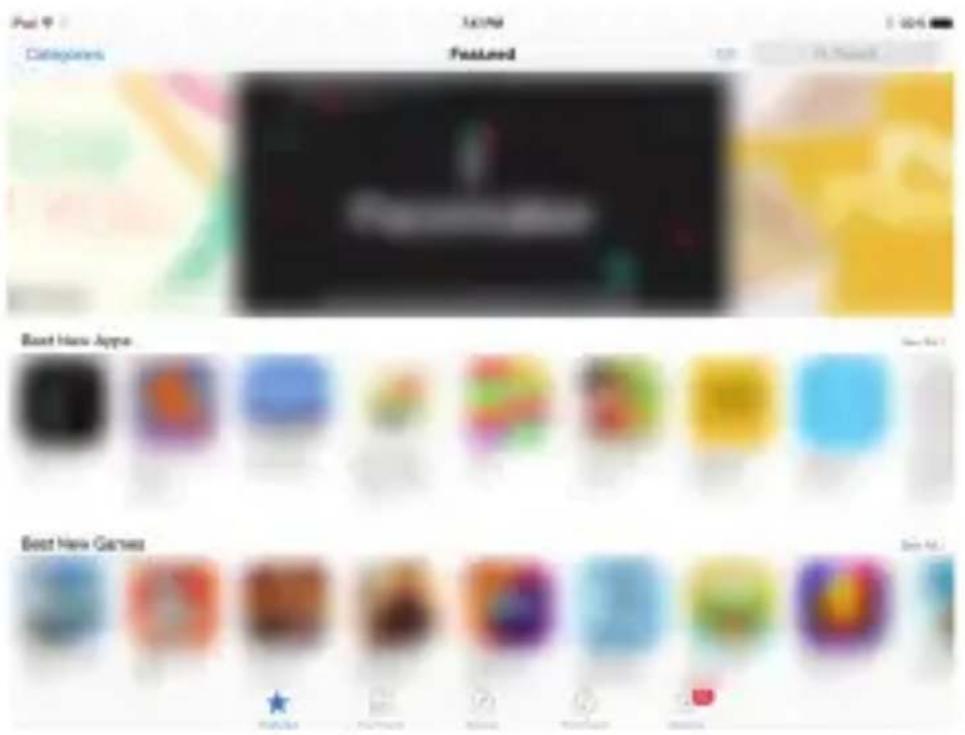
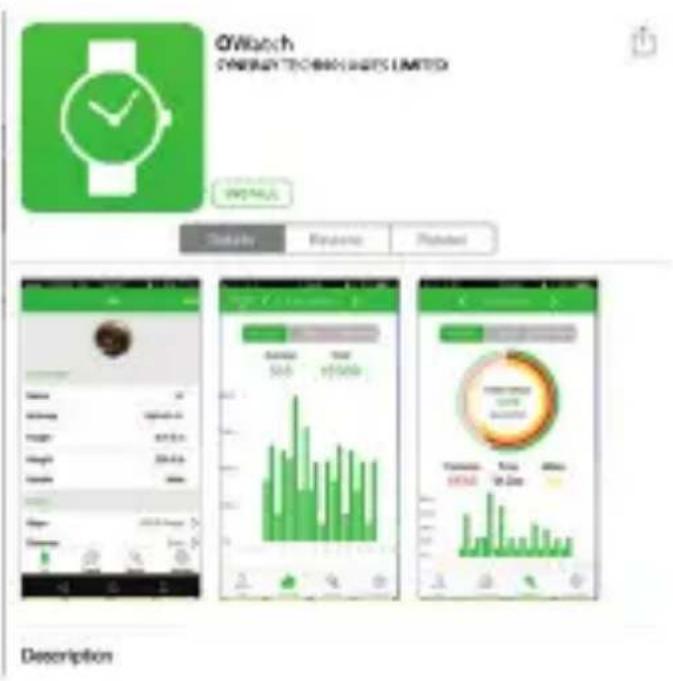
- Type "OWatch" into the search box. Tap "OWatch" in the results panel. (Make sure you are searching for "iPhone only" apps.)
- Tap the "Get" button and then the "Install" button. Follow the on-screen instructions to finish downloading and installing the app.
Using the OWatch App
- Find and tap the OWatch icon to open the app.

natural_image
Green square icon with a white wristwatch symbol (no text or numbers)- The app will present a personal setup screen. Tap in each field to set your starting information. The fitness band requires this info to accurately track your activity.
Tap SAVE when you have finished entering your information.
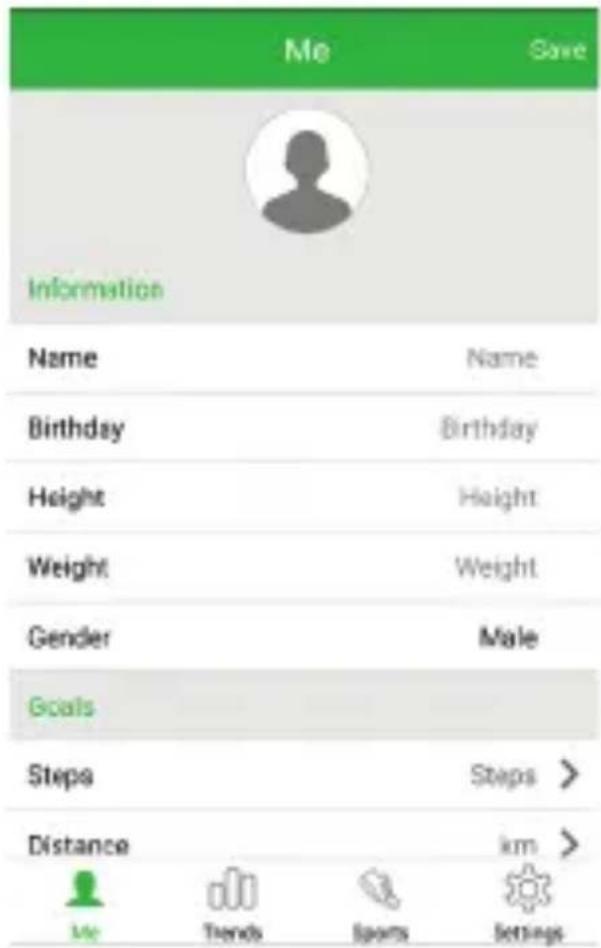
- Tap the icons at the bottom of the screen to see your activity data (Trends, Sports). Tap "Settings" to manage notifications and to use "Find Me" and other alert features.

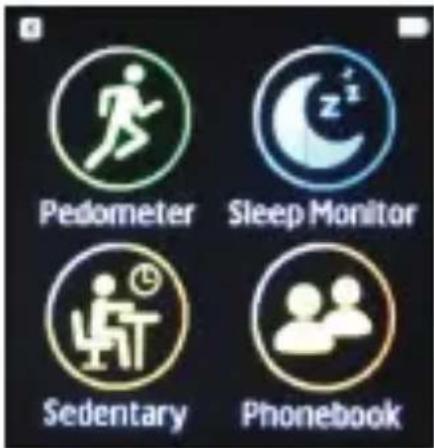
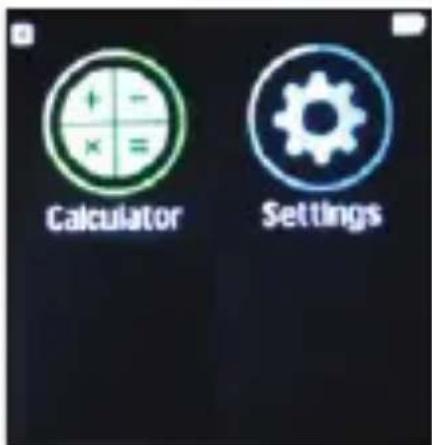
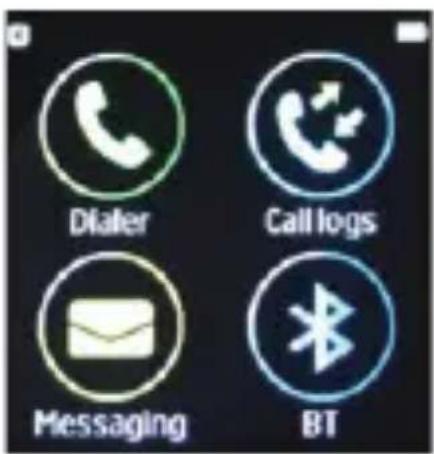
Watch Modes
Swipe the watch screen to see the different watch modes. Tap an icon to enter the mode.
Pedometer: Track your steps to measure distance traveled and calories burned. You'll be able to see your history, and set your goal, gender, height, and weight.
Sleep Monitor: Track your sleep and see your sleep history.
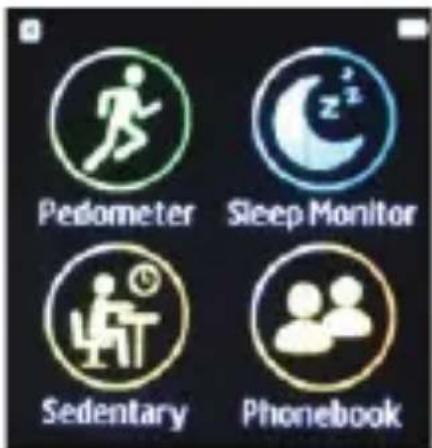
Sedentary: Detects when you've been sitting and re-minds you to get up and walk around.
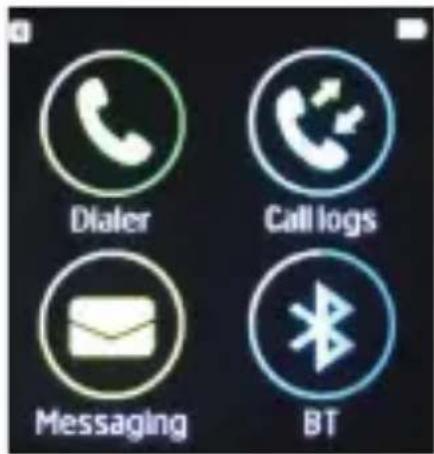
Phonebook: View the phonebook of a connected smart-phone.
Dialer: Make a call from a connected smartphone.
Call logs: View your calling history.
Messaging: View SMS messages from a connected smartphone running Android™ OS..
BT: Access the Bluetooth options.
Siri: Trigger the Siri assistant when connected to an iPhone®.
Notifier: See app notifications from a connected smartphone.
Anti-lost: Set an alarm to keep your phone nearby. You can also find your phone by making it ring and vibrate.
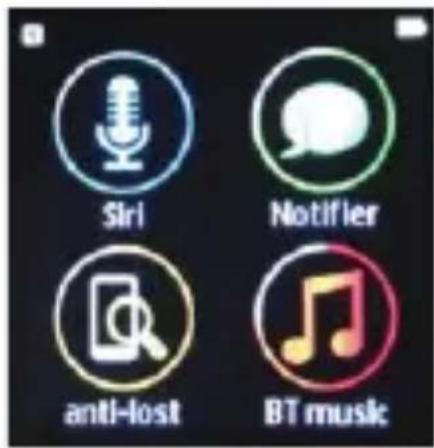
BT music: Control the music player app of a connected smartphone.
Remote Capture: Trigger your connected smartphone camera to take a picture.
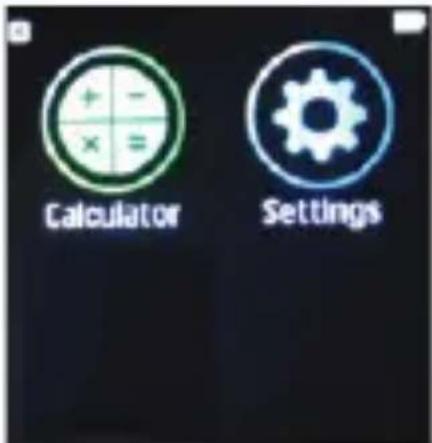
Calculator: Perform mathematical operations.
Settings: Adjust the watch system options.
Use & Care
To care for your Smart watch, please observe the following:
- Liquids: Don't expose your product to water, rain, extreme humidity, sweat, or other liquids.
- Drying: Don't try to dry your product using a micro-wave oven, conventional oven, or dryer.
-
Extreme heat or cold: Avoid temperatures below -10^ (14°F) or above 60^ (140°F).
-
For battery powered accessories, do not recharge your accessory in temperatures below 0^ C (32°F) or above 45^ C (113°F).
- Dust and dirt: Don't expose your product to dust, dirt, sand, food, or similar materials.
- Cleaning: To clean your product, use only a dry soft cloth. Don't use alcohol or other cleaning solutions
• To help protect your product, always make sure that all connector and compartment covers are closed and secure, and avoid carrying it with hard objects such as keys or coins.
Warnings and Precautions
natural_image
Warning symbol of a lightning bolt inside a triangle (no text or numbers)CAUTION
WARNING: SHOCK HAZARD. DO NOT OPEN.
AVIS: RISQUE DE CHOC ELECTRIQUE.
NE PAS OUVRIR

natural_image
Warning symbol: black triangle with white exclamation mark (no text or numbers)CAUTION: TO REDUCE THE RISK OF FIRE AND ELECTRIC SHOCK, DO NOT REMOVE THE COVER (OR BACK) OF THE UNIT. REFER SERVICING ONLY TO QUALIFIED SERVICE PERSONNEL.
The lightning flash with arrowhead symbol within an equilateral triangle is intended to alert the user to the presence of uninsulated "dangerous voltage" within the product's enclosure that may be of significant magnitude to constitute risk of electric shock
The exclamation point within an equilateral triangle is intended to alert the user to the presence of important operation and servicing instructions in the literature accompanying the appliance.
CAUTION
- Do not block the ventilation openings or holes.
- Do not place any naked flames (such as lighted candles) on the apparatus.
- When discarding batteries, follow all local rules and laws governing
the disposal of batteries. Consider the environmental impact of your actions!
• To prevent fire or shock hazard, do not expose this appliance to rain or moisture.
Important Safety Information
- Read Instructions: All the safety and operating instructions should be read before the product is operated.
- Retain Instructions: The safety and operating instruction should be retained for future reference.
- Heed Warnings: All warnings on the product and in the operating instructions should be adhered to.
- Follow Instructions: All operating and usage instructions should be followed.
- Cleaning: Unplug this product from the wall outlet before cleaning. Do not use liquid cleaners or aerosol cleaners. Use a damp cloth for
cleaning.
-
Attachments: Use only attachments recommended by the manufacturer. Use of other attachments may be hazardous.
-
Water and Moisture: Do not use this product near water (e.g., near a bathtub, washbowl, kitchen sink, laundry tub, in wet basements, or near a swimming pool and the like).
-
Power Sources: This product should be operated only from the type of power source indicated on the rating label. If you are not sure of the type of power supply to your home, consult your product dealer or local power company. For products intended to operate from battery power or other sources, refer to the operating instructions.
-
Grounding or Polarization: This product may be equipped with a polarized alternating-current line plug that has one blade wider than the other. This plug will only fit into the power outlet in one direction. This is a safety feature. If you are unable to insert the plug fully into the outlet, try reversing the direction of the plug. If the plug should still
fail to fit, contact an electrician to replace the obsolete outlet. Do not defeat the safety purpose of the polarized plug.
-
Power-Cord Protection: Power supply cords should be routed so that they are not likely to be walked on or pinched by items placed upon or against them, paying particular attention to cords at plugs, convenience receptacles, and at the point which they exit from the product.
-
Protective Attachment Plug: The product may be equipped with an attachment plug with overload protection. This is a safety feature. See the operating instructions for replacement or directions to reset the protective device. If replacement of the plug is required, be sure the service technician has used a replacement plug that has the same overload protection as the original plug as specified by the manufacturer.
-
Overloading: Do not overload wall outlets, extension cords, or integral convenience receptacles as this can result in a risk of fire or electric shock.
-
Object and Liquid Entry: Never push objects of any kind into this prod-
uct through openings as they may touch dangerous voltage points or short-out parts that could result in a fire or electric shock. Never spill liquid of any kind on the product.
-
Servicing: Do not attempt to service this product yourself as opening or removing covers may expose you to dangerous voltage or other hazards. Refer all servicing to qualified service personnel.
-
Damage Requiring Service: Unplug this product from the wall outlet and refer servicing to qualified service personnel under the following conditions: a) when the power-supply or plug is damaged; b) if liquid has been spilled or if objects have fallen into the product; c) if the product has been exposed to rain or water; d) if the product does not operate normally by following the operating instructions. Adjust only those controls that are covered by the operating instructions as improper adjustment of other controls may result in damage and will often require extensive work by a qualified technician to restore the product to its normal operation; e) if the product has been dropped or damaged in any way; f) when the product exhibits a distinct change in
performance—this indicates a need for service.
- Replacement Parts: When replacement parts are required, be sure that your service technician has used replacement parts specified by the manufacturer or have the same characteristics as the original part. Unauthorized substitutions may result in fire, electric shock, or other hazards.
- Safety Check: Upon completion of any service or repairs to this product, ask the service technician to perform safety checks to ensure that the product is in proper operating condition.
- Heat: The product should be situated away from heat sources such as radiators, heat registers, stoves, or other products (including amplifiers) that produce heat.
WARNING:
This product contains lead, a chemical known to the State of California to cause cancer and birth defects or other reproductive harm. Wash hands after handling.
Specifications
| Display Type | LCD touchscreen |
| Display Size | 1.54 in |
| Display Resolution | 240 x 240 |
| Touchscreen Layer | Capacitive |
| Wireless Connections | Bluetooth® 4.0 Low Energy |
| Pedometer | Yes |
| Sleep Monitoring | Yes |
| Calories Burned | Yes |
| Additional Features | Remote music controlRemote camera triggerSedentary reminderDownloadable watch appsSelect new watch faces |
| Notifications | Call notificationsApp notifications |
| Notification modes | Ringer, vibrate |
| Speaker | Yes |
| Microphone | Yes |
| Connectors | USB (PO-GO PIN connector) |
| Power Source | Rechargeable battery (300 mAh)USB charge |
| Battery Life | Active: 1 dayStandby: 7 days |
| Water Resistance | Yes |
| Companion App | OWatch |
| Companion App OS | iOS 7 or newerAndroid 4.2 or newer |
| Accessories Included | USB PO-GO PIN charger |
Support
If you have problems with your device, please consult the instructions in this manual. Please also visit us on the web at www.naxa.com to get up to the minute news, alerts, and documentation for your device. For additional assistance, please contact Naxa Technical Support.
NAXA Technical Support
2320 East 49th St.
Vernon, CA 90058
http://www.naxa.com/supportcenter/

- Instruction Manual
- Table of Contents
- Using the Watch with a Smartphone....15
- Watch Modes....30
- Thank You
- In the Box
- Getting Started
- What You'll Need
- Charging the Watch
- Turning the Watch On
- Setting the Time
- Changing the Clock Face
- Using the Watch with a Smartphone
- Connecting the Watch to Your Phone
- Using the OWatch App
- Watch Modes
- Use & Care
- Warnings and Precautions
- CAUTION
- Important Safety Information
- WARNING:
- Support
- NAXA Technical Support
Brand : Naxa
Model : NSW-14
Category : Smartwatch