
K2724 - Keyboard Unitech - Free user manual and instructions
Find the device manual for free K2724 Unitech in PDF.


| Product Type | Multifunction Keyboard with Integrated Magnetic Stripe Card Reader and Bar Code Scanner Port |
| Dimensions (L x W x H) | 400 x 210 x 43 mm (15.74 x 8.26 x 1.69 in) |
| Net Weight | 1.30 kg (2.86 lbs) |
| Power Supply | 5 VDC ±5%, 250 mA (including magnetic stripe reader) |
| Interface | Enhanced AT, PS/2 keyboard with 5-pin DIN or 6-pin mini DIN male coiled cable |
| Operating Temperature | 0°C to 55°C (32°F to 131°F) |
| Storage Temperature | -20°C to 55°C (-4°F to 131°F) |
| Operating Humidity | 10% to 90% RH |
| Storage Humidity | 10% to 95% RH |
| Key Layout | 104/105 keys (US/International), enhanced layout with re-legendable keys |
| Magnetic Stripe Reader | ISO 7811/2-5, reads single/dual/triple track, bi-directional swipe, 5-60 IPS, 75-210 BPI |
| Bar Code Symbologies | Code 39, UPC/EAN, Interleaved 2 of 5, Standard 2 of 5, MSI, Code 128, Code 93, Codabar, Code 32, Delta Distance, Label Code IV/V, China Postal, UCC/EAN128 |
| Scanner Port Connector | DB-9 male squeeze-release type, supports wand, CCD, and laser scanners |
| Setup Methods | Keyboard (via text editor), bar code menu, batch setup, Scanner Configuration Manager software |
| Data Editing | Programmable formulas for modifying output: rearranging, deleting, inserting characters, time delays |
| Scanning Modes | Trigger, Flash, Multiscan, One Press One Scan, Test, Old Laser Flash, Continuous |
| Special Features | Spill-resistant design, re-legendable keys, good read LED indicator |
| Country of Origin | Designed and manufactured by Unitech, Taiwan |
Frequently Asked Questions - K2724 Unitech
User questions about K2724 Unitech
0 question about this device. Answer the ones you know or ask your own.
Ask a new question about this device
Download the instructions for your Keyboard in PDF format for free! Find your manual K2724 - Unitech and take your electronic device back in hand. On this page are published all the documents necessary for the use of your device. K2724 by Unitech.
USER MANUAL K2724 Unitech
for IBM or compatible computers
Date: March 2001
Version: 2.9 V2
Preface
General Advice
Improper handling, storage, external influences and /or further processing can lead to disturbances and defects during use.
This is also especially valid if trained personnel do not perform repairs and maintenance work.
We reserve the right to make any technical alterations to in accordance with technological advancements.
Information to the user
This device has been tested and found to comply with the limits for a Class A digital device, pursuant to Part 15 of the FCC Rules. These limits are designed to provide reasonable protection against harmful interference when the device is operated in a commercial environment. This device generates, uses, and can radiate radio frequency energy and, if not installed and used in accordance with the instruction manual, may cause harmful interference to radio communications. Operation of this equipment in a residential area is likely to cause harmful interference, in which case the user will be required to correct the interference at his own expense.
Contents
1. Overview Page 1
1.1. Ports and Input Device 2
1.2. Decoding Capability 2
1.2.1. Bar Code 2
1.2.2. Magnetic Stripe 3
1.3. Scanning Mode 3
1.4. Setup 4
2. Understanding the Operation Parameters 4
2.1. Intercharacter Delay 4
2.2. Function Code 5
2.3. Caps-Lock 5
2.4. Alt Key Mode 5
2.5. Code ID 5
2.6. Scanning Mode 6
2.7. Track 1 Output Sequence 7
2.8. Track 2 Output Sequence 8
2.9. Fix Length of 2 of 5 Codes 8
2.10. CLSI Format of Code bar 9
2.11. Zero Expansion of UPC-E 9
2.12. Bookland EAN 9
3. Setup 9
3.1. Setup from Keyboard (for DOS environment) 9
3.2. Setup the Keyboard from Bar Code Menu 10
3.2.1. General Settings 10
3.2.2. Bar Code Length Setting (example) 10
3.2.3. Code ID Setting (example) 11
3.2.4. Preamble, Postamble, and Output Sequence 11
3.3. Data Editing 12
3.4. Batch Setup 20
3.5. Scanner Configuration Manager Software 21
4. Using the Magnetic Stripe Card Reader 22
5. Pin assignment of the scanner port 22
6. Specification 23
Appendix A. - Function Codes
Appendix B. - Setup Menu
Appendix C. - Full ACPI Chart
Appendix D. - Bar Code Test Chart
1. Overview
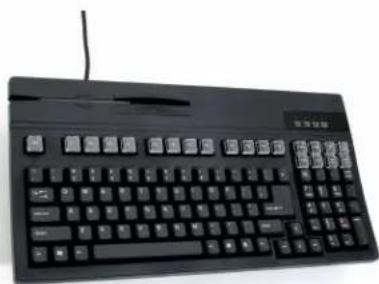
This is a family of multifunction keyboards with 104/105 keys (US/International version) enhanced layout. The keyboards feature re-legendable keys, integrated Magnetic Stripe Card Reader (or Bar Code Slot Reader), and built-in Bar Code scanning input port. The keyboards also feature a minimal footprint and protection against damage from liquid spillage.
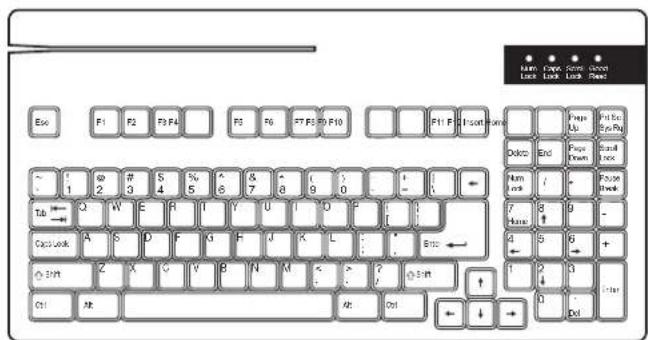
English Language Keyboard
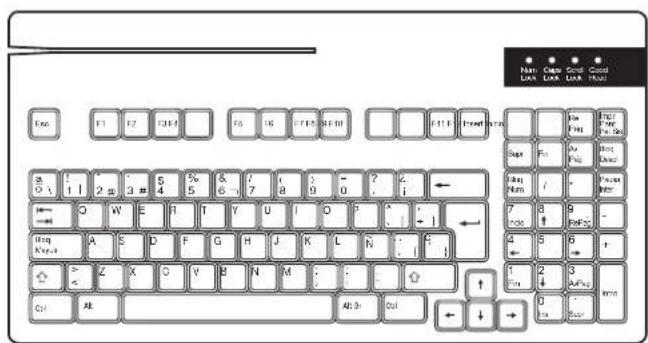
Spanish Language Keyboard
Typical Applications
* Point-of-sale system
* Banking, financial, and insurance data input
* ID entry and security
* Industrial control and automated process applications
* Inventory control
* Shipping and receiving product identification
1.1 Ports and Input Device
The keyboard has two input ports to accept a variety of input devices:
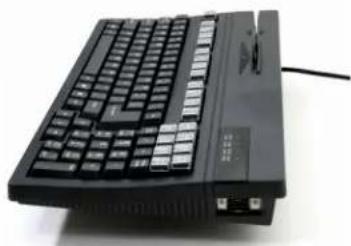
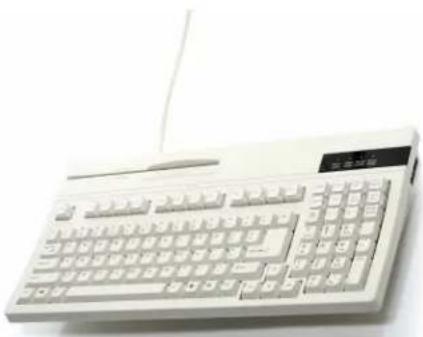
A port with DB-9 squeeze release type connector at the upper-right hand side of the keyboard supports barcode scanner input. Wand, CCD, or Laser scanners are supported. An open slot at the upper-left corner of the keyboard can support a standard dual track magnetic card reader. Alternatively, this open slot can be configured to support a single track magnetic reader, triple track magnetic reader, or a bar code slot reader.
The following procedures should be followed when connecting an undecoded barcode scanner to the scanner port:
- Plug the connector of the scanner into the DB-9 connector located at the right hand side of the keyboard.
- Switch the computer off. Switch the computer back on.
Card
Reader
Slot
natural_image
Black computer keyboard with visible ports and a cable, no text or symbols presentScanner
Port
natural_image
Front view of a white electronic calculator with keyboard and mouse (no visible text or labels)K2724
(Beige)
natural_image
Black electronic keyboard with control buttons and a small mouse (no visible text or symbols)K2724B
(Black)
1.2 Decoding Capability
1.2.1 Bar Code:
* Code 39 Standard and Full ASCII
* UPC\EAN with supplement codes
* Interleaved 2 of 5
* Standard 2 of 5
* MSI Code
* Plessey Code
* China Postal Code (Toshiba Code).
* Codabar.
* UCC/EAN128
* Code 32 (Italian pharmacy).
* Code 93.
* Code 128.
* Label Code IV and V
* Delta Distance Code.
1.2.2. Magnetic Stripe:
* Track 1 – IATA.
* Track 2 – ABA.
* Track 3 – THRIFT.
1.3. Scanning Mode:
The keyboard provides seven scanning modes for CCD/Laser scanners:
* Trigger Mode:
Depressing the scanner's trigger to activate the scanner and automatically turn off the scanner after successful label read. Releasing the trigger will manually de-activate the scanner.
* Flash Mode:
The Keyboard triggers the scanner to scan periodically - providing a trigger-less scanning method. The scanner will strobe on and off until a label is detected. Note - this feature may not work properly with older laser scanners.
* Multiscan:
The scanner's trigger is held down during the reading of multiple labels - and the scanner is turned off when trigger is released.
* One Press, One Scan:
The scanner's trigger is pressed once and the scanner remains on until a successful input.
* Test Mode:
The scanner's trigger is pressed once and the scanner remains on to read whatever label is presented and then sent to computer.
* Old Laser Flash Mode:
This feature is designed to work with older laser scanners. Some models may not work properly with this feature.
* Continuous Mode:
The scanner's trigger is pressed once and scanner remains on to read a label only once. Subsequent presentations of the same label will be ignored.
1.4. Setup
There are several ways to configure the Keyboard to fit the user's requirements:
* Keyboard: (Setup Magnetic Stripe Reader)
Setup via any text editor, such as Notepad or WordPad under Microsoft Windows environment. Keyboard setup provides and interactive way to setup the keyboard's magnetic stripe reader through screen prompting.
* Bar code menu:
Besides the keyboard setup, the keyboard can be programmed by scanning a sequence of bar code labels from the user's manual. Refer to the Bar Code Menu in Setup Menu of appendix B. Scan the following label to reset the build-in wedge to the Factory Default setting.

Factory Default
* Batch Setup:
Produce custom setup labels and then scan these labels to duplicate the settings on other keyboards
* Software Setup:
Scanner Configuration Manager is a utility program to configure scanner settings on a computer using the Windows 95/98 operating system. Use Scanner Configuration Manager to define the settings and then download the parameters to the scanner.
The “GOOD READ” LED will blink when the Keyboard enters setup mode.
2. Understanding the Operating Parameters
This section describes the operating parameters of the Keyboard.
2.1. Intercharacter Delay
Intercharacter delay is the time period that the keyboard will wait before transmitting the next character. For some applications, an intercharacter delay is necessary in order for a system to keep pace with data transmitted from the Keyboard.
If incomplete data is sent from the Keyboard, increasing the value of this parameter may correct the problem.
2.2. Function Code
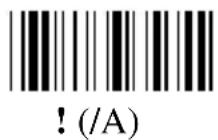
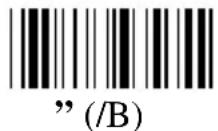
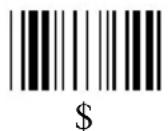
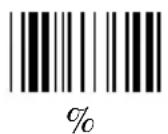
The keyboard can emulate special keys, such as function keys and cursor keys, by scanning pre-defined bar code labels - which can be found in Appendix A. Print these bar code labels by printing their corresponding Code 39 characters (in brackets).
2.3. Caps-Lock
This parameter will set the Caps-Lock state of the keyboard so that the character transmitted by the keyboard is in the correct case.
* Auto Trace:
Normally the keyboard will trace the Caps-Lock state by itself, but some PC's scanning performance may be compromised because of Auto Tracing. If scanning performance is poor (or not functioning at all) or if the keyboard cannot output the upper/lower case characters correctly, select one of the next two choices as an alternative to Auto Tracing.
* Lower Case:
When the Keyboard is in the unshifted state (CapsLock is not pressed), select "Lower Case".
* Upper Case:
When Keyboard has the CapsLock key on, select "Upper Case".
2.4. Alt Key Mode
Alt Key Mode is an option found under Language Selection. Sending characters by Alt key plus keys on the numeric keypad is a feature in MS-DOS. When “Alt Key Mode” is selected, the keyboard outputs the native ASCII combination codes to represent each character of the bar code scanned. If your system accepts Alt key sending, you can enable this mode and ignore the “Upper/Lower Case” and “Language” selections.
2.5. Code ID
The keyboard can add code IDs to data strings via the following pre-defined IDs for bar code and magnetic stripe card readers. These IDs can be modified via bar code setup.
| Symbology | Pre-Defined |
| UPC-A | A |
| UPC-E | E |
| EAN-13 | F |
| EAN-8 | FF |
| I 2 of 5 | I |
| S 2 of 5 | H |
Code 39 M
Codabar N
Code 93 L
Code 128 K
UCC/EAN128 JC1
MSI O
Code 32 T
Delta Code D
Pressey Code P
Label Code IV, V B
China Postal Code C
Track I None
Track II None
Track III None
2.6. Scanning Mode
For CCD or Laser scanners, the keyboard provides the following seven scanning modes:
* Trigger Mode:
When the trigger is pressed, the keyboard will power up the CCD or laser scanner to read the bar code. If the bar code is decoded, the Keyboard will turn off the scanner and upload the data. The Keyboard will turn off the scanner if the label cannot be read within approximately 3 seconds.
To read the next label, release and press the trigger again.
* Flash Mode:
When Flash Mode is enabled, the keyboard causes the photo LEDs of the CCD to strobe until it detects a label. When a bar code is detected and read, the keyboard uploads the data and attempts to read the next bar code during the next 5 seconds. If no bar code is read during that period, the photo LEDs begin to strobe again.
In Flash Mode, the keyboard is designed to not double-read the same barcode.
In order to deliberately re-read the same barcode, the barcode must be removed from the scanner's readable area for at least one second.
Pressing and releasing the trigger will stop the flashing and turn off the photo LEDs. Pressing and releasing the trigger again will resume the flashing.
Note: The flash function is for CCD scanners only. It cannot support Wand or laser scanners. Set the keyboard to Switch Mode in order to operate the scanner.
* Multiscan:
When Multiscan is enabled, pressing the trigger enables the scanner to read
multiple labels, and the scanner will continue to read until the trigger is released.
This is useful to users that prefer multiple inputs during scanning.
* One Press, One Scan:
With this feature enabled, pressing the scanner's trigger causes the scanner to remain on until a successful input. This is useful because once the trigger is pressed, the trigger can be released and the scanner will remain “On” until the scanner performs a successful data input and then turns itself off.
* Test Mode:
The test mode tests the scanner or the system. The scanner will remain “On” when the scanner’s trigger is pressed and will read whatever label is presented, and then uploads the data to the computer.
* Old Laser Flash Mode:
This feature is designed to work with some older laser scanners. It will turn off the laser scanner to avoid damaging the scan engine. Some very old models of laser scanners may not work properly with this feature.
* Continuous Mode:
When Continuous Mode is enabled, user presses the scanner's trigger once and the scanner will remain "On" to read a label, but will not read the same label twice. This is designed to avoid erroneous repeat data input.
2.7. Track 1 Output Sequence
Track 1 of magnetic cards contain account number, last name, first name, and expiration date information. Programming the Output Sequence tells the keyboard how to output those messages. The numbers corresponding to each message are as follows:
| Message | Number |
| Account Number | 1 |
| Last Name | 2 |
| First Name | 3 |
| Expiration Year | 4 |
| Expiration Month | 5 |
| Discretionary Data | 6 |
Use the assigned number and a separator character to produce your required output.
Example: To get the following output from track 1:
Account Number
Last Name, First Name
Expiration Month/Expiration Year
Program the Output Sequence as:
1
Here
The last CR will not be necessary if Terminator is set to Enter.
For a card with following messages:
%B012345678901234^ABEL/STEVE L MGR ^90010129999999?
You will get:
012345678901234
ABEL, STEVE
01/90
The maximum number of characters that can be input in Track 1 Output Sequence is 16. If nothing is defined, all messages will be output.
2.8 Track 2 Output Sequence
The same implementation as Track 1 Output Sequence, but with the following message-number match:
| Message | Number |
| Account Number | 1 |
| Expiration Year | 2 |
| Expiration Month | 3 |
| Discretionary Data | 4 |
The maximum number of characters that can be input in Track 2 Output Sequence is 8. If nothing is defined, all messages will be output.
2.9. Fix Length of 2 of 5 Codes
For Interleaved 2 of 5 and Standard 2 of 5 codes, specifying the decoding length is strongly recommended. By using a fixed length (default), the keyboard will accept lengths of first three I 2 of 5 or S 2 of 5 after powering up as valid decoding lengths. If a bar code has a different length than the first three lengths, the keyboard will not accept that label.
2.10. CLSI Format of Codabar
If selected, 14 characters Codabar (Start/Stop not included) will be output to CLSI format with spaces inserted.
For example
Label content:
01234567890123
CLSI format:
0 1234 56789 0123
2.11. Zero Expansion of UPC-E
When selected, UPC-E will be converted to UPC-A format.
2.12. Bookland EAN (ISBN):
When enabled, the EAN-13 with “978” as first three digits will be converted to ISBN format.
For example:
EAN-13 label: 9781234567897
ISBN format: 123456789X
3.Setup
The keyboard can be configured to fit the user's specific applications. All configuration parameters are stored in a non-volatile memory (256 bytes), which is retained even if power is lost.
3.1 Setup MSR Port from Keyboard
The Magnetic Stripe Reader can be setup by using the keyboard itself. The setup process can be done under any text editor software, such as Notepad or WordPad.
To activate keyboard setup, press Left Shift key and Right Shift key at the same time immediately after system power-up. Setup messages will be displayed on the screen when both Shift keys are released. Instructions on the screen make programming the keyboard simple.
Note: Keyboard setup must be activated within 10 keystrokes after system
power-up. After 10 keys (other than Shift keys) are pressed, setup will not be activated except by a system restart or by simply unplugging and re-plugging the keyboard connector on your computer.
During setup, only Numeric keys (0 to 9) on the top row of keyboard are accepted; Numeric keypad on the right of keyboard is not supported.
3.2. Setup the Keyboard from Bar Code Menu
The Menu setup lets the user configure the Reader by scanning labels into a setup menu from Appendix B. The setup menu contains 8 groups as following:
Group 1: Beep and Delay
Group 2: Keyboard Interface
Group 3: Scanner Port
Group 4: Magnetic Reader
Group 5: Code 39, I 2 of 5, S 2 of 5, code 32, and EAN128
Group 6: Code 128, MSI, Code 93, Codabar, and Label Code
Group 7: UPC/EAN, and Delta Distance Code
Group 8: Data Editing
3.2.1. General Settings
For most parameters, follow the steps below:
1) Locate a group that contains the parameter to be changed.
2) Scan the "Enter Group" label to enter setup. The Keyboard will beep three times to indicate that setup has begun.
3) Scan the label (on the right side) representing the parameter to be changed.
4) Scan the labels (number) representing the desired parameter value.
5) Repeat step 3 and 4, if necessary, to change the parameters in the same group.
6) Scan the "Exit" label to end the group setup. The Keyboard will beep twice and return to normal.
3.2.2. Bar Code Length setting (example)
The following example illustrates how to set Code 39 with a minimum length of 5 and a maximum length of 20:
* Scan Enter Group 5
* Scan F1 to select Code 39
* Scan MIN LENGTH to enter minimum length setting
* Scan 0 and 5 to select length 5
* Scan MIN LENGTH to end minimum length setting
* Scan MIN LENGTH to enter maximum length setting
* Scan 2 and 0 to select length 20
* Scan Exit to end setup
3.2.3. Code ID Setting (example)
The following example shows how to set Code 93 with ID O and Code 128 without ID
* Scan Enter Group 3
* Scan D2 to select Code ID
* Scan 1 for "Yes"
* Scan D3 to define IDs
* Scan 0 and 9 for selecting Code 93
* Scan O from Full ASCII Table (Appendix D) for new ID
* Scan 0 and "8" to select Code 128
* Scan NULL character from ASCII Table (Appendix D) for none ID
* Scan Exit to end setup
3.2.4. Preamble, Postamble, and Output Sequence
Setting of Output Sequence is the same procedure as setting preamble and postamble. The Following is an example to set STX as preamble and ETX as postamble for the scanner port:
* Scan Enter Group 3
* Scan PP to start preamble setting
* Scan STX character from Full ASCII Table
* Scan PP to end preamble setting
* Scan OO to start postamble setting
* Scan ETX from Full ASCII Table
* Scan OO to end postamble setting
* Scan Exit to end setup
The next example shows set track 1 output sequence as:
Account Number
Expiration Month/Expiration Year
* Scan Enter Group 4
* Scan E1 to select Terminator
* Scan 1 for None
* Scan "PP" to start track output sequence setting
* Scan 1 to select account number
* Scan CR from Full ASCII table
* Scan 5 for expiration month
* Scan / from Full ASCII table
* Scan 4 for expiration Year
* Scan CR from Full ASCII table for
* Scan PP to end output sequence setting
* Scan "Exit: to end setup
3.3. Data Editing
The purpose of Data Edit is to enable you to define and modify a data record that results from the decoding of a bar code. By using a combination of Formulas, you can perform the following functions on the data received by the scanner:
A. Rearrange the output sequences.
B. Delete characters from the record.
C. Insert characters into the record, including function codes.
D. Duplicate characters in the record.
E. Insert a time delay into the record
Formula
Formula is a structure that tells the scanner what and how to process the original data record to produce the desired output. The built-in wedge allows multiple Formulas, but the number of the Formulas that can be defined depends upon the memory size allocated for Data Editing.
Original Data Structure
The original data structure is the decoded data plus preamble and postamble. The original data structure is as follows:
| preamble | Decoded Data | Postamble |
Formula Structure:
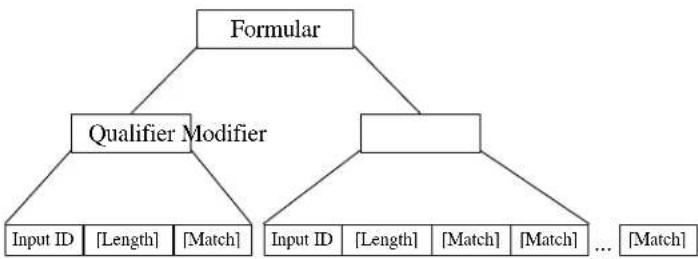
A Formula consists of two parts: Qualifier and Modifier (See Figure 7.1).
Qualifier is used to verify if the data record meets the conditions specified, and Modifier is processed only if all conditions in Qualifier are met.
Execution Sequence
If several Formulas are defined, data editing will perform sequentially from the first Formula to the last Formula. If a Formula is qualified and executed, the subsequent formulas will be ignored. If none of the Formulas are executed, the data record will be discarded and there will be no output to the host.
flowchart
graph TD
    A["Formular"] --> B["Qualifier Modifier"]
    B --> C["Input ID [Length"] [Match]]
    B --> D["Input ID [Length"] [Match] ... [Match]]
A-String: String to be added. O-String: Modified original data. [] : Optional.
Figure 3.3 Formula Structure
Programming Sequence:
Each Formula is entered into the Reader in the following sequence:
Input_ID>>Length>>Match>>A-String>>O-String>>...>>O-String>>Enter
A Formula starts with Input_ID and ends with "Enter"(label included in the programming sheet). If a field is optional and missing, the next one in the sequence can be entered. "Enter" must be the last input of a formula.
Preparation
To begin the Data Editing, the following barcode sheets are required:
-- Programming Sheet. (Setup Sheet in Appendix B).
-- Full ASCII Sheet (Appendix C).
Before programming Data Editing, you should know the format of the original data record that may be altered by the setup groups.
Programming Sheet
The bold and italicized characters in the following sections refer to barcode labels on the Programming Sheet.
Enter Group Scan this label to begin the formula input.
10
Group Erase all formulas.
Default
| Review | To view the formulas programmed in the Wedge. By scanning this label during a formula input (prior to scanning “Enter” and thereby finishing), the current formula will be displayed. Otherwise, all programmed formulas will be displayed. |
| Backspace_ | Delete the last character. |
| , | Delimiter to separate parameters. |
| " | String specifier. |
| * | Wild character to specify any digit or any position. |
| # | Wild character to specify any letter (A--Z, a--z) or last position |
| Enter | To end the current formula. |
| 0 to 9 | For digit input. |
| IN_ID | For ID field input. |
| LEN | For Length field input. |
| MATCH | For Match field input. |
| O-STR | For O-String input. |
| + | For O-String input. |
| - | For O-String input. |
| Exit | Save all formulas and exit setup. |
Note: The '*', #', '''' and ',' on the Programming Sheet have special meanings as mentioned above, and are different from those represented in the Full ASCII chart. Always use characters in the Full ASCII chart for string parameters unless a special function is required.
Parameter Entry
a) Digit Parameters and Numbers
Each digit parameter or number is represented by one to three digits with ‘,’ as the terminator. For example:
1,
023,
b) String Parameters
A string is a set of characters, wild characters, or sequence of adjacent characters enclosed in double quotation marks, which are included in the Programming Sheet. For example:
"A*B# "
Here * and # are wild characters on the setup sheet.
Qualifier
There are three conditional fields in the Qualifier:
Input ID, Length and Match
Input ID
Format:
$$ I N _ I D, I D 1, \dots , I D i, $$
Input ID is required and the original data record must correspond to Input ID of a formula in order to be processed.
ID1 to IDi are represented by digits. The following Input IDs are available:
0 = Code 39 Full ASCII
1 = Code 39 Standard
2 = EAN 13
3 = EAN 8
4 = UPC A
5 = UPC E
6 = I 2 of 5
7 = Codabar
8 = Code 128
9 = Code 93
10 = S 2 of 5
11 = MSI
19 = UCC/EAN128
28 = All Inputs
There is no limitation on the number of IDs to be defined.
Example:
$$ I N _ I D, 0, 1 1, $$
means the original data can be Code 39 or MSI.
Length:
Format:
$$ L E N, \text { Min }, \text { Max }, $$
Length field consists of two length parameters: minimum length (Min) and
maximum length (Max). When defined, a formula will be performed if the length of the original data falls between MIN and MAX.
When missing, the following fields of current Formula are always processed.
Example:
$$ L E N, 9, 4 8, $$
means the length of original data must be within 9 and 48.
Match
Format:
$$ M A T C H, \mathrm{P0}, ^ {\prime \prime} \mathrm{C0} ^ {\prime \prime}, \mathrm{P1}, ^ {\prime \prime} \mathrm{C1} ^ {\prime \prime},..., \mathrm{Pn}, ^ {\prime \prime} \mathrm{Cn} ^ {\prime \prime}, $$
a pair of Pn and Cn forms a Match field (n indicates a sequential integer number).
To define a Match field, two parameters are required. The first is character position (Pn) and the second is a string (Cn). Character position means the number of characters, counting from the first character to the one to be positioned in the data record.
For example, in the following data
BARCODE
'B' has position 1.
'A' has position 2.
...
'E' has position 7.
When Match field is defined, the original data string starts at the position specified by the first parameter P and will be compared with string "C". If the match is identical, processing of the current Formula continues.
The position parameter P could be a wild character * for any position or # for the last position in the original data. If # is used,
$$ # - N $$
is valid. Here N is a digit parameter.
The string parameter C can include * for any digit or # for any letter.
Examples:
$$ M A T C H, 3," \mathrm{AB}", #,"?", $$
Checks if the original data has 'A' at position 3, 'B' at position '4' and last character is '?'.
$$ M A T C H, 1 0," * A *, $$
Checks if the original data includes a string with a digit as first character and "A*"
followed at position 10.
Modifier
Modifier has two types of fields: A-String and O-String to define the output contents.
A-String
Format:
"abc..."
'a', 'b' and 'c' in the string can be any character.
A-String defines a string of characters to be added to the output. For example, if the original data is:
BCD
and the output string is
BarCoDe
"ar", 'o' and 'e' in output string are added strings and can be defined by A-Strings.
Note: If '*' on Programming Sheet are included in A-String, one interblock delay defined by Group 2 will be inserted.
O-String
Format:
O-STR, P, N,
O-String always applies to the original data. It contains two parameters: The first is position parameter (P) that specifies the start output position in the original data.
Parameter N tells how many characters will be included beginning from P.
Example:
Original data is:
Barcode
Then
O-Str, 4, 4,
Gives output as
code
Note:
-- N can be '#' for all remaining characters from P.
-- If P greater than the length of original data, the O-String will be skipped.
-- If N is greater than the number of remaining characters counting from P, the remaining characters are included as valid.
Examples
Example 1
If the original data is Code 39 and content is "AA", output "ABC Company", and otherwise output the original data as it is.
IN_ID,0,LEN,2,2,MATCH,1,"AA","ABC company",Enter
IN_ID,19,O-STR,1,#,Enter
Example 2
If the original data is Code 128 and is logically divided into:
-- First six characters are personal ID,
-- Other characters are person's name.
The output will be:
-- Personal ID first,
-- A 'CR' character,
-- Two interblock delay,
-- Name,
-- A 'CR' character.
The Formula will be:
IN_ID,8,O-STR,1,6,"
Advanced Features
The O-String has the format:
$$ O - S T R, P, N, $$
Both parameters of the O-String mentioned above are numbers. But both parameters can be specified as strings. If N is a string, it becomes a position and the meaning of O-String will be "Output from position P to position N".
If P is defined as:
$$ " a b... i k" $$
a, b, , i and k can be any character, the position will be evaluated as
-- Start from the first position of the original string and search character 'a'.
-- From the position next to 'a' in original data, search for 'b'.
-- ....
-- From the position next to 'i', search for k.
-- If above searches are all found, the result of the parameter will be the position where 'k' is located.
If N is a string, the position evaluation of N is the same as P except that the searching position starts from P + 1 .
For both P and N, if string is defined, a value can be added to or subtracted from the position. That following O-Strings:
$$ " \mathrm{ab} \dots \mathrm{ik}" + \mathrm{M}, $$
And
$$ " \mathrm{ab}... \mathrm{ik}" - \mathrm{M}, $$
Are meaningful. M is an integer number.
Example:
Suppose the following is a message to be modified:
%B012345678901234^ABEL/STEVE L MGR ^90010129999999?
in this message:
"%" is start sentinel.
"012345678901234" is account number.
"∧" is a separator
- "ABEL" is surname.
"/" is a separator.
"STEVE" is first name.
"L" is initial.
"MGR" is title
"∧" is a separator.
"9001" is expiration date.
"?" is end sentinel.
The output sequence desired is:
Surname, First Name [CR] Account Number [CR] Expiration Date [CR]
The formula input will be:
$$ I N _ I D, 0, O - S T R," ^ {\wedge}" + 1," /" - 1,"," O - S T R," /" + 1," < S P >" - 1," < C R >", O - S T R, 3," ^ {\wedge}" - 1, $$
$$ " < \mathrm{CR} >", O - S T R," ^ {\wedge \wedge}" + 1, 4," < \mathrm{CR} >", E n t e r $$
Here <SP> is a Space character and <CR> is a Carriage Return character.
The output of above input will be
ABEL,STEVE[CR]
012345678901234[CR]
9001[CR]
3.4. Batch Setup
Having configured a keyboard, you may duplicate the settings of the keyboard (master) to the others. You can do this by producing a set of custom setup labels derived from the master keyboard and scanning these labels from other keyboards.
Contents of custom setup labels are represented by a set of ASCII strings produced by the master keyboard. There are two ways to get the strings:
- By scanning the following bar code label the settings of the keyboard will dump to the screen as one or several ASCII strings.
- From keyboard setup, select choice 7 to produce the strings
Print the strings into bar code label in Code 39, you get the batch setup labels to duplicate other keyboards.
The Following issues should be observed:
- The sequence of the strings dumped by the keyboard is important. Print the bar code labels and scan them in the same sequence as the one that the master keyboard dumped.
- Only those settings that are different from the default values will be dumped. The number of labels produced depends on how many settings are being changed.
- Adjust the length of the dumped strings by combining multiple strings into one string or breaking up one string into multiple strings. You cannot delete any character from or add any character into multiple strings. You cannot delete any character from or add any character into the strings, and ... must be the first three characters in the first string.
- All characters in dumped strings are upper case. If lower case characters are present in dumped strings, change them to upper case.
- When scanning the batch setup labels to configure a keyboard, the previous settings on that keyboard are reset to default and then replaced by the settings contained in the batch labels.
The following is an example of the dumped strings:
...I800C06D51DJ8080
80A0O7C005354415254.
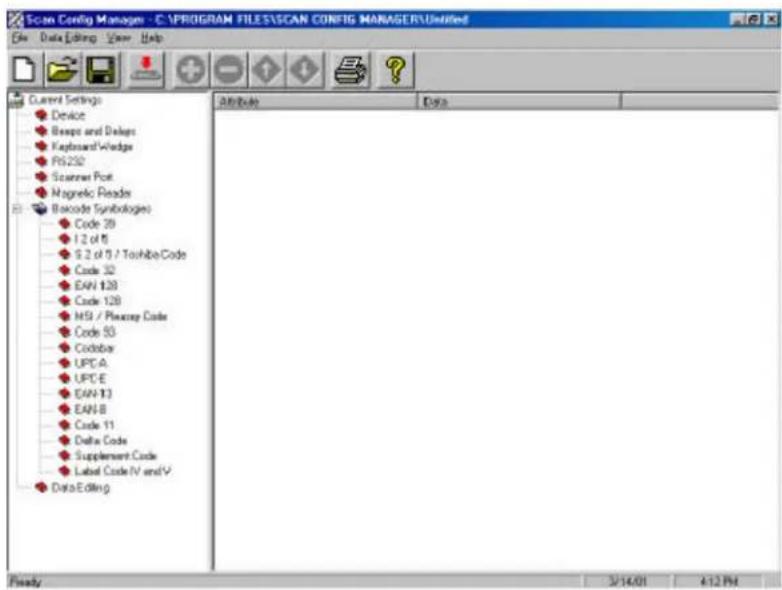
3.5. Scanner Configuration Manager Software
Scanner Configuration Manager is a utility program to configure scanner settings on a computer using the Windows 95/98 operating system. Use the program to define the settings and then download the parameters to the scanner. Download the program from our web site at www.unitech-adc.com.
4. Using the Magnetic Stripe Card Reader
* Hold the card with the side of magnetic stripe downwards toward you. (As shown in the diagram below.)
* Slide the magnetic stripe card through the reader from right to left at a constant, moderate speed. Note that extreme acceleration, deceleration and interruption on the slide speed may cause reading error.
* An audible signal will be emitted and the “Good Read” LED will blink when the card has been correctly slid.
5. Pin Assignment of the Scanner Port
The scanner port, which is a DB-9 squeeze-release type connector, accepts an undecoded bar code scanner and an RS232 input.
5.1. Wand
| Pin Number | Signal |
| 2 | Data |
| 7 | GND |
| 9 | VCC |
| Pin Number | Signal |
| 1 | Start Of Scan |
| 2 | Data |
| 3 | Good Read |
| 4 | N/C |
| 5 | Switch Detect |
| 6 | Power Control |
| 7 | GND |
| 8 | VCC |
- Specification
| Keyboard | |
| Interface | Enhanced AT, PS/2 keyboard5-pin DIN / 6-pin mini DIN male coiled cable |
| Power | Voltage: 5 VDC +/- 5%Current: 250mA (including magnetic stripe reader) |
| Dimension (LxWxH) | 400x210x43 mm (15.74x8.26x1.69 inches) |
| Net Weight | 1.30 kg (2.86 lbs) |
| Operating | Temperature: 0°C to 55°CHumidity: 10% to 90% RH |
| Storage | Temperature: -20°C to 55°CHumidity: 10% to 95% RH |
Magnetic Stripe Card Reader
| Card Standard | ISO 7811/2 through 5 |
| Track Configuration | Read ISO single track, dual track, Triple Track |
| Card Feed | Bi-direction for ISO card |
| Card Swipe Speed | 5 to 60 IPS (inch per second) |
Bit Density
Reads 75 to 210 BPI
Reliability
300000 passes in a clean environment (minimum)
Bar Code Decoder Unit
| Connector | DB-9 male type |
| Interface | TTL |
| Symbologies | Code 39 Standard and Full ASCII, UPC\EAN,Codabar, Interleaved 2 of 5, Standard 2 of 5,MSI, Code 128, Code 93, MSI code, Code 32,Delta Distance Code, Label IV & V,Toshiba Code, UCC/EAN128. |
Appendix A. Function Codes Function Codes for PC
| F1 (%VA) | F2 (%VB) |
| F3 (%VC) | F4 (%VD) |
| F5 (%VE) | F6 (%VF) |
| F7 (%VG) | F8 (%VH) |
| F9 (%VI) | F10 (%VJ) |
| F11 (%VK) | F12 (%VL) |
| Cursor Right (/FC) | Cursor Left (/FD) |
| Cursor Up (/FE) | Cursor Down (/FF) |
| PgUp (/FG) | PgDn (/FH) |
| TAB (/FI) | Back Tab (/FJ) |
| Esc (/FK) | Left Enter (/FL) |
| Right Ctrl (/FO) | Right Enter (/FM) |
| Shift Make (/FP) | Ins (/FW) |
| Ctrl Make (/FQ) | Shift Break (/FS) |
| Alt Make (/FR) | Ctrl Break (/FT) |
| Del (/FX) | Alt Break (/FU) |
Appendix B. Setup Menu
B.1 Beeps and Delays
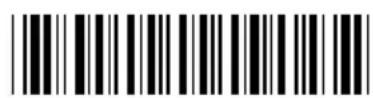
Enter Group 1
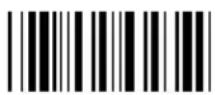
Group Default
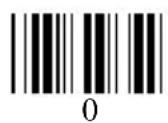
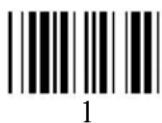
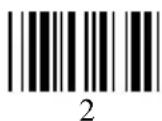
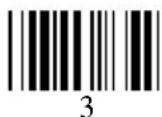
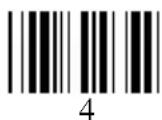
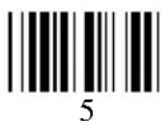
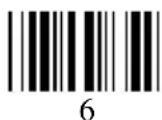
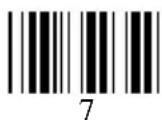
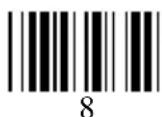
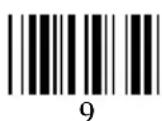
Beep Tone:
0 -- None
1 -- Low
2 -- Medium
3 -- High
4 -- Low to High
5 -- High to Low
Interblock Delay:
0 -- 0 ms
1 -- 10 ms
2 -- 50 ms
3 -- 100 ms
4 -- 500 ms
5--1 seconds
6--3 seconds
7--5 seconds
Intercharacter Delay:
0 -- 0 ms
1 -- 1 ms
2 -- 2 ms
3 -- 5 ms
4 -- 10 ms
5 -- 30 ms
6 -- 50 ms
7 -- 100 ms
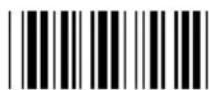
A 1

A 2
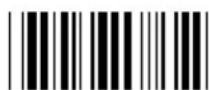
A 3
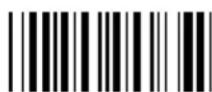
Exit
B.2 Keyboard Interface:
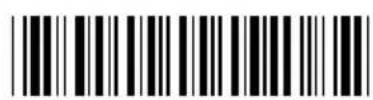
Enter Group 2
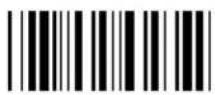
Group Default
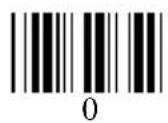
Function Code:
0 -- Off
1 -- ON
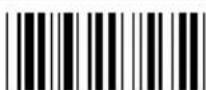
B 1
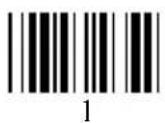
Caps-Lock:
0 - Auto Trace(PC/XT,AT)
1 - Lower Case
2 - Upper Case
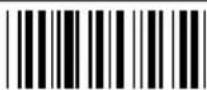
B 2
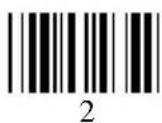
Language (For PC/XT/AT):
| 0-U.S. | 5-Norwegian | :-Danish |
| 1-U.K. | 6-Italian | |
| 2-Swiss | 7-German | |
| 3-Swedish | 8-French | |
| 4-Spanish | 9-Alt Key Mode |
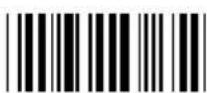
B 3
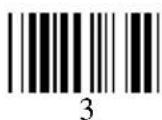
Reserve:
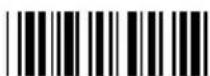
B 4
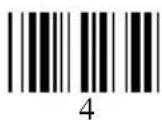
Reserve:
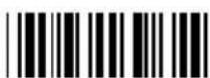
B 5
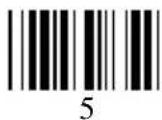
Reserve:

B 6
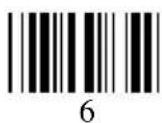
Pre-define Label:

B7
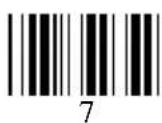
Use number keypad digits:

B 8
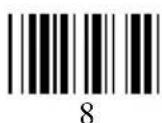
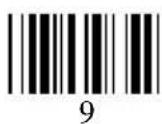
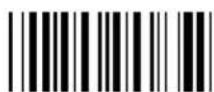
Exit
B.3 Scanner Port:
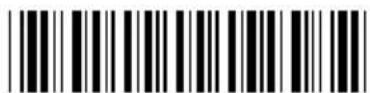
Enter Group 3
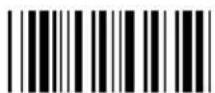
Group Default
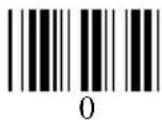
Terminator:
| 0—Enter | 1—Return (on digits keypad) |
| 2 —Field Exit or Right Ctrl | 3—None |
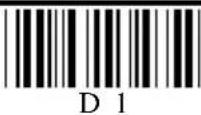
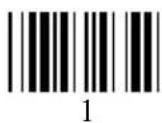
Code ID: 0 – disable 1 – Enable
| Note: This setting doesn't affect EAN128 Code ID. EAN128 has its own Code ID setting on page D.7. |
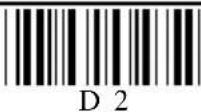
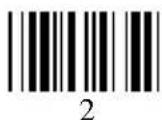
Define Code ID:
| 00-Code 39 Full ASCII | 11-MSI Code |
| 01-Code 39 Standard | 12- EAN128 |
| 02-EAN-13 | 13-Code32 (Italian harmacy) |
| 03-UPC-A | |
| 04-EAN-8 | 14-Delta Code |
| 05-UPC-E | 15-Label Code |
| 06-Interleaved 2 of 5 | 16-Plessey Code |
| 07-Codabar | 17- Code 11(Special) |
| 08-Code 128 | 18-China Postal code (Toshiba Code) |
| 09-Code 93 | |
| 10-Standard 2 of 5 |
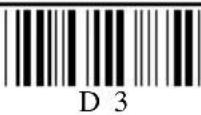
Double Verification:
| 0 - Off |
| 1~7 - On(Verify 1~7 times) |
Scanning Mode:
| 0-Trigger | 1-Flashing | 2-Multiscan |
| 3-One Press One Scan | 4-Test Mode | |
| 5-Old Laser flash Mode | 6-Continuous |
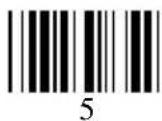
Label Type:
| 0 - Positive |
| 1 - Positive and Negative |
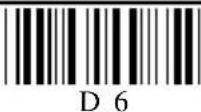
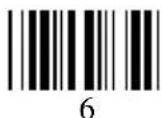
Aim function for long range laser engine:
| 0—Disable |
| 1—Enable |
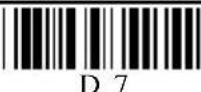
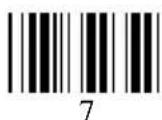
Data Length (Two Digits) Send:
| 0—Disable |
| 1—Enable |
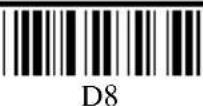
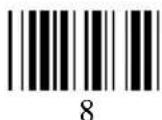
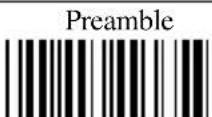
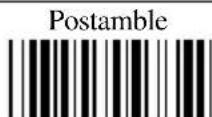
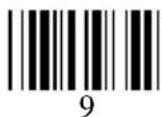
Scan 'PP\OO' for Pre\Postamble. Scan characters from Full ASCII char or Function
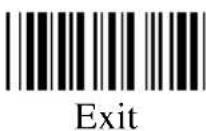
B.4 Magnetic Reader
Enter Group 4

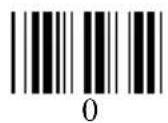
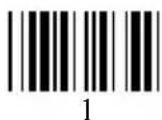
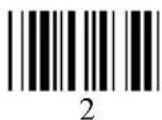
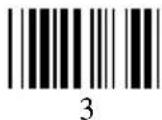
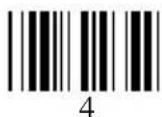
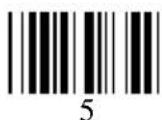
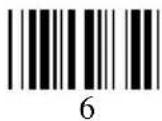
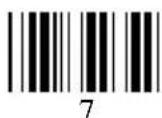
| Terminator0—Enter 1—Return (on digits keypad)2 —Field Exit or Right Ctrl 3—None |  |
| Start/Stop Sentinel0—No Send1—Send |  |
| Track Selection0—All Tracks 1—Track1 & track22—Track1 & track3 3—Track2 & track34—Track 1 5—Track 26—Track 3 | 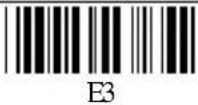 |
| Track 2 Account Number Only0—No1—Yes | 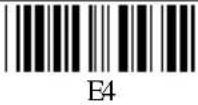 |
| Separator CharacterScan a character from Full ASCII table.Default: None | 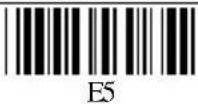 |
| Output Data even other selected tracks may have some errors.0—No1—Yes | 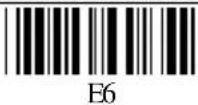 |
| Track I Output Sequence:Scan characters from full ASCII Table.Maximum is 16 character. Scan right to end. Default: None. |  |
| Track II Output Sequence:Scan characters from full ASCII Table.Maximum is 8 character. Scan right to end. Default: None. | 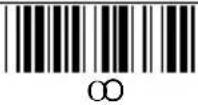 |
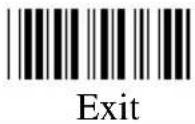 |
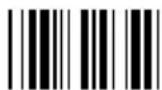
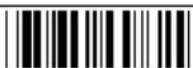
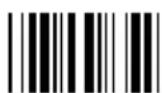
B.5 Code 39 / I 2 of 5 / S 2 of 5 / Code 32 / EAN128
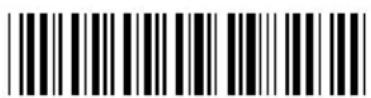
Enter Group 5
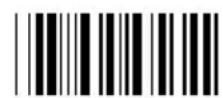
Group Default
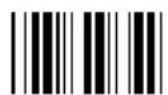
0
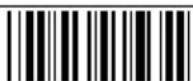
F1
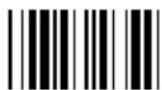
1
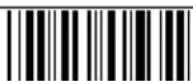
F2
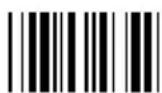
2
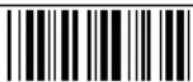
F3
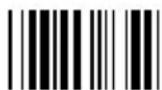
3
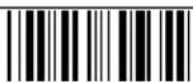
F4
4

F5

5
F 6
6

F 7

7

F8

8

Exit

9
5--CD Calculate, not send. 6 --CD not Calculate.
7/8 -- Send/No Send Start/Stop
9/: -- Double labels decoding Off/On
0 - 48 -- Min length 0 / Max length 48
I 2 of 5 (ITF): 0/1--Disable/Enable
2/3--Fix Length On/Off ( by first three reads)
4--Check Digit (CD) Calculate & Send
5--CD Calculate, not send. 6--CD not Calculate
7--First Digit Suppressed. 8--Last Digit Suppressed
9 -- Not Suppressed
2 - 64 -- Min length 10 / Max length 64
S 2 of 5 / China Postal Code(Toshiba Code):
0/1--Disable/Enable
2/3 -- Fix Length On/Off ( by first three reads)
4--Check Digit (CD) Calculate & Send
5--CD Calculate, not send. 6--CD not Calculate
1 - 48 -- Min length 4 / Max length 48
Code 32(Italian pharmacy):
Note: If EAN128 be disabled, the EAN128 labels will be decoded as Code 128
Define the EAN128 Fields separator:
Scan a ASCII code in full ASCII code chart to select a new Fields Separator
Define a separator for double labels:
Scan a ASCII code in full ASCII code chart to select a new definition of Func1
Min Length
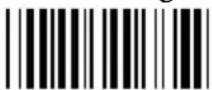
MM
Max Length
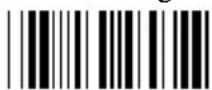
NN
B.6 Code 128 / MSI Code / Code 93 / Codabar/ Label Code:
| Enter Group 6 | Group Default | |
| Code 128:0/1 -- Disable/Enable1-64 -- Min Length 1 / Max Length 64 | 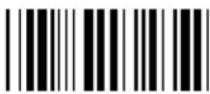 G1 G1 | |
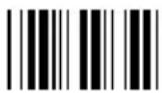 0 0 | MSI /Pleasey Code:0/1 -- Disable/Enable2/3 -- Check Digit Send / No Send4 -- Check Digit Double Module 105 -- Check Digit Module 11 plus 106 -- Check Digit Single Module 101-16 -- Min Length 1 / Max Length 16 | 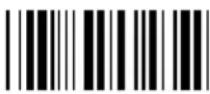 G2 G2 |
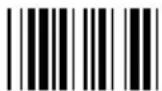 1 1 | ||
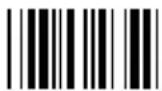 2 2 | Code 93:0/1 -- Disable/Enable1-48 -- Min Length 1 / Max Length 48 | 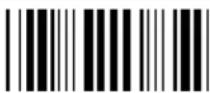 G3 G3 |
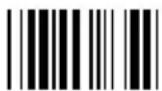 3 3 | Code 11: (Special)0/1 -- Disable/Enable2/3 -- One / Two Check Digit4/5 -- Check Send / No Send1-48 -- Min Length 1 / Max Length 48 | 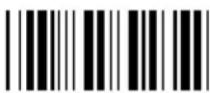 G4 G4 |
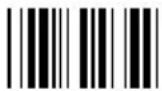 4 4 | ||
| Codabar:0/1 -- Disable/Enable2/3 -- Start & Stop Send / No Send4 -- Check Digit Calculate & Send5 -- Check Digit Calculate but not Send6 -- Check Digit not Calculate7/8 -- CLSI Format On / Off3-48 -- Min Length 3 / Max Length 48 | 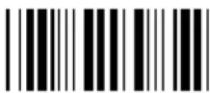 G5 G5 | |
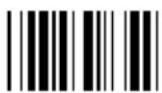 5 5 | ||
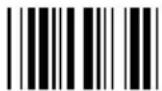 6 6 | ||
| Label Code IV and V:0/1 -- Disable/Enable2/3 - Checksum send/ No send | 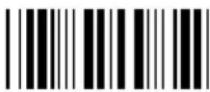 G6 G6 | |
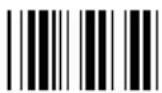 7 7 | ||
| Min LengthMM |  NN NN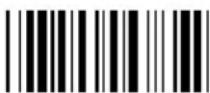 Exit Exit | |
B.7 UPC / EAN / Delta Code
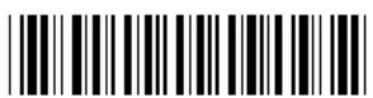
Enter Group 7
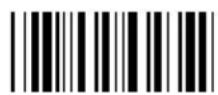
Group Default
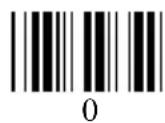
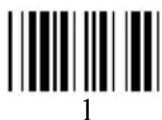
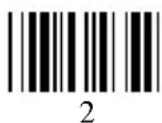
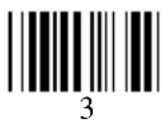
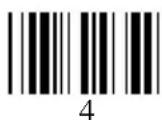
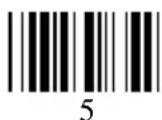
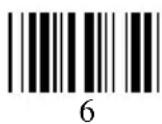
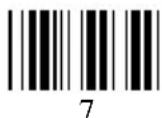
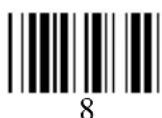
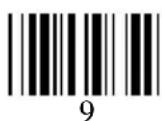
UPC-A:
Delta Distance Code:
0/1 -- Disable/Enable
2/3 -- Check Digit Claculated / Not Calculated
4/5 -- Check Digit Send / No Send

Reserved:

B.8 Data Editing:
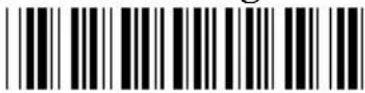
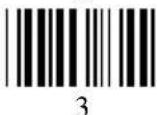
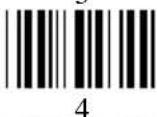
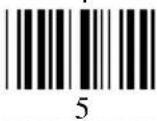
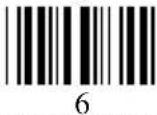
Enter Group 8
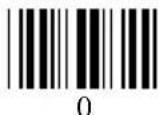
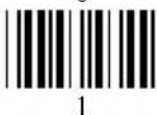
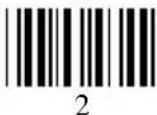
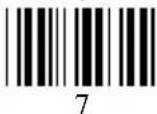
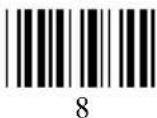
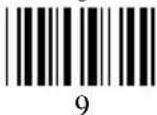
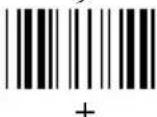
Code Type:
0 -- Code 39 Full 12 -- EAN 128
1 -- Code 39 Std. 13 -- Code 32
2 -- EAN-13 14 -- Delta Code
3--UPC-A 15-Label Code
4 -- EAN-8 16 - Plessey Code
5 -- UPC-E 17 -- Code 11(Special)
6 -- I 2 of 5 18 - China Postal Code
7 -- Codabar 19 - All Inputs
8 -- Code 128
9 -- Code 93
10 -- S 2 of 5
11 -- MSI Code
Formula Format:
Input ID: IN_ID, ID1, ..., IDi,
Length: LEN, MIN, MAX,
Match: MATCH, P1, S1, ..., Pi, Si,
A-String: “abc...”,
O-String: O-STR, P, N,
IDi -- number for Code ID.
Pi -- position.
Si -- string, "abc...".
P -- number or string for start position.
N -- number of char. or string to end position.
Special Characters on this sheet:
, -- delimiter to separate parameters.
“-- string specifier.
* -- specify any digit or any position.
# -- specify any letter or last position.
Review
Group Default
IN ID
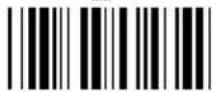
LEN
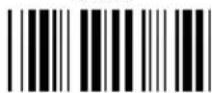
MATCH
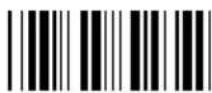
O-STR
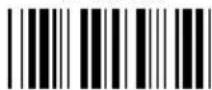
“
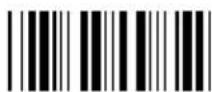
*
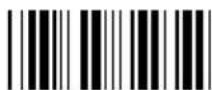
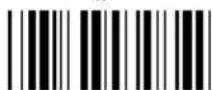
Enter

Backspace
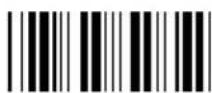
,

Exit
Appendix C. Full ASCII Chart
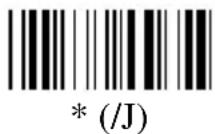
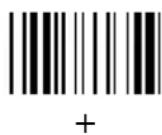
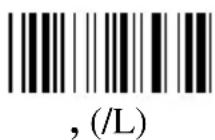
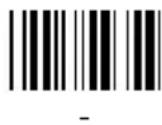
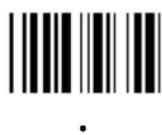
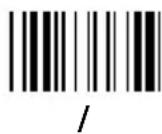
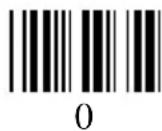
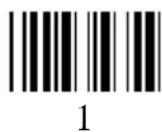
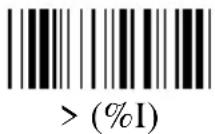
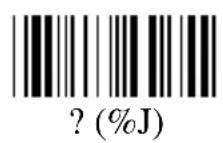
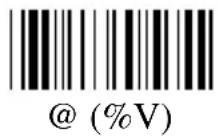
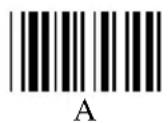
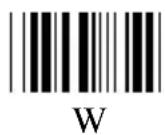
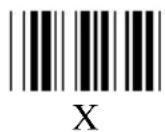
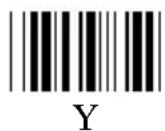
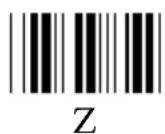
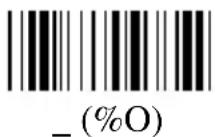
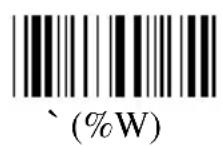
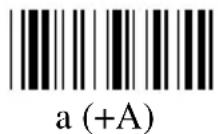
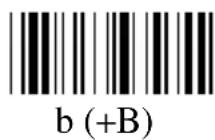
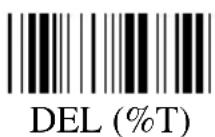
(Characters in parentheses represent Code 39 bar code printing)
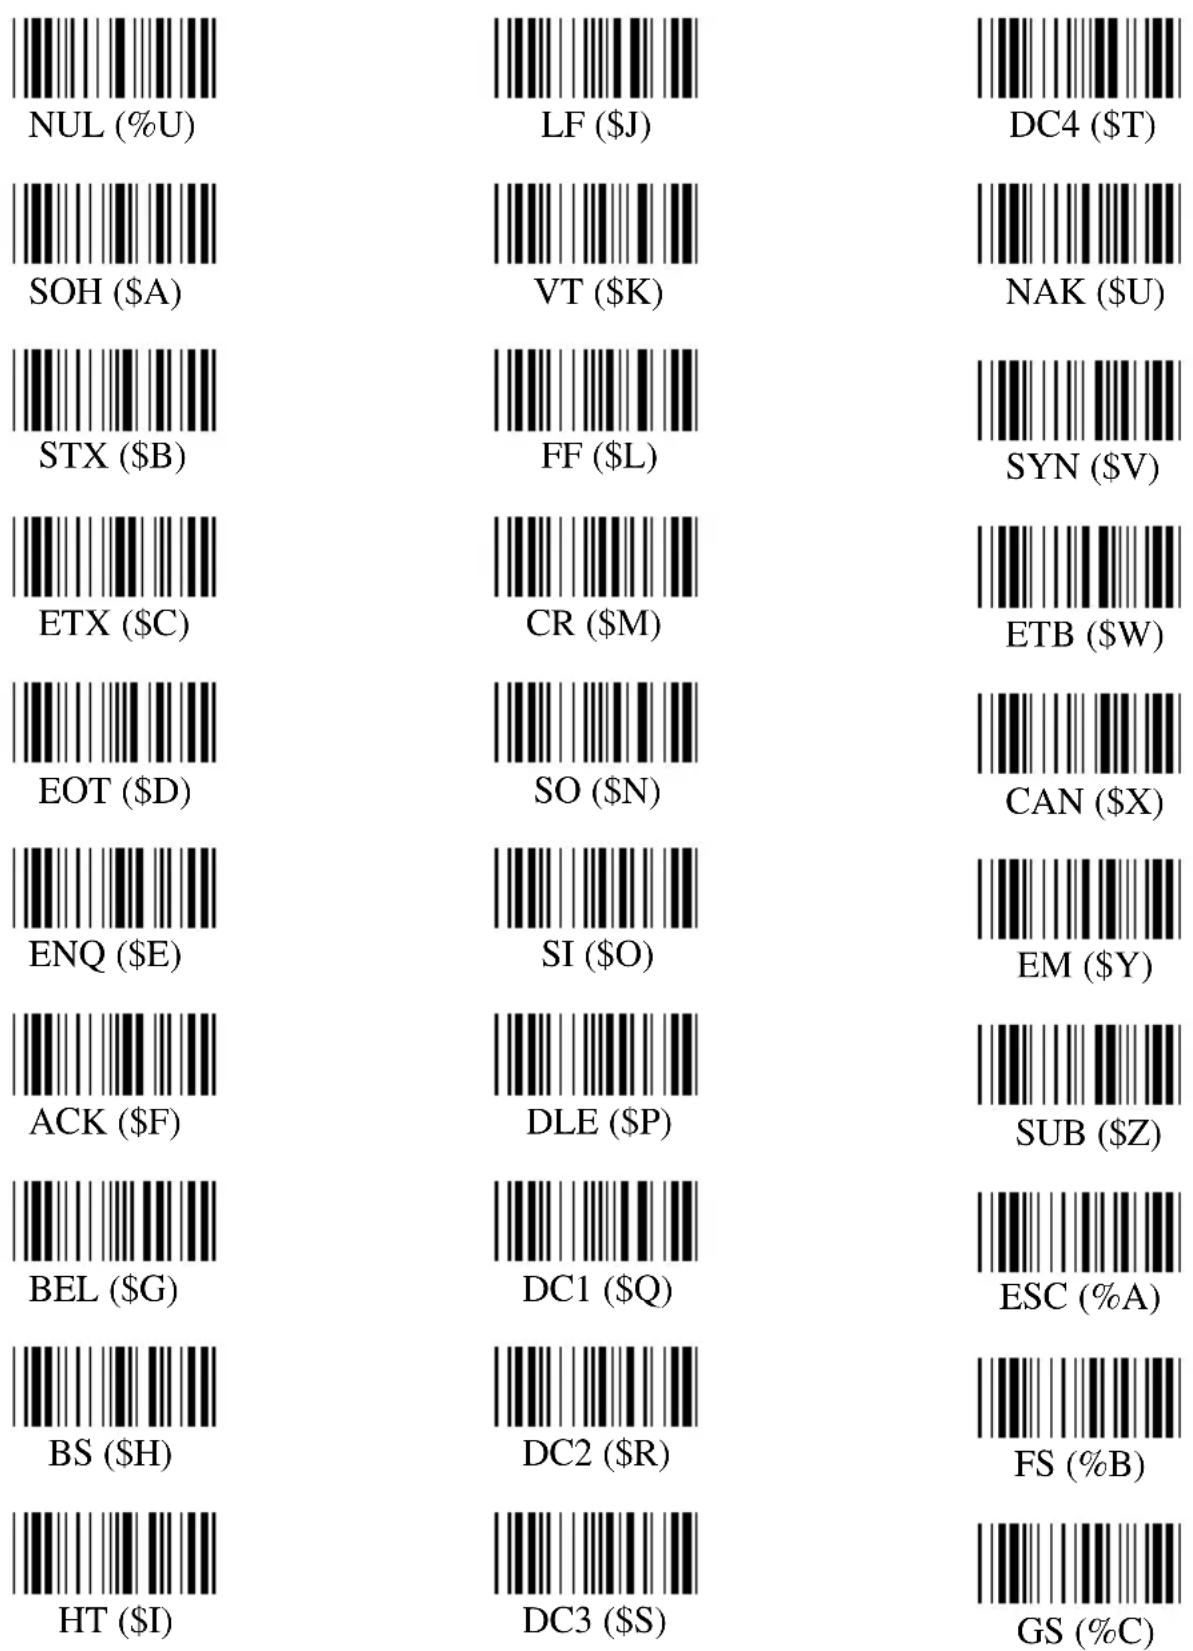
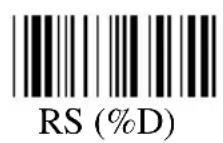
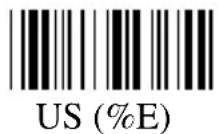
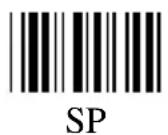

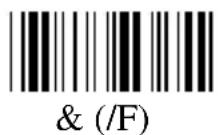
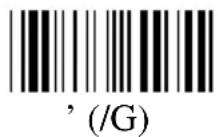
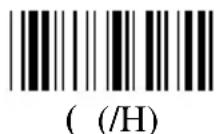
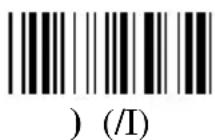
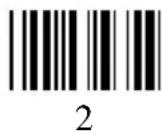
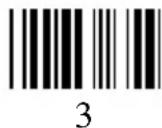
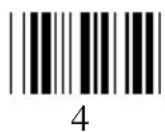
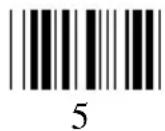
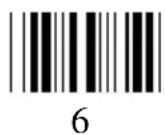
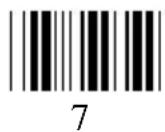
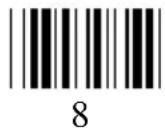
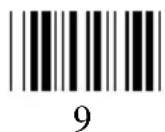
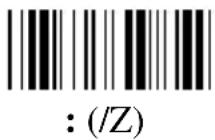
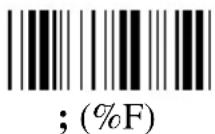
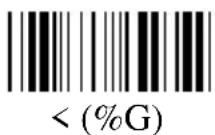
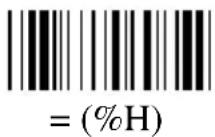
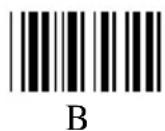
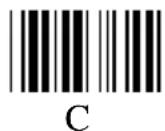
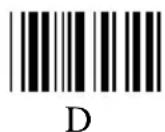
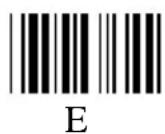
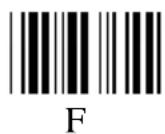
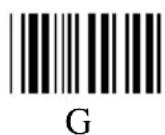
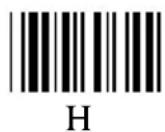
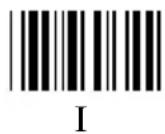
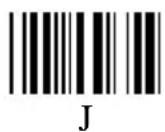
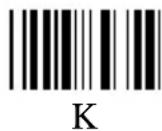
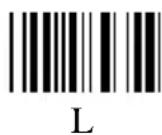
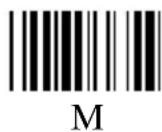
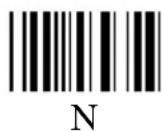
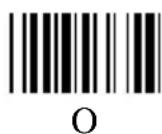
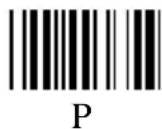
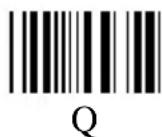
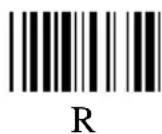
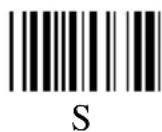
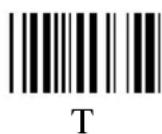

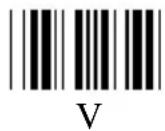
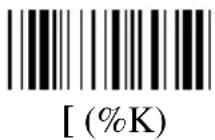
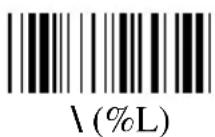
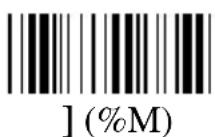
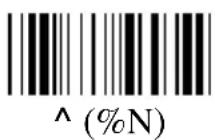
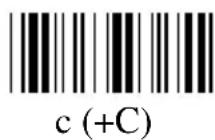
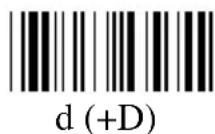
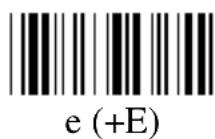
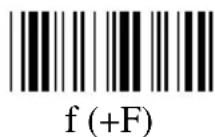
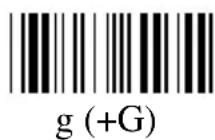
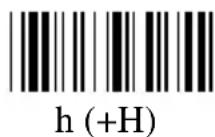
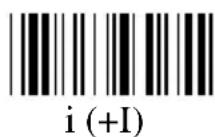
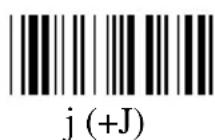
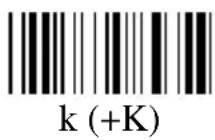
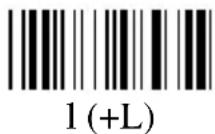
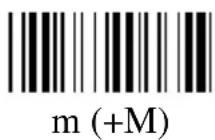
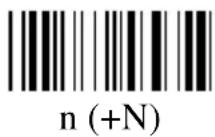
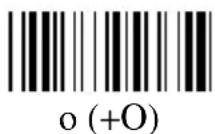
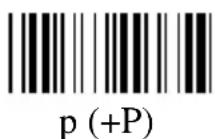
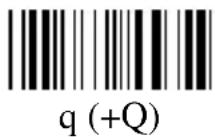
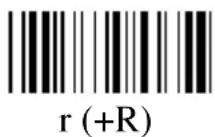
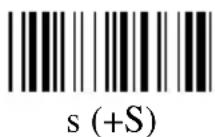
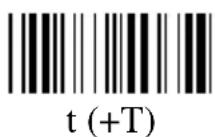
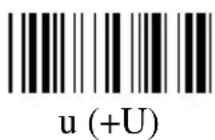
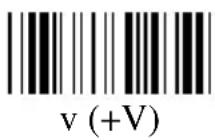
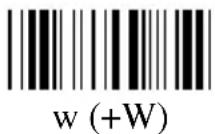
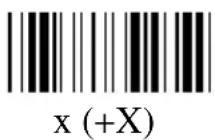
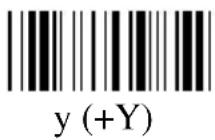
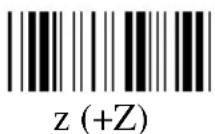
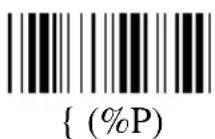
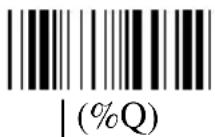
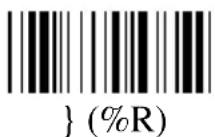
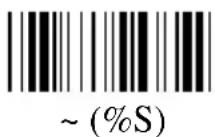
Appendix D. Bar Code Test Chart
EAN-13
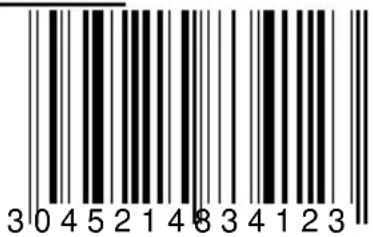
Code 39
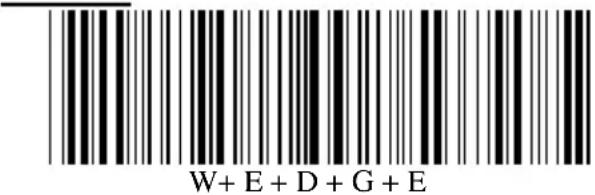
EAN-8
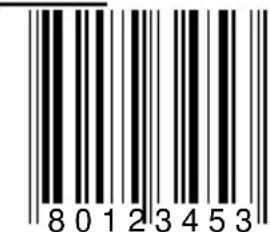
Code 39 with C/D
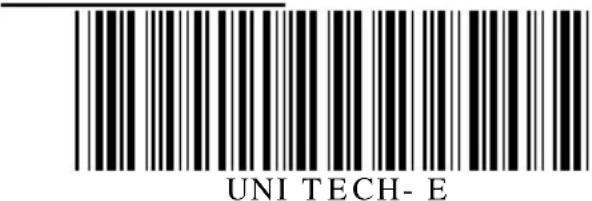
UPC-A
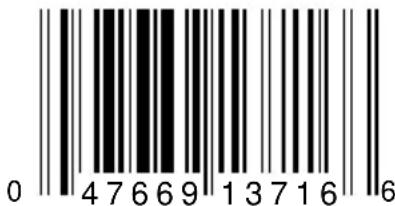
EAN 128
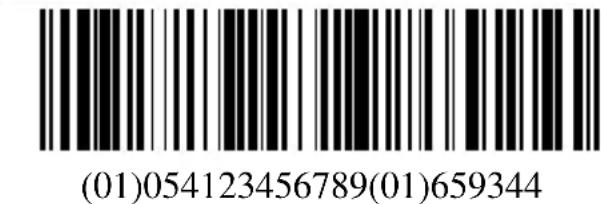
UPC-E
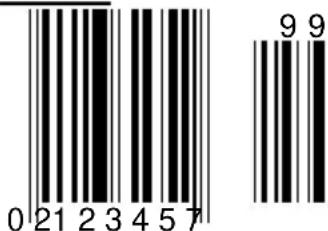
Code 128

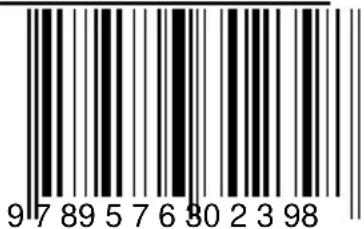
ISBN 957-630-239-0
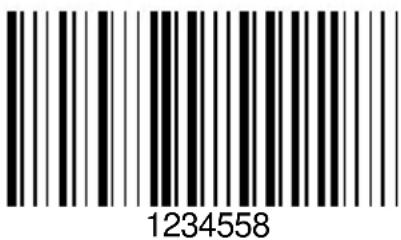
Codabar
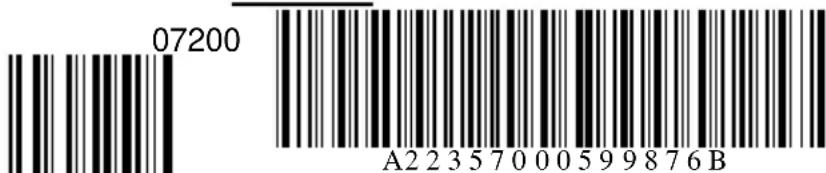
Interleaved 2 of 5
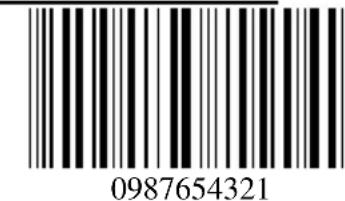
MSI Code
- Preface
- General Advice
- Information to the user
- Contents
- Overview Page 1
- Understanding the Operation Parameters 4
- Setup 9
- Using the Magnetic Stripe Card Reader 22
- Pin assignment of the scanner port 22
- Specification 23
- Overview
- Typical Applications
- Ports and Input Device
- Decoding Capability
- Bar Code:
- Magnetic Stripe:
- Scanning Mode:
- Setup
- Understanding the Operating Parameters
- Intercharacter Delay
- Function Code
- Caps-Lock
- Alt Key Mode
- Code ID
- Scanning Mode
- Track 1 Output Sequence
- Track 2 Output Sequence
- Fix Length of 2 of 5 Codes
- CLSI Format of Codabar
- Zero Expansion of UPC-E
- Bookland EAN (ISBN):
- 3.Setup
- Setup MSR Port from Keyboard
- Setup the Keyboard from Bar Code Menu
- General Settings
- Bar Code Length setting (example)
- Code ID Setting (example)
- Preamble, Postamble, and Output Sequence
- Data Editing
- Formula
- Original Data Structure
- Formula Structure:
- Execution Sequence
- Programming Sequence:
- Preparation
- Programming Sheet
- Parameter Entry
- Qualifier
- Input ID
- Length:
- Match
- BARCODE
- Modifier
- A-String
- O-String
- Examples
- Example 1
- Example 2
- Advanced Features
- Example:
- Batch Setup
- Scanner Configuration Manager Software
- Using the Magnetic Stripe Card Reader
- Pin Assignment of the Scanner Port
- Appendix B. Setup Menu
- B.1 Beeps and Delays
- Beep Tone:
- Interblock Delay:
- Intercharacter Delay:
- B.2 Keyboard Interface:
- B.3 Scanner Port:
- B.4 Magnetic Reader
- B.5 Code 39 / I 2 of 5 / S 2 of 5 / Code 32 / EAN128
- B.7 UPC / EAN / Delta Code
- UPC-A:
- Delta Distance Code:
- Reserved:
- B.8 Data Editing:
- Code Type:
- Formula Format:
- Special Characters on this sheet:
- Appendix C. Full ASCII Chart
- Appendix D. Bar Code Test Chart
Brand : Unitech
Model : K2724
Category : Keyboard