YES-000011 - Remote control HANNSPREE - Free user manual and instructions
Find the device manual for free YES-000011 HANNSPREE in PDF.

User questions about YES-000011 HANNSPREE
0 question about this device. Answer the ones you know or ask your own.
Ask a new question about this device
Download the instructions for your Remote control in PDF format for free! Find your manual YES-000011 - HANNSPREE and take your electronic device back in hand. On this page are published all the documents necessary for the use of your device. YES-000011 by HANNSPREE.
USER MANUAL YES-000011 HANNSPREE
2F, No.362, Rueil-Guang Rd., Neihu District,
Taipei City 114, Taiwan, R.O.C.
TEL: 886-2-87520000
FAX: 886-2-87527092
www.hannspree.com
瀚斯寶麗股份有限公司
台北市114为湖盐
紫光路362號2樓
电话:886-2-87520000
传真:886-2-87527092
www.hannsprice.com
YES-000011
Made in Taiwan
NTSCRCTWEN1203
MAH-000019
HANNSFEE
Remote Control
遙控器
User's Manual
使用手册
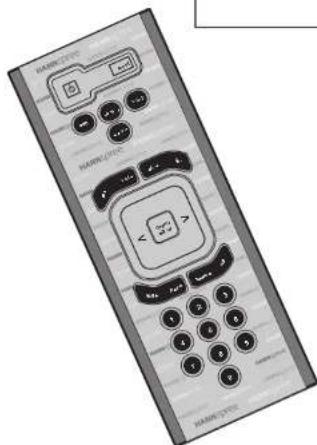
Table of Contents
- Warranty and Service 2
- Preface 3
- Introducing the Remote Control...... 4
- Checking Package Contents .... 5
- Getting to Know Your Remote Control .... 6 Inserting the Remote Control Batteries .... 10
- Troubleshooting 11
Thank you for purchasing our product. With this product, you will be able to enjoy superior lifestyle with advanced technology.
Please refer to the Hannspree warranty policy for detailed warranty and service information. You may also obtain the information from our customer service center. Our service representatives will be happy to serve to your satisfaction.
The Hannspree E-mail Address:
service@hannspree.com
2
Preface
This manual is designed to assist users in using the Remote Control. Information in this document has been carefully checked for accuracy; however, no guarantee is given to the correctness of the contents. The information in this document is subject to change without notice.
Copyright
© Copyright 2003 Hannspree, Inc.
All rights reserved. This product and related documentation are protected by copyright and are distributed under licenses restricting their use, copying, and distribution. No part of this documentation may be reproduced in any form by any means without prior written authorization of Hannspree, Inc., and its licensors, if any.
3
Introducing the Remote Control
Thank you for purchasing this remote control. Your remote control is designed to be safe, versatile, and easy to use. The creative design makes it a fun addition to your TV.
The control buttons located on the handy remote control let you change channels, adjust the volume, and change the display settings through an easy-to-use on-screen menu system.
4
Checking Package Contents
Make sure the following components are included in the box. Contact your vendor immediately if anything is missing or damaged.
Remote Control
User's Manual
AAA Batteries x 2
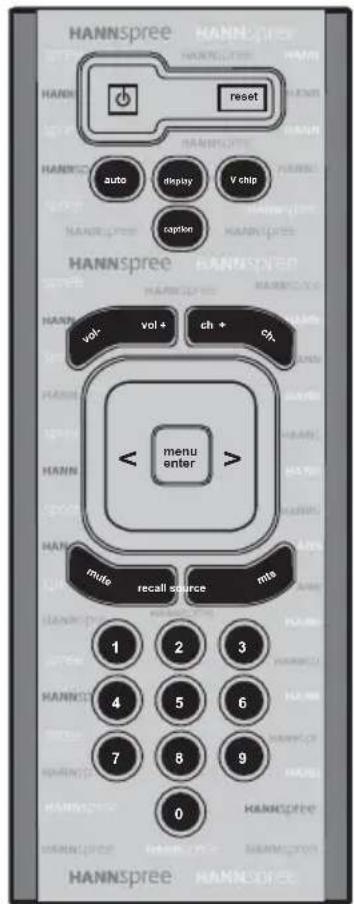
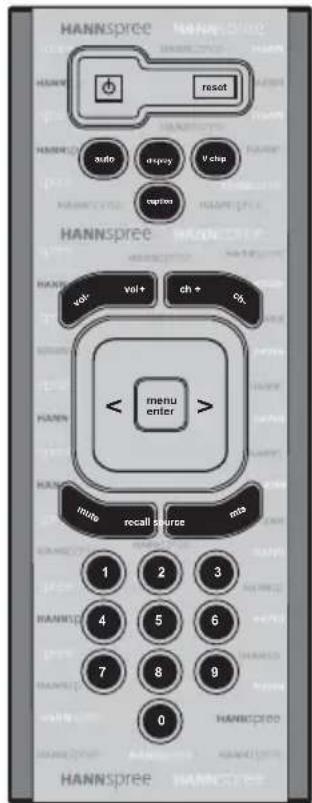
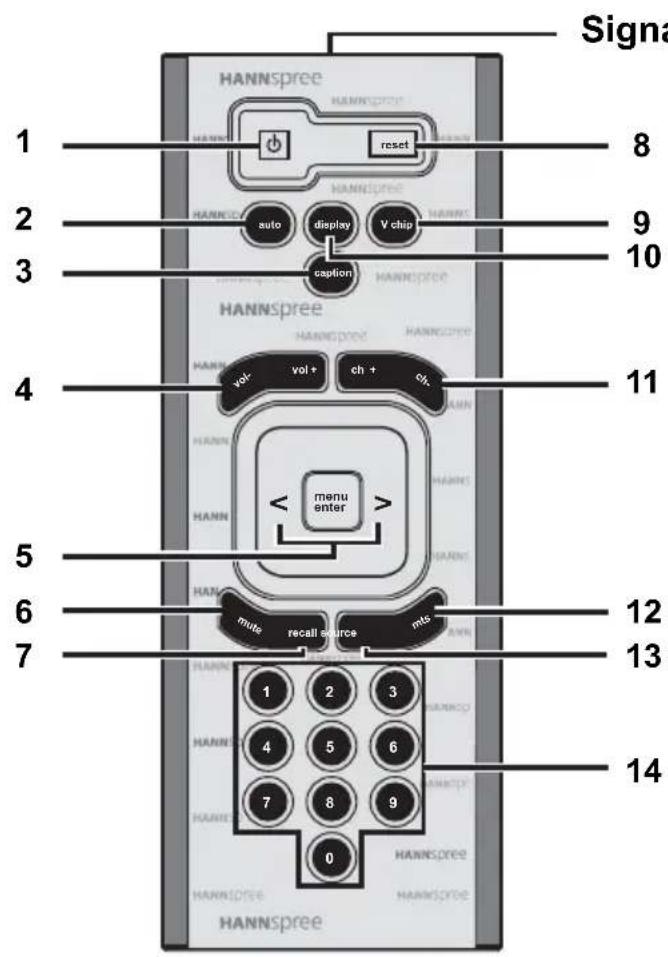
Getting to Know Your Remote Contrd
| Icon Description Function | ||||
| 1 |  | P | o | w |
| 2 |  | A | Automatically adjusts the screen parameters in PC _t mode. (Auto features are only available in 15-inch.) | |
| 3 |  | Caption button | Press this button to view pro-gram subtitles (American stan-dard) when available.(Closed Caption (CC) features are only available in 15-inch, North America only.) | |
| 4 |  | Volume adjust buttons | Press VOL + to increase the volume. Press VOL - to decrease the volume. | |
| 5 |  | Menu/Enter Arrow buttons | Press MENU/ENTER to acti-vate the OSD menu system to adjust various settings and per-sonal preferences. Press < and > to scroll through the on-screen display menu. | |
| 6 |  | M | Press this button to eliminate sound. Press the MUTE button again or press the VOLUME buttons directly to restore sound. | |
| 7 |  | R | Press this button to return to the last channel selected. | |
| 8 |  | R | Press this button to return all settings to their factory-set default values. | |
| 9 |  | V chip button | Press this button to block TV programs that you consider objectionable for children. (The V-chip features are only available in 15-inch, North America only.) | |
| 10 Displa |  | Press this button to show messages on the screen, such as the mode and others. Press the button again to hide the displayed message. | ||
| 11 | 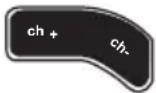 | Channel select button | Press CH + to increase the channel number. Press CH – to decrease the channel number. | |
| 12 MTS | 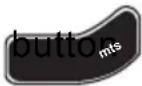 | When you press the MTS button, a setting screen will appear. The highlighted mark indicates the status that is supported by the current channel sound system, such as primary channel, secondary channel , and bi-channel. | ||
| 13 Sour |  | Press this button to cycle the video input sources. | ||
| 14 |  | Number buttons | Press these buttons to select a channel directly. Press 0-9 to enter the channel number. Press the 1 and 0 buttons for channel 10. | |
Notes
• The operational distance exposed to strong light.
- Protect the remote cont
- Do not place the remote
- Aim the transmitter on
ensure there are no obstacles between the transmitter and sensor.
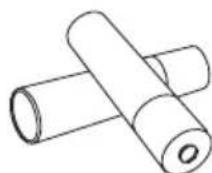
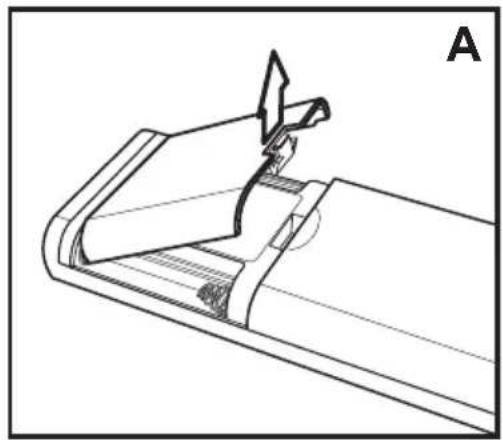
Inserting the Remote Control Batteries
1 Open the battery compartment cover at the back of remote control (A).
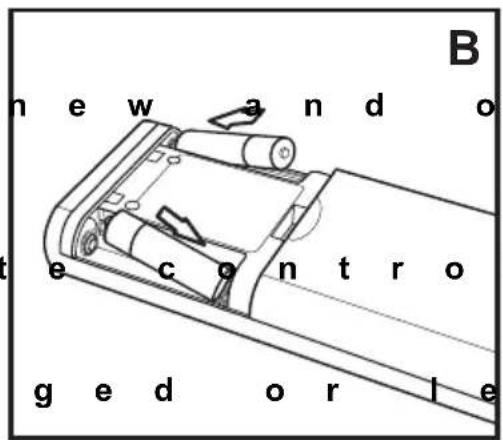
2 Insert the batteries paying attention to the polarity markings inside the battery compartment (B).
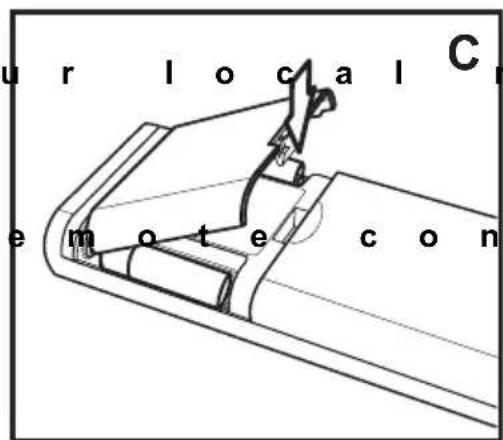
3 Replace the battery compartment cover (C).
natural_image
Technical line drawing of a mechanical component with an arrow indicating direction (no text or symbols)
Caution
- Do not mix the life of the new batteries will be shortened. Chemical fluids may leak from old batteries.
- If the remot long period, remove the batteries and store them properly.
- H a n d l e d a m a carefully. Wash hands with soap if they come in contact with leaked chemical fluids.
• Refer to y o disposal rules and contact a local waste disposal vendor to dispose of used batteries.
- Check the r a regular basis. Clean any stains on the rear battery cove immediately and use new batteries if fluid is leaking from old batteries.
Situation Solution
Remote control doesn't work.
- Make sure the
- Re place the b a
- Make sure the
- Make sure the
trol and the sensor is clear. - Try operating distance to the TV. Don't exceed an angle of 30^ from the sensor.
MEMO
目錄
© Copyright 2003 Hannspree, Inc.
natural_image
Technical line drawing of a mechanical component with a bracket and mounting bracket (no text or symbols)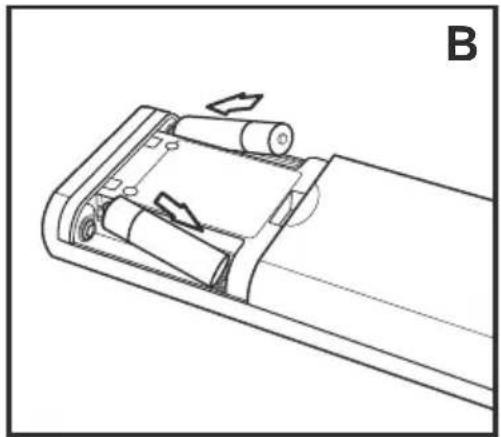
natural_image
Technical line drawing of a mechanical component with arrows indicating motion direction (no text or symbols)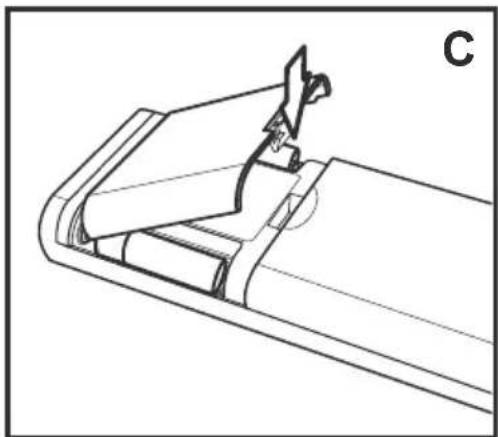
natural_image
Technical line drawing of a mechanical component with no visible text or symbols問題 解決方法
無法使用遙控器。
- 確認已正確裝入電池。
- 更換新電池。
- 確認已插好電視的電源線。