SPC110NC - Webcam PHILIPS - Free user manual and instructions
Find the device manual for free SPC110NC PHILIPS in PDF.

| Product Type | Webcam |
| Brand | Philips |
| Model | SPC110NC |
| Dimensions (approx.) | 100 x 50 x 40 mm |
| Weight (approx.) | 100 g |
| Power Supply | USB (bus-powered) |
| Connection Interface | USB 2.0 |
| Sensor Resolution | 0.3 MP (VGA) |
| Maximum Video Resolution | 640 x 480 pixels |
| Frame Rate | Up to 30 fps |
| Built-in Microphone | Yes |
| Focus Type | Fixed focus |
| Field of View | ~60 degrees |
| Compatible Operating Systems | Windows, macOS |
| Mounting | Clip-on monitor or stand |
| Cable Length | 1.5 m |
| Main Functions | Video calling, streaming, image capture |
| Cleaning and Maintenance | Wipe with a soft, dry cloth |
| Safety Precautions | Do not expose to moisture or extreme temperatures |
| Spare Parts and Repairability | Not user-serviceable; dispose of properly |
Frequently Asked Questions - SPC110NC PHILIPS
User questions about SPC110NC PHILIPS
0 question about this device. Answer the ones you know or ask your own.
Ask a new question about this device
Download the instructions for your Webcam in PDF format for free! Find your manual SPC110NC - PHILIPS and take your electronic device back in hand. On this page are published all the documents necessary for the use of your device. SPC110NC by PHILIPS.
USER MANUAL SPC110NC PHILIPS
The package comes with the following items:
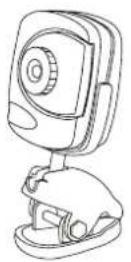
PC Camera
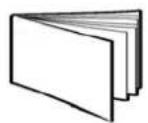
User's Manual
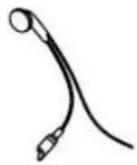
Microphone
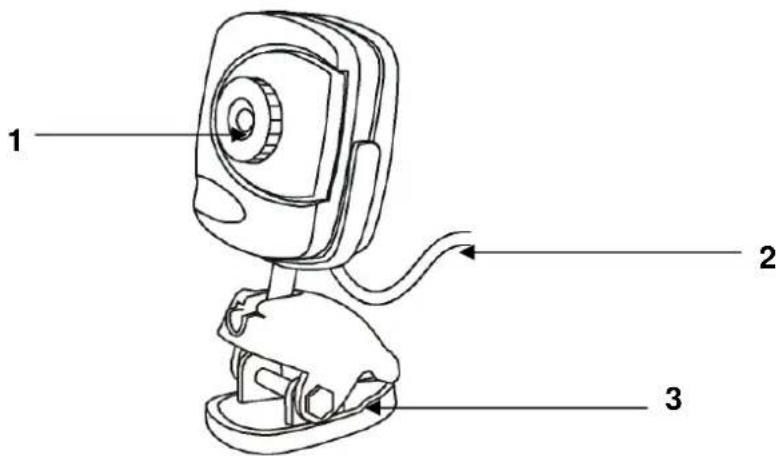
LOCATION OF CONTROLS
text_image
1 2 3- Focus Ring – Manual Focus
- USB Cable
- Swivel Mounting Clamp
INSTALLATION PROCEDURE
The SPC110NC is designed to use as the Plug & Play device, it works on Windows XP (Service Pack 2) and Vista without any driver installation.
CONNECTING YOUR WEB CAMERA
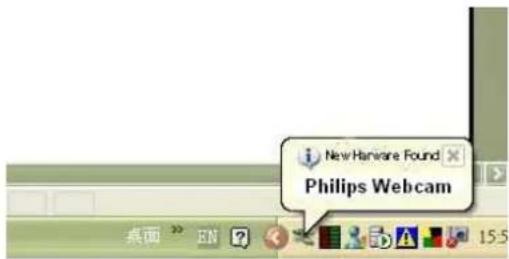
Connect the Webcam to your computer. The "New Hardware Found" message will appear at the bottom right corner. The product name "Philips Webcam" will appear:
text_image
New Hanware Found Philips WebcamAfter the installation is finished, it will show "The device is ready to use".
The SPC110NC package comes with an external microphone. This is provided for use during video calling.
There are two plugs on the line microphone, connect it to the sound card of your PC. The pink one is for the Microphone – for the audio in socket The green one is for the headphone – for the audio out socket.
To test your microphone, you can use Windows "Sound Recorder" to do the test. You can record an audio clip and playback immediately to see if the microphone functions.
VIDEO CALLING
The WebCam is now ready to use for instant messaging and video calling. The WebCam works with Skype, Windows® Live Messenger, Yahoo! Messenger, AOL Instant Messenger and other instant messaging and VoIP (Voice over Internet Protocol) services.
Note: To use the Webcam with Skype, you need to install a special driver. Please go to www.philips.com/support for more information.
Remark: Windows Live Messenger, YAHOO! Messenger and Skype are trademarks belonging to their respective owners.
Note: Please check your PC to determine possible availability of a microphone jack. If the jack is not available, then a USB microphone is also an option. If USB ports are all in use, then a hub will allow expansion of available USB ports.
PICTURE QUALITY SETTING
You can always adjust the picture quality setting of your webcam during the video chatting. Select "Webcam Setting" by right clicking your mouse at the live video picture. Below settings are available:
- Brightness
- Contrast
- White Balance
- Saturation
- Gamma
- Backlight compensation
- Hue
HELPFUL HINTS AND CAMERA MAINTENANCE
Troubleshooting:
-
The camera does not work:
*Make sure you have connected the camera correctly into an available USB port or hub. -
"No capture device found" message appears:
*Make sure the camera is connected properly to the computer.
*Select [My Computer] → right click your mouse→ select [Properties] → [Device] → [Device Manager] → [Image Device]. Check to see if the PC camera device name "Phillips Webcam" (on Vista) or "USB Composite Device" (on XP) is listed. If not, try reconnecting the camera to the computer.
If there is a [?] appears on the name [Phillips Webcam], it means the USB device is not installed properly. Select the [Phillips Webcam] device and right click your mouse and select [Uninstall]. Then reconnect the webcam.
- "Camera not connected" message appears:
*Try removing the driver and follow the steps as described in 2 above.
The following hints will help you achieve the best results with your camera:
Camera Placement:
- Position the camera so that the subject is at the centre.
- Place the camera on a steady surface lighting.
- Use sufficient lighting.
- Place the light source behind the camera and facing the subject.
- Do not aim the camera directly at the light source.
- Focus the lens for a sharper image.
- Maintain a consistent lighting environment. Do not mix fluorescent and other light types.
Camera Maintenance:
Maintaining your camera will ensure longer life and will minimize the chances of causing damage to your camera and computer.
- Keep the camera away from moisture and extreme temperature.
- Clean the outside of the camera with a clean, dry cloth.
- Never use harsh or abrasive cleaners or organic solvents on camera or on any of its parts.
- Never disassemble or touch the inside of the camera.
To Clean Your Camera Lens:
- Blow gently on the lens to remove any dust and/or dirt.
- Moisten the lens by breathing lightly on it.
- Wipe the lens gently with a soft lint-free cloth.
- Do not use a cleaning solution unless it is designed specifically for camera lenses.
- Do not wipe camera lens with chemically treated eyeglass lens tissues. This may scratch the lens.
• Service and repair may only be done by a qualified technician.
SPECIFICATIONS
• Image sensor: 300,000 Pixels
- CMOS sensor 1/7"
- Lens: f/2.6
- USB interface 1.1, USB 2.0 Full speed
- Resolution: 640 x 480, 352 x 288, 320 x 240, 176 x 144, 160 x 120
• Frame rate: maximum 30 fps (MJPEG)
- Unit size: 1.85" x 1.95" x 4"(W x D x H)
- Weight about 80g
SYSTEM REQUIREMENTS
• Available Universal Serial bus (USB port of hub)
- Desktop or notebook PC with a Pentium III (500MHz) or equivalent or above
- Windows XP (Service Pack 2), Vista Basic, Vista Premium
• 200MB available hard disk space
• 128MB RAM recommended
- Sound card
Specifications are subject to change without notice.
Register your product and get support at www.philips.com/support
Limited One-Year Warranty
Philips warrants that this product shall be free from defects in material, workmanship and assembly, under normal use, in accordance with the specifications and warnings, for one year from the date of your purchase of this product. This warranty extends only to the original purchaser of the product, and is not transferable. To exercise your rights under this warranty, you must provide proof of purchase in the form of an original sales receipt that shows the product name and the date of purchase. For customer support or to obtain warranty service, please call 919-573-7863. THERE ARE NO OTHER EXPRESS OR IMPLIED WARRANTIES. Philips' liability is limited to repair or, at its sole option, replacement of the product. Incidental, special and consequential damages are disclaimed where permitted by law. This warranty gives you specific legal rights. You may also have other rights that vary from state to state.
FCC compliance
This device complies with Part 15 of the FCC Rules. Operation is subject to the following two conditions:
- This device may not cause harmful interference, and
- This device must accept any interference received, including interference that may cause undesired operation.
Note!
This equipment has been tested and found to comply with the limits for a Class B digital device, pursuant to Part 15 of the FCC Rules. These limits are designed to provide reasonable protection against harmful interference in a residential installation. This equipment generates, uses and can radiate radio frequency energy and, if not installed and used in accordance with the instructions, may cause harmful interference to radio communications. However, there is no guarantee that interference will not occur in a particular installation. If this equipment does cause harmful interference to radio or television reception, which can be determined by turning the equipment off and on, the user is encouraged to try to correct the interference by one or more of the following measures:
- Reorient or relocate the receiving antenna.
- Increase the separation between the equipment and receiver.
- Connect the equipment to an outlet on a circuit different from that to which the receiver is connected.
- Consult the dealer or an experienced radio/TV technician for help.
Any unauthorized modification to this equipment could result in the revocation of the authorization to operate the equipment.