Twin - Stroller Bertoni - Free user manual and instructions
Find the device manual for free Twin Bertoni in PDF.

User questions about Twin Bertoni
0 question about this device. Answer the ones you know or ask your own.
Ask a new question about this device
Download the instructions for your Stroller in PDF format for free! Find your manual Twin - Bertoni and take your electronic device back in hand. On this page are published all the documents necessary for the use of your device. Twin by Bertoni.
USER MANUAL Twin Bertoni
natural_image
Black-and-white photo of a two-story stroller with three wheels and a canopy cover (no visible text or symbols)MANUAL INSTRUCTION
natural_image
Diagram of a hand holding a wooden object with curved arrows indicating rotation (no text or symbols)natural_image
Pure technical line drawings of mechanical components without any text or symbols
natural_image
Technical illustration showing mechanical assembly and tool path (no text or symbols)natural_image
Pure mechanical diagram showing intersecting lines and components without any text or symbolsИзвивката сочи нагоре
natural_image
Mechanical assembly diagram showing two connected components with directional arrows indicating motion (no text or symbols)Заключване
natural_image
Line drawing of a mechanical linkage or lever mechanism (no text or symbols)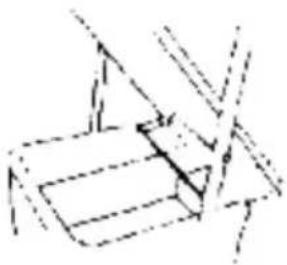
natural_image
Abstract geometric line drawing with intersecting lines and shapes (no text or symbols)9. СГЪВАНЕ НА КОЛИЧКАТА
natural_image
Illustration of two strollers with different internal compartments, one moving and the other rotating (no text or symbols)
natural_image
Line drawing of a vehicle chassis with wheels and frame (no text or symbols)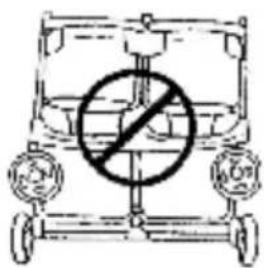

SAFETY REQUIREMENT
-
This vehicle is suitable for children from 6 months and weight of both children up to 30 kg!
-
Newborn child is not able to sit and hold his head up unassisted. Therefore, do not fix the backrest in sitting position! For newborn babies use the most reclined position!
-
Do not add a mattress thicker than 10 mm!
-
Use brakes if you do not hold the stroller with hand!
-
Do not leave the stroller on hills or inclined surfaces even if you have activated the brake systems!
-
Parking device shall be engaged when placing and removing the children!
-
The storage basket bears load up to 2 kg!
-
Any load attached to the handle and/or on the back of the backrest and/or on the sides of the vehicle will affect the stability of the vehicle! Do not hang bags!
-
Regularly check for loose parts! Make routine inspection, regularly maintain, clean and/or wash the vehicle!
-
The vehicle shall be used only for up to 2 children!
-
Accessories which are not approved by the manufacturer shall not be used!
-
Only replacement parts supplied or recommended by the manufacturer/distributor shall be used!
-
Start to use safety belts as soon as your child is capable to sit without assistance!
-
Always use the restraint system! Always use the crotch belt in combination with the waist belt! To prevent injury from a fall or a slip off always use the shoulder straps!
-
Make sure that the safety belts are placed properly!
-
The stroller should always be used under the supervision of an adult!
-
Do not allow children to suspend him/herself or play in the stroller!
-
Do not allow children to stand in the stroller!
-
Do not allow your child to stand on the seat and foot rest!
-
Do not use the stroller on uneven surfaces near fire or other dangerous places!
-
Do not use the stroller on stairs and escalators!
-
Fold the stroller before go upstairs and downstairs. Mounting the stroller on stairs, pavements and others with the child in it and by pushing the handle causes deformation of the stroller and is out warranty repair!
-
Adjusting of the back rest must be made only by a person read carefully the instruction rules for adjusting!
-
Oil wheels and metal parts regularly to make sure the stroller works well!
- Always dry and air the stroller if it has got wet!
- The person assembling the stroller must be acquainted with the functionality of the stroller!
- The height of carried child should not exceed 96 cm!
- This stroller is suitable for children up to 3 years old!
WARNING
WARNING! Never leave your child unattended!
WARNING! Ensure that all the locking devices are engaged before use!
WARNING! To avoid injury ensure that your child is kept away when unfolding and folding this product!
WARNING! Do not let your child play with this product!
WARNING! This seat unit is not suitable for children under 6 months!
WARNING! Always use the restraint system!
WARNING! Check that the seat unit attachment devices are correctly engaged before use!
WARNING! This product is not suitable for running or skating!
EN 1888:2012
MAINTENANCE AND CARE
- To clean the metal parts use damp cloth and then dry them.
- To clean the plastic parts use cloth, water and soft detergent.
- To clean the woven fabric use upholstery cleaner.
- Any additional load affects stroller's stability!
- When storing never place other items on or in the stroller. This will damage it!
- Oil caster bolts and wheels regularly.
- Check for damaged parts regularly and replace immediately!
PARTS
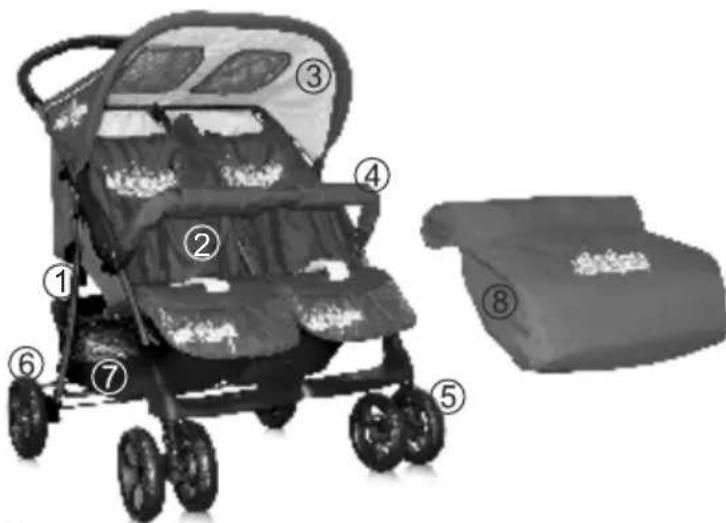
natural_image
Black-and-white photo of a baby stroller with numbered parts, alongside a compact storage bag (no visible text or symbols)- Metal frame of the stroller - 1 pc.
- Summer Basket - 1 pc.
- Canopy -1 pc.
- Fronbar - 1 pc.
- Front Wheels -2 pcs.
- Rear Wheels -2 pcs.
- Shopping Basket -1 pc.
- Footcover -1 pc.
1. UNFOLDING THE STROLLER
2. INSTALLATION OF THE FRONT WHEELS
A. Cut the plastic fixers.
B. Unfold the stroller to full open position.
natural_image
Diagram of a hand holding a wooden object with curved arrows indicating rotation (no text or symbols)A. Remove the plastic caps from front wheel posts before assembling the wheels.
B. Slide front wheel assembly onto metal posts as shown until it clicks into place.
C. Repeat the same steps for the other wheel.

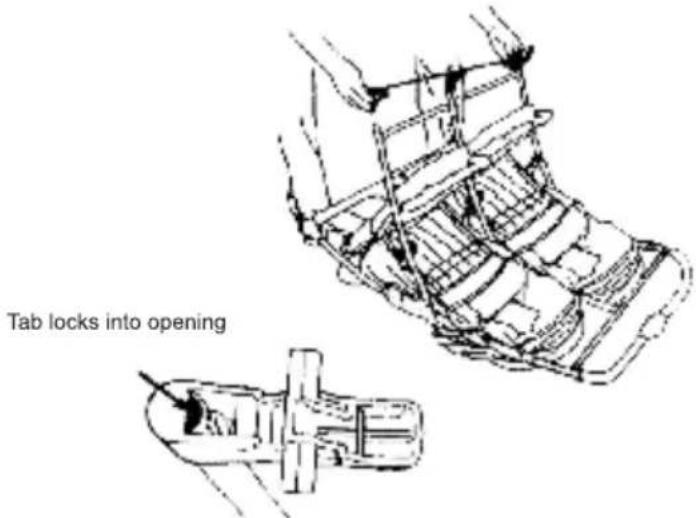
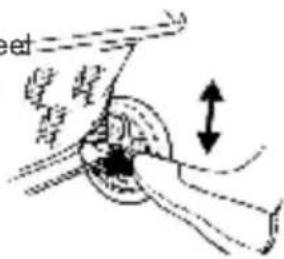
3. INSTALLATION OF THE REAR WHEELS
A. Remove and discard the protective plastic cap from ends of rear axle assembly.
B. Position the rear axle assembly as shown with brake levers pointing towards the stroller handle.
C. Push both brake assemblies and center axle brake onto rear leg tubes at the same time.
D. Make sure that plastic tabs on brake assemblies lock into openings on rear legs as shown.
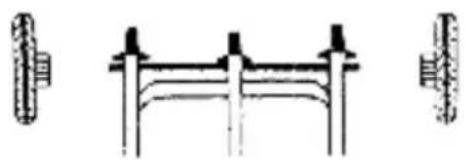
E. Slide wheel onto axle.

Retainer Washer
F. Snap the retainer washer onto the axle. Make sure that the larger end of retainer is towards wheel.
G. Snap the retainer cap over the retainer washer.
H. Line up tabs in each of the bub caps with slots in the wheel. Snap bub caps into place.
I. Repeat the same operation for the other wheel.
J. Assembling the footrest: Put the footrest on the right position and fix it on the frame. Then push the top of the footrest and fix it within plastic part.

Retainer Tab
natural_image
Pure technical line drawings of mechanical components without any text or symbols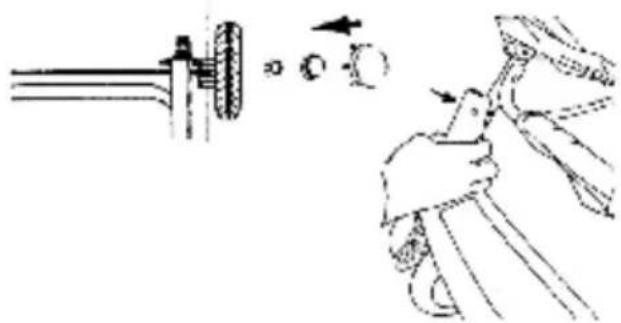
natural_image
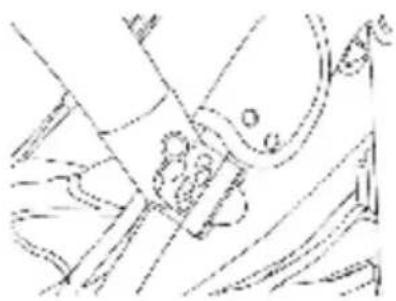
Technical illustration showing mechanical assembly and tool path (no text or symbols)4. ATTACHING/REMOVING THE NAPPER BAR
CAUTION! If stroller arrives with a clear plastic sleeve on the Napper Bar remove it before using the stroller so your child will not choke on the plastic!
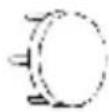
ATTACHING THE NAPPER BAR
A. Hold Napper Bar so that curved part of plastic ends faces up.
B. Place Napper Bar on stroller directly under the stroller locking mechanism.
C. Snap tabs on each side of Napper Bar and lock them.
natural_image
Pure mechanical diagram showing gear and linkage components without any text or symbolsCurved side up
REMOVING THE NAPPER BAR
A. Unsnap tabs on each side of the Napper Bar.
B. remove the Napper Bar.

WARNING!
Do not lift the stroller by Napper Bar!
natural_image
Simple line drawing of a globe with meridians and parallels, no text or symbols presentTab unsnapped
natural_image
Simple line drawing of a globe with latitude and longitude lines, no text or symbols present.Tab snapped
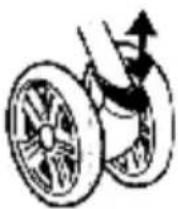
5. USING THE BRAKES
6. FIX THE FRONT WHEELS TO MOVE ONLY FORWARD
A. Push the levers on all wheel assemblies down to activate the brakes of the stroller.
B. Pull the levers up to deactivate the brakes.
A. Push the levers on the front wheels down to unlock the wheel to turn in any direction.
B. Pull the levers on the front wheels up to lock the wheel to move only forward.
NOTE: On rough surfaces lock the wheels to keep them to move only forward. On smooth surface unlock the wheels to turn in any direction.
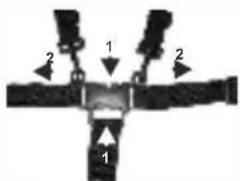
7. USING THE SAFETY BELTS
Adjusting
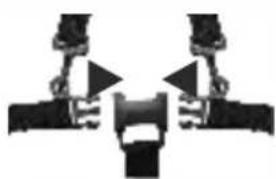
natural_image
Mechanical assembly diagram showing two vertical arms connected to a central component with directional arrows indicating motion (no text or symbols)Locking
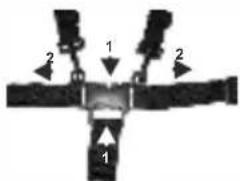
Unlocking
Tightening
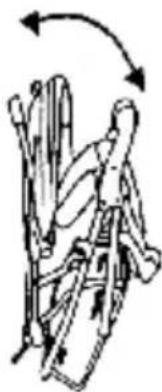
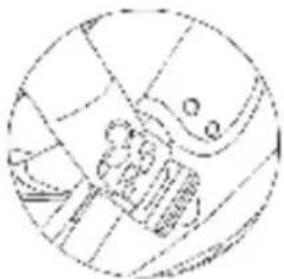
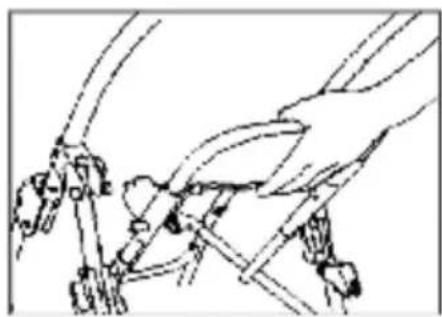
8. ADJUSTING THE BACKREST
Lift the levers on both sides of the stroller up to recline the backrest.
natural_image
Line drawing of a hand using a bicycle to lift a bicycle (no text or symbols)
natural_image
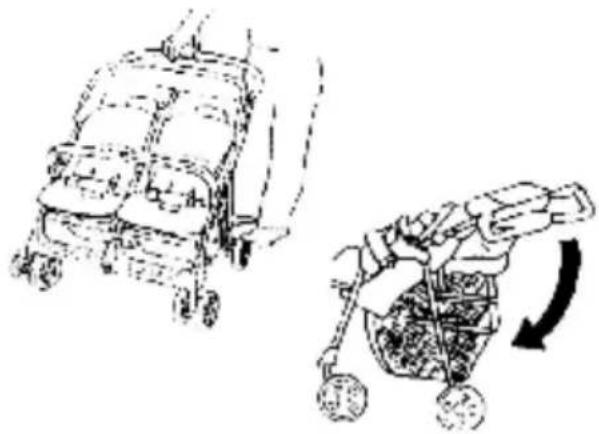
Abstract geometric line drawing with intersecting lines and shapes (no text or symbols)A. Activate the brakes.
B. Push up the backrest.
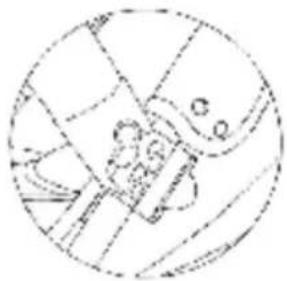
B. Fold the canopy.
Γ. Pull the locking levers up to fold the handle.
Д. Fold the stroller.
NOTE: Fold the stroller so wheels straddle the frame. Do not allow wheels to press against the frame as this may damage the tires.
natural_image
Line drawing of two strollers with one moving and the other rotating, no text or symbols present
natural_image
Line drawing of a vehicle chassis with wheels and suspension (no text or symbols)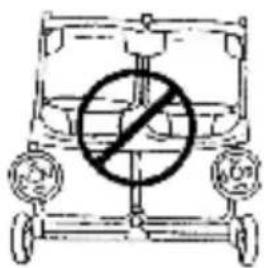
natural_image
Simple line drawing of a vehicle front view with no text or symbols
bertoni
Дидис ООД, България
Шумен 9700, "Правда" 1
Тел.: 054/850 830
Факс: 054/850 839
e-mail: office@didis-ltd.com
Didis LTD, Bulgaria
Shumen 9700, "Pravda" 1 Str.
Tel.: +359 54 850 830
Fax: +359 54 850 839
e-mail: office@didis-ltd.com
www.lorelli.eu