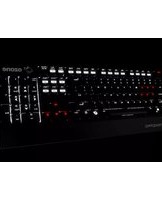
Streik Pro - Keyboard Ozone - Free user manual and instructions
Find the device manual for free Streik Pro Ozone in PDF.


| Product Type | Mechanical Gaming Keyboard |
| Model | Ozone Streik Pro |
| Switch Options | Cherry MX Red, Black, Blue, Brown |
| Number of Keys | 104 (Full Layout) |
| Key Response Time | Adjustable: 1 ms, 2 ms, 4 ms, 8 ms, 12 ms, 14 ms, 16 ms |
| Polling Rate | 125 Hz, 250 Hz, 500 Hz, 1000 Hz |
| Backlighting | Adjustable brightness levels (30%, 70%, 100%), pulsating effect, gaming mode lighting, and off |
| Multimedia Keys | F5-F12: Play/Pause, Stop, Mute, Previous Track, Next Track, Volume Up/Down, Media Player |
| Macro Keys | 6 programmable keys (M1-M6) |
| Gaming Mode | Disables Windows key, enables macro keys, switches WASD/Arrow keys |
| Software | Windows XP/Vista/7/8 compatible; driver available via CD or download |
| Connection | USB 2.0 (cable attached) |
| Dimensions (approx.) | 440 mm x 140 mm x 30 mm |
| Weight (approx.) | 1.2 kg |
| Power Source | USB powered |
| System Requirements | Windows XP/Vista/7/8, free USB port, CD-ROM or internet for driver |
| Cleaning Instructions | Wipe with a dry, soft cloth; avoid liquids |
| Safety Information | Keep away from liquids and extreme temperatures; disconnect during cleaning |
| Repairability | Key switches are replaceable (compatible with standard Cherry MX) |
| Manufacturer | Ozone Gaming |
Frequently Asked Questions - Streik Pro Ozone
User questions about Streik Pro Ozone
0 question about this device. Answer the ones you know or ask your own.
Ask a new question about this device
Download the instructions for your Keyboard in PDF format for free! Find your manual Streik Pro - Ozone and take your electronic device back in hand. On this page are published all the documents necessary for the use of your device. Streik Pro by Ozone.
USER MANUAL Streik Pro Ozone
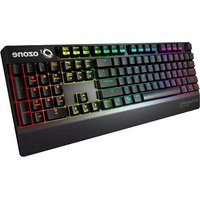
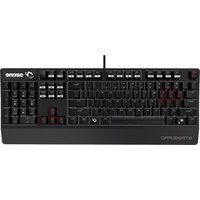
Strong, fast, accurate, configurable, reliable, intuitive and comfortable are just a few of the epithets that define of the new Ozone Strike Pro. Add to this the fact that with this amazing keyboard you have a piece of modern art in your hands and you will know the answer to the question of what will your next keyboard be? Ozone Strike Pro, without a doubt.

natural_image
Black and white image of a Strikepad keyboard with visible brand logo and control buttons (no readable text beyond branding)
STRIKE PRO KEY FUNCTIONS
• Fully 104 MX Cherry Red switched Gaming Keyboard with back-lighting effects
- Adjust Keys effective time response in 7 speed transmissions: 1ms - 2ms - 4ms - 8ms - 12ms - 14ms - 16ms

natural_image
Simple line drawing of a 3D rectangular block with an internal spiral shape (no text or symbols)+

Reduces Speed
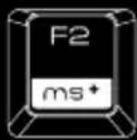
Increases Speed
Adjust Polling Rate: 125 Hz - 250 Hz - 500 Hz - 1000 Hz

natural_image
Simple 3D wireframe cube with a central abstract swirl design (no text or symbols)+

Reduces Polling Rate

Increases Polling Rate
• Multimedia shortcut keys on keyboard from F5 - F12 Press 🔒 key for media playback functions

natural_image
Abstract geometric shape with a spiral inside a rectangular frame (no text or symbols)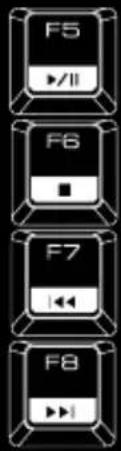
Play or Pause
Stop Mute
Previous Track
Next Track Volume +
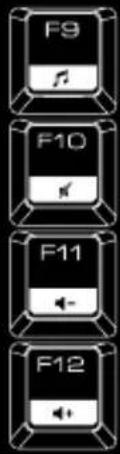
Start Media Player
Volume -
- Press ⬤ + Scroll Lock on keyboard to adjust back lighting effects Default Mode: Pulsating Lighting Effects

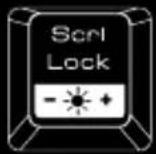
1st : 30% Brightness
2nd: 70% Brightness
3rd: 100% Brightness
4th: Game Mode (gaming keys with RED light effect)
5th: 0% Brightness, no Lighting
6th: Pulsating Lighting Effect
Gaming Mode: Press 📋 + Prnt Scrn on keyboard to enter gaming mode.


In gaming mode, Strike Pro will work under following conditions:
Lit Prnt Scrn key
Left Window Key Disabled
M1 - M6 Macro keys Enabled

+ Left Window key to switch between arrow keys and WASD functions
AVAILABLE MX CHERRY COLORS
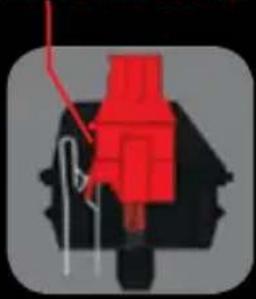
CHERRY RED KEY TYPE
no tactile bump
natural_image
Pure electrical circuit lines without any symbols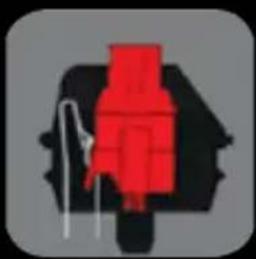
natural_image
Pure electrical circuit lines without any symbols
natural_image
Simple icon of a red safety vest with white cable, no text or symbols present
line
| Travel Time (min) | Force (kN) | | ----------------- | ---------- | | 0 | 20 | | 1 | 30 | | 2 | 40 | | 3 | 50 | | 4 | 60 |SWITCH TYPE......CHERRY MX RED
ACTUATION FORCE....45G
KEY TRAVEL....2MM TO ACTUATION, 4MM TO BOTTOM
natural_image
Silhouette of a mechanical component with a red dot and white curved line (no text or symbols)
natural_image
Silhouette of a mechanical component or housing with a tool, no visible text or symbols
natural_image
Silhouette of a mechanical component with a curved line and protruding rod (no text or symbols)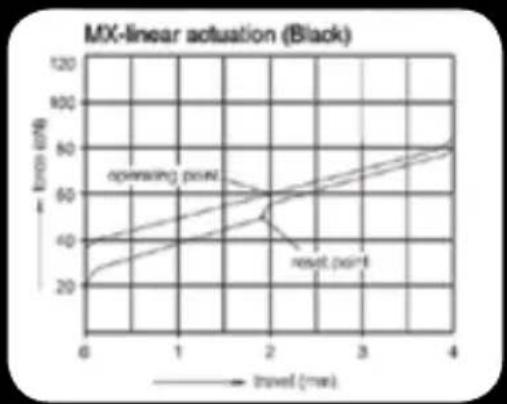
line
| travel (min) | torque (N) | | ------------ | --------- | | 6 | 20 | | 1 | 40 | | 2 | 60 | | 3 | 80 | | 4 | 100 |SWITCH TYPE......CHERRY MX BLACK
TYPE LINEAR SWITCH
TACTILE......NO
CLICKY......NO
ACTUATION FORCE.....60G (40g - 80g overall)
KEY TRAVEL....2MM TO ACTUATION, 4MM TO BOTTOM
STRIKE PRO offers you the choice to pick the key switches that suit YOU form the four most popular MX CHERRY switch colors – black, red, blue and brown.
natural_image
Cross-sectional diagram of a mechanical or electrical component with blue and white parts, no visible text or symbolsSWITCH TYPE....CHERRY MX BLUE
TACTILE.....YES, PRECISE

natural_image
Pure electrical circuit lines without any symbols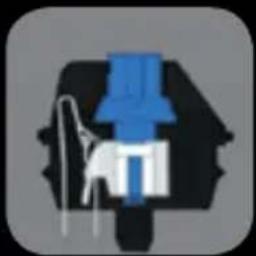
natural_image
Pure electrical circuit lines without any symbolsCLICKY......YES
ACTUATION FORCE....50G (60g Peak Force)(Force Diagram)
KEY TRAVEL.....2MM TO ACTUATION, 4MM TO BOTTOM

line
| travel (mm) | force (pJ) | | ----------- | ---------- | | 0 | 30 | | 1 | 20 | | 2 | 80 | | 3 | 60 | | 4 | 80 |CHERRY BROWN KEY TYPE

natural_image
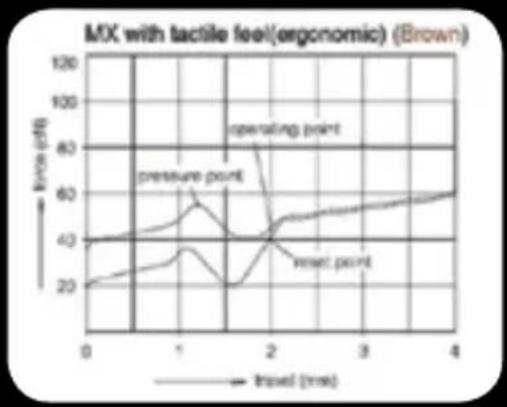
Pure electrical circuit lines without any symbolsSWITCH TYPE....CHERRY MX BROWN
LINK....DATASHEET
TACTILE....YES

natural_image
Pure electrical circuit lines without any symbols
natural_image
Simple icon of a brown mechanical component with a white tool, no text or symbols present.CLICKY......NO
ACTUATION FORCE....45G (55g Peach Force)(Force Diagram)
KEY TRAVEL....2MM TO ACTUATION, 4MM TO BOTTOM
line
| Travel (ms) | torque (dB) | |-------------|-------------| | 0 | 20 | | 1 | 40 | | 2 | 60 | | 3 | 50 | | 4 | 60 |DRIVER USER MANUAL
SYSTEM REQUIREMENTS
- Operation System: Windows XP / Windows Vista / Windows 7 / Windows 8
- Free USB 2.0 port
- CD-ROM drive
- 50 MB free hard disk space
INSTALLATION INSTRUCTIONS
OS: Windows XP / Vista / 7 / 8.
- Plug USB connector of STRIKE PRO to a USB port of your PC.
- Insert the enclosed driver CD into your CD-ROM drive (or download the driver from www.ozonegaming.com/product/strike-pro/).
- Double Click "Setup.exe" to start the installation program. Click "Next" to continue.
- Select the folder to save the driver and click "Next" to continue.
- Installation will run automatically; click "Finish" to complete the installation.
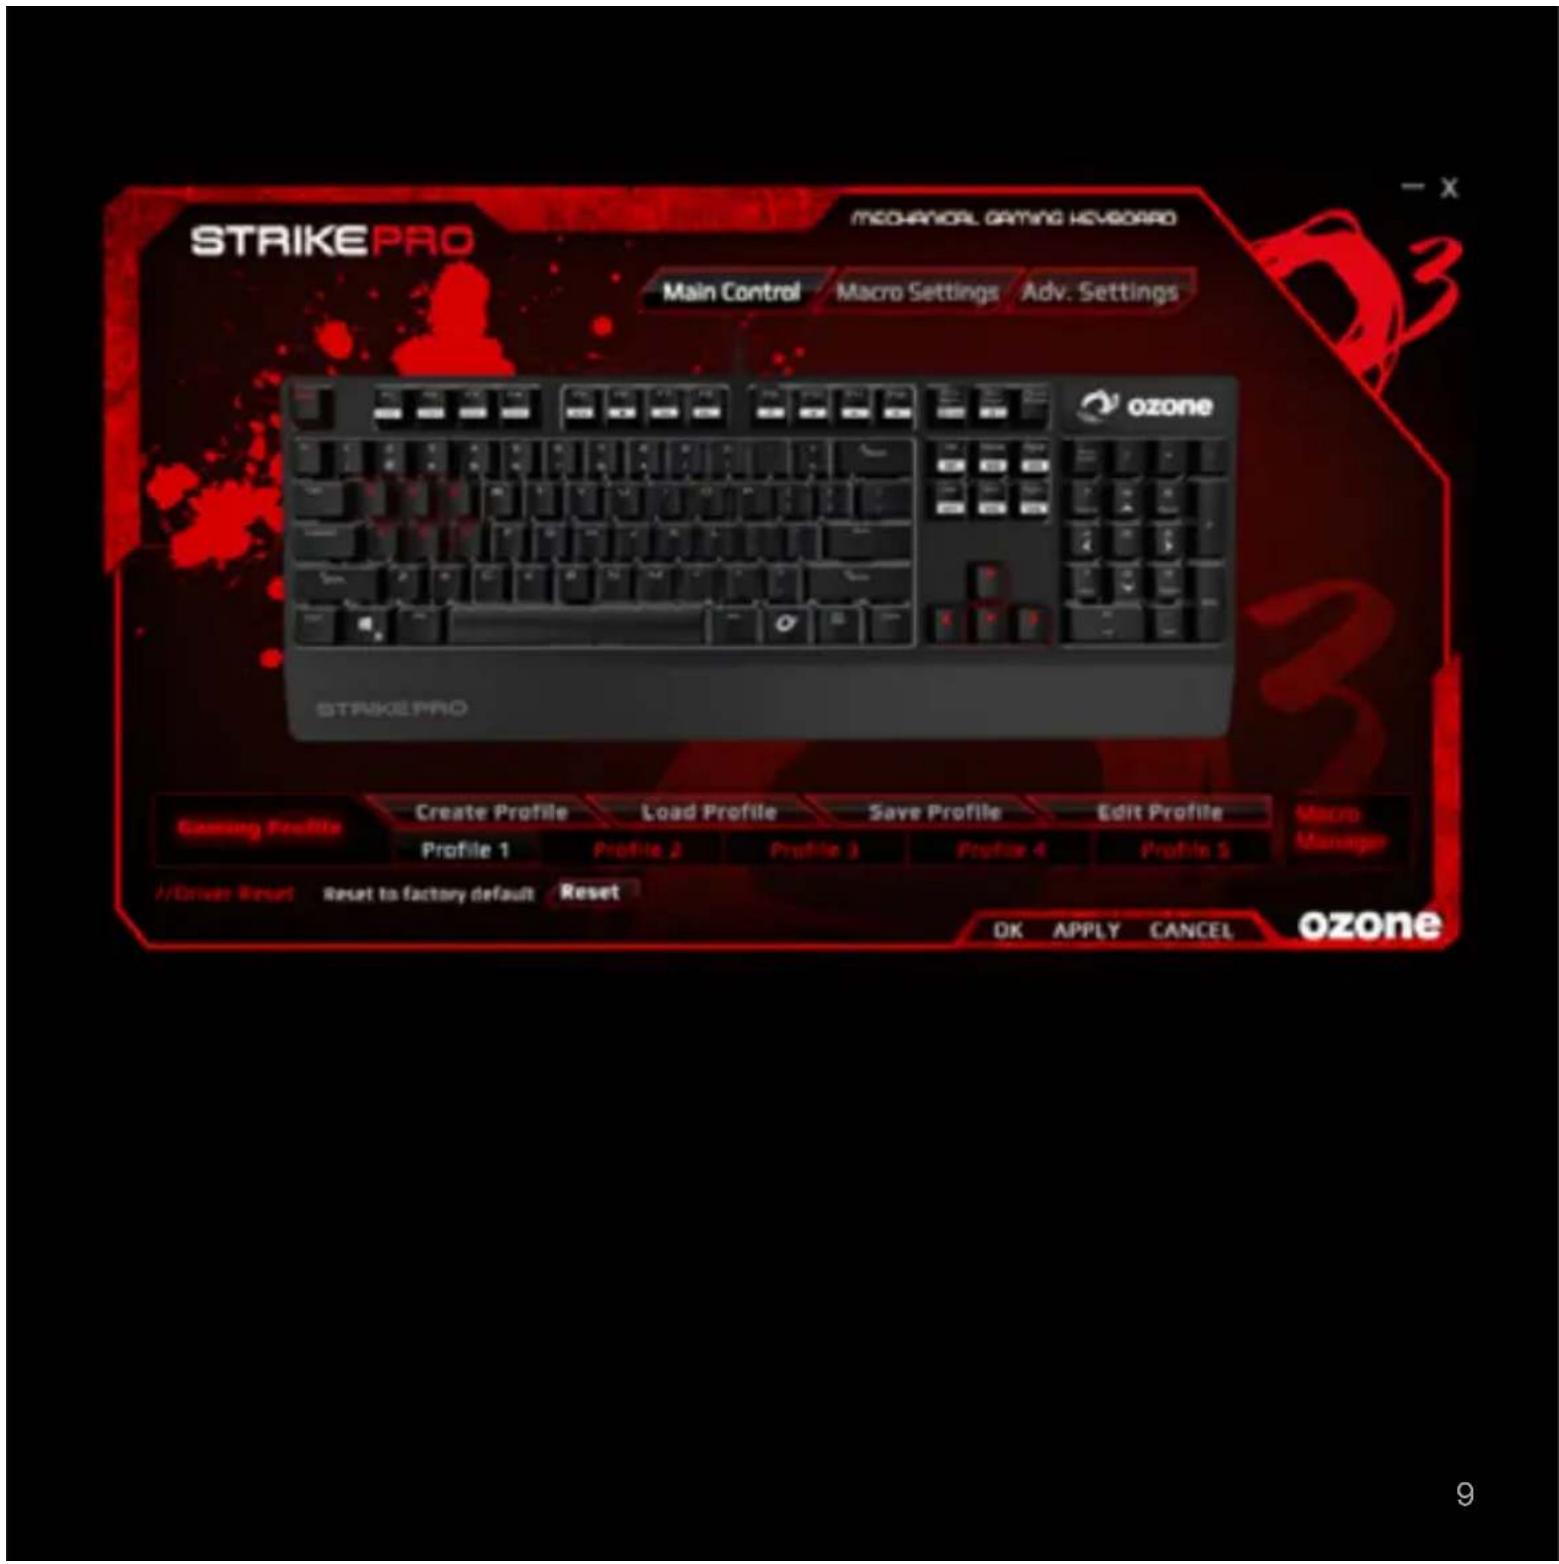
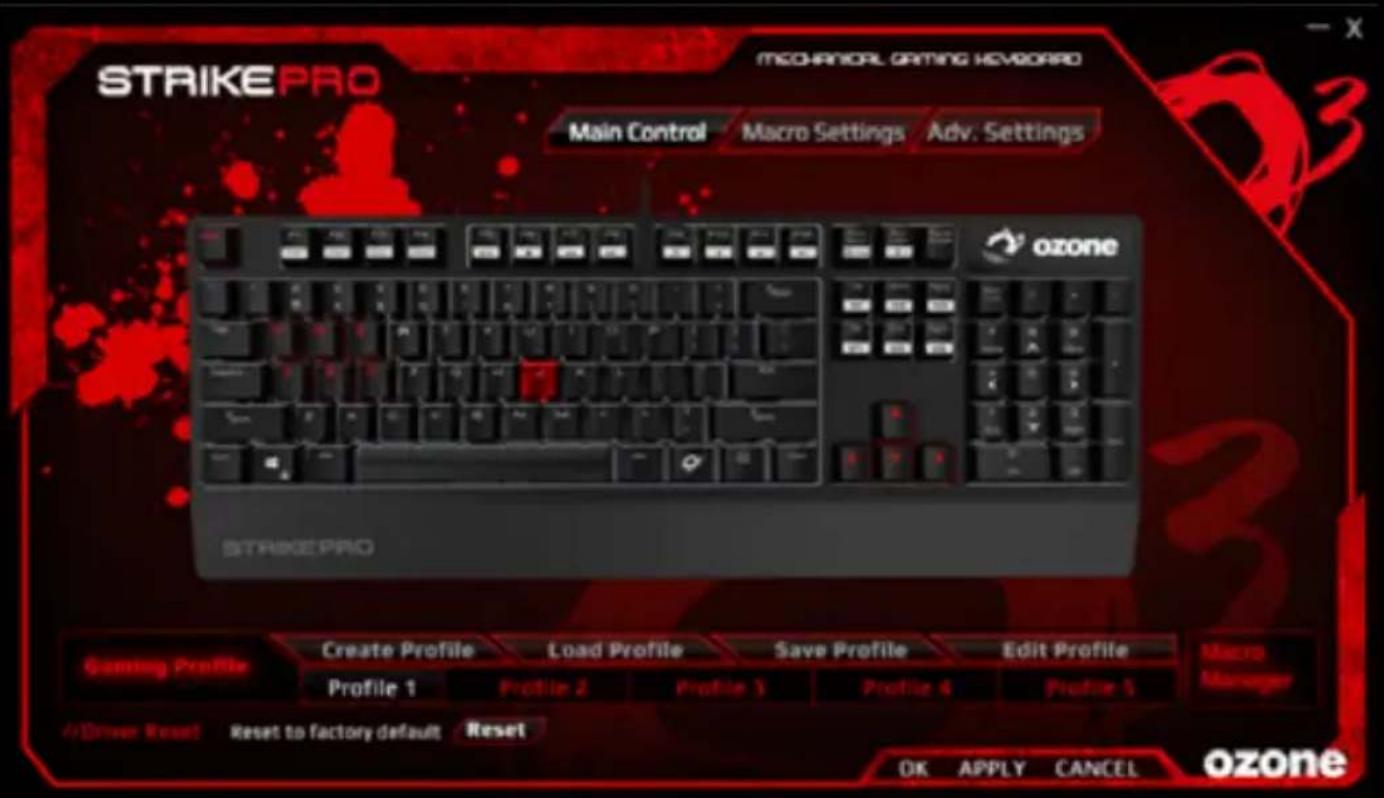
1) In the "Main Control" section, click the key that you want to change (except special keys that are not configurable).
2) In the pop-up window, enter the desired new keys and click "OK".

3) Then click "APPLY" to complete the change. Ex. Key "J" is now marked in RED and will execute "K".
2. MACRO SETTINGS
Macro is a series of keystrokes which can be assigned to a single key on the keyboard once its recorded. In the other words, it is a series of keystrokes, in which every key press, release, and delay is being recorded. The delay is the duration between the “press and release” of keys or “release and press” of keys, which all can be automatically recorded and outputted once the macro is set.
Create and assign a Macro
Programmable Macro Keys: M1, M2, M3, M4, M5, M6.
1) Select a macro key and click "Macro Manager" from the menu.

2) In the pop-up window, click "NEW" and give a personalized name to the macro, then start to create your macro.
3) Select the options of "Record Delays" and set the "Loop Times" from the right column if needed.
4) Click "Start Record" type a series of keys desired and click "Stop Record" when finished. Click "OK" to continue.
5) Assign one of the “Macros” created to a “Macro Key” and click “APPLY” to complete the setting.

1) Select a macro key and click "Multimedia" from the menu.

2) Select the desired function in the sub-menu and click "APPLY" to confirm the setting.
WINDOWS MANAGEMENT
1) Select a macro key and click "Windows" from the menu.

2) Select the desired function in the sub-menu and click "APPLY" to confirm the setting.
ASSIGN A SHORTCUT
Single key punch to activate a combination of keys that are often used.
1) Select a macro key and click "Assign a Shortcut" from the menu.

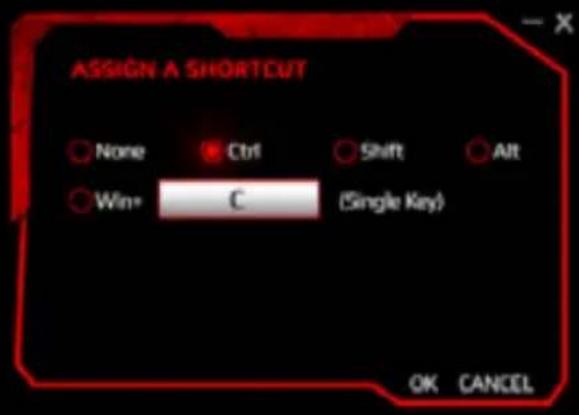
2) Select and enter the desired combination of keys from the pop-up window and click "OK" to continue.
3) Click "APPLY" to complete the setting. Ex. now the "Ctrl" + "C" will be executed.
KEY OFF: DISABLE THE KEY FUNCTION
1) Select a macro key and click "Key Off" from the menu, then click "APPLY" to confirm the setting.

STANDARD: RESET TO DEFAULT KEY FUNCTION
1) Select a macro key and click "Standard" from the menu, then click "APPLY" to confirm the setting.

- ADVANCED SETTINGS
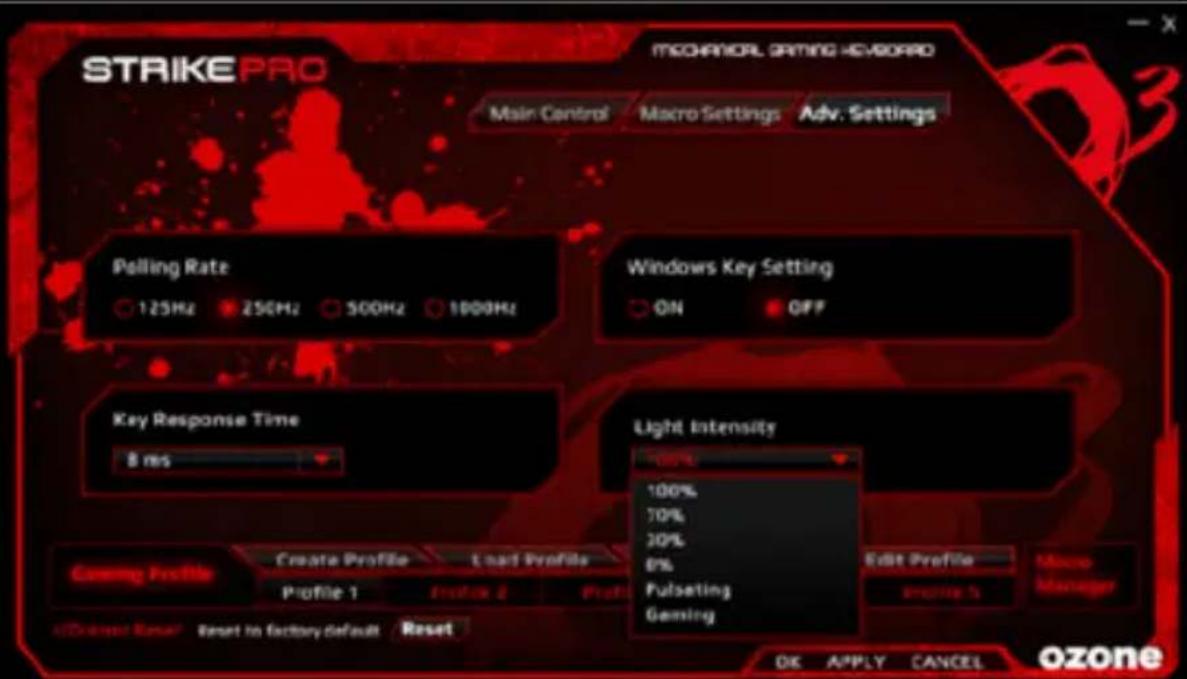
In “Advanced Settings”, you can set the “Polling Rate”, disable “Windows Key”, adjust “Key Response Time”, and change LED “Back-light Intensity”.
4. GAMING PROFILE SETTINGS
Each configuration profile corresponds to a personalized keyboard setting. Therefore, you can create and save specific configuration profiles for certain games. The driver comes with 5 profiles: Profile#1 \~ Profile#5.
The default path of the saved configurations is in the “Config” folder under the “Driver Installation Directory”, in which you can find 5 corresponding files for the 5 profiles on the main skin.
| Gaming Profile | Create Profile | Load Profile | Save Profile | Edit Profile | Macro Manager |
| Profile 1 | Profile 2 | Profile 3 | Profile 4 | Profile 5 |
Under “Gaming Profile” setting, there are options to “Create Profile”, “Load Profile”, “Save Profile”, and “Edit Profile” for you to set your personalized configuration. You can create a variety of configurations and save them for future use. This will avoid duplication of settings.
If you switch to a different computer, you can simply import your saved configurations and you will not have to set your personalized settings again.
A. CREATE PROFILE
1) Click "Create Profile" to create your personalized PROFILE NAME and PATH to the GAME EXECUTABLE FILE (If you start the game the drive will automatically load the right game profile from one of the 5 slots.)
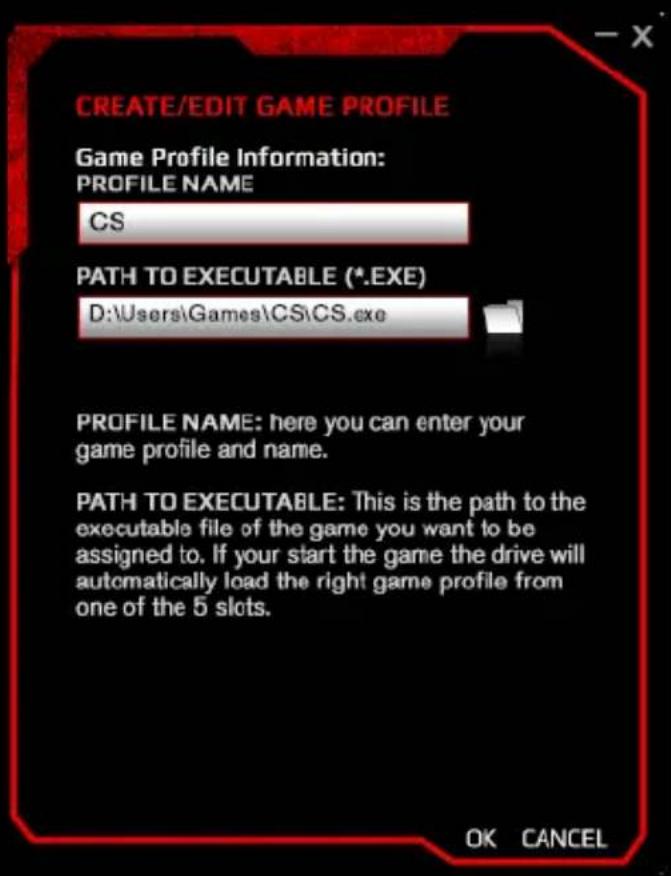
1.1) Create your profile name in the column "PROFILE NAME".
1.2) Click the folder symbol and select your path to the game executable file from the pop-up window.

2) Click "OK" to confirm the change.
3) Click "APPLY" to apply the change.
B. LOAD PROFILE
1) Click "Load Profile" to load previous settings of certain profiles.
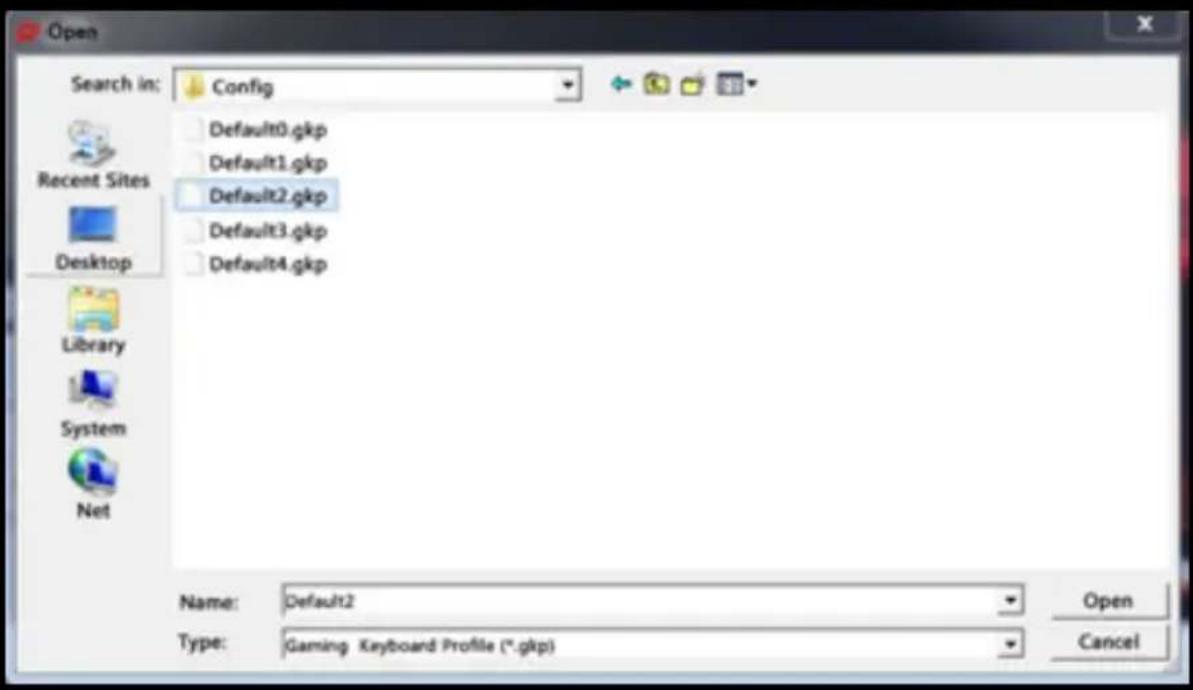
2) Select the profile to be imported and click "OPEN" in the pop-up window.
3) Click "APPLY" to apply the changes.
C. SAVE PROFILE
1) Click "Save Profile" to save the settings to an assigned file.

2) Select the assigned route/file and click "SAVE" in the pop-up window.
3) Click "APPLY" to apply the changes.
D. EDIT GAME PROFILE
1) Click "Edit Profile" to modify the personalized PROFILE NAME and PATH to the GAME EXECUTABLE FILE.
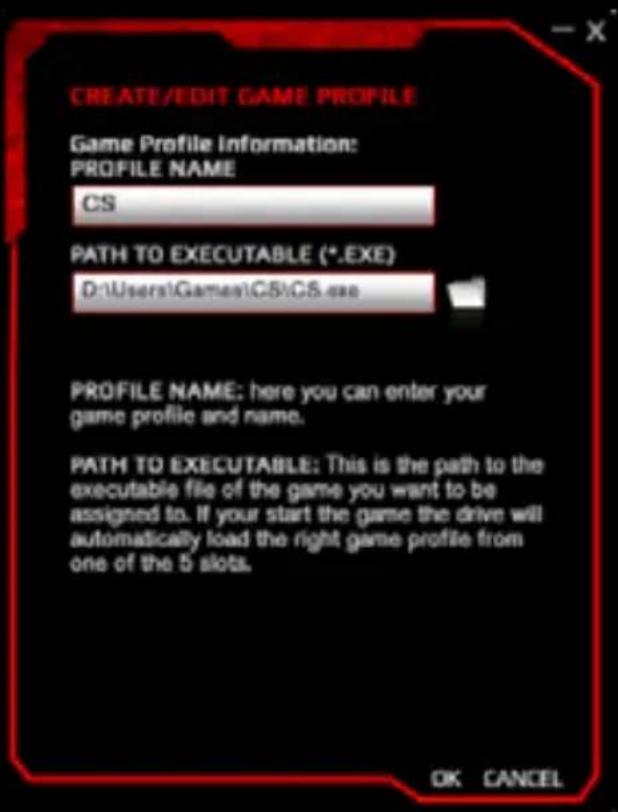
2) Click "OK" to confirm the changes.
3) Click "APPLY" to apply the changes.
5. RESET TO DEFAULT
1) Click "Reset" on the main skin.
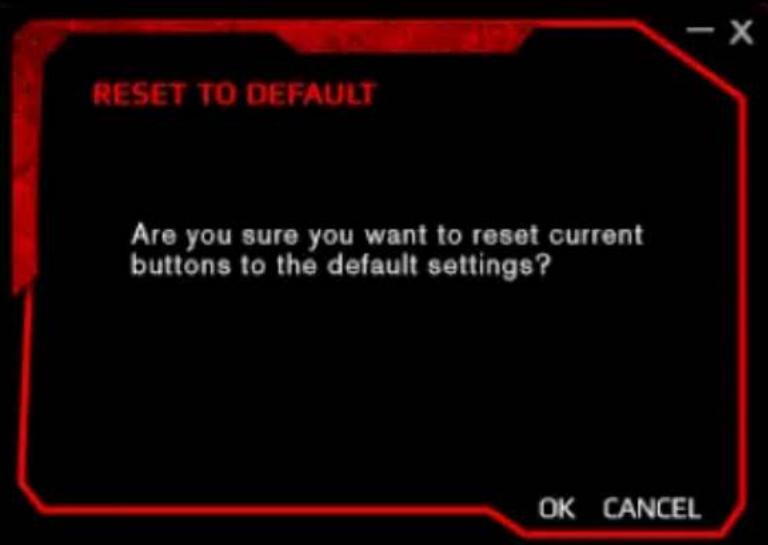
2) Click "OK" on the pop-up window and reset to default.

natural_image
Abstract red ink splatters on black background, no text or symbols present
natural_image
Abstract red scribble on black background, no text or symbols presentozone
it's all about evolution
www.ozonegaming.com



- STRIKE PRO KEY FUNCTIONS
- AVAILABLE MX CHERRY COLORS
- CHERRY RED KEY TYPE
- CHERRY BROWN KEY TYPE
- DRIVER USER MANUAL
- SYSTEM REQUIREMENTS
- INSTALLATION INSTRUCTIONS
- MACRO SETTINGS
- Create and assign a Macro
- WINDOWS MANAGEMENT
- ASSIGN A SHORTCUT
- KEY OFF: DISABLE THE KEY FUNCTION
- STANDARD: RESET TO DEFAULT KEY FUNCTION
- GAMING PROFILE SETTINGS
- CREATE PROFILE
- LOAD PROFILE
- SAVE PROFILE
- EDIT GAME PROFILE
- RESET TO DEFAULT
- ozone
Brand : Ozone
Model : Streik Pro
Category : Keyboard