SJ 4000 eXplore - Action Camera Tracer - Free user manual and instructions
Find the device manual for free SJ 4000 eXplore Tracer in PDF.


| Product Type | Action Camera |
| Brand | Tracer |
| Model | SJ 4000 eXplore |
| Dimensions | 59.27 x 41.13 x 29.28 mm |
| Weight | Approx. 65 g (without battery) |
| Battery Capacity | 900 mAh |
| Battery Life | About 70 minutes (1080P recording) |
| Charging Time | About 3 hours |
| Charging Current | 5V 1A |
| Display | 1.5 inch LCD |
| Lens Angle | 170° A+ HD |
| Video Resolution | 1080P (1920x1080) 30fps, 720P (1280x720) 60fps, VGA (848x480) 60fps, QVGA (640x480) 60fps |
| Video Format | MOV (H.264 compression) |
| Photo Resolution | 12MP / 8MP / 5MP / 3MP |
| Photo Modes | Single, Self-timer (5/10/20 sec) |
| Memory Card | Micro SDHC up to 32 GB (Class 4 or higher) |
| Waterproof Depth (with case) | 30 meters |
| Languages | English, Polish, German, French, Spanish, Italian, Portuguese, Chinese, Japanese, Russian |
| Connectivity | USB 2.0 |
| System Requirements | Windows XP SP3/Vista/7/8, Mac OS X 10.8+, USB 2.0 port |
Frequently Asked Questions - SJ 4000 eXplore Tracer
User questions about SJ 4000 eXplore Tracer
0 question about this device. Answer the ones you know or ask your own.
Ask a new question about this device
Download the instructions for your Action Camera in PDF format for free! Find your manual SJ 4000 eXplore - Tracer and take your electronic device back in hand. On this page are published all the documents necessary for the use of your device. SJ 4000 eXplore by Tracer.
USER MANUAL SJ 4000 eXplore Tracer
natural_image
Abstract geometric shape with three horizontal gray planes on white background (no text or symbols)| - | |
| - | |
| - | |
| - |

natural_image
Simple diagram with two circles inside a rectangle, no text or symbols presentFunkcje

natural_image
Two black-and-white photos showing a small camera and a full-body photo of a person in a helmet, both without any visible text or symbols.
natural_image
Two black-and-white photos showing a camera module and a camera with a tripod, both without any visible text or symbols.

Sposób użycia
natural_image
Simple diagram with two circles inside a rectangle, no text or symbols presentFunctions
Thank you for purchasing our camera! With high performance components, this device can record high-definition video files with excellent image quality. The camera supports H.264 HD video format and delivers high-quality images. The camera has a unique ultra-portable design, which allows it to be used in different situations, making daily life convenient, safe and full of color. Please read these instructions carefully and keep them for future reference.
This manual has been prepared based on the latest information. Screenshots and illustrations included in this manual are intended to provide more detailed and direct information regarding the digital camera. There may be discrepancies between the screen shots and illustrations contained in this manual and the actual state of your digital camera, due to technological progress and differences between manufacturing batches. In such case, the overriding importance should be attributed to the actual functions of the video camera.
Safety measures
Waterproof casing:
• Maximum immersion depth of the casing is 30 meters.
- Before installing the waterproof casing, make sure that it is clean; a single hair or grain of sand can cause it to lose its seal. The casing may be tested by closing it without putting the camera in. Immerse the casing completely in water for about a minute. Remove the casing from the water, wipe the outer part with a towel and then open it. If the inside of the casing is dry, it means that it can be safely used under water.
- After each use of the casing in salt water, rinse the outer part in fresh water, then dry. Failure to follow this instruction may cause corrosion of the hinge pin and accumulation of salt in the gasket, which in turn may completely damage the casing.
- To clean the gasket, rinse it in fresh water and shake (drying with cloth may cause snagging of the gasket). Re-insert the gasket into the grooves in the back flap of the waterproof casing.
TF Card:
- The camera supports TF (Micro SD) high-speed (minimum calss4) high capacity cards - up to 32 GB.
- Before using the card for the first time or after using the card in another device, format the card.
- Before inserting and removing the card from the camera, be sure to turn off the device.
• After long period of use the card may be warm and its memory capacity may be reduced.
- Remember that the card is a sensitive electronic device. Protect it from moisture, twisting, falls, crushing and strong electromagnetic fields.
- You may lose data stored on the card, if the device loses power during recording.
Camera:
• Store the camera in a dry and dark place.
- Protect your camera from falls and other mechanical damage.
- Do not touch the camera lens with your fingers, protect the lens from scratches.
System requirements
| Operating system | Microsoft Windows XP(SP3), Vista, 7, 8 |
| Mac OS X ver: 10.8.0 or higher | |
| CPUIntel Pentium 1GHz or higher | |
| RAM Larger than 1GB | |
| Sound Card and Display Card Must support DirectX8 | |
| Disk space More than 2GB | |
| USB USB 2.0 Port |
EN
Tracer eXplore
SJ 4000 Camers
User's manual


Picture of Accesory
 |  | 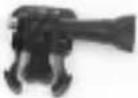 |  |  |
| Waterproof case | bicycle stand | base 1 | base 2 | clip |
 | 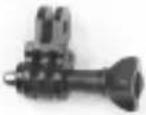 | 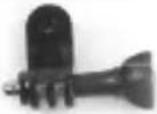 |  |  |
| Fixed base | switch support 1 | switch support 2 | switch support 3 | adapter |
 |  |  |  |  |
| Helmet base | bandage | ribbon | 3M adhesive tape | wire rope |
 |  |  |  |  |
| Data wire | charger | manual | wiper | Car bracket |
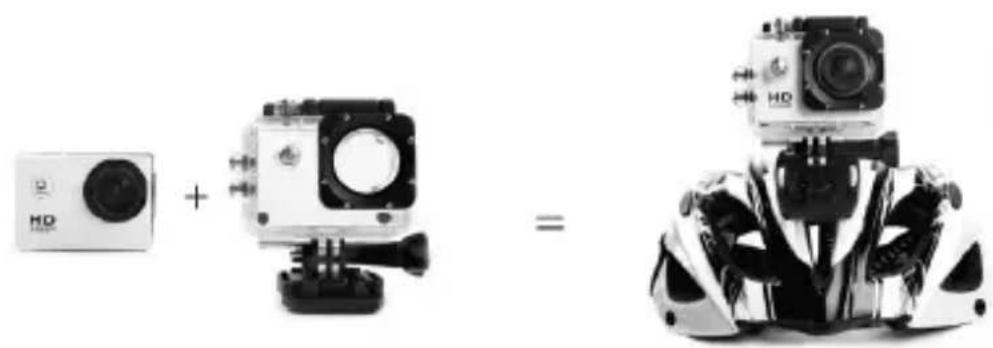
Proposed use of brackets

natural_image
Two black-and-white photos showing a small device labeled 'HD' and a full-body photo of a person wearing a helmet with camera (no text or symbols visible)
natural_image
Product line showing a camera module, four sensors, and a bicycle helmet (no text or symbols)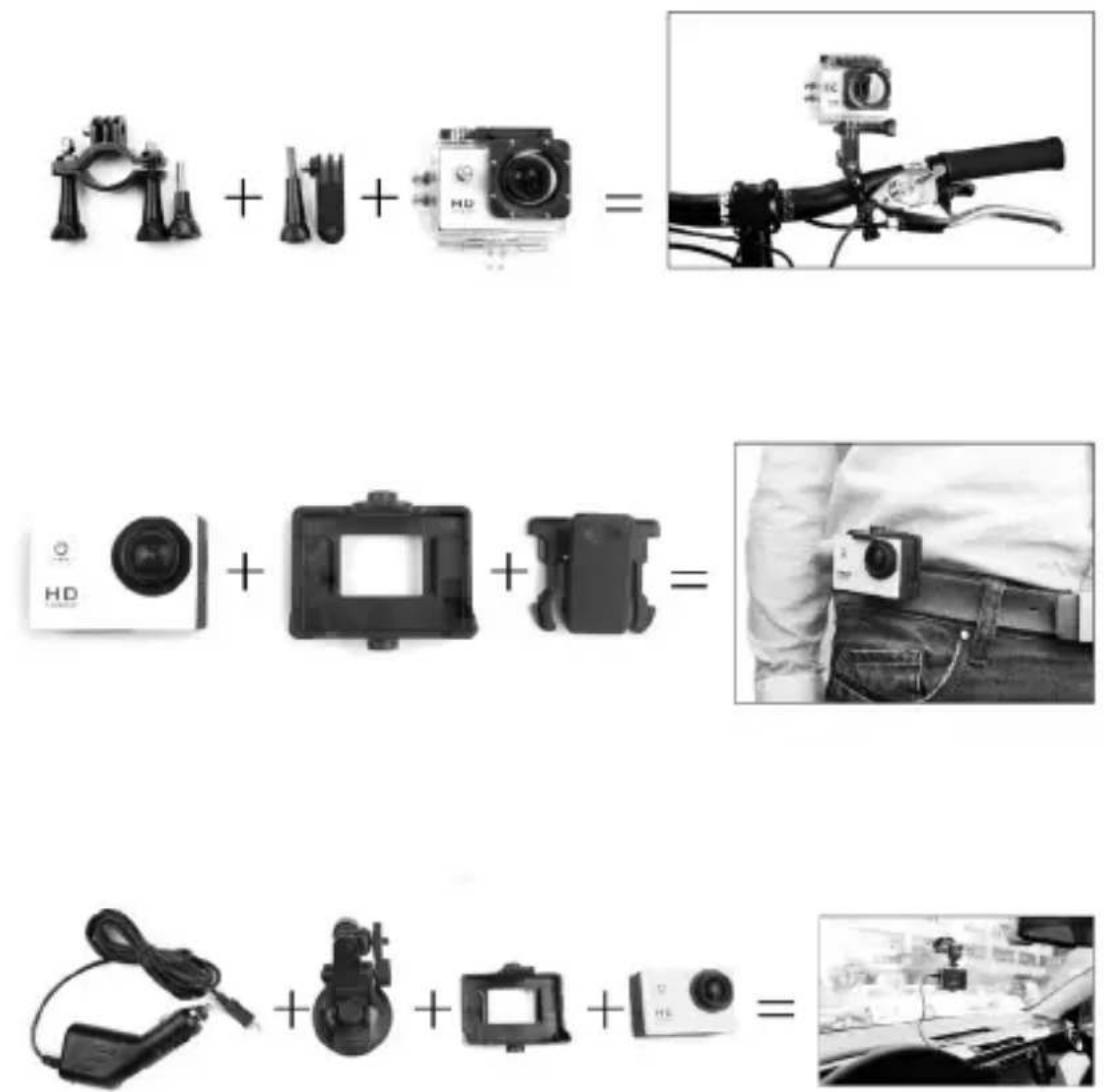
Instructions for use
1. Insert the TF card port
Be sure to insert the card with the top side facing the screen. The bottom of the card with connectors should be directed towards the front of the camera.
2. Installation and battery replacement
A Slide the battery lock closure and lift the battery cover simultaneously.
B Insert the battery in the proper direction so that the battery contacts fit the appropriate +/- connectors on the camera. Once the inserting the battery, replace the battery compartment cover.
C The battery indicator on the screen shows the level of battery charge.
D In order to replace the battery, open the battery compartment, as shown in point A, and take out the battery by pulling on the tie. Insert the new battery following instructions in point B.
3. Charging
A The battery in the Tracer eXplore SJ 4000 camera can charged by connecting the device via USB cable to any USB port on a computer or the included charger.
B The camera can be charged in the car using the charger with micro USB 5V output.
C The camera can record while charging.
4. Turning the camera ON and OFF
A Press and hold the On/Off button for 3 to 5 seconds to turn the camera on and turn off.
B The screen turns off automatically according to the menu settings. In order to turn on the screen, press the OK button.
5. Switching between modes
You can switch between the following modes: Video / Photo / Playback / Menu by pressing the On / Off button.
The currently active mode is shown by the icons displayed on the left - top corner of the screen. The icon indicates that the Video mode is on, - the Photo mode and - the Playback mode. The last mode is the menu. After activating this mode, the full list of possible settings of the camera will be displayed.
6. Recording material
1. Video recording
Switch the camera to Video mode. The icon will be displayed. To start recording, press „OK”. Next to the icon appears, a blinking red dot will appear. The indicator on the top of the camera and the top LED next to the screen will also begin to blink. Press „OK” again and the camera will stop recording - all indicators will stop flashing.
2. Photo mode
Switch the camera to Photo. The icon will be displayed. Press the "OK" button to take a picture. In the menu, you can set the self-timer in one of the following positions: 5/10/20 seconds. The camera will then automatically start taking photos every 5/10/20 seconds, respectively. Note: after importing images into an appropriate graphics program you will be able to use such shots to create a "timelapse" video.
| LCD Display 1.5" | |
| Lenses 170°A+ HD | |
| Menu language: | Polish / English / German / French / Spanish / ItalianPortuguese / Traditional Chinese / Simplified Chinese / Japanese / Russian |
| Recording resolution | 1080P (1920*1080) 30FPS720P (1280*720) 60FPSVGA (848*480) 60FPSQVGA (640*480) 60FPS |
| Movie format MOV | |
| Video compression format H.264 | |
| Image resolution 12Mpix / 8Mpix / | 5Mpix / 3Mpix |
| Supported memory standard Micro | SDHC up to 32 GB |
| Photo modes | Single / Self-timer (every 5s / 10s / 20s ) |
| Frequency 50Hz / 60Hz | |
| USB USB 2.0 | |
| Recommended charging current C | Constant 5V 1A |
| Battery capacity 900 mAh | |
| Battery life | When recording 1080P/ about 70 minutes |
| Needed time to fully charge About | 3 hours |
| Works with (OS) | Windows XP/Vista /Win7/or higher Mac os |
| Dimensions 59,27x41,13x29,28 mm |
Note: Appearance of the device and the exact technical specifications may vary as a result of a continuous process of product and software development.

natural_image
Simple diagram with two circles inside a rectangle, no text or symbols presentFunkcje
natural_image
Product line showing a camera module with three additional components, all without any text or symbols.
natural_image
Two white and black photos showing a small device labeled 'HD' and a helmet with camera, both connected by a plus sign (no text or symbols on the devices themselves)
natural_image
Product line showing a camera module, battery pack, and camera with a helmet (no text or symbols)
Způsob použití
- Vložte TF kartu do portu
natural_image
Simple diagram with two circles inside a rectangle, no text or symbols presentFunkcje
Návod na obsluhu
natural_image
Close-up of a black mechanical clamp or bracket component (no visible text or symbols)
natural_image
Two white camera modules: one with a small head icon and the other with a full black camera module, both shown in different angles (no text or symbols visible)
natural_image
Product line showing a camera module, four sensors, and a camera with a helmet (no text or symbols)
Spôsob použitia
- Vložte TF kartu do portu
- Funkcje
- Sposób użycia
- Functions
- Safety measures
- Waterproof casing:
- TF Card:
- Camera:
- EN
- Proposed use of brackets
- Instructions for use
- Insert the TF card port
- Installation and battery replacement
- Charging
- Turning the camera ON and OFF
- Switching between modes
- Recording material
- Video recording
- Photo mode
- Způsob použití
- Spôsob použitia
Brand : Tracer
Model : SJ 4000 eXplore
Category : Action Camera