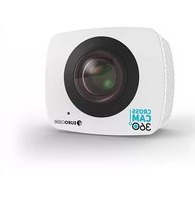
Cross Cam 360 - Camcorder Eurocase - Free user manual and instructions
Find the device manual for free Cross Cam 360 Eurocase in PDF.


| Product Type | Camcorder |
| Brand | Eurocase |
| Model | Cross Cam 360 |
| Video Resolution | 1920x960 pixels at 30 fps (H.264) |
| Photo Resolution | 5 MP |
| Display | 1 inch LCD |
| Lens View Angle | 220° x 2 (dual lens) |
| Memory Card Support | TF card, up to 32 GB (Class 10 recommended) |
| Wi-Fi | Built-in IEEE 802.11b/g/n |
| Microphone | Built-in |
| Speaker | Built-in |
| Battery | 1500mAh / 3.7V rechargeable lithium |
| Charging Time | Approximately 4 hours |
| Inputs | Micro USB, TF card slot |
| Remote Control | Watch-style, 10m range |
| Water Resistant Case | Included |
| Tripod | Included |
| Power Saving Modes | Off, 1 min, 3 min, 5 min |
| Date Stamp | Off, Date, Date & Time |
| Language Options | English (default), others selectable |
| Factory Reset | Yes |
| System Information | Software version, memory card info |
| Format | Yes |
| Package Contents | Camera, Tripod, Water Resistant case, USB cable, User manual, 2032 battery |
Frequently Asked Questions - Cross Cam 360 Eurocase
User questions about Cross Cam 360 Eurocase
0 question about this device. Answer the ones you know or ask your own.
Ask a new question about this device
Download the instructions for your Camcorder in PDF format for free! Find your manual Cross Cam 360 - Eurocase and take your electronic device back in hand. On this page are published all the documents necessary for the use of your device. Cross Cam 360 by Eurocase.
USER MANUAL Cross Cam 360 Eurocase
Thanks for acquiring our camera EUROCASE EUCS-1360 CROSSCAM 360. Read thoroughly these operating instructions to properly use the product.
HELLO!
CONTENTS
1- Package contents 03
2- Technical specifications
3- Buttons and connections 04
4- How to use 05
4.1 Memory card
4.2 Turn-on & turn-off
4.3 Charge the camera 06
4.4 Function mode switch
5- Menu operation 08
6- Connect to PC 09
7- Remote control
1- PACKAGE CONTENTS
EUCS-1360 CrossCam 360, Tripod, Water Resistant case, USB cable, User manual, 2032 battery.
2- TECHNICAL SPECIFICATIONS
- Video resolution: 1920x960
pixels @ 30 fps (H.264)
- Photo resolution: 5 MP
- 1" LCD Display
- TF card reader up to 32 GB
- Built-in Wi-Fi IEEE
802.11b/g/n
- Lens view angle: 220^ x2
- Built-in microphone and speaker
- Power Battery: 1500mAh/3.7V
- Inputs: Micro USB, TF Card
3- BUTTONS AND CONNECTIONS
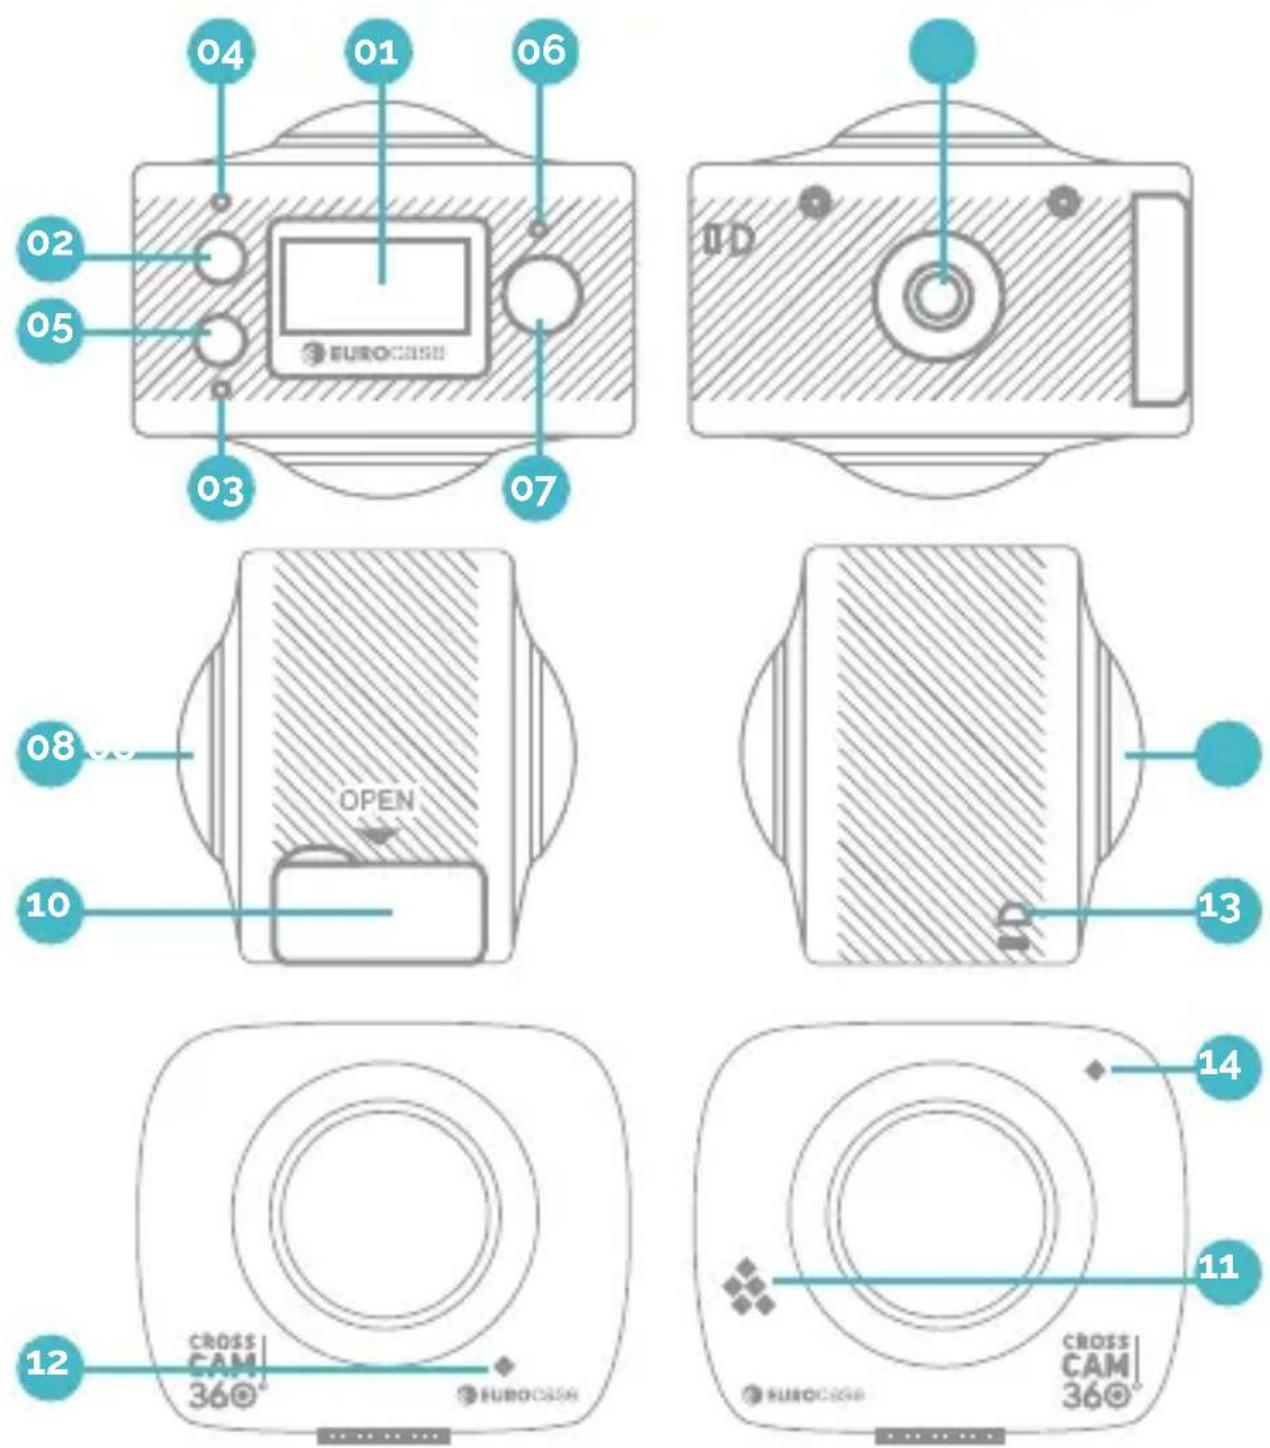
- LCD display screen
- Power/Mode
- WIFI Indicator (red)
-
Power indicator/Charging indicator (Blue)
-
Wifi/Menu
- Busy(red)
07.Shutter /OK Key -
Camera Lens*2 (220°)
09.Triangle nut -
Access flap (USB, TF)
- Loudspeaker
- Microphone
- Lanyard hole
- Reset Button
4- HOW TO USE
4.1. Memory card
First, insert a TF card; see the picture on the right.

When the professional mode is on for video recording a Class 10 card is recommended for use.
NOTE: Please close the camera when plug-in or pull-out the card.
4.2 Turn-on & Turn-off
Turn-on: Press the on/off button Ⓤ and hold for about 2 seconds, the LCD display screen will be on (default mode: video recording) and show a welcome screen. Power indicator in red is normally on.
Power saving mode: When the camera is not under operation for 1 minute (system default), it will enter into the
power saving mode. The LCD display screen will be off automatically. The camera can be activated when any button is pressed.
Turn-off: Press the button ⏻ and hold for about 3 seconds when the camera is not in operation, the camera will be off. The camera will be automatically off when it is in power saving mode for 3 minutes (system default). "GOODBYE" will be on the LCD screen when it is off.
4.3 Charge the camera
Built-in rechargeable lithium battery is used for the camera: The camera can be charged when it is connected to the computer USB or a 5V charger with a USB cable. The power indicator will be blue when it is charging. It shall take 4 hours because of the limited electric current of the computer. The blue light will be off when charging is completed.
4.4 Function mode switch
The camera has two modes, video recording and photograph shooting. They can be converted by pressing the button on/off /MODE or through APP.
Video recording: (see the following pictures) press the shutter to start shooting and video recording. The buzzer will send out one sound when it starts; the busy button (red) will be twinkling during the video recording process. LCD timer starts timing. Press the button again when video recording is over.
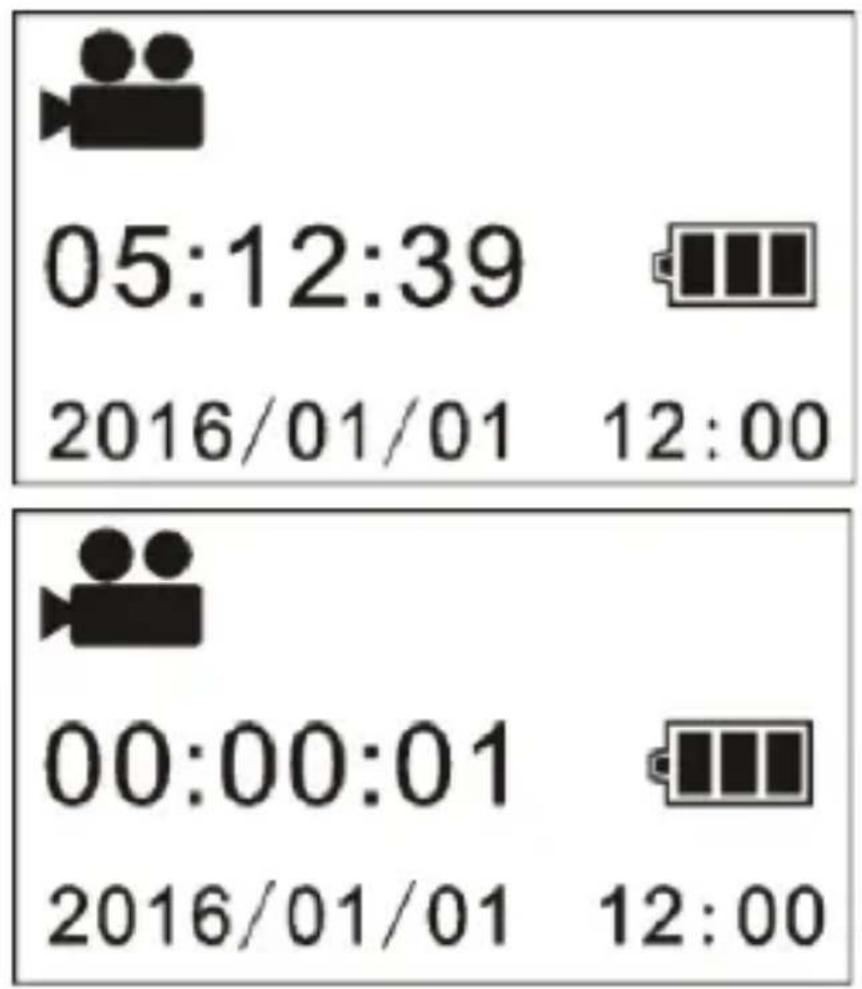
Photograph shooting: Short press the take-photo button to shoot photographs after it is switched to the photo-shooting mode. The buzzer will send out 1 sound and the busy button will be on once when 1 photo is shot. The counter will countdown the photos accordingly.

5- MENU OPERATION
Press the WIFI button for 2 seconds to activate the menu:

Enter the menu, short press the WIFI button to move the cursor for selection; press the shutter button for confirmation; extended press the WIFI button to cancel the setting or exit.
Power Save: the power saving mode has 4 settings, i.e. OFF/1min/3min/5min. When the setting-time is up, the camera will enter power saving mode and the screen will be off.
Date & Time: system time setting
Language: language setting, English is by default.
Date Stamp: date stamp setting, OFF/Date/Date & time are optional.
Factory Reset: factory reset, YES/NO are optional
System: check for system information (software version number); check the information on the memory card (capacity and available space)
Format: formatting the memory card, YES/NO are optional.
6- CONNECT TO PC
The video camera has the plug and play function. When connected to a PC by the USB cable, it will automatically switch to the mobile HDD mode. The removable disc icon will appear on "My Compute r". Your photos are stored in the folder I:\jpg (I is removable disc for this device) in the removable disc. And your videos are stored in the folder I:\video;
NOTE: No need to install drivers to run its mobile HDD function if your operating system is windows 2000 or above.
7- REMOTE CONTROL
The CrossCam 360 comes with a watch remote control.
For the first time put the battery in the back slot with the help of a coin.
The remote control will be automatically linked with the camera and will operate within a range of 10 meters.
Functions:

CROSS CAM|360°

natural_image
Exterior view of two Eurocase camera modules with visible branding and control buttons (no text-heavy elements)natural_image
Close-up of a black smartwatch with two buttons and a white display (no visible text or symbols)01
Grabar video
02
All trademarks are the property of their respective owner.
Pictures are only for illustration purposes and may vary from final version.

natural_image
Nighttime cityscape featuring illuminated skyscrapers reflected in a calm water body, with no visible text or signage.CROSS CAM 360°

Brand : Eurocase
Model : Cross Cam 360
Category : Camcorder