EGP-HD-0478 - Lighting Excello - Free user manual and instructions
Find the device manual for free EGP-HD-0478 Excello in PDF.

| Product Type | Lighting Fixture |
| Brand | Excello |
| Model | EGP-HD-0478 |
| Dimensions (L x W x H) | Approximately 20 x 20 x 30 cm |
| Weight | Approximately 0.5 kg |
| Power Source | AC 220-240V, 50/60Hz |
| Power Consumption | 15W |
| Light Source | LED (integrated) |
| Color Temperature | 3000K - 6000K (adjustable) |
| Luminous Flux | 1200 lm |
| Lifetime | 25,000 hours |
| Dimmable | Yes (via compatible dimmer) |
| Mounting Type | Ceiling or Wall |
| Material | Aluminum and Polycarbonate |
| IP Rating | IP20 (indoor use only) |
| Safety Certifications | CE, RoHS |
| Operating Temperature | -20°C to +40°C |
| Maintenance | Wipe with dry cloth; do not use abrasive cleaners |
| Spare Parts | Contact customer service for replacement parts |
| Package Contents | 1x Light Fixture, 1x Mounting Kit, 1x User Manual |
Frequently Asked Questions - EGP-HD-0478 Excello
User questions about EGP-HD-0478 Excello
0 question about this device. Answer the ones you know or ask your own.
Ask a new question about this device
Download the instructions for your Lighting in PDF format for free! Find your manual EGP-HD-0478 - Excello and take your electronic device back in hand. On this page are published all the documents necessary for the use of your device. EGP-HD-0478 by Excello.
USER MANUAL EGP-HD-0478 Excello
Wooden Planter Box with Universal Pole Holder
EGP-HD-0478 (14" x 14" x 14") EGP-HD-0478-OS (17 ^1/4 " x 17 ^1/4 x 18")

natural_image
Wooden cube-shaped container with a black cylindrical base and mounting holes (no text or symbols)Thank you for purchasing from Excello Global Products! Questions? E-Mail info@excelloglobal.com or Call 1-877-969-2710
INCLUDED PARTS
Missing Parts? E-Mail info@excelloglobal.com or Call 1-877-969-2710
Before you throw away the box, please check that you have all the parts listed below. If any are missing, please contact our customer service at the contact above and we will gladly ship your replacement parts free of charge. Please have your order # ready to expedite the process.
| Bottom Pole Base Support | Bottom Base | Middle Pole Support | Bottom Side Support | Side Pole Support |
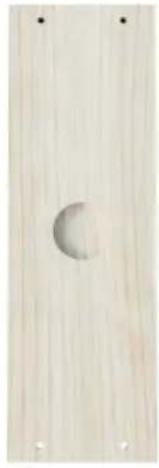 | 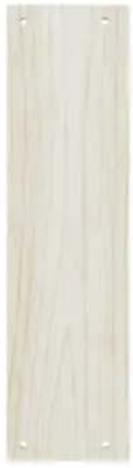 | 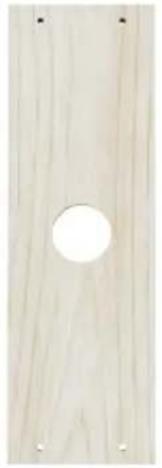 | 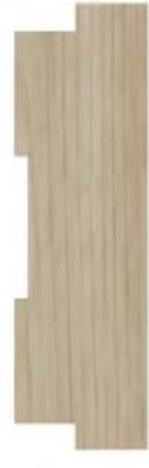 |  |
| x 1 x 2 x 1 x 2 x 2 | ||||
| Side Support | Metal Pole Support | Threaded Bolt Bolt Caps Screws | ||
 |  | ### |  |  |
| x 8 x 1 x 4 x 4 | x 3 (Short)x 8 (Medium)x 8 (Long) | |||
Thank you for purchasing from Excello Global Products! Questions? E-Mail info@excelloglobal.com or Call 1-877-969-2710
ASSEMBLY INSTRUCTIONS
Tools/Materials Needed:
- Screwdriver (a drill or driver can help expedite the assembly process, but be careful not to overtighten the screws as wood splitting may occur)
- Gravel
-
Potting Soil
-
Screw the bottom pole base support to the lower side supports using the long screws
natural_image
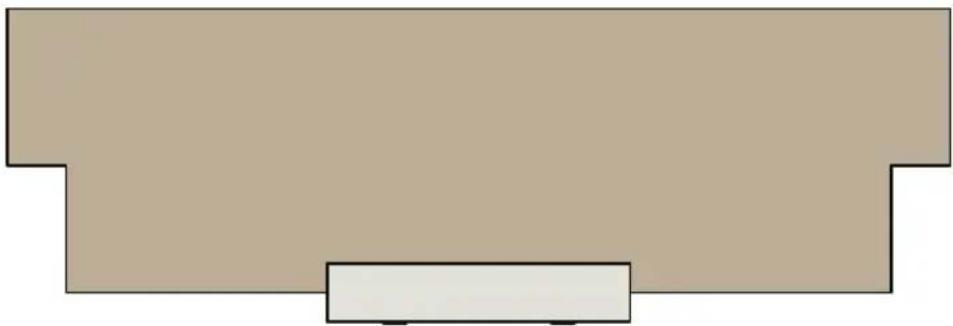
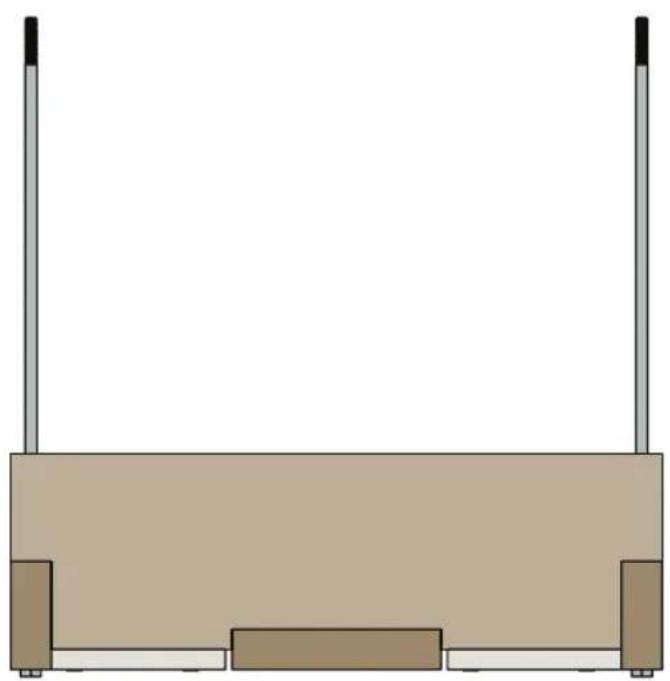
3D technical illustration of two mechanical components with mounting holes and mounting screws (no text or symbols)Note: The bottom support board should *NOT* sit flush with bottom of the side supports:
natural_image
Simple geometric shape with a beige top and a white rectangle at the bottom (no text or symbols)- Screw the bottom bases to the lower side supports using the medium screws.

natural_image
Isometric technical drawing of a structural frame assembly with mounting brackets and support columns (no text or symbols)Note: There should be a small gap between the boards – this is normal and is designed to help with drainage.
- Slide the long bolts through the holes on two of the side supports.
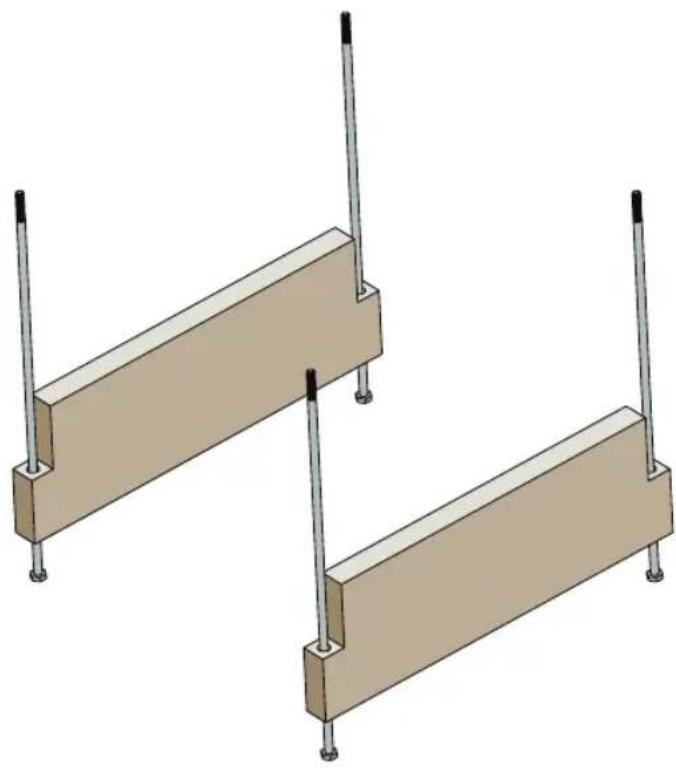
natural_image
3D diagram of two wooden structural beams with vertical posts and mounting feet (no text or symbols)- Slide the assembly created in steps 1 and 2 on top of the bolts and all the way down.
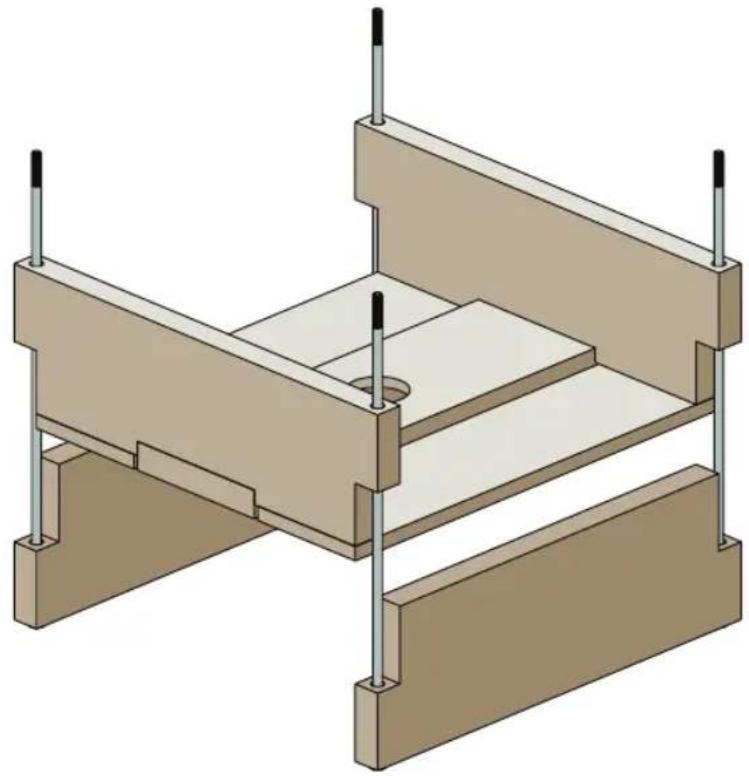
natural_image
3D technical illustration of a mechanical assembly with two platforms and mounting brackets (no text or symbols)- All boards should now be flush with each other on the bottom
natural_image
Simple diagram of a rectangular structure with vertical supports and a central base, no text or symbols present.- Stack two more side boards with the long part on the bottom through the rods:

natural_image
Isometric technical drawing of a mechanical assembly with two stacked components and a central hole (no text or symbols)- Repeat the process this time with boards facing short side down
natural_image
Isometric technical drawing of a mechanical assembly with two stacked components and mounting holes (no text or symbols)- Repeat the process one more time with boards facing long side down.

natural_image
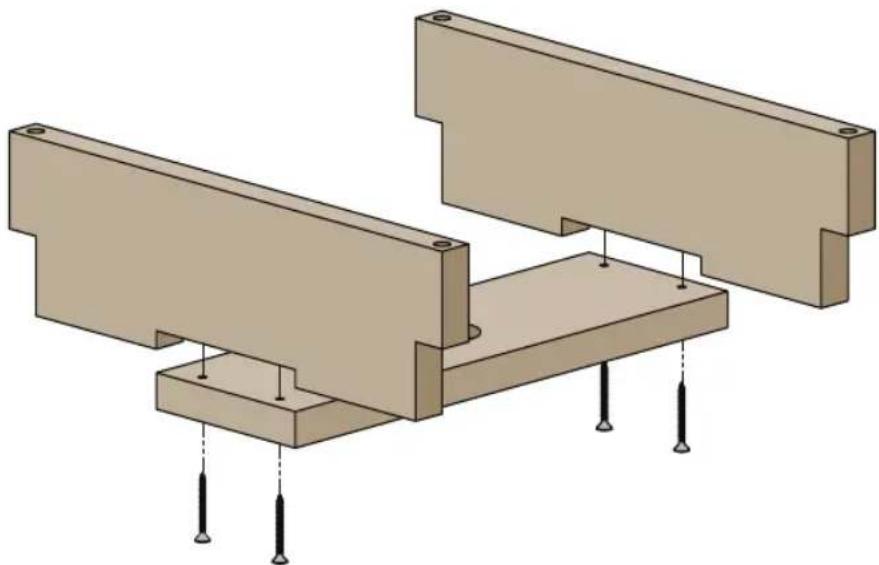
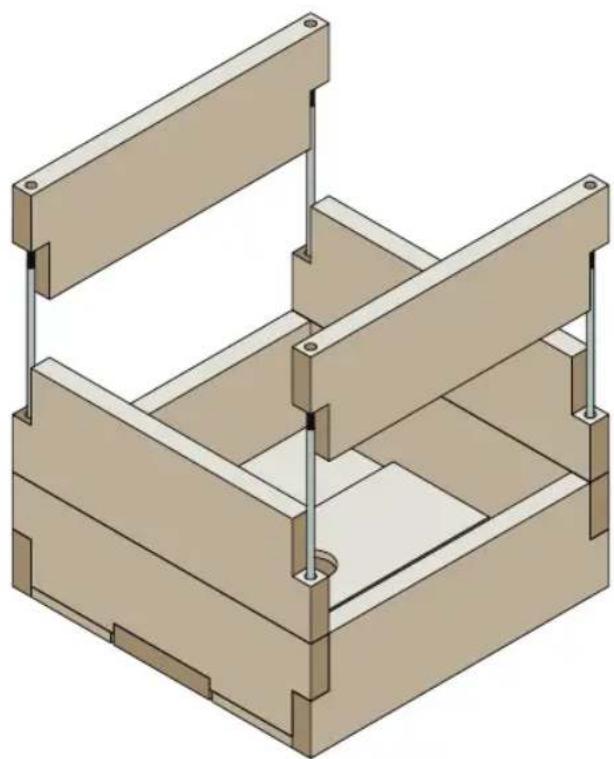
Isometric view of a wooden box frame with two vertical supports and a central recess (no text or symbols)- Screw the middle pole support board to the pole support side boards – it should fit flush with the notch.

natural_image
Technical illustration of a mechanical assembly with mounting brackets and a close-up view of a rectangular component (no text or symbols)- Slide the board assembly created in step 9 through the rods
natural_image
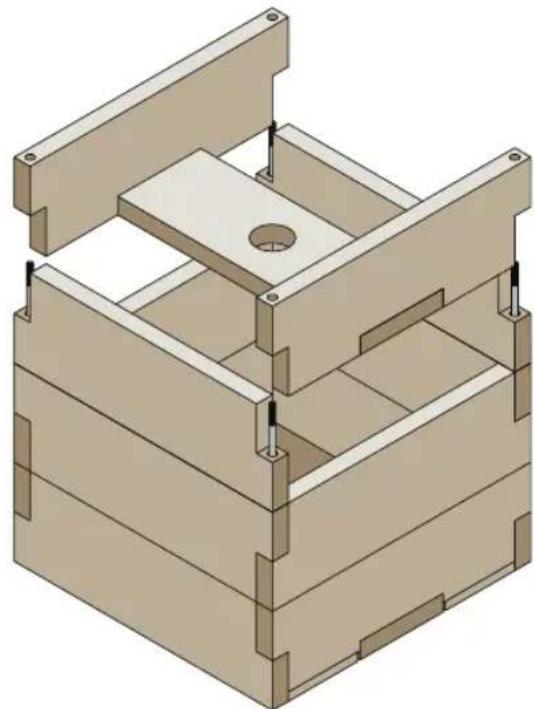
3D technical illustration of a mechanical housing assembly with mounting brackets and internal components (no text or symbols)- Place the bolt caps on top of the rods and tighten using the included allen wrench
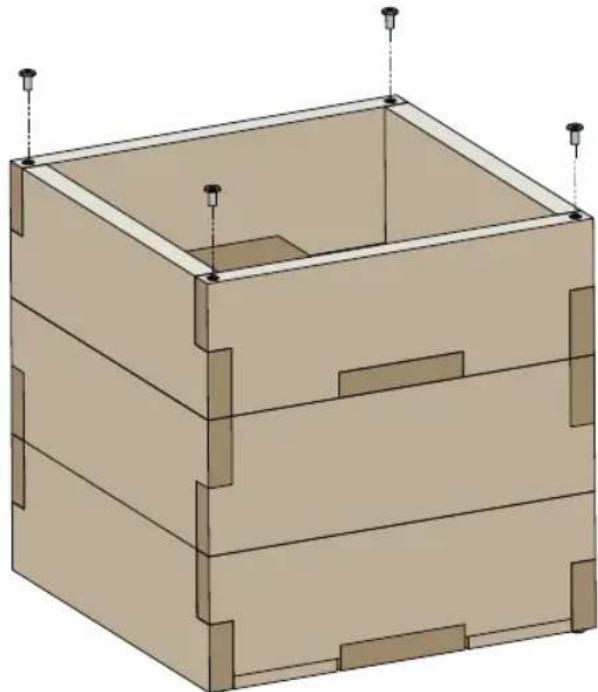
natural_image
3D architectural rendering of a rectangular building with internal structural details and mounting points (no text or symbols)Questions? E-Mail info@excelloglobal.com or Call 1-877-969-2710
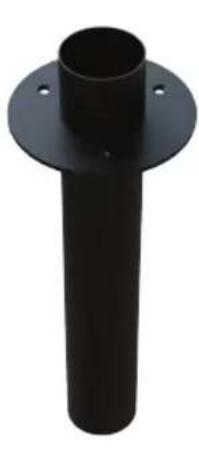
- Slide the metal pole support tube through the hole until it nests into the circular groove on the bottom. Then screw the flange to the support board:

natural_image
3D technical drawing of a mechanical assembly with a central cylindrical component and mounting holes (no text or symbols)- Slide your light pole, umbrella, or other pole into the metal tube and secure by tightening the wingnut. To stabilize the planter, we recommend adding gravel until it reaches the top of the support beam and then add potting soil above. This will allow for the best drainage while still giving you the ability to grow beautiful plants.
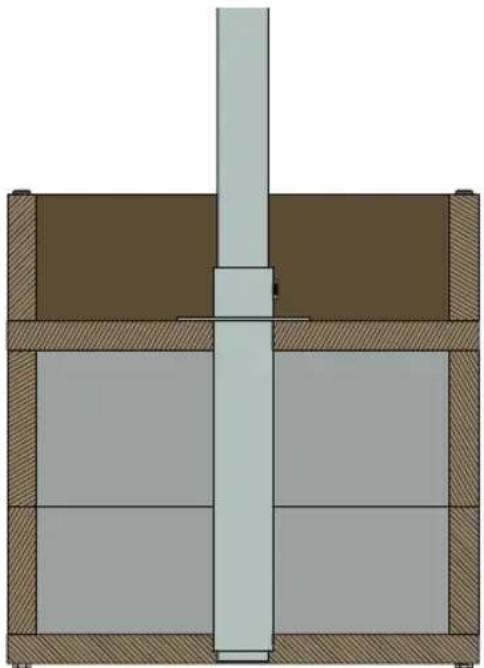
natural_image
Cross-sectional diagram of a mechanical assembly with layered components and a central vertical shaft (no text or symbols)Note: The wood is finished with a food-safe, oil-based, waterproof sealer. This will help protect the wood for outdoor use.
Wooden Planter Box with Universal Pole Holder
EGP-HD-0478 (14" x 14" x 14") EGP-HD-0478-OS (17 ^1/4 " x 17 ^1/4 x 18")

natural_image
Wooden square box with a black cylindrical base and circular top, no text or symbols visible.
text_image
EXCELLO GLOBAL PRODUCTS®Questions? E-Mail info@excelloglobal.com or Call 1-877-969-2710