
ALT58TLi401 - Lawn mower AEG - Free user manual and instructions
Find the device manual for free ALT58TLi401 AEG in PDF.


| Product Type | Cordless Electric Lawn Mower |
| Model | ALT58TLi41 |
| Brand | AEG |
| Power Source | 58V Lithium-Ion Battery |
| Cutting Width | 41 cm |
| Cutting Height Adjustment | Central, 6 positions |
| Cutting Height Range | 20 - 70 mm |
| Grass Collector Capacity | 50 liters |
| Motor Type | Brushless |
| Runtime (with 5Ah battery) | Up to 30 minutes |
| Charger Included | Yes, fast charger |
| Weight | 16.5 kg |
| Dimensions (L x W x H) | 1400 x 480 x 1000 mm |
| Noise Level | 84 dB(A) K=3 dB |
| Vibration Level | 4.0 m/s² |
| Safety Features | Safety key, blade brake, second handle switch |
| Cutting System | 3-in-1: mulching, rear bagging, side discharge |
| Handle Type | Ergonomic, foldable for storage |
| Wheel Size (Front/Rear) | 200 mm / 250 mm |
| Water Resistance | IPX4 |
| Included Accessories | Battery, charger, grass collector, mulching plug |
| Warranty | 2 years |
Frequently Asked Questions - ALT58TLi401 AEG
User questions about ALT58TLi401 AEG
0 question about this device. Answer the ones you know or ask your own.
Ask a new question about this device
Download the instructions for your Lawn mower in PDF format for free! Find your manual ALT58TLi401 - AEG and take your electronic device back in hand. On this page are published all the documents necessary for the use of your device. ALT58TLi401 by AEG.
USER MANUAL ALT58TLi401 AEG
Original instructions
Important!
It is essential that you read the instructions in this manual before assembling, operating, and maintaining the product.
Subject to technical modifications.
ALT58TLI401
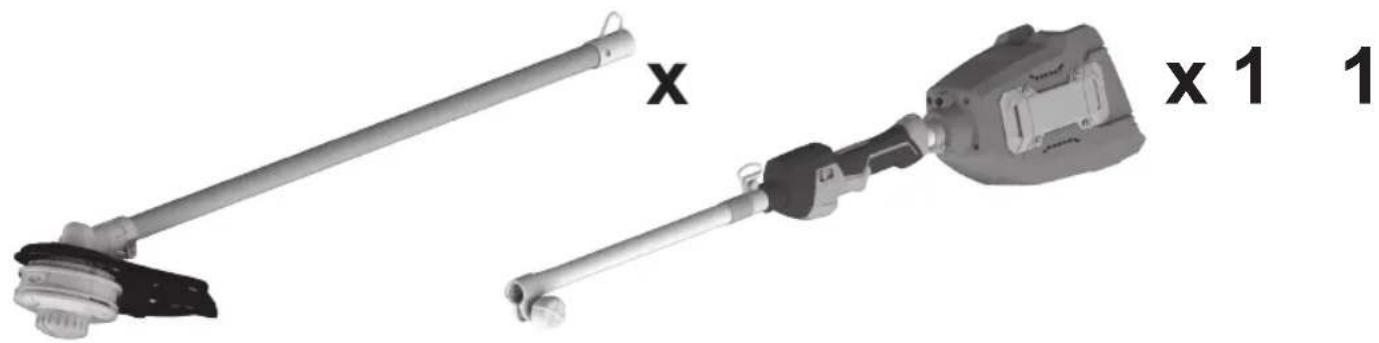
natural_image
Two mechanical components with labeled parts: a long rod and a multi-pronged tool, both shown without any text or symbols.
x 1
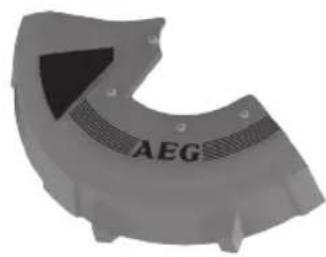
natural_image
Gray mechanical component with a black triangular cutout and 'AEG' label (no other text or symbols)x 1
x 1
x 1
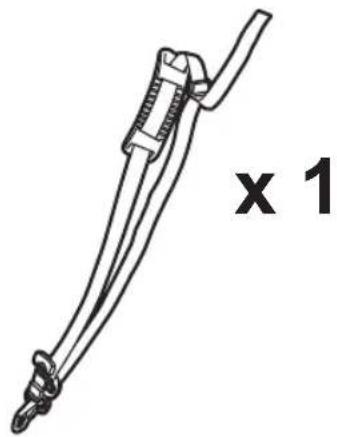
natural_image
Line drawing of a medical or surgical tool with a multi-jointed handle and labeled 'x 1' (no text or symbols on the tool itself)x 1
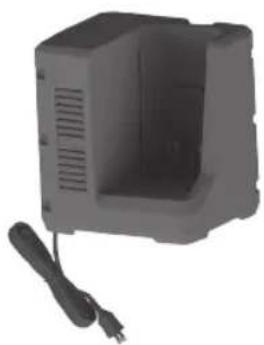
natural_image
Exterior view of a gray plastic enclosure with ventilation slots and a cable (no text or symbols visible)x 1
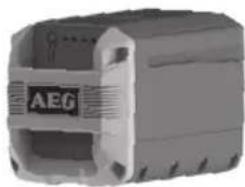
natural_image
3D rendered mechanical component with no visible text or symbolsx 1
ALT58BT
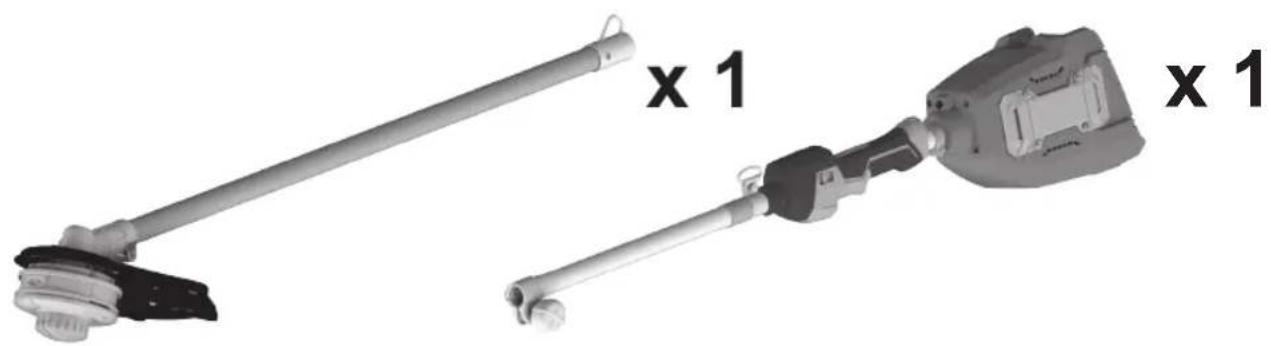
natural_image
Two mechanical components with articulated arms, one extending and one fixed, both labeled 'x 1' (no text or symbols on the devices themselves)
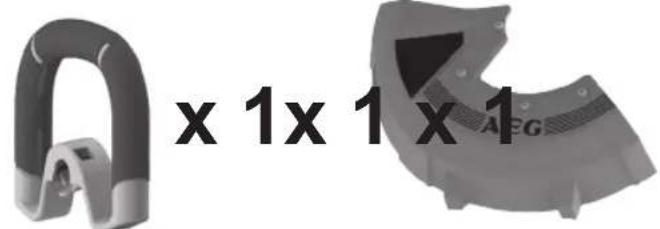
natural_image
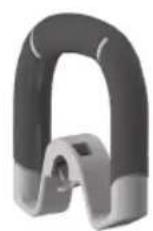
Two mechanical components: a U-shaped clamp and a segmented bracket with 'AEG' branding (no text or symbols on the objects themselves)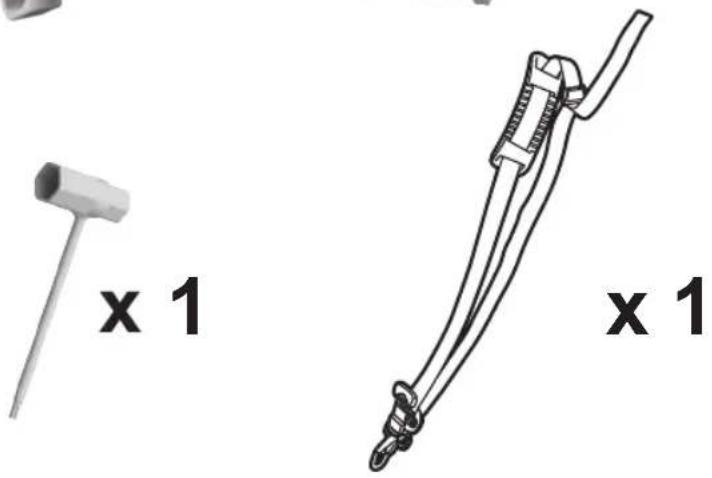
natural_image
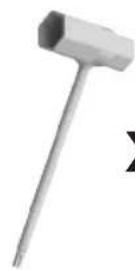
Two medical or laboratory tools: a gavel and a catheter, both labeled 'x 1' (no additional text or symbols)
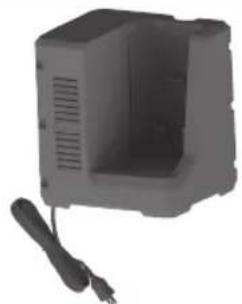
natural_image
Exterior view of a gray rectangular device with ventilation slots and a cable (no text or symbols visible)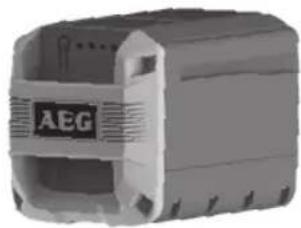
natural_image
Exterior view of a gray industrial component labeled AEG (no other text or symbols visible)

4
natural_image
Illustration of a robotic arm spraying water over grass, with no visible text or symbols
natural_image
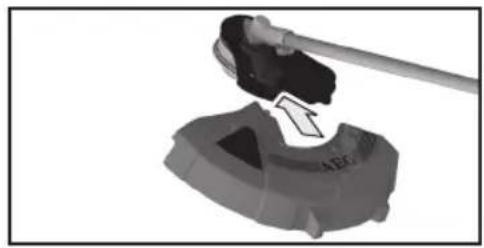
Mechanical assembly diagram showing a lever mechanism with no visible text or symbols1
natural_image
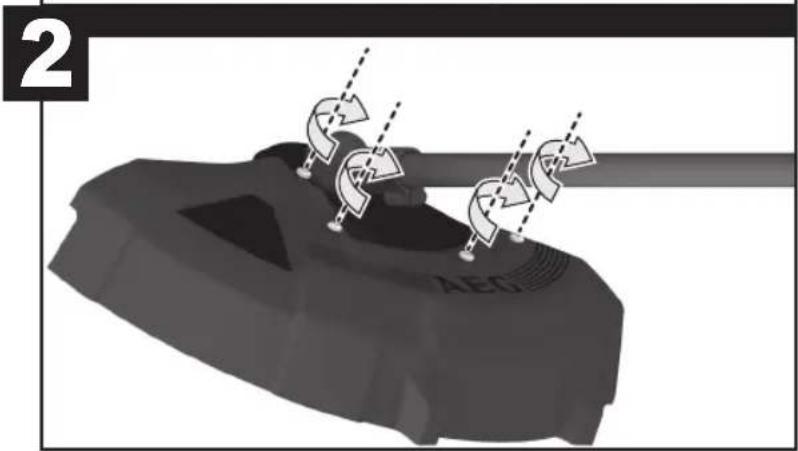
Mechanical assembly diagram showing a lever mechanism with a handle and shaft (no text or symbols)2
natural_image
Mechanical assembly diagram showing a pipe with clamping elements and directional arrows indicating motion (no text or symbols)3
natural_image
Mechanical assembly diagram showing a pipe clamp and valve mechanism (no text or symbols)1
natural_image
Mechanical assembly diagram showing a pipe fitting with a curved handle and valve mechanism (no text or symbols)

natural_image
Close-up of a mechanical component with a curved arrow indicating rotation or movement (no text or symbols)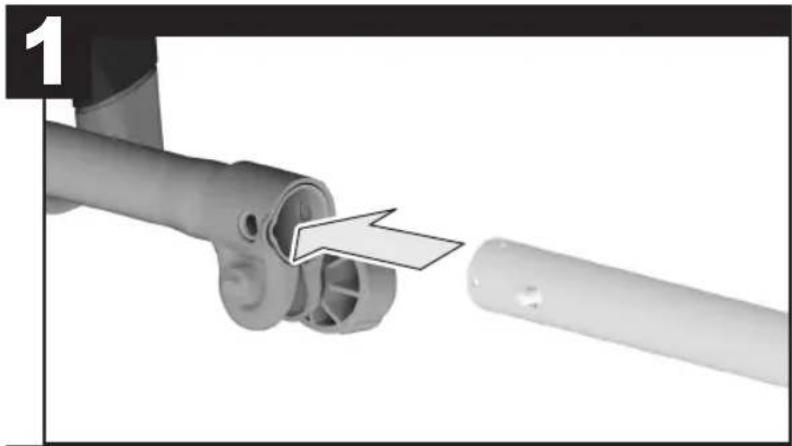
natural_image
Close-up of a mechanical component with a white cylindrical shaft and a metallic connector, showing a directional arrow (no text or symbols)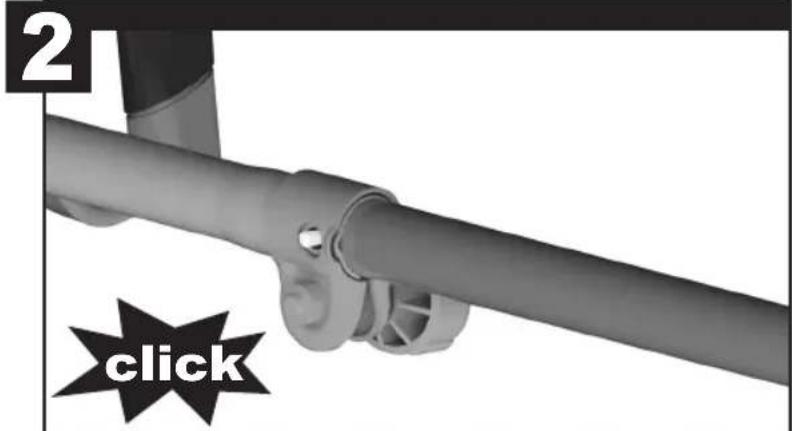
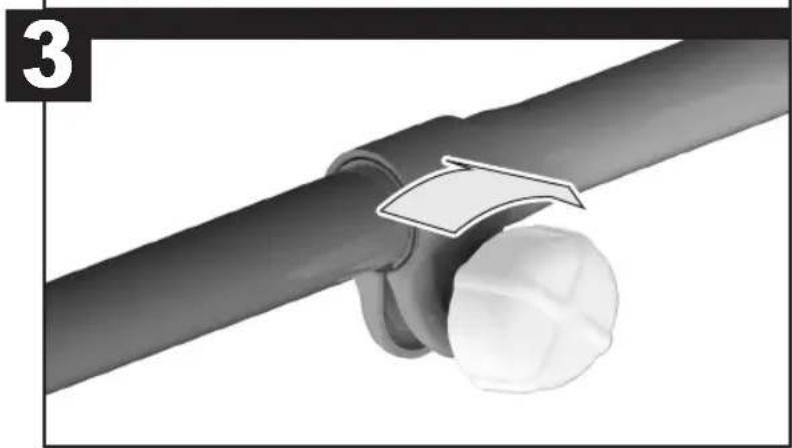
natural_image
Close-up of a black pipe fitting with a white plastic cap, no text or symbols visible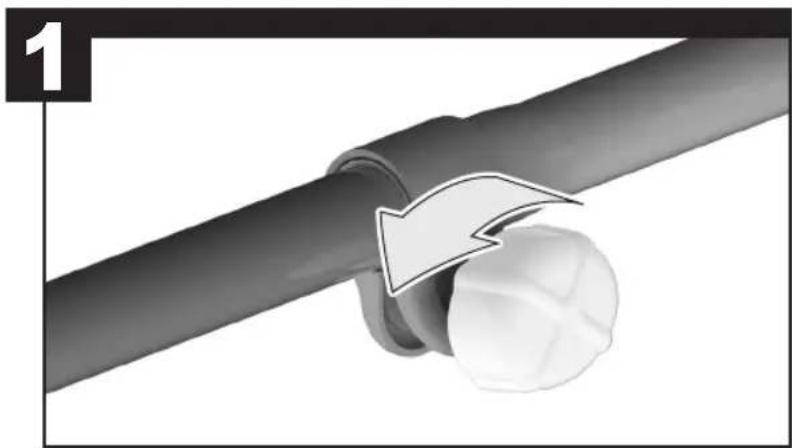
natural_image
Close-up of a black pipe fitting with a white circular knob and directional arrow (no text or symbols)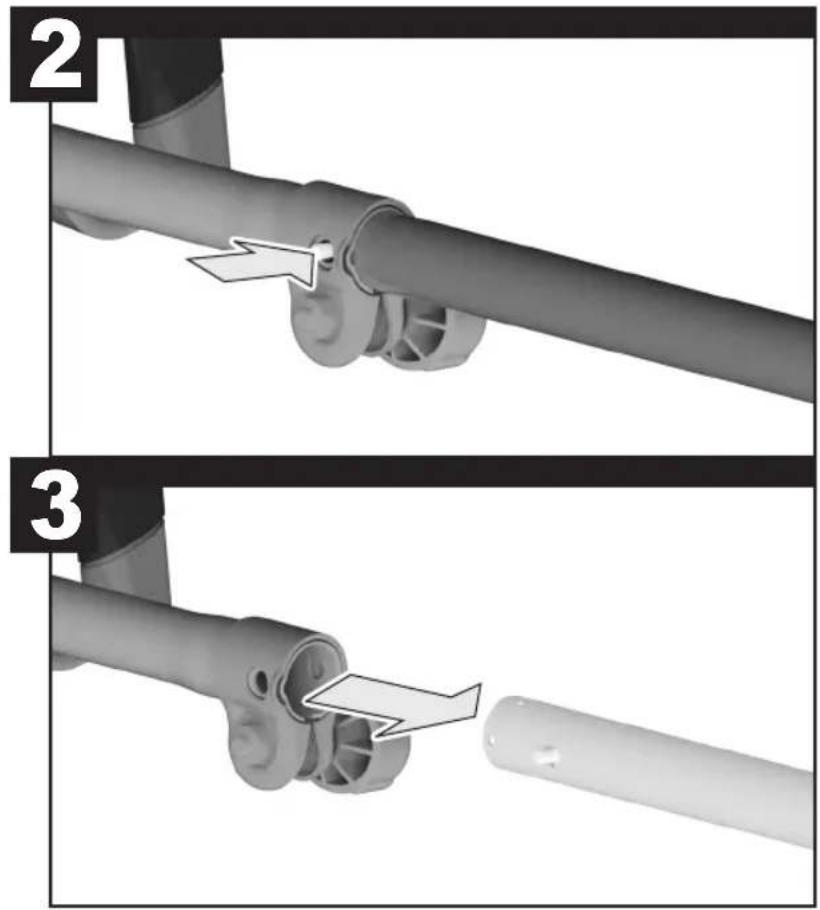
natural_image
Mechanical component with a lever and a labeled part (no readable text or symbols)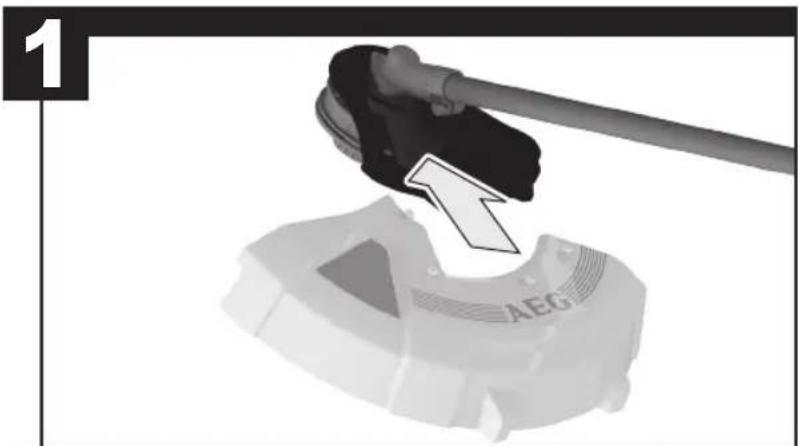
natural_image
Mechanical component with attached spring and chain, no visible text or symbols
natural_image
Mechanical component diagram showing a motor assembly with a cable and housing (no text or symbols)
natural_image
Mechanical component with a paperclip and cable, no visible text or symbols
natural_image
Mechanical component diagram showing a motor or gear assembly with directional arrows indicating motion (no text or symbols)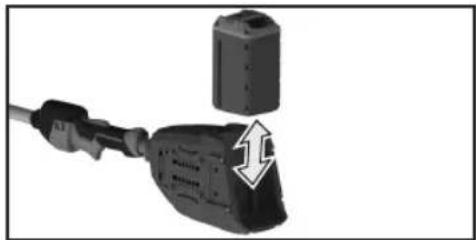
natural_image
Close-up of a black electrical plug with a small component inserted, showing a white arrow pointing to the plug's tip (no text or symbols visible)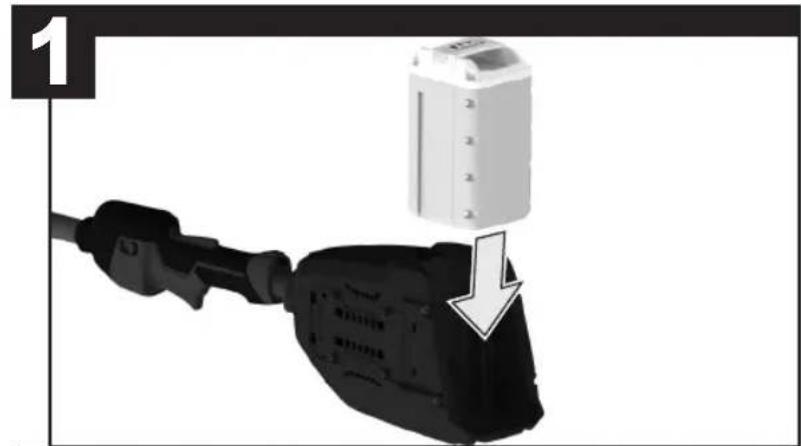
natural_image
Close-up of a black electrical plug with a white cylindrical component inserted, showing a downward arrow indicating a process (no text or symbols present)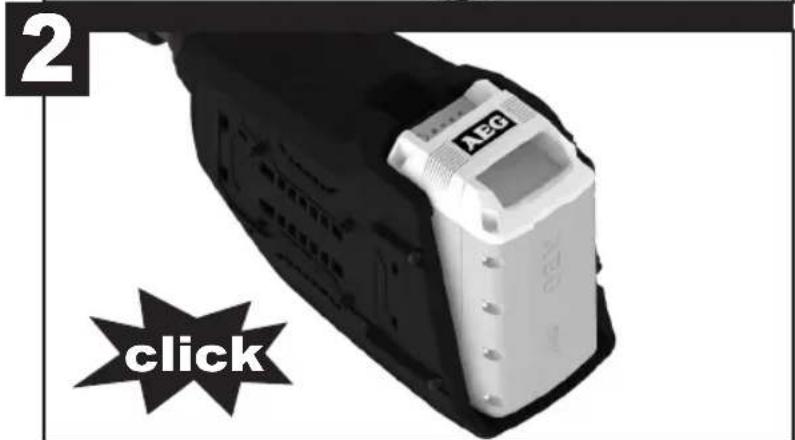
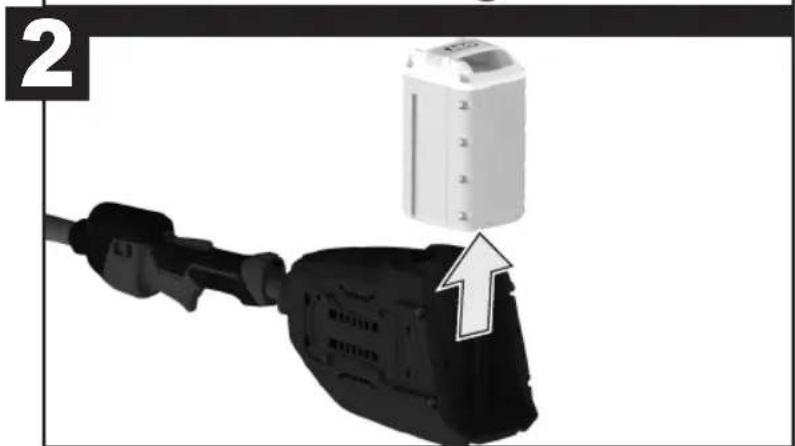
natural_image
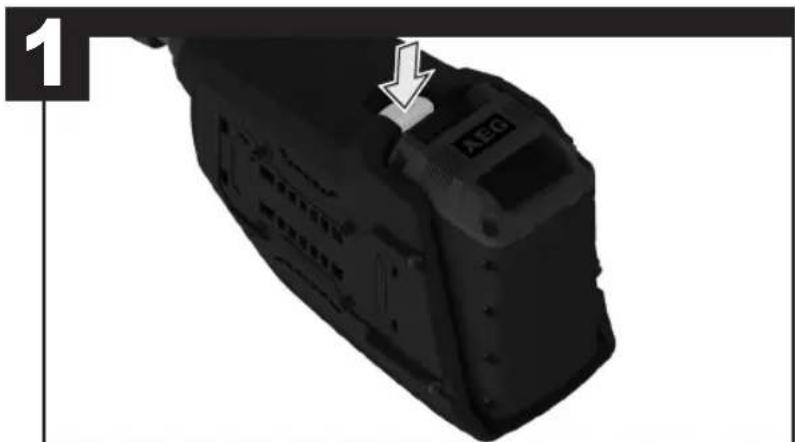
Close-up of a black electrical plug connected to a white cylindrical component with an arrow pointing to it (no text or symbols visible)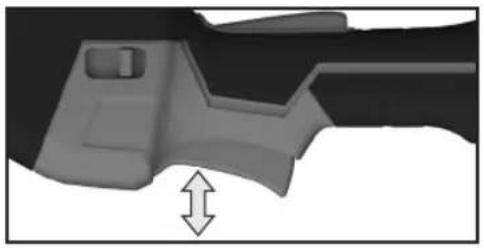
natural_image
3D rendered mechanical component with a double-headed arrow indicating a dimension or force (no text or symbols)START
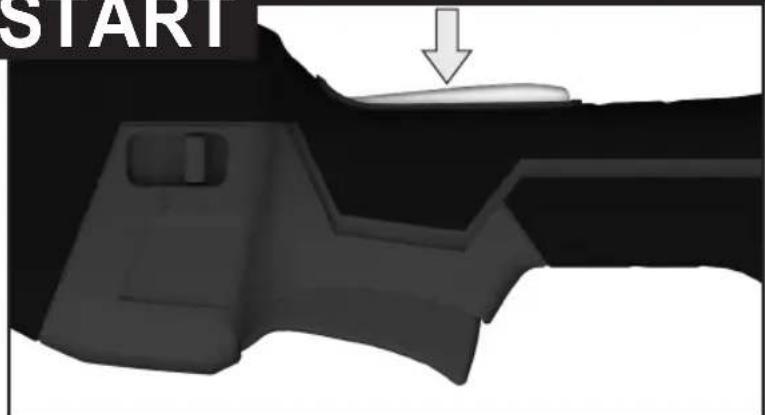
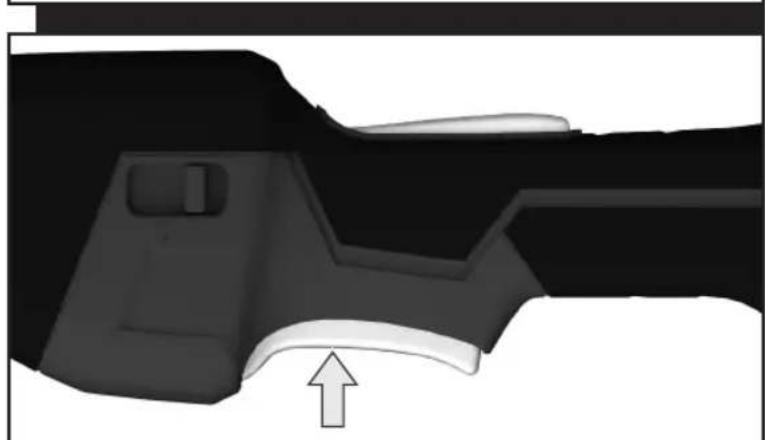
natural_image
3D rendered mechanical component with a white arrow pointing to a curved surface (no text or symbols)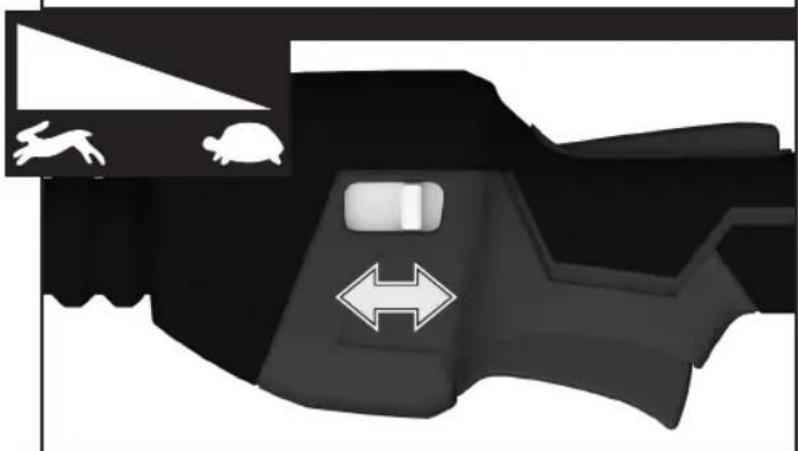
natural_image
Diagram of a vehicle's side profile showing rabbit and turtle silhouettes with directional arrows (no text or labels)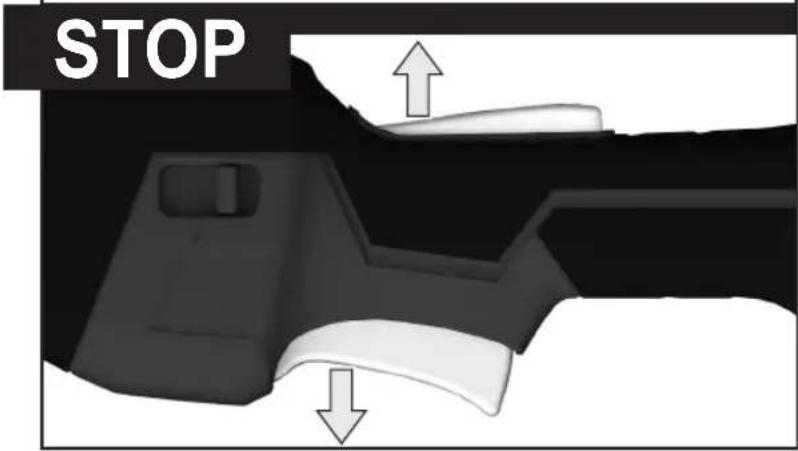
natural_image
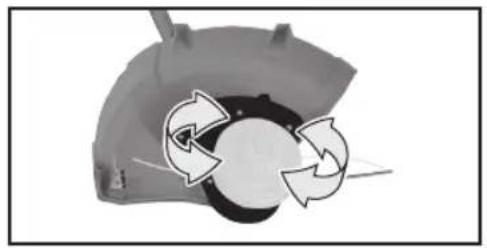
Diagram of a mechanical component with circular arrows indicating rotation or cycle (no text or symbols)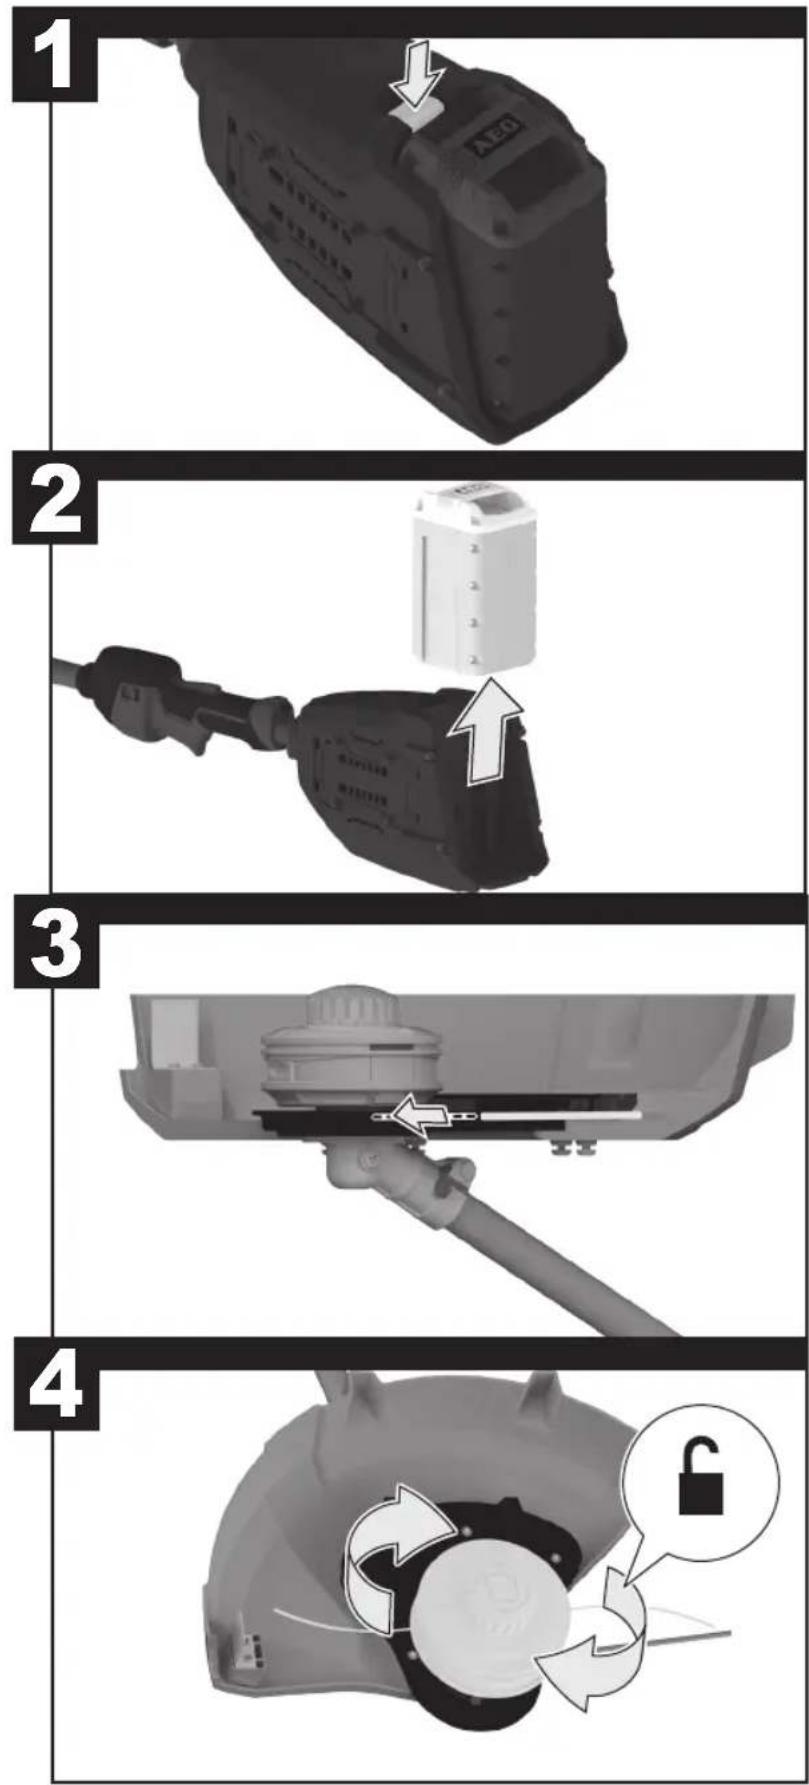
5
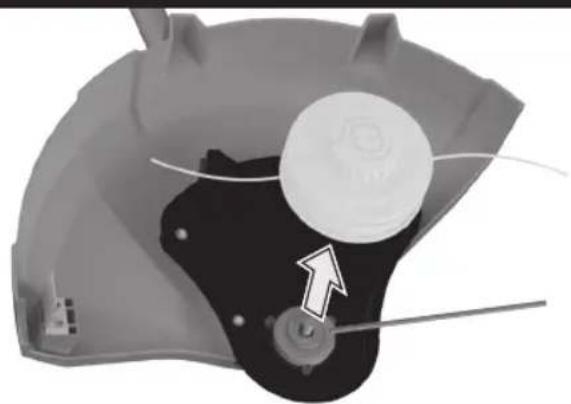
natural_image
Mechanical component diagram showing a housing with a central hub and a white arrow indicating direction (no text or symbols)1
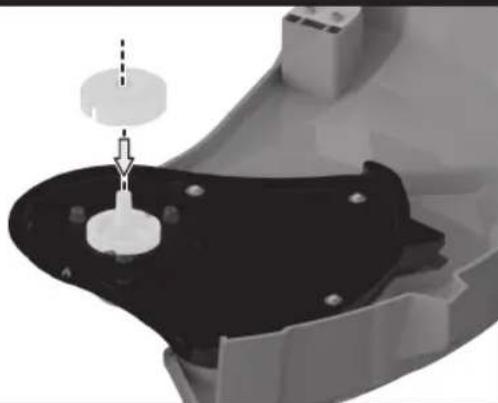
natural_image
3D mechanical assembly diagram showing a component with a central hub and mounting base (no text or symbols visible)2
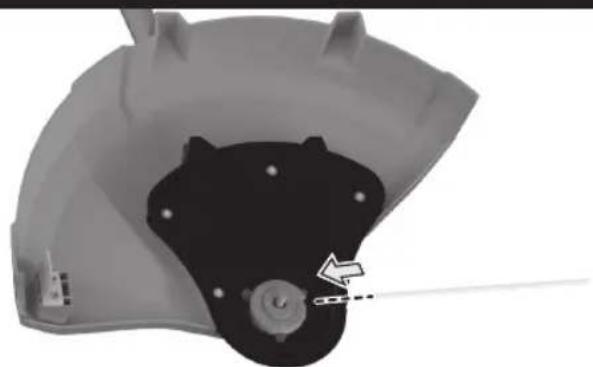
natural_image
3D rendering of a mechanical component with a black housing and a circular component, showing no visible text or symbols.3
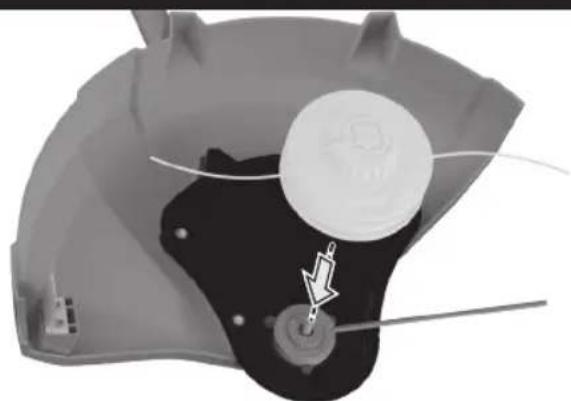
natural_image
3D rendered mechanical component with a highlighted circular feature and a lightning bolt symbol (no text or labels)4
natural_image
Diagram showing a lock mechanism inside a vehicle gear (no text or symbols)
flowchart
graph TD
    A["1: Display component"] --> B["2: Plug-in battery"]
    B --> C["3: Lock lock with reset mechanism"]
    C --> D["4: Close-up of terminal block"]
5
natural_image
Close-up of a mechanical component with internal components and arrows indicating motion (no text or symbols)6
natural_image
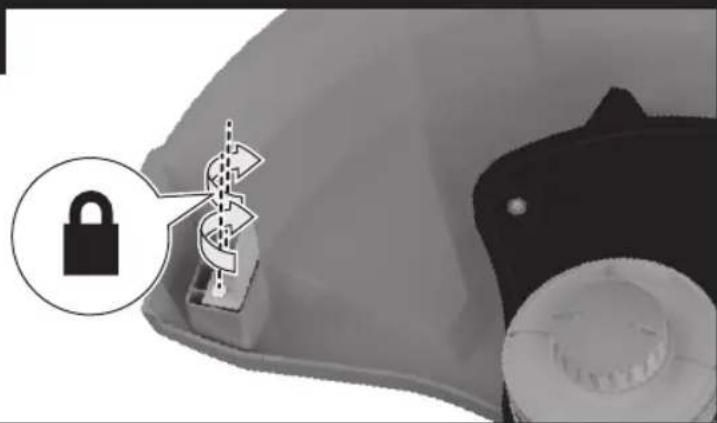
Close-up of a mechanical component with a lock icon and directional arrows, no visible text or symbols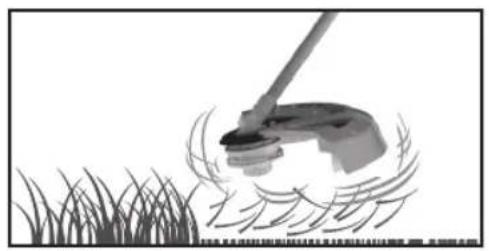
natural_image
Illustration of a hand using a tool to brush or brush over grass (no text or symbols)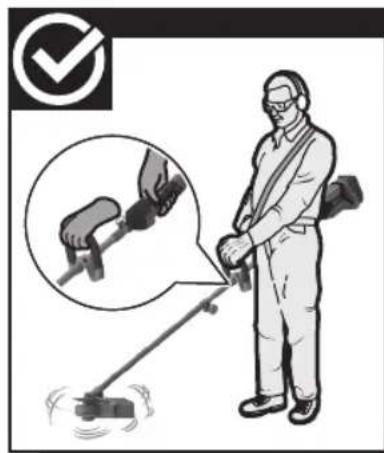
natural_image
Illustration of a person using a self-powered tool with a magnified inset showing the tool's handle (no text or symbols present)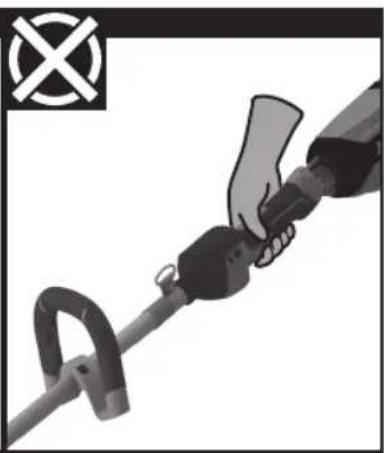
natural_image
Illustration of a hand holding a handheld device with a switch, no text or symbols present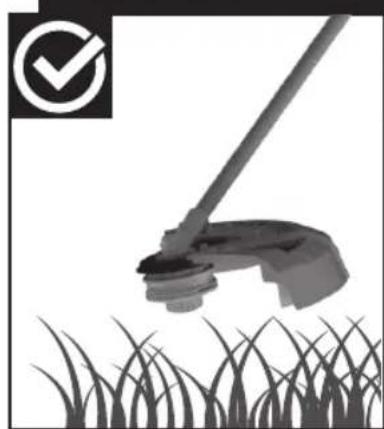
natural_image
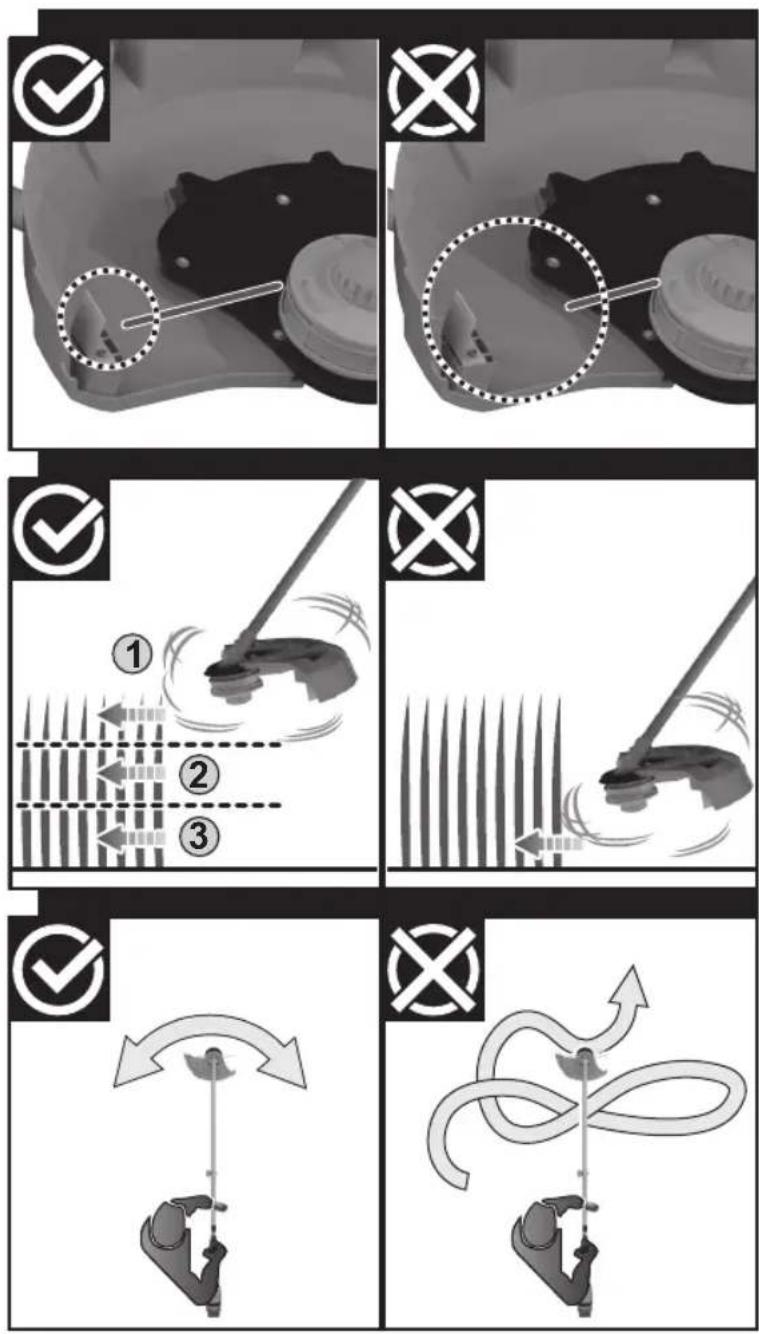
Illustration of a hand holding a tool over grass, with a checkmark symbol in the corner (no text or symbols on the diagram itself)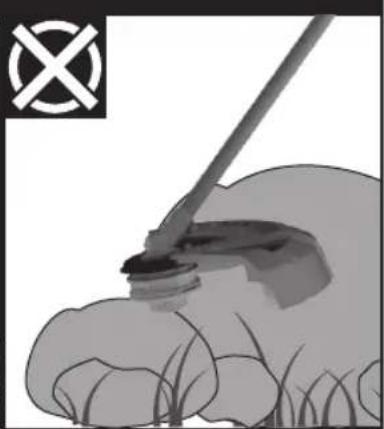
natural_image
Illustration of a hand holding a tool over grass, with a crossed-out symbol in the corner (no text or symbols on the diagram itself)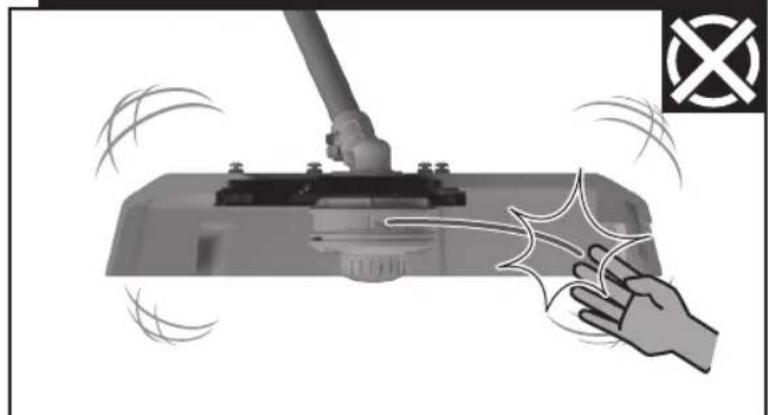
natural_image
Illustration of a hand cleaning a cleaning board with a broom and a 'X' symbol (no text or labels)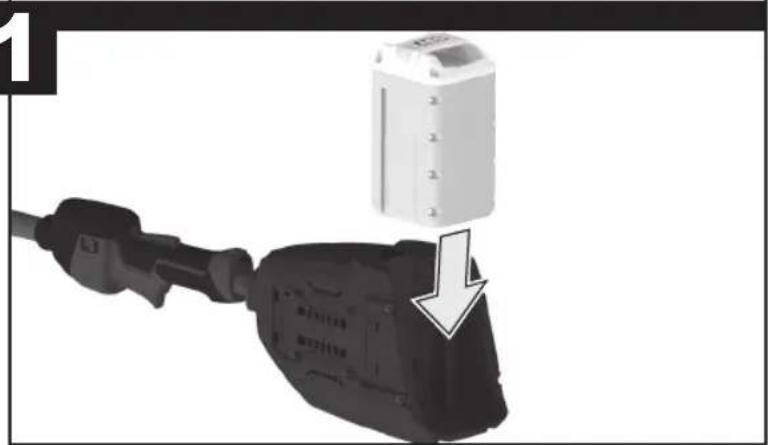
natural_image
Close-up of a black electrical plug with a white cylindrical component inserted, showing a downward arrow (no text or symbols)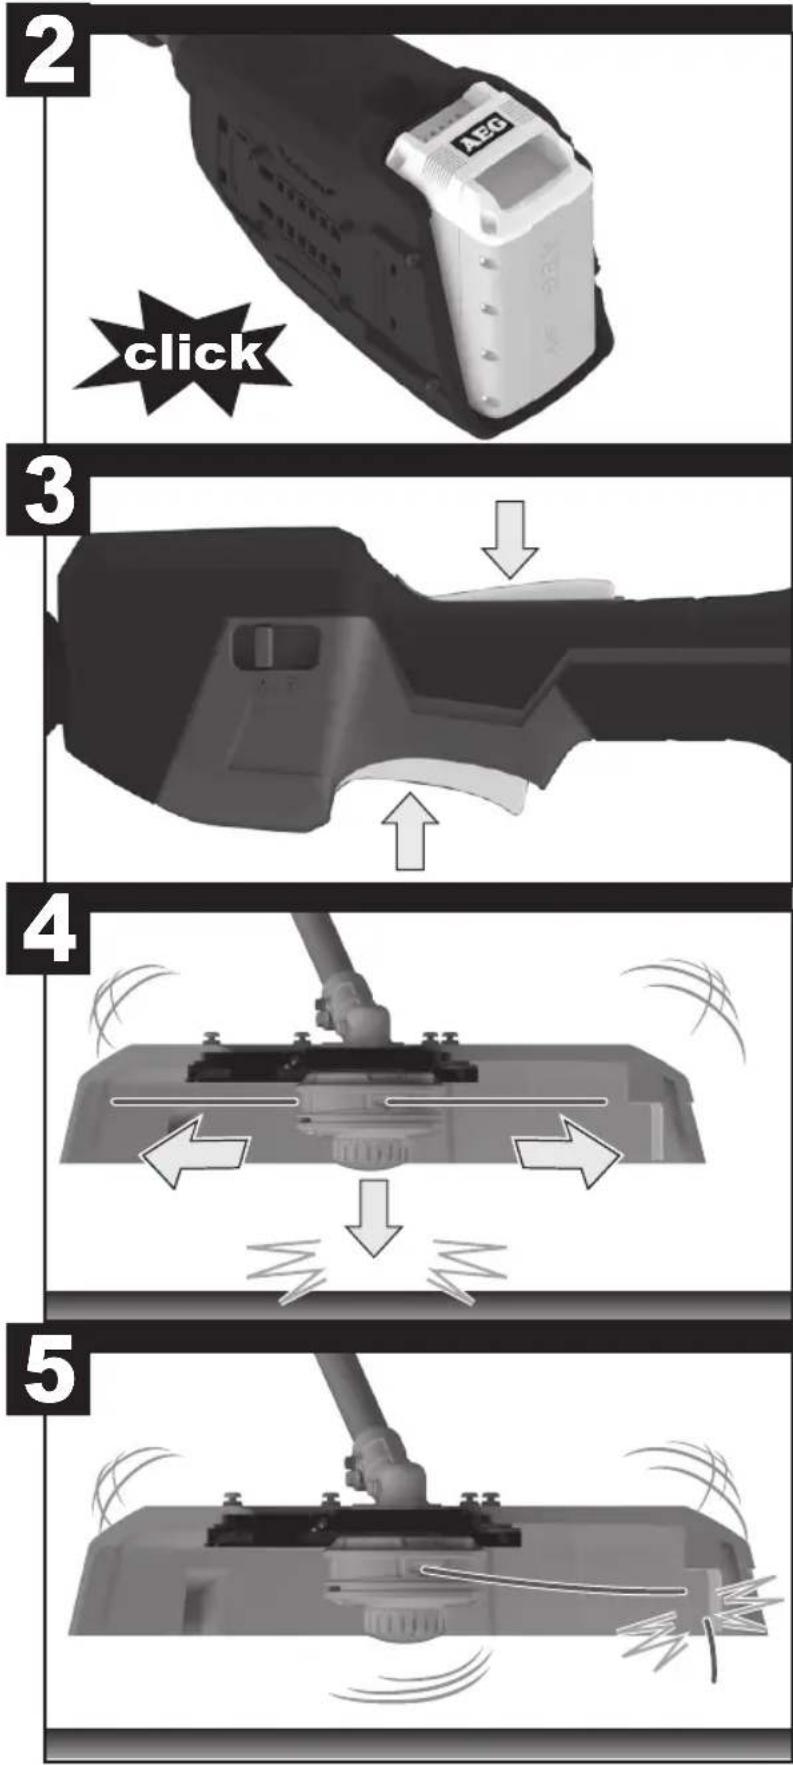
natural_image
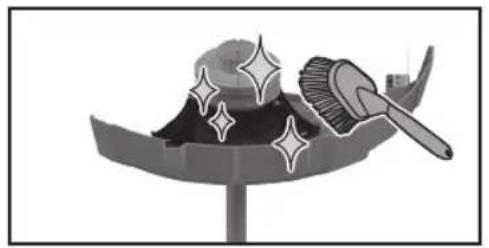
Illustration of a decorative hat with a brush and sparkle, no text or symbols present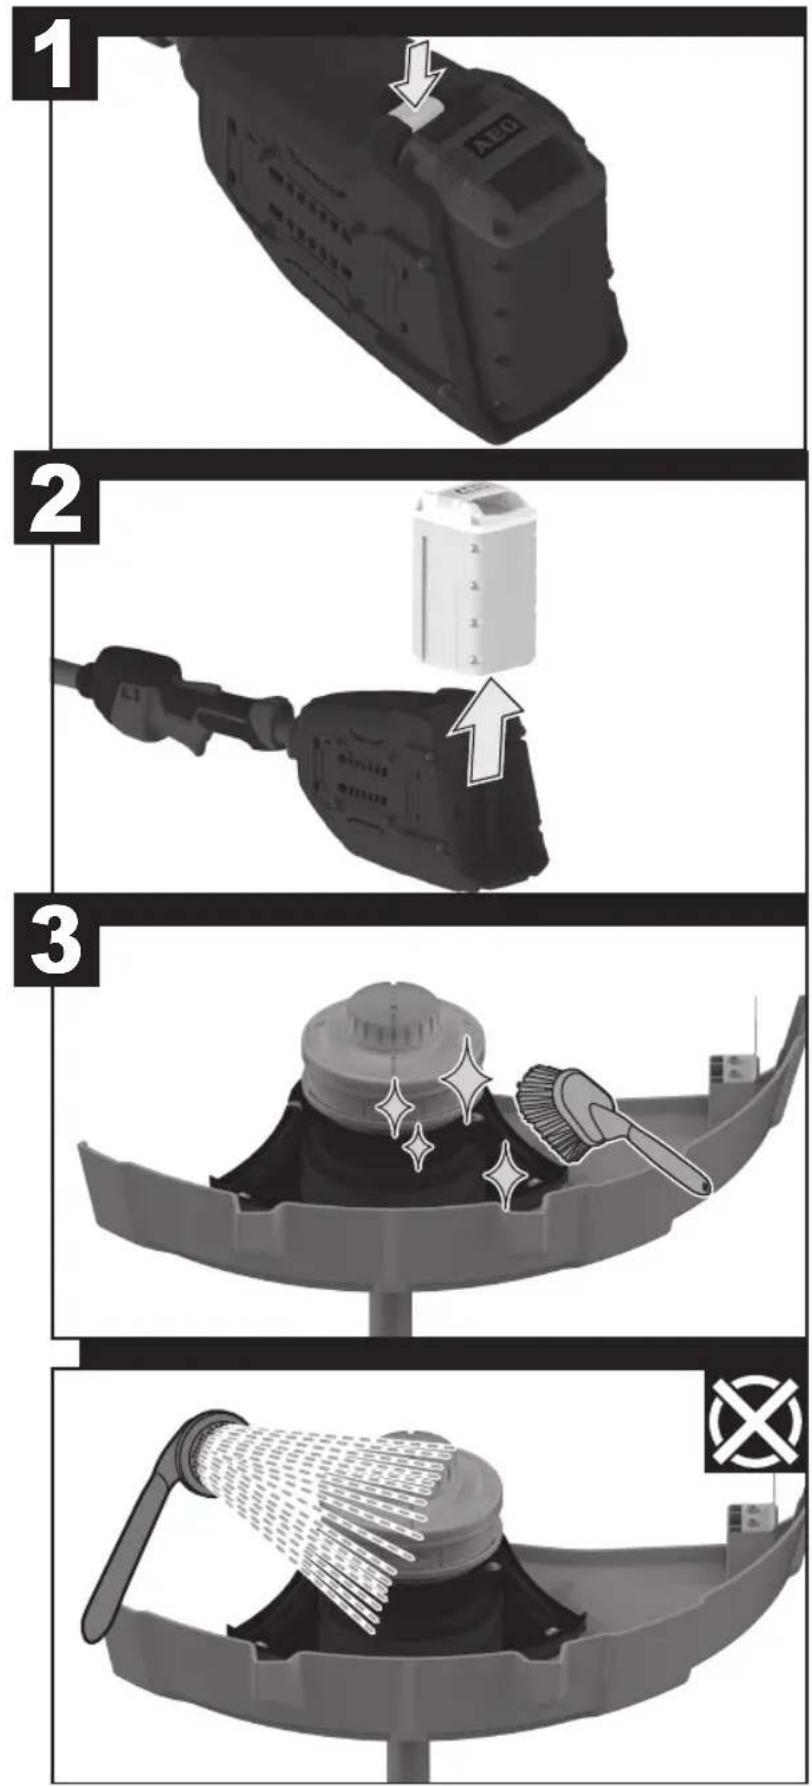
natural_image
Diagram of a mechanical device with a lever and directional arrow, no text or symbols present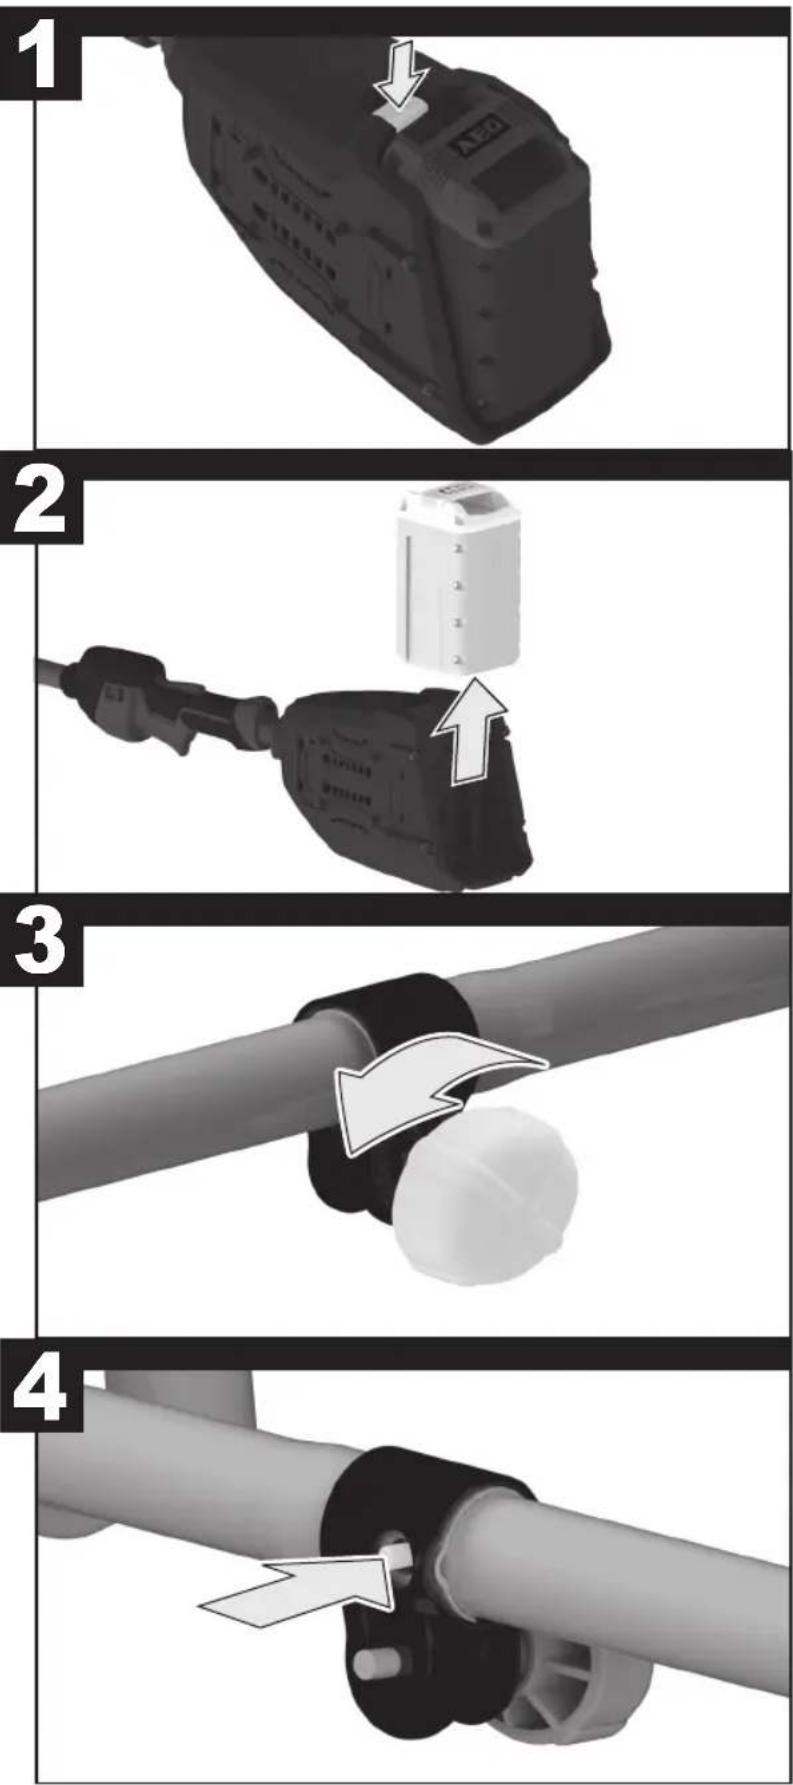
5
natural_image
Close-up of a white plastic pipe fitting with a black clamped component, showing a directional arrow (no text or symbols)6
natural_image
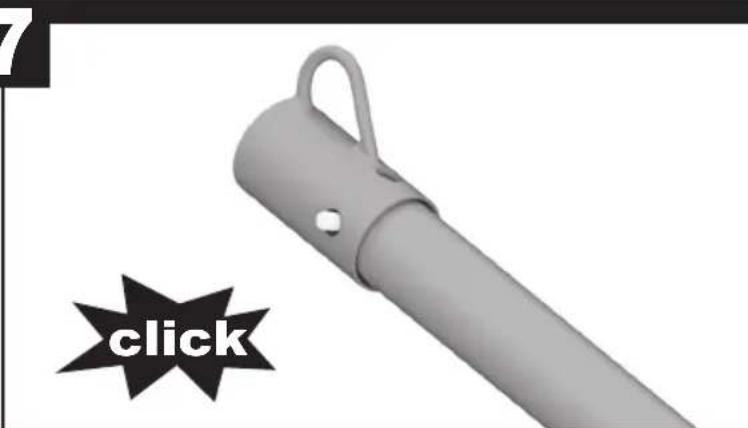
Two 3D-rendered objects: a cylindrical object and a light bulb with a handle, connected by an arrow (no text or symbols)7
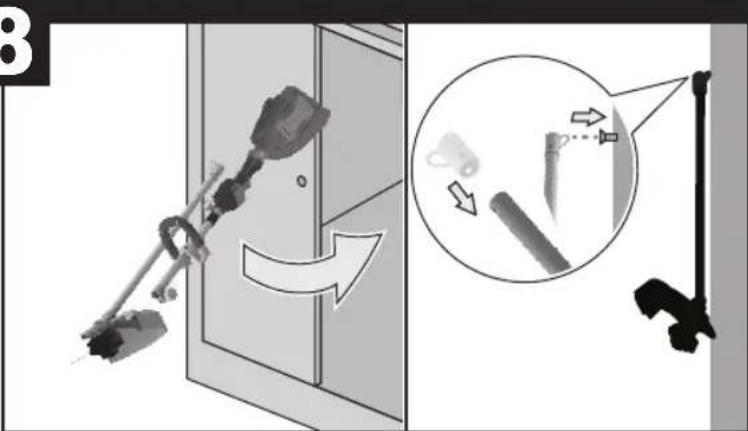
8
TECHNICAL DATA CORDLESS LINE TRIMMER
| Rated voltage | 58 V |
| High speed | 6700 r/min - Cut swath 380 mm |
| 6400 r/min - Cut swath 430 mm | |
| Low speed 5200 r/min - Cut swath 380 mm | |
| 4800 r/min - Cut swath 430 mm | |
| Cutting line diameter 2.4 mm | |
| Cutting swath 380/430 mm | |
| Weight without battery pack (with harness) | 4.8 kg |
| Noise emission level (in accordance with EN 50636-2-91 Annex CC) | |
| A-weighted sound pressure level at the operator position L_pA | 90.3 dB (A) |
| Uncertainty K | 2.5 dB |
| A-weighted sound power level L_wA | 104.6 dB (A) |
| Uncertainty K | 2.5 dB |
| Vibration Level (in accordance with EN 50636-2-91 Annex BB) | |
| Front handle ah | 3.0 m/s ^2 |
| Rear handle ah | 2.5 m/s ^2 |
| Uncertainty K | 1.5 m/s ^2 |
BATTERY AND CHARGER
| Model | ALT58TLI401 | ALT58BT |
| Battery pack | ABP58LI-401 | Not included |
| Charger | ABC58S | Not included |
| Compatible battery packs | ABP58LI-201ABP58LI-401 | |
| Compatible charger | ABC58S | |
| Battery pack weight | ||
| - 4.0Ah | 1.83 kg | |
| - 2.0Ah | 1.24 kg | |
REPLACEMENT PART
| 2.4 mm twist line | 528721000 |
WARNING!
The vibration emission level given in this information sheet has been measured in accordance with a standardised test method and may be used to compare one tool with another. It may be used for a preliminary assessment of exposure.
The declared vibration emission level represents the main applications of the tool. However if the tool is used for different applications, with different accessories or poorly maintained, the vibration emission may differ. This may significantly increase the exposure level over the total working period.
An estimation of the level of exposure to vibration should also take into account the times when the tool is switched off or when it is running but not actually doing the job. This may significantly reduce the exposure level over the total working period.
Identify additional safety measures to protect the operator from the effects of vibration such as: maintain the tool and the accessories, keep the hands warm, organisation of work patterns.
INTENDED USE
The cordless line trimmer is intended to be used only by adults who have read and understood the instructions and warnings in this manual and can be considered responsible for their actions. The product is only intended for use outdoors in a well-ventilated area. For safety reasons, the product must be adequately controlled by a two-handed operation.
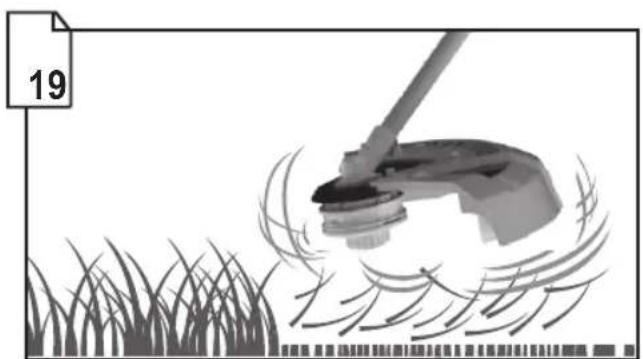
When fitted with the line trimmer head (and appropriate guard), the product is intended for cutting long grass, pulpy weeds, and similar vegetation at or about ground level.
The cutting plane should be approximately parallel to the ground surface. The product should not be used to cut or trim hedges, bushes, or other vegetation where the cutting plane is not parallel to the ground surface.
Do not use the product for any other purpose.
GENERAL SAFETY WARNINGS
⚠ WARNING! Read all safety warnings and all instructions. Failure to follow the warnings and instructions may result in electric shock, fire, and/or serious injury.
⚠ WARNING! When using the product, the safety rules must be followed. For your own safety and that of bystanders, please read these instructions before operating the product. Please keep the instruction safe for later use.
⚠ WARNING! The product is not intended to be used by children or persons with reduced physical, mental, or sensory capabilities. Children should be adequately supervised to ensure they do not play with the product.
⚠ WARNING! Some regions have regulations that restrict the use of the product. Check with your local authority for advice.
TRAINING
- Do not allow children or people unfamiliar with these instructions to use the product. Local regulations may restrict the age of the operator.
-
Read the instructions carefully. Be familiar with all controls and the proper use of the product.
-
Keep bystanders, children, and pets 15 m away from the area of operation. Stop the product if anyone enters the area.
■ Do not use the product when you are tired, ill, or under the influence of alcohol, drugs or under medication. - Keep in mind that the operator or user is responsible for accidents or hazards occurring to other people or their property.
PREPARATION
■ Wear full eye and hearing protection while operating the product. If working in an area where there is a risk of falling objects, head protection must be worn.
■ Hearing protection may restrict the operator's ability to hear warning sounds, pay particular attention to potential hazards around and inside the working area.
■ Wear heavy, long trousers, boots, and gloves. Do not wear loose fitting clothing, short trousers, jewellery of any kind, or use with bare feet.
- Secure long hair so it is above shoulder level to prevent entanglement in moving parts.
■ Do not operate the product unless all guards, deflectors, and handles are properly and securely attached.
■ Consider the environment in which you are working. Keep the working area free from wires, sticks, stones, and debris, which if struck by the cutter can become thrown objects.
BATTERY TOOL USE AND CARE
■ Recharge only with the charger specified by the manufacturer. A charger that is suitable for one type of battery pack may create a risk of fire when used with another battery pack.
■ Use power tools only with specifically designated battery packs. Use of any other battery packs may create a risk of injury and fire.
- When battery pack is not in use, keep it away from other metal objects, like paper clips, coins, keys, nails, screws or other small metal objects, that can make a connection from one terminal to another. Shorting the battery terminals together may cause burns or a fire.
■ Under abusive conditions, liquid may be ejected from the battery; avoid contact. If contact accidentally occurs, flush with water. If liquid contacts eyes, additionally seek medical help. Liquid ejected from the battery may cause irritation or burns.
LINE TRIMMER SAFETY WARNINGS
■ Do not allow children, persons with reduced physical, sensory, or mental capabilities, or lack of experience and knowledge or people unfamiliar with these instructions to use the product.
■ Use the product in daylight or with good artificial light.
■ Avoid using on wet grass.
- Keep proper footing and balance at all times and be sure of proper footing on slopes.
■ Do not walk backwards when using the product.
■ Walk, never run.
- Keep the head attachment below waist level.
■ Do not operate the product with damaged guards or without guards in place.
■ Never fit a metal replacement line.
- Keep hands and feet away from the cutting means at all times and especially when switching on the motor.
■ Beware, the cutting elements continue to rotate after the motor is switched off.
■ Beware of objects thrown by the cutting means. Clear debris like small stones, gravel, and other foreign objects from the work area before starting operation. Wires or string may become entangled with the cutting means.
■ Switch off and remove the battery pack. Make sure all moving parts have come to a complete stop:
- before servicing
• before leaving the product unattended
• before clearing a blockage - before checking, cleaning, and working on the product
• before changing accessories
• after striking a foreign object - whenever performing maintenance
- whenever the product starts to vibrate abnormally
■ The small blade fitted to the lawn guard is designed to trim the new extended line to the correct length for safe and optimum performance. It is very sharp, do not touch it particularly when cleaning the product.
■ Always ensure that ventilation openings are kept clear of debris.
■ Before use and after any impact, check that there are no damaged parts. A defective switch or any part that is damaged should be properly repaired or replaced by an authorised service centre.
■ Make sure the cutting head attachment is properly installed and securely fastened.
■ Make sure all guards, deflectors, and handles are properly and securely attached.
Do not modify the product in any way, this may increase the risk of injury to yourself or others.
- Use only the manufacturer's replacement cutting line. Do not use any other cutting attachment.
- Immediately switch off and remove the battery pack in the event of accident or breakdown. Don't operate the product again until it has been fully checked by an authorised service centre.
WARNING! Ensure that the line cut-off blade in guard is properly positioned and secured before each use.
ADDITIONAL BATTERY SAFETY WARNINGS
⚠ WARNING! To reduce the risk of fire, personal injury, and product damage due to a short circuit, never immerse your tool, battery pack, or charger in fluid or allow a fluid to flow inside them. Corrosive or conductive fluids, such as seawater,
certain industrial chemicals, and bleach or bleach-containing products, etc., can cause a short circuit.
TRANSPORTATION AND STORAGE
■ Stop the product, remove the battery pack, and allow the product to cool down before storing or transporting.
■ Clean all foreign material from the product.
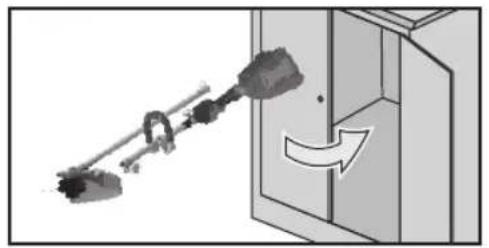
- Do not store or transport the product with batteries fitted, remove and secure separately. Store the product in a cool, dry, and well-ventilated place that is inaccessible to children. Keep away from corrosive agents, such as garden chemicals and deicing salts. Do not store outdoors.
■ For transportation in vehicles, secure the product against movement or falling to prevent injury to persons or damage to the product.
TRANSPORTING LITHIUM BATTERIES
Transport the battery in accordance with local and national provisions and regulations.
Follow all special requirements on packaging and labelling when transporting batteries by a third party.
Ensure that no batteries can come in contact with other batteries or conductive materials while in transport by protecting exposed connectors with insulating, non-conductive caps or tape. Do not transport batteries that are cracked or leaking. Check with the forwarding company for further advice.
MAINTENANCE
⚠ WARNING! Use only original manufacturer's replacement parts, accessories, and attachments. Failure to do so can cause possible injury, contribute to poor performance, and may void your warranty.
⚠ WARNING! Servicing requires extreme care and knowledge and should be performed only by a qualified service technician. For service, bring the product to an authorised service centre. When servicing, use only original replacement parts.
■ Switch off and remove the battery pack before conducting any maintenance or cleaning work.
■ You may make adjustments and repairs described here. For other repairs, contact the authorised service centre.
■ Before any maintenance or adjustment, disable the product by removing the power source.
■ For replacement line, use only nylon filament line of the diameter described in the specification table of this manual.
■ After extending new cutter line, always return the product to its normal operating position before starting.
■ After each use, clean the product with a soft, dry cloth. Any part that is damaged should be properly repaired or replaced by an authorised service centre.
- Check all nuts, bolts, and screws at frequent intervals for proper tightness to ensure the product is in safe working condition.
■ Bring the product to an authorised service centre to replace damaged or unreadable labels.
RESIDUAL RISKS
Even when the product is used as prescribed, it is still impossible to completely eliminate certain residual risk factors. The following hazards may arise in use and the operator should pay special attention to avoid the following:
■ Injury caused by vibration
– Hold the product by designated handles and restrict working time and exposure.
■ Injury caused by exposure to noise
– Wear hearing protection and limit exposure.
■ Injury caused by flying debris.
– Wear eye protection at all times.
RISK REDUCTION
It has been reported that vibrations from handheld tools may contribute to a condition called Raynaud's Syndrome. Symptoms may include tingling, numbness, and blanching of the fingers, usually apparent upon exposure to cold. Hereditary factors, exposure to cold and dampness, diet, smoking, and work practices are all thought to contribute to the development of these symptoms. There are measures that can be taken by the operator to possibly reduce the effects of vibration:
- Keep your body warm in cold weather. When operating the product, wear gloves to keep the hands and wrists warm. It is reported that cold weather is a major factor contributing to Reynaud's Syndrome.
■ After each period of operation, exercise to increase blood circulation.
■ Take frequent work breaks. Limit the amount of exposure per day.
⚠ WARNING! Injuries may be caused, or aggravated, by prolonged use of a tool. When using any tool for prolonged periods, ensure you take regular breaks.
SYMBOLS

Read and understand all instructions before operating the product. Follow all warnings and safety instructions.

Regulatory Compliance Mark (RCM). Product meets applicable regulatory requirements.

Please read the instructions carefully before starting the product.

Wear ear protection

Wear eye protection

Do not expose to rain or damp condition.
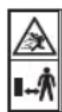
Beware of thrown or flying objects.

Do not use metal blade(s) on the product.

Rotational direction and maximum speed of the shaft for the cutting attachment.

Keep hands away from cut-off blade

Pull: Quick release tab

Remove the battery pack before starting any work on the product.

Class II tool, double insulation
Do not dispose of electric tools together with household waste material! In observance of European Directive 2002/96/EC on waste electrical and electronic equipment and its implementation in accordance with national law, electric tools that have reached the end of their life must be collected separately and returned to an environmentally compatible recycling facility.
The following signal words and meanings are intended to explain the levels of risk associated with this product:

DANGER
Indicates an imminently hazardous situation, which, if not avoided, will result in death or serious injury.

WARNING
Indicates a potentially hazardous situation, which, if not avoided, could result in death or serious injury.

CAUTION
Indicates a potentially hazardous situation, which, if not avoided, may result in minor or moderate injury.
CAUTION
Without safety alert symbol
Indicates a situation that may result in property damage.


AEG
POWERTOOLS
www.aegpowertools.com.au
www.aegpowertools.co.nz
Techtronic Industries Australia Pty Ltd
31 Gilby Road, Mount Waverley, VIC 3149
Melbourne, Australia
Techtronic Industries N.Z. Limited
2 Landing Drive, Mangere
Auckland,2022,New Zealand
960087208-01
- Important!
- ALT58TLI401
- WARNING!
- INTENDED USE
- GENERAL SAFETY WARNINGS
- TRAINING
- PREPARATION
- BATTERY TOOL USE AND CARE
- LINE TRIMMER SAFETY WARNINGS
- ADDITIONAL BATTERY SAFETY WARNINGS
- TRANSPORTATION AND STORAGE
- TRANSPORTING LITHIUM BATTERIES
- MAINTENANCE
- RESIDUAL RISKS
- RISK REDUCTION
- SYMBOLS
- DANGER
- WARNING
- CAUTION
- AEG
- POWERTOOLS
Brand : AEG
Model : ALT58TLi401
Category : Lawn mower