
MVC-V18PR - Vacuum Cleaner MIDEA - Free user manual and instructions
Find the device manual for free MVC-V18PR MIDEA in PDF.

| Product Type | Canister Vacuum Cleaner |
| Model | MVC-V18PR |
| Brand | Midea |
| Color | Black/Red |
| Dimensions (LxWxH) | 450 x 280 x 320 mm |
| Weight | 5.5 kg |
| Power Supply | 220-240 V, 50/60 Hz |
| Power Consumption | 1600 W |
| Suction Power | 380 AW |
| Dust Capacity | 2.0 L |
| Filtration System | HEPA 13 washable filter |
| Noise Level | 78 dB(A) |
| Cord Length | 6 m |
| Operating Radius | 9 m |
| Attachments Included | Crevice tool, upholstery brush, dusting brush, combination floor head |
| Bagless | Yes, cyclone technology |
| Maintenance | Empty dust container after each use; wash filter every 3 months |
| Safety Features | Thermal overload protection, auto shut-off |
| Spare Parts Available | Filters, brush rolls, attachments |
| Repairability | Moderate; user-replaceable filters and belts |
| General Information | Product manual available online; customer support via Midea website |
Frequently Asked Questions - MVC-V18PR MIDEA
User questions about MVC-V18PR MIDEA
0 question about this device. Answer the ones you know or ask your own.
Ask a new question about this device
Download the instructions for your Vacuum Cleaner in PDF format for free! Find your manual MVC-V18PR - MIDEA and take your electronic device back in hand. On this page are published all the documents necessary for the use of your device. MVC-V18PR by MIDEA.
USER MANUAL MVC-V18PR MIDEA
KEEP IT PROPERLY FOR
FUTURE USE
Warning notices: Before
using this product, please
read this manual carefully
and keep it for future
reference.
The design and
specifications are subject to
change without prior notice
for product improvement.
Consult with your dealer or
manufacturer for details.
INSTALLATION
INSTRUCTIONS
USER GUIDE

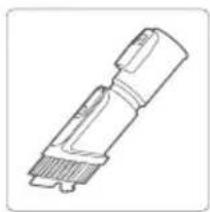
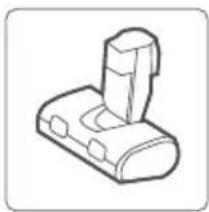
natural_image
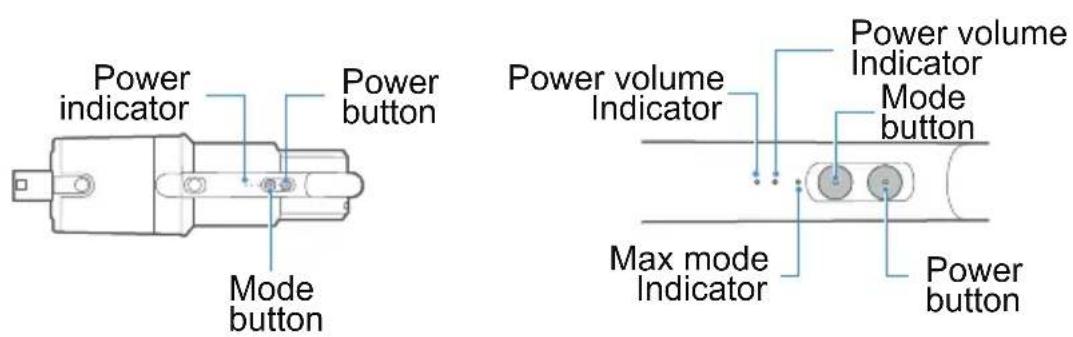
Line drawing of a vacuum cleaner with attached circuit board (no text or symbols)01
STRUCTURE OF THE PRODUCT
Assembly and other parts instruction

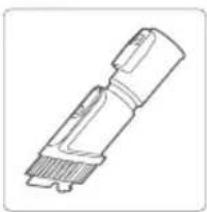
Accessories list:
natural_image
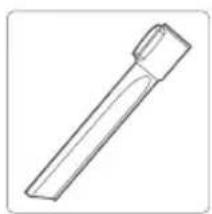
Simple line drawing of a cylindrical object with a tapered end (no text or symbols)Crevice Nozzle
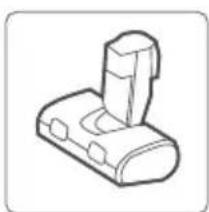
natural_image
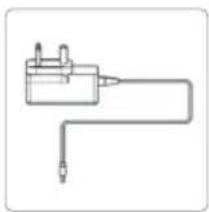
Simple line drawing of a mechanical or electrical component with no text or symbolsAdaptor
Instruction Manual
natural_image
Technical line drawing of a mechanical component with no visible text or symbols2 in 1 brush Turbo bed brush
natural_image
Simple line drawing of a mechanical component with no text or symbolsTurbo bed brush
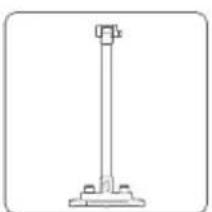
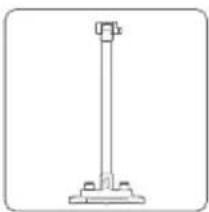
natural_image
Simple line drawing of a vertical support structure with base and top (no text or symbols)Storage rack
Tips:
When cleaning the high places, please assemble the accessories on tube.
02 HOW TO USE
Operation 1:
Battery charging:
Tips:
Battery is not full when leaving factory, please remember to charge up before first usage.
No. Operation instruction

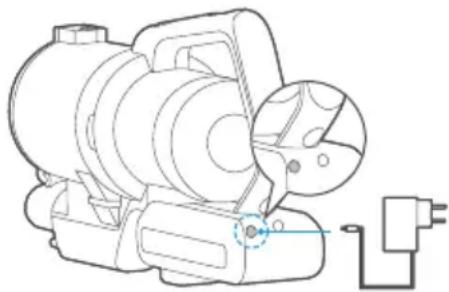
natural_image
Technical line drawing of a mechanical device with no visible text or symbols1 Put the body on horizontal surface.
Connect the adaptor to charging port
on battery pack and plug the adaptor to socket.
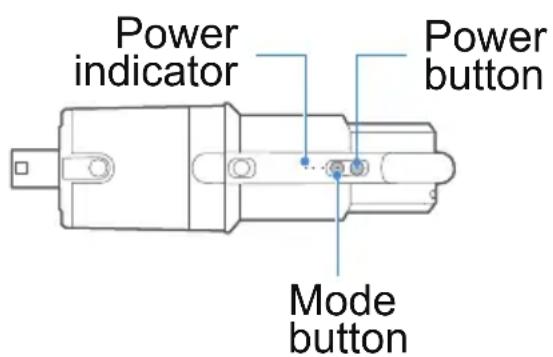
When charing, power indicator will twinkle continuously.
1min after charging up, indicator will shut off.
2 Charging time : 4-6h
Discharging time : Max Mode: ≥10Mins
Middle Mode: ≥20Mins
Low Model: ≥45Mins
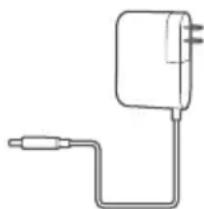
natural_image
Simple line drawing of a wall-mounted power supply with a cable (no text or symbols)Operation 2:
Cleaning:
Note:
To avoid the air flue being blocked, please clean the big particle waste. (such as paper, cloth and others).
No. Operation instruction
1 Knob down "Power button" to start
2 Knob down "Power button" again to stop
3 When only one power indicator is on and twinkle, please charge it.
Operation 3
Wall mount assembly and usage:
1. Wall mount assembly
When not using the cleaner, please store the cleaner on mount.
2. Choose the storage rack
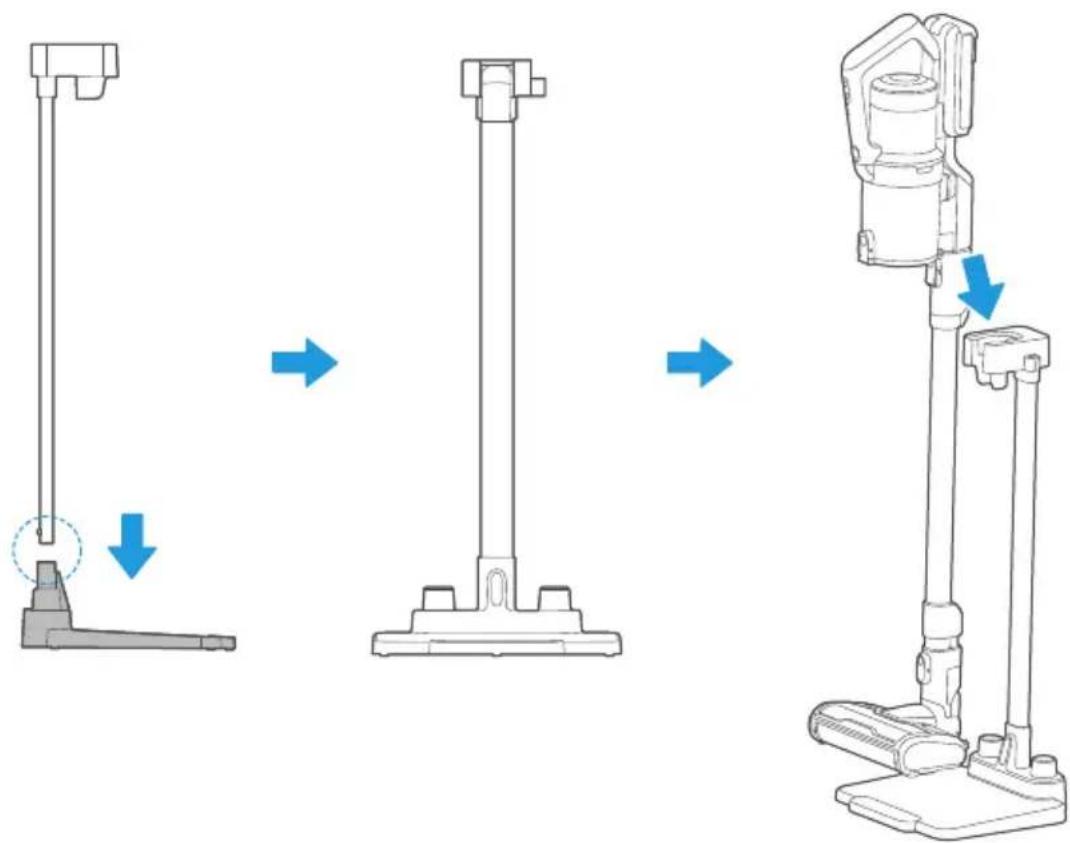
- Installation of the storage shelf: install the receiving buckle assembly and the storage base as shown in the diagram, and place the installed storage shelf assembly vertically on the horizontal surface as shown in the right picture;
- Placement of the whole machine: Before placing the whole machine on the storage rack components, please confirm again whether the placement position is horizontal, and ensure that the whole machine has been closed and stopped working. Gently place the whole machine on the slot position of the storage rack as shown in the figure below, and leave after the whole machine is placed smoothly.
Operation 4
Replace Battery
Tips:
- Laypeople don't disassemble battery please.
- Battery must be replaced and repaired by professional after-sales service personnel.
Operation 5
Clean and maintain cleaner
Dust cup disassembly and clean
Tips:
To keep the suction power of cleaner, please clean the dust in it regularly.
- Push the locker button, open the bottom cover and release dust
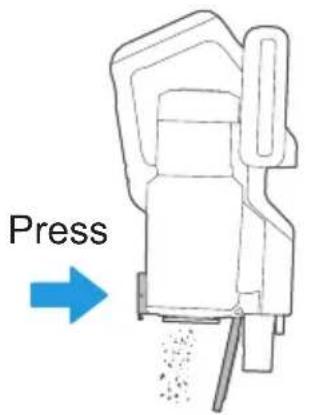
- Knob down the dust cup release button, take down the cup
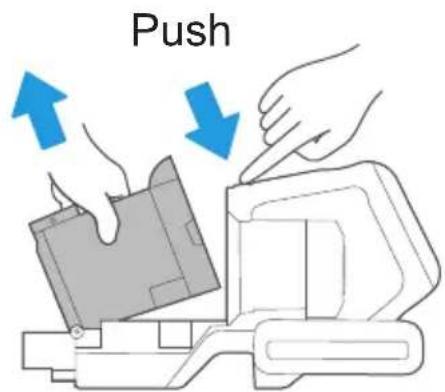
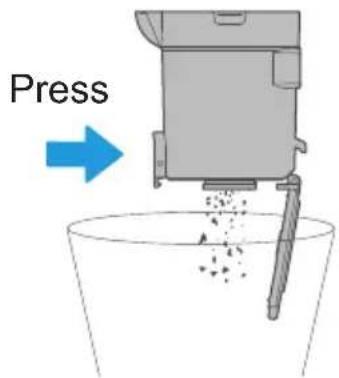
- Take out the cyclone from dust cup
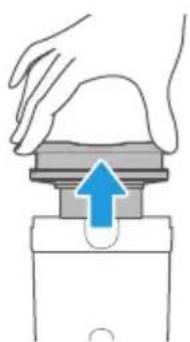
natural_image
Illustration of a hand pressing down on a mechanical component with a blue arrow indicating upward motion (no text or symbols)- Disassemble cyclone and clean, all parts are washable.
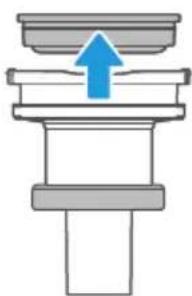
natural_image
Pure mechanical assembly diagram showing a piston and shaft with a blue upward arrow (no text or symbols)- After airing all parts completely, assemble them according to disassembly steps.
Operation 6
Clean and maintain motorized brush
Note:
-
To avoid affect the normal operation of brush, when roller brush and wheels is entangled or dusty, please clean and maintain them.
-
When disassemble and main brush, please make sure it's not working
-
Push button and take off the brush.
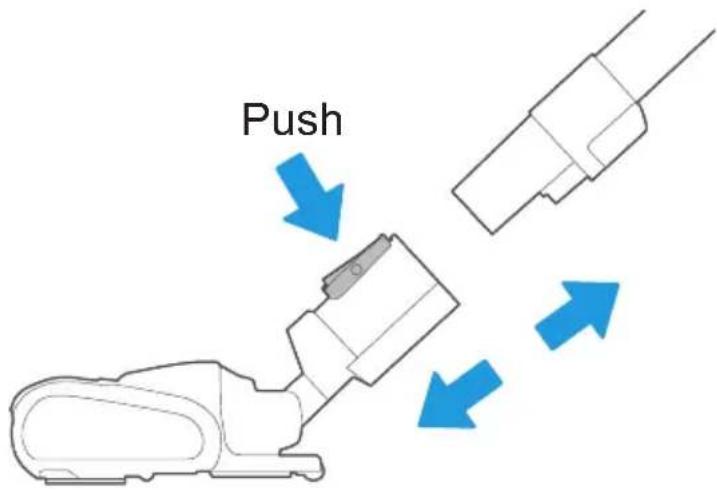
- Open the gland of brush, then take out the roller brush and clean, After cleaning it completely, assemble them according to disassembly steps.
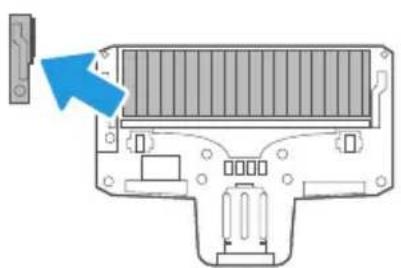
natural_image
Diagram of a computer chassis showing internal components and a blue arrow pointing to a component (no text or symbols present)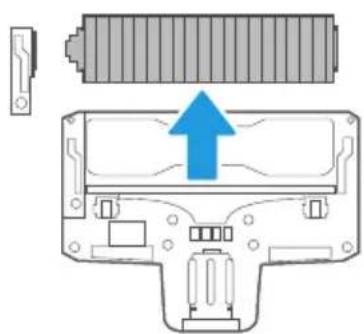
natural_image
Diagram of a battery pack with an upward arrow indicating growth, showing internal components without any text or symbols.Open the gland Take out roller brush
Tips:
Don't suggest to wash the brush.
If the brush was tangled by hair, please scissor or knife to clean.
PEMBERSIH VAKUM STIK TANPA WAYAR 2 DALAM 1
SILA BACA MANUAL INI DENGAN TELITI SEBELUM PENGGUNAAN, DAN DISIMPAN DENGAN BAIK UNTUK RUJUKAN KELAK.
natural_image
Line drawing of a vacuum cleaner with attached base (no text or symbols)01
STRUKTUR PRODUK

natural_image
Simple line drawing of a mechanical tool or component (no text or symbols)Muncung Celah

natural_image
Simple line drawing of a mechanical or electrical component with no text or symbolsAdaptor
Manual Pengguna
natural_image
Technical line drawing of a mechanical component with no visible text or symbolsBerus 2 Dalam 1
natural_image
Simple line drawing of a mechanical component with no text or symbolsBerus Katil Turbo
natural_image
Simple line drawing of a vertical support structure with base and support legs (no text or symbols)Rak Penyimpan
Petua:
No. Arahan Pengendalian
natural_image
Line drawing of a mechanical device with a power outlet and cable (no text or symbols)natural_image
Simple line drawing of a wall-mounted power supply with a cable (no text or symbols)Pengendalian 2:
Pembersihan:
Nota:
No. Arahan Pengendalian
natural_image
Illustration of a hand pressing down on a mechanical component with a blue arrow indicating upward motion (no text or symbols)natural_image
Pure mechanical assembly diagram showing a piston and cylinder with an upward arrow (no text or symbols)natural_image
Diagram of a computer chassis showing internal components and a blue arrow pointing to a component (no text or symbols present)
natural_image
Diagram of a battery pack with an upward arrow indicating growth, showing internal components without any text or symbols.- INSTALLATION
- INSTRUCTIONS
- USER GUIDE
- 01
- STRUCTURE OF THE PRODUCT
- Tips:
- HOW TO USE
- Operation 1:
- No. Operation instruction
- Operation 2:
- Cleaning:
- Note:
- Operation 3
- Wall mount assembly
- Choose the storage rack
- Operation 4
- Replace Battery
- Operation 5
- Operation 6
- Clean and maintain motorized brush
- STRUKTUR PRODUK
- Petua:
- No. Arahan Pengendalian
- Pengendalian 2:
- Pembersihan:
- Nota:
Brand : MIDEA
Model : MVC-V18PR
Category : Vacuum Cleaner