
Argon - Computer Mouse Ozone - Free user manual and instructions
Find the device manual for free Argon Ozone in PDF.


| Product Type | Computer Mouse |
| Brand | Ozone |
| Model | Argon |
| Connectivity | Wired USB 2.0 |
| Sensor Type | Optical |
| DPI Range | 1200 - 6400 DPI |
| Number of Buttons | 6 programmable |
| Scroll Wheel | Yes, with middle click |
| RGB Lighting | Yes, customizable per zone |
| Dimensions (L x W x H) | 125 x 70 x 40 mm |
| Weight | 100 g |
| Cable Length | 1.8 m |
| Operating Systems | Windows, macOS, Linux |
| Power Source | USB bus power |
| Maintenance | Clean with soft dry cloth |
| Safety Precautions | Avoid liquids and extreme temperatures |
| Spare Parts | Not available; device is not user-serviceable |
| Repairability | Low; professional repair recommended |
Frequently Asked Questions - Argon Ozone
User questions about Argon Ozone
0 question about this device. Answer the ones you know or ask your own.
Ask a new question about this device
Download the instructions for your Computer Mouse in PDF format for free! Find your manual Argon - Ozone and take your electronic device back in hand. On this page are published all the documents necessary for the use of your device. Argon by Ozone.
USER MANUAL Argon Ozone
it's all about evolution
SYSTEM REQUIREMENTS
- Operation System
Windows XP / Windows Vista / Windows 7 / Windows 8 / Windows 8.1 - Free USB 1.1/2.0 port
- CD-ROM drive
- 50 MB free hard disk space
INSTALLATION INSTRUCTIONS
- Plug USB connector of ARGON OCELOTE to a USB port of your PC
- Insert the enclosed driver CD into your CD-ROM drive (or download the driver from www.ozonegaming.com
- Double click "Setup.exe" to start the installation program. Click "Next" to continue
- Select the folder to save the driver and click "Next" to continue
- Installation run automatically; click "Finish" to complete the installation
ARGON ^1
mouse CONFIGURATION

ARGON OCELOTE DRIVER
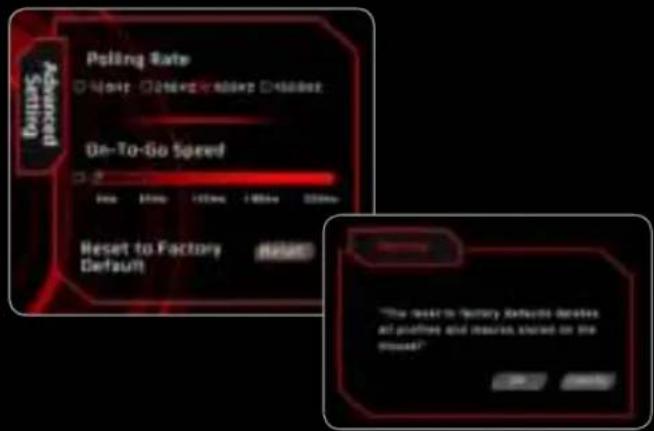
1. ADVANCED SETTINGS:
- Polling Rate Setting
- On-To-Go Speed Setting, Speed of repeat mouse function (refer to 2.6 Mouse Function)
- Reset to Factory Default: In the pop-up window, click "OK" to APPLY the change
- BUTTON SETTINGS:

1. MACRO MANAGER
Macro is a series of desired keystrokes which can be recorded and assigned to the keyboard. In other words, it's a series of key press and releases, in which every pressed keystrokes, released keystrokes, and delays are been recorded. The delay is the duration between the keys "press and release" or "release and press", that is automatically recorded and output once the macro is assigned.
Create and Assign a Macro
- Select a button and click "Macro Manager" from the menu

- In the pop-up window, click "NEW" and enter a name for the macro, then start to create the macro
- Select the options of "Record Delays" and set the "Loop Times" from the right column if needed
- Click "Start Record" type the desired key combination and click "Stop Record" when you are finished. If needed "Right Click" on one of the keys in the sequence to edit it. Click "OK" to continue
- Assign a created "Macro" to a "Button" and click "APPLY" to complete the setting

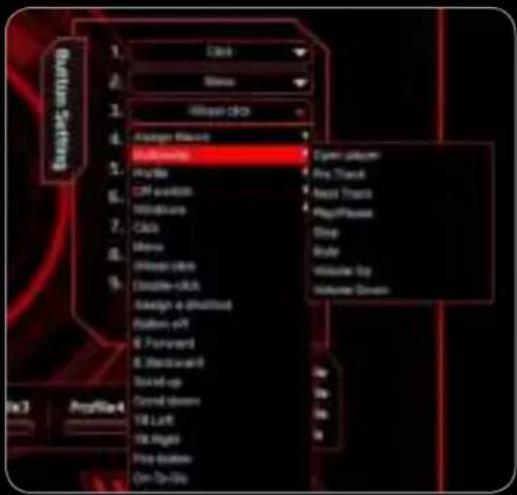
2. MULTIMEDIA
- Select a button and click "Multimedia" from the menu
- Select the desired function in the sub-menu and click "APPLY" to confirm the setting
3. PROFILE SWITCHING
- Select a button and click "Profile" from the menu
- Select the desired function in the sub-menu and click "APPLY" to confirm the setting. Profile Cycle: Cycle Switching / Profile Up: Profile + / Profile Down: Profile -

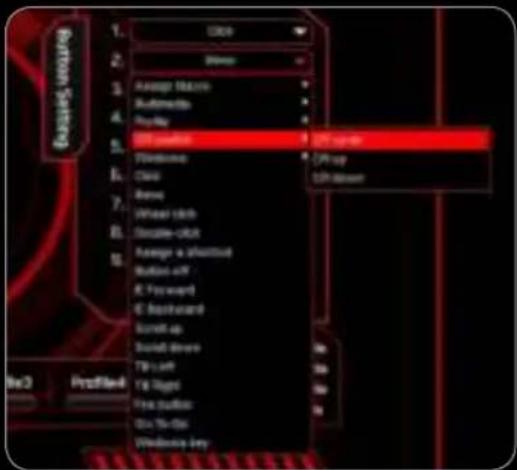
4. CPI/DPI SWITCHING
- Select a button and click "CPI Switch" from the menu
- Select the desired function in the sub-menu and click "APPLY" to confirm the setting. CPI Cycle: Cycle Switching / CPI Up: DPI level + / CPI Down: DPI level -
5. WINDOWS MANAGEMENT
- Select a button and click "Windows" from the menu
- Select the desired function in the sub-menu and click "APPLY" to confirm the setting

6. MOUSE FUNCTIONS
- Select a button and click the desired mouse function in the menu: "Click", "Menu", "Wheel Click", "Double-click", "IE Forward", "IE Backward", "Scroll Up", "Scroll Down", "Tilt Left", "Tilt Right",
"Fire Button", "On-To-Go (This is a combination button used to get a continuous mouse function: Hold down this button together with any other button with an assigned mouse function to get a continuous repeated mouse function)".
- Then, click "APPLY" to confirm the setting

7. ASSIGN A SHORTCUT
Single mouse click to activate a combination of keys which used often
- Select a button and click "Assign a Shortcut" from the menu
- Select and enter the desired combination of keys from the pop-up window and click "OK" to continue
- Click "APPLY" to complete the setting.

Ex. now the "Ctrl" + "V" will be executed
8. BUTTON OFF: DISABLE THE BUTTON FUNCTION
- Select a button and click "Button Off" from the menu
- Then, click "APPLY" to confirm the setting

9. ASSIGN A LAUNCH
Single mouse click to launch your chosen PC software
- Select a button and click "Assign a Launch" from the menu
- In the pop-up window, select the desired software from the folder and click "OK" to continue
- Click "APPLY" to complete the setting


10. WINDOWS KEY
- Select a button and click "Windows Key" from the menu
- Then, click "APPLY" to confirm the setting

11. OPEN DRIVER
- Select a button and click "Open Driver" from the menu for quick access to the Mouse Configuration Driver
- Then, click "APPLY" to confirm the setting

3. PROFILE SETTING
Each configuration profile corresponds to a personalized mouse setting. Therefore, this powerful feature allows you to create specific configuration profiles for each game.
The defined configuration profile can be saved on your PC (we strongly suggest that you name the configuration file according to the name of the related game). The driver provides 5 profiles: Profile 1 to Profile 5. The default path of the saved configurations is in the "Config" folder under the "Driver Installation Directory", in which you can find the 5 corresponding files for the 5 profiles on the main skin.

On the right hand side of the Profile buttons you will find the following options: "Create Profile", "Load Profile", "Save Profile", and "Edit Profile" used to set up your personalized configurations.
You can create a variety of configurations and save them for future use. Even if you change to a different computer, you don't have to repeat the process because you can easily import your previously saved configurations.
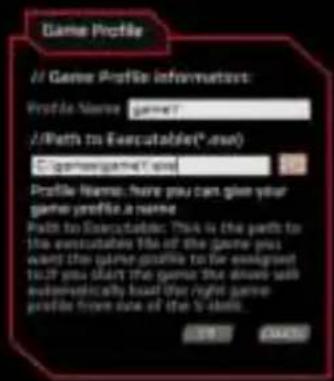
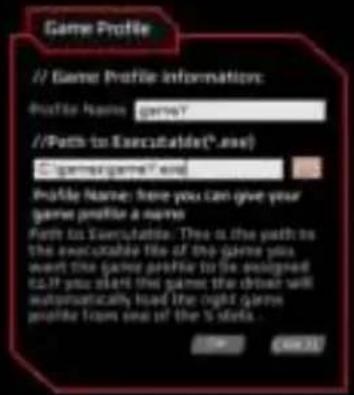
1. CREATE PROFILE
- Click "Create Profile" to create a personalized PROFILE NAME and PATH to EXECUTE the GAME (setup the Game which will be connected to the profile, then when you execute the Game the driver will select the correct Profile for that specific Game)
- Click "OK" to confirm the changes
- Click "APPLY" to APPLY the changes
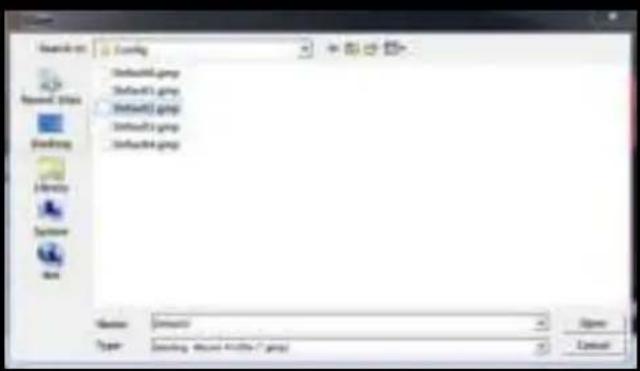
2. LOAD PROFILE
- Click "Load Profile" to execute a previous setting of a certain profile
- Select the profile to be imported and click "Open" in the pop-up window
- Click "APPLY" to apply the changes
3. SAVE PROFILE
- Select the profile that you want to save and click "Save Profile"
- In the pop-up window, give a personalized name to the profile and click "Save"
- Click "APPLY" to apply the changes

4. EDIT PROFILE
- Click "Edit Profile" to modify your personalized PROFILE NAME and EXECUTABLE GAME PATH
- Click "OK" to confirm the changes
- Click "APPLY" to apply the changes
4. SENSITIVITY SETTING
- Horizontal X and vertical Y - direction moving speed settings
- Click on "XY synchronous working" for a synchronous direction moving option
- DPI Settings: Click on "Orange Circle" for DPI lock / Set your personalized DPI using the sliding Bar
- Click "APPLY" to confirm the settings

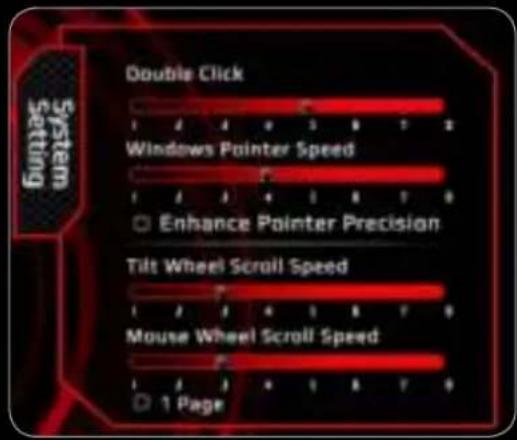
5. SYSTEM SETTINGS 6. LIGHT SETTINGS
- Double Click Speed Settings
- Windows Pointer Speed & Precision Settings
- Tilt Wheel Scroll Speed Settings
- Mouse Wheel Scroll Speed Settings & Scroll by single page
- Click "APPLY" to confirm the settings
- Choose Single Color to select from one of the default colors or Select Custom Color to select a specific color of your choice. You can choose from 16.8 million RGB colors.
- Choose Brightness ON/OFF and select the brightness amount from 0 to 100. Or Choose Breathing Effects ON/OFF and select the speed of the breathing effect.
- Click "APPLY" to confirm the settings

BUTTONS LAYOUT

DEFAULT BUTTON ASSIGNMENT
1 - Click
2 - Menu
3 - Wheel Click
4 - IE Forward
5 - IE Backward
6 - CPI Up
7 - CPI Down
8 - Scroll Down
9 - Scroll Up
LEFT/RIGHT HAND USER SWAP
Via Software; search for BUTTON SETTINGS and choose from
Hand Selection:

(install the driver to assign different functions to each button)
ARGON DRIVER
Please Download ARGON Driver from our website:
www.ozonegaming.com
INSTRUCTIONS:
- Plugin the USB connector of Argon into a free USB port.
- Connect to the internet and enter www.ozonegaming.com
- At the bottom of the page in the footer menu under "SUPPORT" click on "DOWNLOADS".
- Here you will see a list of products, look for Argon and download the DRIVER.

natural_image
Abstract red ink splatters on black background, no text or symbols present
ozone
it's all about evolution
©2014 OZONE Gaming Gear. All rights reserved.
- SYSTEM REQUIREMENTS
- INSTALLATION INSTRUCTIONS
- ADVANCED SETTINGS:
- MACRO MANAGER
- Create and Assign a Macro
- MULTIMEDIA
- PROFILE SWITCHING
- CPI/DPI SWITCHING
- WINDOWS MANAGEMENT
- MOUSE FUNCTIONS
- ASSIGN A SHORTCUT
- BUTTON OFF: DISABLE THE BUTTON FUNCTION
- ASSIGN A LAUNCH
- WINDOWS KEY
- OPEN DRIVER
- PROFILE SETTING
- CREATE PROFILE
- LOAD PROFILE
- SAVE PROFILE
- EDIT PROFILE
- SENSITIVITY SETTING
- SYSTEM SETTINGS 6. LIGHT SETTINGS
- DEFAULT BUTTON ASSIGNMENT
- LEFT/RIGHT HAND USER SWAP
- ARGON DRIVER
- INSTRUCTIONS:
Brand : Ozone
Model : Argon
Category : Computer Mouse