
MBL20 - Kamin DIMPLEX - Kostenlose Bedienungsanleitung
Finden Sie kostenlos die Bedienungsanleitung des Geräts MBL20 DIMPLEX als PDF.


| Produkttyp | Elektrokamin |
| Marke | Dimplex |
| Modell | MBL20 |
| Breite | 60 cm |
| Höhe | 45 cm |
| Tiefe | 25 cm |
| Gewicht | 12,5 kg |
| Heizleistung | 2000 W (Stufen: 1000/2000 W) |
| Spannung | 220-240 V, 50 Hz |
| Flammeneffekt | LED-Technologie, 3 Helligkeitsstufen |
| Heizfunktion | Integrierter Heizlüfter mit Thermostat |
| Fernbedienung | Ja, inklusive |
| Timer | Ja, 1-9 Stunden |
| Überhitzungsschutz | Ja, automatische Abschaltung |
| Raumgröße (max.) | Bis zu 20 m² |
| Gehäusematerial | Stahl, schwarz lackiert |
| Glasscheibe | Hartglas, Sicherheitsglas |
| Reinigung | Staubsauger oder trockenes Tuch; Glasscheibe mit Glasreiniger |
| Wartung | Jährliche Kontrolle durch Fachmann empfohlen |
| Ersatzteile | Erhältlich über Kundendienst oder online |
| Anwendung | Nur für Innenräume, nicht für Badezimmer |
| Zubehör | Montagematerial, Bedienungsanleitung |
Häufig gestellte Fragen - MBL20 DIMPLEX
Benutzerfragen zu MBL20 DIMPLEX
0 Frage zu diesem Gerät. Beantworten Sie die, die Sie kennen, oder stellen Sie Ihre eigene.
Eine neue Frage zu diesem Gerät stellen
Laden Sie die Anleitung für Ihr Kamin kostenlos im PDF-Format! Finden Sie Ihr Handbuch MBL20 - DIMPLEX und nehmen Sie Ihr elektronisches Gerät wieder in die Hand. Auf dieser Seite sind alle Dokumente veröffentlicht, die für die Verwendung Ihres Geräts notwendig sind. MBL20 von der Marke DIMPLEX.
BEDIENUNGSANLEITUNG MBL20 DIMPLEX
DCimplex
Marbello Electric Fire Suite User Instructions
natural_image
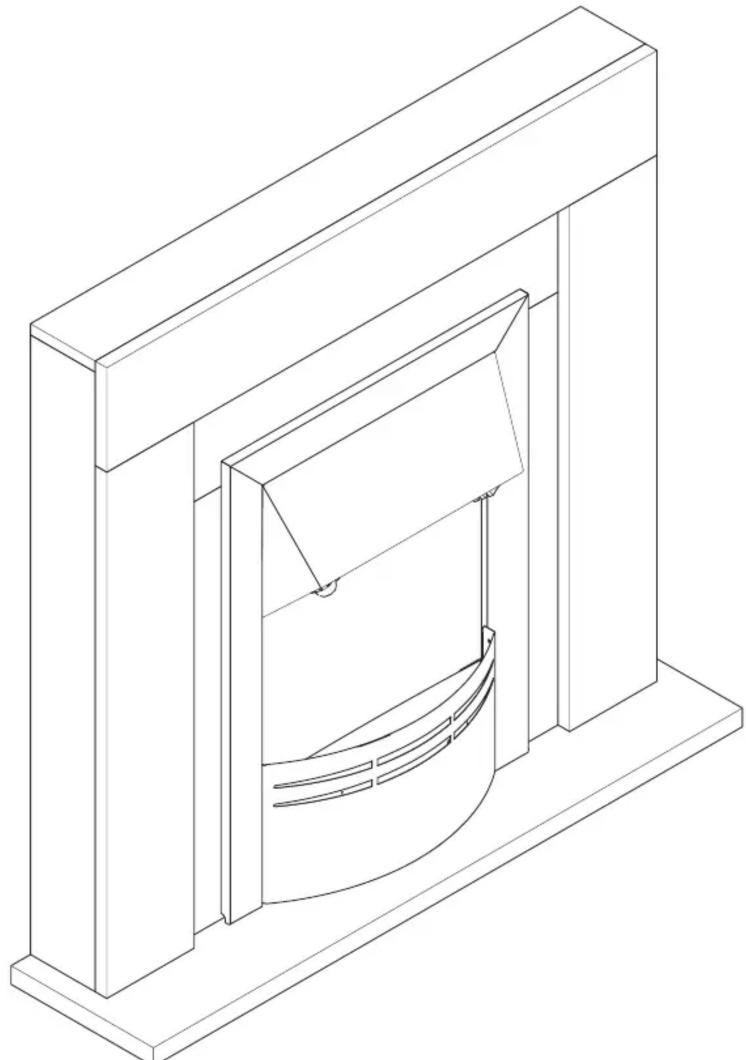
Isometric line drawing of a mechanical or architectural component with curved internal structure (no text or symbols)Marbello Electric Fire Suite
UK
08/52810/0 Issue 1
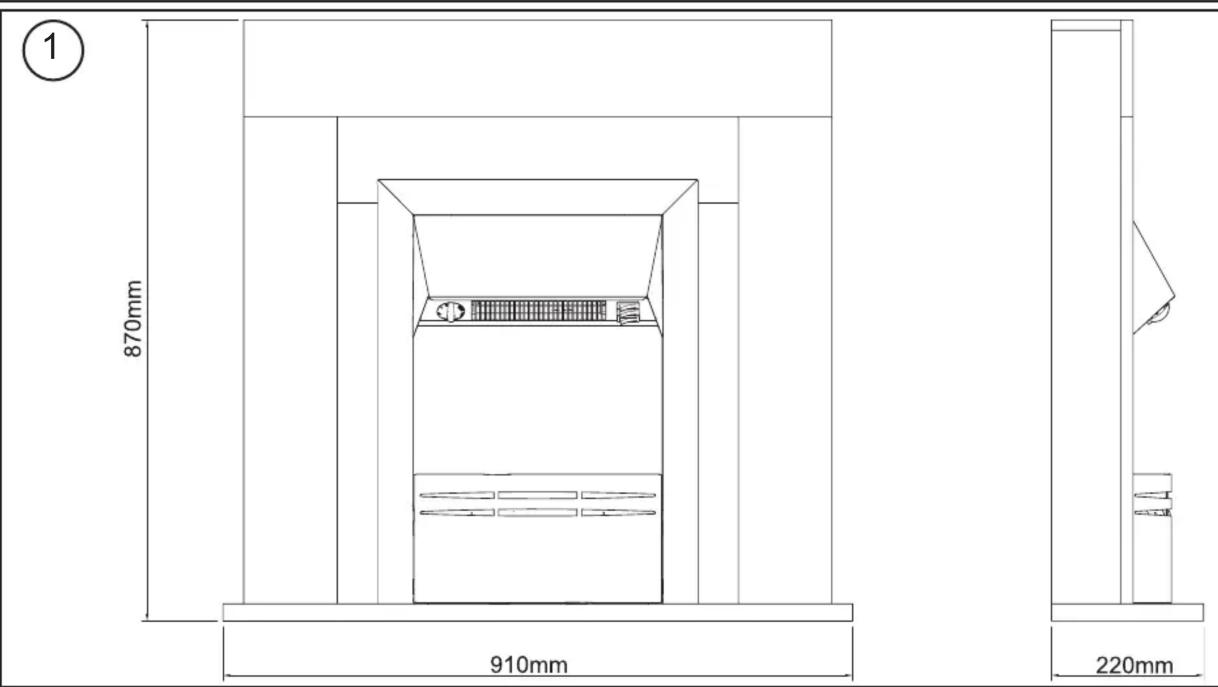
②
③
natural_image
Technical line drawing of a mechanical assembly with an inset showing a screwdriver inserted into a bracket (no text or symbols present)Important Safety Advice
When using electrical appliances, basic precautions should always be followed to reduce the risk of fire, electrical shock and injury to persons, including the following: If the appliance is damaged, check with the supplier before installation and operation. Do not use outdoors.
Do not use in the immediate surroundings of a bath, shower or swimming pool. Do not locate the appliance immediately below a fixed socket outlet or connection box.
The appliance carries the Warning symbol DO NOT COVER, indicating that it must not be covered.
This appliance can be used by children aged form 8 years and above and persons with reduced physical, sensory or mental capabilities or lack of experience and knowledge if they have been given supervision or instruction concerning use of the appliance in a safe way and understand the hazards involved. Children shall not play with the appliance. Cleaning and user maintenance shall not be made by Children without supervision.
Children of less than 3 years should be kept away unless continuously supervised. Children aged from 3 years and less than 8 years shall only switch on/off the appliance provided that it has been placed or installed in its intended normal operating position and they have been given supervision or instruction concerning use of the appliance in a safe way and understanding the hazards involved. Children aged from 3 years and less than 8 years shall not plug in, regulate and clean the appliance or perform user maintenance.
Do not use this appliance in series with a thermal control, a program controller, a timer or any other device that switches on the heat automatically, since a fire risk exists when the appliance is accidentally covered or displaced.
Ensure that furniture, curtains or other combustible material are positioned no closer than 1 metre from the appliance. In the event of a fault unplug the appliance. Unplug the appliance when not required for long periods.
Although this appliance complies with safety standards, we do not recommend its use on deep pile carpets or on long hair type of rugs.
The appliance must be positioned so that the plug is accessible.
If the supply cord is damaged it must be replaced by the manufacturer or service agent or a similarly qualified person in order to avoid a hazard.
Keep the supply cord away from the front of the appliance.
Warning: In order to avoid a hazard due to inadvertent resetting of the thermal cut-out, this appliance must not be supplied through an external switching device, such as a timer, or connected to a circuit that is regularly switched on and off by the utility. CAUTION - Some parts of this product can become very hot and cause burns. Particular attention has to be given where children and vulnerable people are present.
The heater carries the Warning symbol, indicating that it must not be covered. This instruction can be found at WWW.DIMPLEX.CO.UK

General
Unpack the heater carefully and retain the packaging for possible future use, in the event of moving or returning the fire to your supplier.
The fire incorporates a flame effect, which can be used with or without heating, so that the comforting effect may be enjoyed at any time of the year. Using the flame effect on its own only requires little electricity.
Before connecting the heater check that the supply voltage is the same as that stated on the heater.
Please note: Used in an environment where background noise is very low, it may be possible to hear a sound which is related to the operation of the flame effect. This is normal and should not be a cause for concern.
Electrical connection
WARNING – THIS APPLIANCE MUST BE EARTHED
This heater must be used on an AC \~ supply only and the voltage marked on the heater must correspond to the supply voltage.
Before switching on, please read the safety warnings and operating instructions.
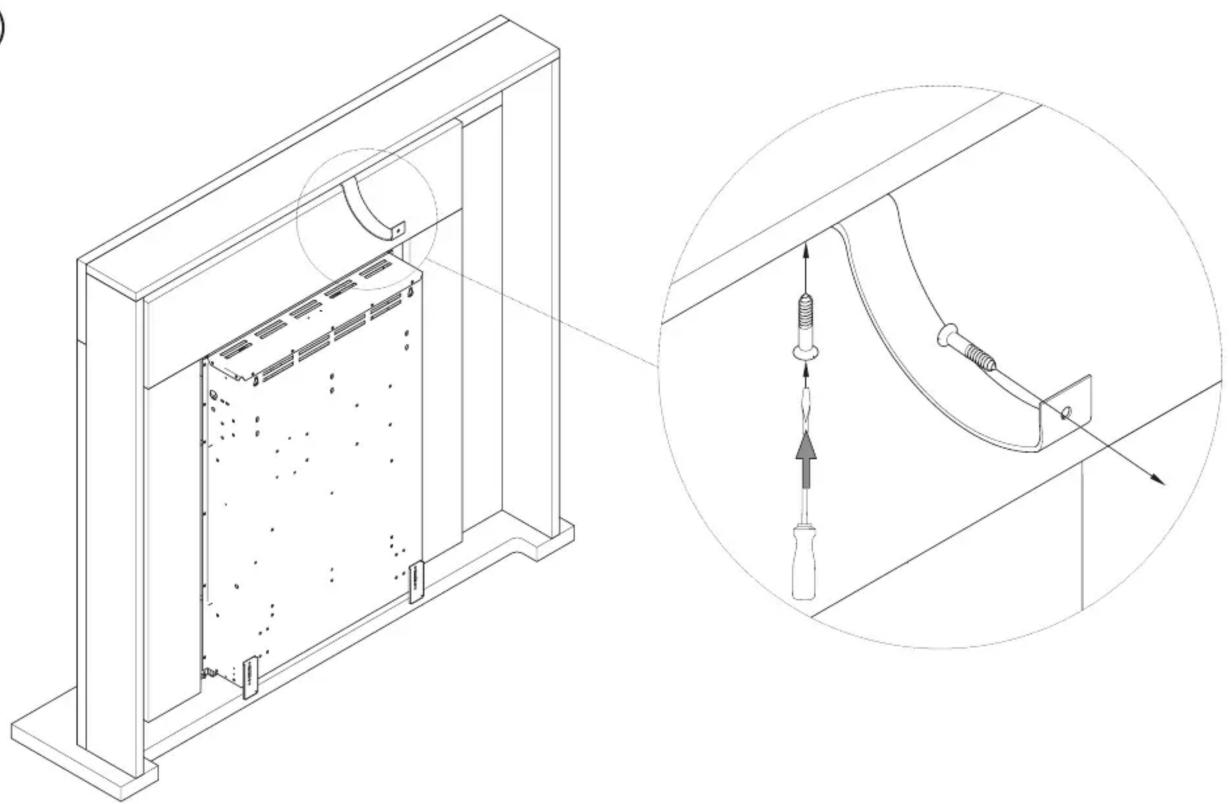
Fixing - see Fig. 3
The appliance should fitted the nylon strap provided, the purpose of this strap is to prevent the Marbello Electric Fire Suite falling over.
Step 1. screw the strap to the suite with one of the two screws provided as illustrated in Fig.3.
Step 2. Drill a hole in the wall using a 6mm drill bit in to the wall and place the plastic plug provided into the wall.
Step 3. Place the free end of the nylon strap over the newly drilled hole and screw the remaing screw into the wall plug, ensure the fitting is secure
NOTE: Fittings provided are for a block wall only, special fitting are required for stud walls which are not provided with the product
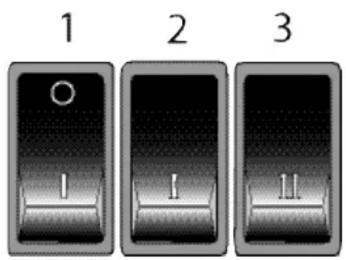
Manual Controls - see Fig. 2
Three switches provide a choice of heat setting. Each switch is activated when the bottom half of the switch is pushed in.
Switch 1 Controls the electricity supply to the heater.
Note: This switch must be in the ON position for the heater
to operate with or without heat.
Switch 2 Provides 950 W heat output.
Switch 3 Provides 1900 W output when used in conjunction with switch2
Thermostat
In order to maintain a certain room temperature, set the thermostat knob to 'max.'. Operate the appliance at full power until the required room temperature is reached. Turn back the thermostat knob until the appliance switches off. This temperature will be kept almost constant by the thermostat switching on and off automatically. Please note that the appliance will only operate when the thermostat setting is higher then the room temperature.
Thermal Safety Cut-out
A thermal safety cut-out is incorporated in the heater to prevent damage due to overheating. This can happen if the heat outlet was restricted in any way. The heater will switch on once the obstruction has been removed and the heater has cooled. If the cut-out continues to operate intermittently, the heater should be switched off and a service agent contacted.
Maintenance
WARNING: ALWAYS DISCONNECT FROM THE POWER SUPPLY BEFORE ATTEMPTING ANY MAINTENANCE.
Light Emitting Diode
This fire is fitted with LED (Light Emitting Diode) bulbs in place of conventional bulbs. These generate the same light levels as conventional bulbs, but use a fraction of the energy consumed. These LED bulbs are maintenance – free and will not require replacing during the life of the product.
Cleaning
WARNING – ALWAYS DISCONNECT FROM THE POWER SUPPLY BEFORE CLEANING THE HEATER.
For general cleaning use a soft clean duster – never use abrasive cleaners. The glass viewing screen should be cleaned carefully with a soft cloth. DO NOT use proprietary glass cleaners.
To remove any accumulation of dust or fluff the soft brush attachment of a vacuum cleaner should occasionally be used to clean the outlet grille of the fan heater.
Three switches provide a choice of heat setting. Each switch is activated when the bottom half of the switch is pushed in.
Recycling
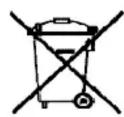
For electrical products sold within the European Community. At the end of the electrical products useful life it should not be disposed of with household waste. Please recycle where facilities exist. Check with your Local Authority or retailer for recycling advice in your country.
Model Number
The Model & Serial number of your product is displayed in 2 locations, first is on the rating plate on the rear of your product, the second is on the fuel bed at the rear of the fret. If your product is fixed in position the easiest position to gain access to the model/serial number is by removing the fret, remove the fret by lifting it up and then pulling it out from the fire, you should have this information to hand when contacting customer service.
After Sales Service
Your product is guaranteed for one year from the date of purchase.
Within this period, we undertake to repair or exchange this product free of charge (excluding lamps & subject to availability) provided it has been installed and operated in accordance with these instructions.
Your rights under this guarantee are additional to your statutory rights, which in turn are not affected by this guarantee.
Should you require after sales information or assistance with this product, please contact 0844 879 3588 (UK) or 01 842 4833 (R.O.I.)
Please retain your receipt as proof of purchase.



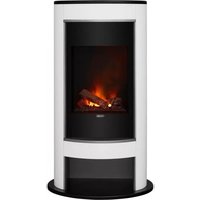
Marke : DIMPLEX
Modell : MBL20
Kategorie : Kamin