
BV11.2MC - Dvd player BOSS - Kostenlose Bedienungsanleitung
Finden Sie kostenlos die Bedienungsanleitung des Geräts BV11.2MC BOSS als PDF.


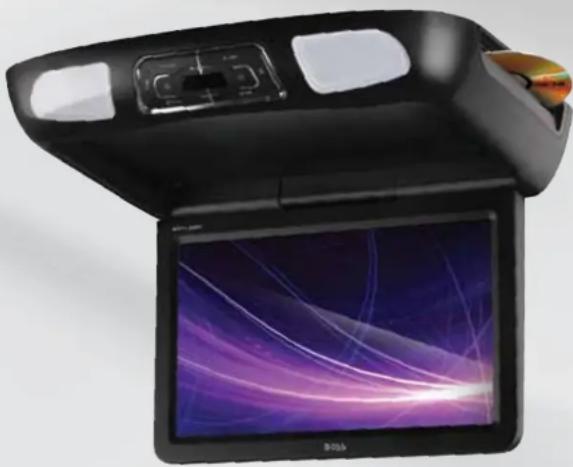
| Produkttyp | DVD-Player mit 11,2" (284 mm) Breitbild-Flip-Down-TFT-Monitor |
| Modell | BV11.2MC |
| Bildschirmgröße | 11,2 Zoll (284 mm) TFT-LCD |
| Bildschirmformat | 16:9 |
| Auflösung | 1024 (H) × 600 (V) Pixel |
| Farbfernsehsystem | NTSC/PAL/Automatische Auswahl |
| Stromversorgung | Gleichstrom 12 V (Fahrzeug mit Minuspol) |
| Leistungsaufnahme | 20 W |
| Abmessungen (B × T × H) | 366,5 × 300 × 63,5 mm (14,4 × 11,8 × 2,5 Zoll) |
| Gewicht | ca. 2 kg (Schätzung) |
| Audio-Video-Eingänge | 2 × AV-Eingang (Cinch) |
| Audio-Video-Ausgänge | 1 × AV-Ausgang (Cinch) |
| Medienformate | DVD, S-VCD, VCD, Audio-CD, MP3-CD |
| USB/SD-Anschluss | Ja (USB und SD/MMC/MS-Kartenslot) |
| Infrarot-Kopfhörer | Drahtloser IR-Sender (Dual-Channel A/B) für optionale IR-Kopfhörer |
| FM-Transmitter | Eingebauter FM-Transmitter (87,7–107,9 MHz) für Übertragung an Autoradio |
| Fernbedienung | Infrarot-Fernbedienung im Lieferumfang enthalten |
| Einbaurichtung | Flip-Down (klappbar) – Deckenmontage |
| Reinigung | Bildschirm mit trockenem oder leicht feuchtem Tuch reinigen; keine chemischen Reiniger verwenden |
| Betriebstemperatur | -10 °C bis +60 °C |
| Sicherheitshinweise | Nicht vor Airbags montieren; nur bei geparktem Fahrzeug betreiben; kein Kontakt mit Flüssigkeiten |
| Regionencode | 1 (Nordamerika) – Hinweis: Regionen überprüfen |
Häufig gestellte Fragen - BV11.2MC BOSS
Benutzerfragen zu BV11.2MC BOSS
0 Frage zu diesem Gerät. Beantworten Sie die, die Sie kennen, oder stellen Sie Ihre eigene.
Eine neue Frage zu diesem Gerät stellen
Laden Sie die Anleitung für Ihr Dvd player kostenlos im PDF-Format! Finden Sie Ihr Handbuch BV11.2MC - BOSS und nehmen Sie Ihr elektronisches Gerät wieder in die Hand. Auf dieser Seite sind alle Dokumente veröffentlicht, die für die Verwendung Ihres Geräts notwendig sind. BV11.2MC von der Marke BOSS.
BEDIENUNGSANLEITUNG BV11.2MC BOSS
USER'S MANUAL
BV11.2MC
11.2" (284mm) WIDESCREEN FLIP-DOWN TFT MONITOR
INCLUDING TWO-PAIRS OF DUAL CHANNEL HEADPHONES
BOSS®
AUDIO SYSTEMS
BOSS Audio Systems
3451 Lunar Court • Oxnard, CA 93030
www.bossaudio.com | 800.999.1236
tech support: www.bossaudio.com/support


0114
USER'S MANUAL
BV11.2MC
11.2" (284mm) WIDESCREEN
FLIP-DOWN TFT MONITOR
INCLUDING TWO-PAIRS OF DUAL CHANNEL HEADPHONES
natural_image
Black foldable device with a screen displaying purple light and white streaks, no visible text or symbols on the device itself.


BOSS®
AUDIO SYSTEMS
Contents
Contents....01
Caution....02
Caution....03
Product Controls and Functions....04
Product Controls and Functions....05
Remote Control Diagram....06
Power And Mode Selection....07
Picture....08
Volume....09
System....10
Setup Key....11
Setup Menu....12
Setup Menu....13
DVD Functions....14
DVD Functions....15
DVD Functions....16
DVD Functions....17
DVD Functions....18
Connection Diagram....19
Installation....20
Interchangeabel housing change diagram......21
Disc Information....22
Troubleshooting....23
Specifications....24
Caution
Please read and observe all warnings and instructions in this owner's manual and those marked on the unit. Retain this booklet for future reference.
There are two kinds of alarm symbols as follows:

WARNING
This symbol is intended to alert the user on the presence of dangerous voltage within the product's enclosure that may cause electric shock to you.

CAUTION
The exclamation point within an equilateral triangle is intended to alert the user to the presence of important operating and maintenance(servicing) instructions in the literature accompanying the product.

WARNING
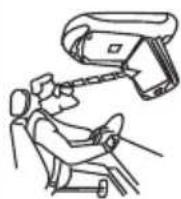
Hazard! do not operate this unit unless vehicle is parked in safe and legal area.
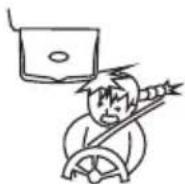
Do not mount the product where it will obstruct the deployment of the airbag or in an area where it would affect the vehicular control. Also be careful to avoid mounting the product where it can become hazardous during sudden stops or in the event of an accident.

Do not try and service these products yourself. Seek only a qualified service center or factory sevice center.

Do no place any liquids near the monitor. If any liquid is spilled on the unit, pull over to the side of the road, turn the ignition completely off and

Be careful not to drop or apply pressure to the front panel of your video monitor. If the screen cracks due to misuse, your warranty will be void!
dry the product with a towel. Do not operate the equipment again until all liquids have either evaporated or you have the unit inspected by a qualified technician at your local authorized dealer.
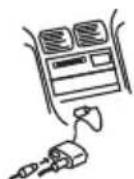
Be careful not to overload your cigarette lighter plug by adding more than one device at a time.
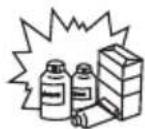
Use only a damp cloth to clean the screen and use only purified water on the cloth, wring out all excess water prior to wiping the screen. Do not use any cleaners or chemicals to clean the screen. In most cases a dry cloth will do!
Caution

CAUTION
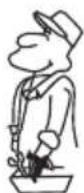
Quality installations are best performed by qualified and certified installers.
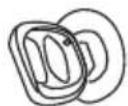
Watching the monitor for an extended period of time without the engine running may deplete the vehicle's battery charge.

Don't touch the unit if there is lightning as this may cause an electric shock to you.
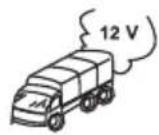
This product is designed for operation with a 12 Volt DC, negative ground vehicle. It is not suitable for operation under other conditions or voltages.
Do not cover the heater ducts or vents as this may cause a fire or electric shock
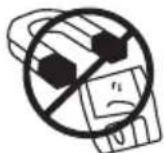
Do not bring magnetic items such as credit cards and other cards with magnetic strips near the monitor as this may cause damage to the unit and/or magnetic item
Check Point
-
The operating temperature of this product is limited to -10^ +60^ . Your vehicle can reach temperatures up to 80^ in the summer time.
-
From time to time when your vehicle is extremely hot or cold you must allow time for your air conditioner or heater to cool or heat the vehicle and for operating temperatures to return to normal operating ranges. Your monitor will return to its normal functions when these operating temperature are achieved.
-
Your optimum picture quality is achieved when you are directly in front of the monitor(+/-30 degrees).
-
Do not open covers and repair yourself. Refer servicing to qualified personnel.
-
DVD Players use an invisible laser beam which can cause hazardous radiation exposure. Be sure to operate the unit correctly as instructed.
-
Do not turn ignition off while a disc is playing. It can cause damage to the DVD Player.
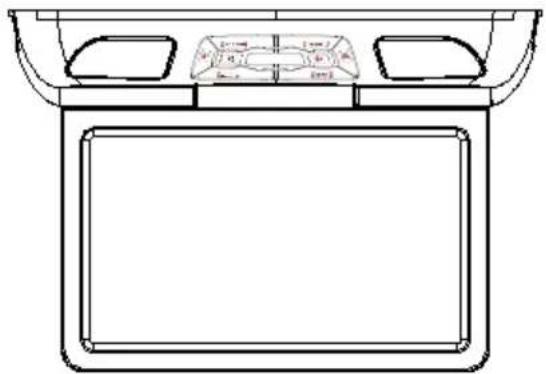
Product Controls and Functions
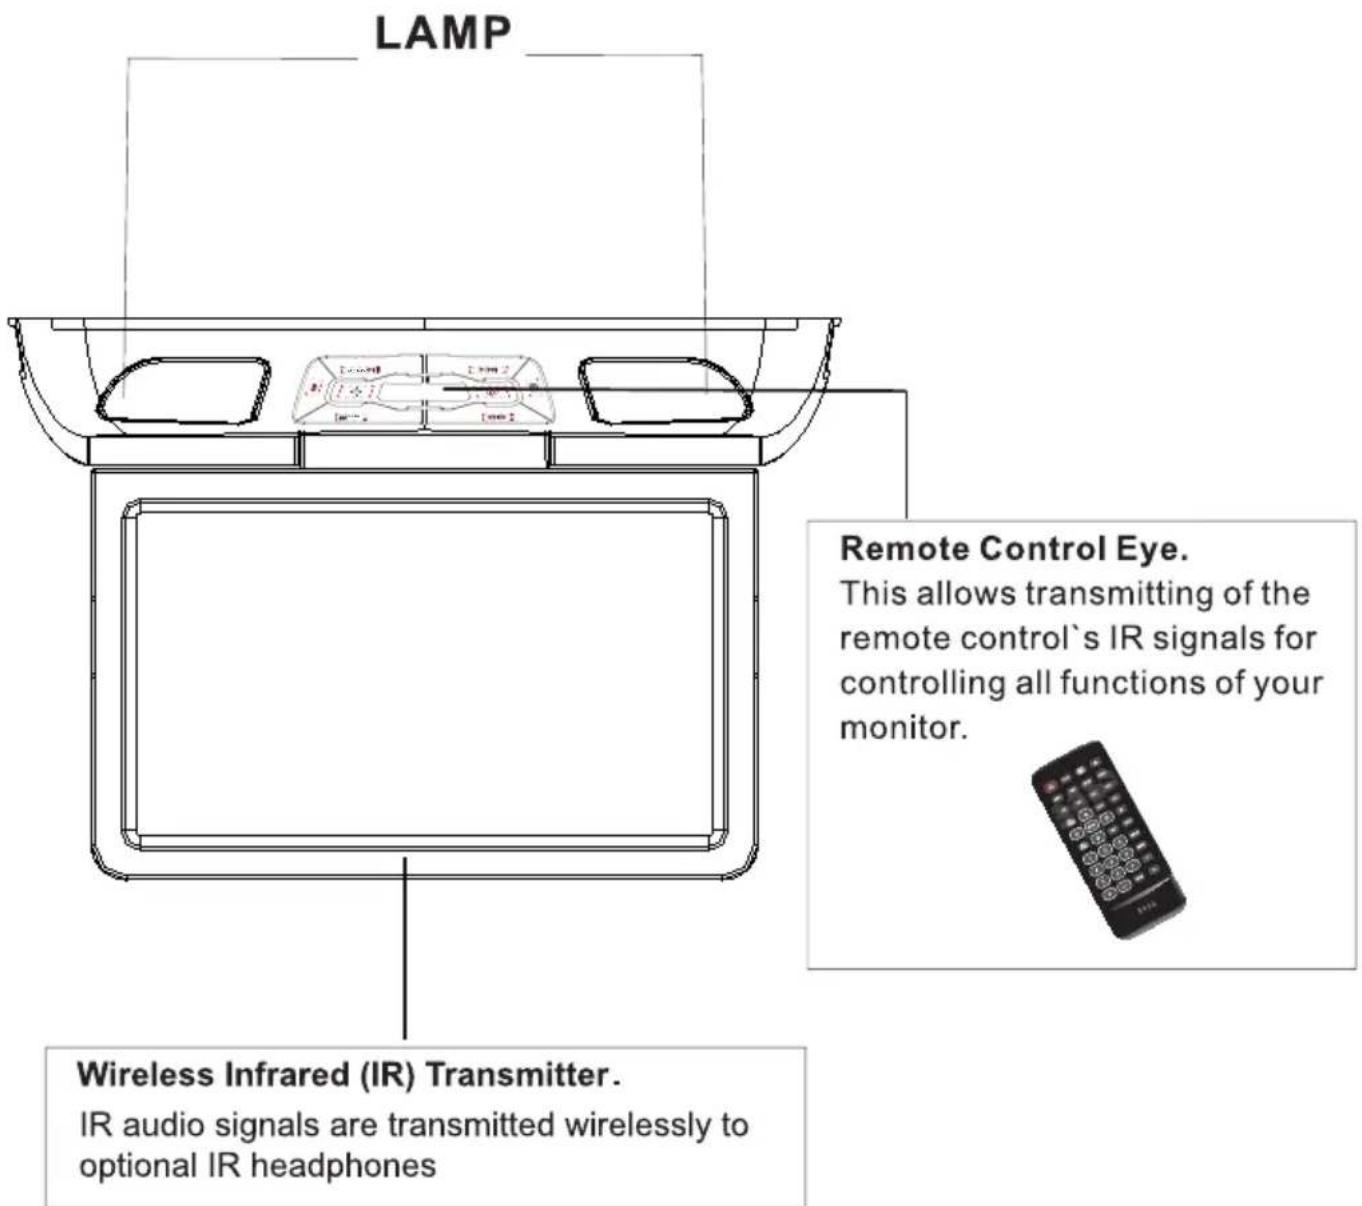
Product Controls and Functions
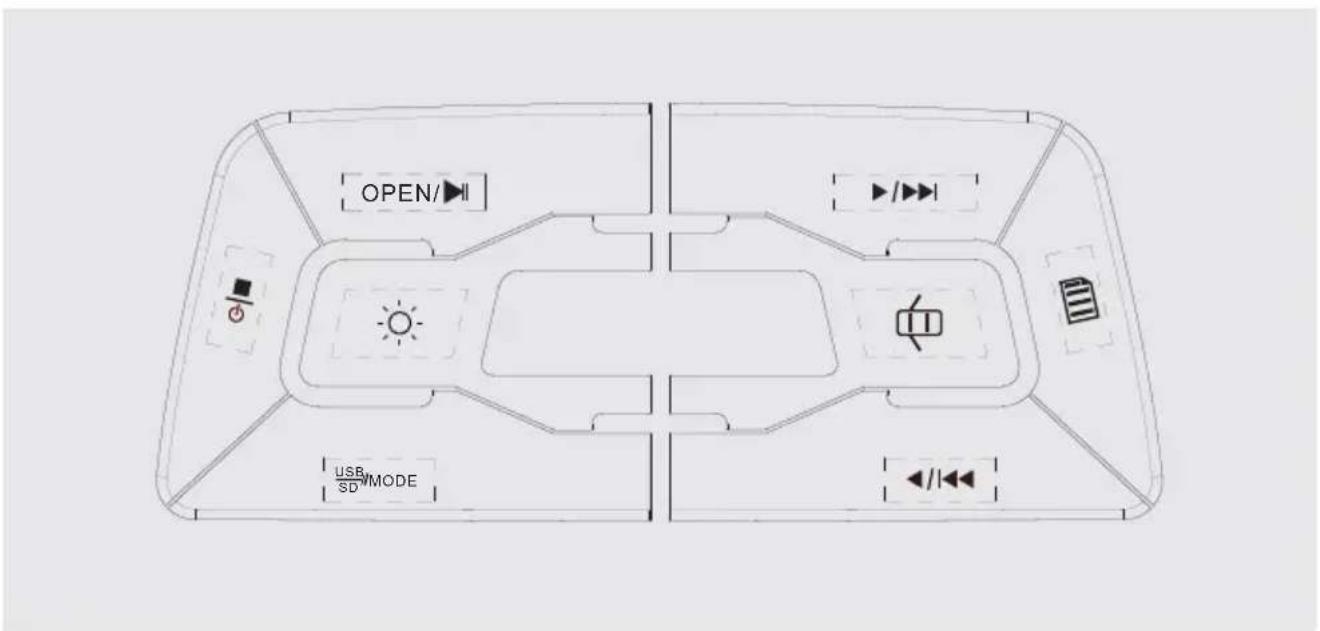
REMARKS:
Following functions work when long pressing 1-2 seconds.
"OPEN" "▶" "◀" "USB" "■"
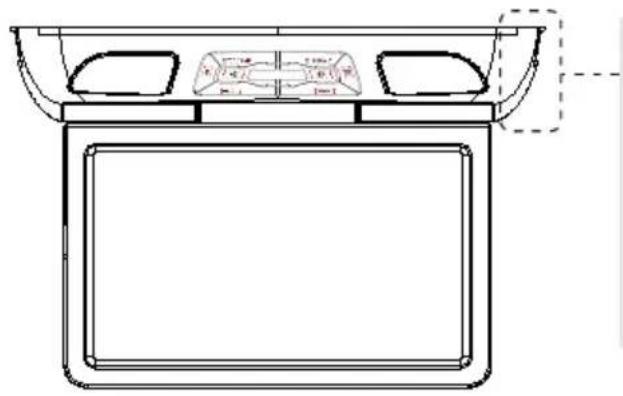
natural_image
Technical line drawing of a rectangular device with internal components and a dashed outline (no text or symbols)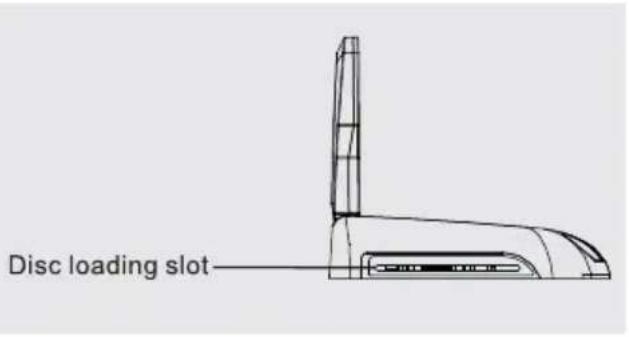
\* Caution
Do not bring magnetic items such as credit cards or other cards with magnetic strips near the monitor as this may cause damage to the unit and/or magnetic item.
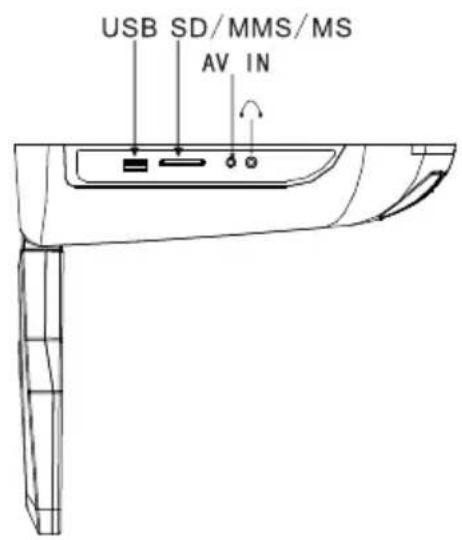
Remote Control Diagram
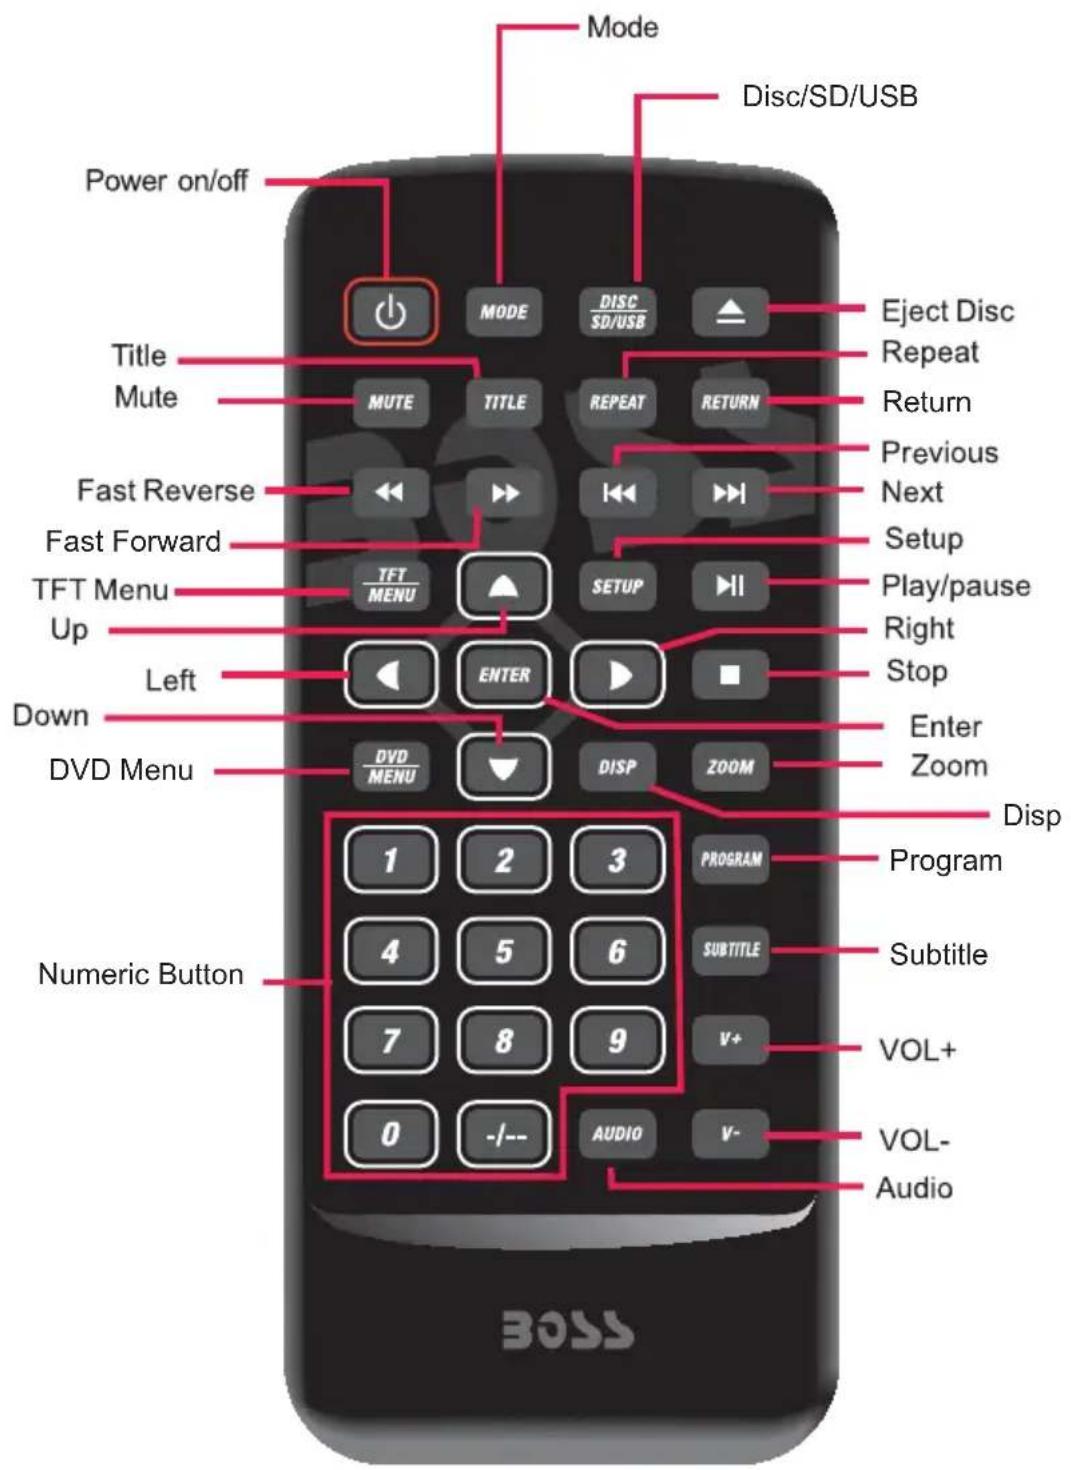
Power And Mode Selection
- Mute Function
Mute the audio sound.
- Press the MUTE button on the remote control to mute the audio.
When the mute is on, press the MUTE button again on the remote control to play the audio.
Volume Control
Control the audio volume to your desired setting
The audio volume is controlled by pressing the V +/- buttons on the remote control, DVD and another mode.
Mode Setting
Select the desired mode by entering MENU -LIST4 MODE button on the remote control.
Mode will be changed as beloved. DVD → AV1 → AV2
DVD Mode
- Select the DVD mode by pressing the MODE button on the remote control.
natural_image
Line drawing of a vehicle rear view showing front, side, and top views with no text or symbolsAV In Mode
- Connect the external devices.
(Refer to Connection Diagram on page 19). - Turn the power ON the unit and external devices.
- Play the external device.
PICTURE
Picture Control
BRIGHTNESS/CONTRAST/COLOR/HUE
Selection of BRIGHTNESS/CONTRAST/COLOR/HUE and change the picture condition as your taste,
1、Bring up the on-screen function menu by pressing the MENU button on the unit or the TFT MENU button on the remote control.
2、Select the desired menu by pressing the MENU button on the unit or the TFT MENU button on the remote control.
3、Change the figure of desired function to adjust Contrast, Brightness, Color, ect.
OPTION
1、Bring up the on-screen function menu by pressing the MENU button on the unit or the TFT MENU button on the remote control.
2、Select the Language ,ZOOM by pressing the menu button on the unit or TFT menu button on the remote control.
3、Control the desired mode by pressing the ◀/▶ buttons on the unit or the ◀/▶ buttons on the remote control as you want.
IR Transmitter
A built-in dual channel IR transmitter is built-in to the unit to allow for audio to be transmitted wirelessly to your IR headphones. Both channels A and B can be selected on our optional dual channel IR headphones.
1、Bring up the on-screen function menu by pressing the MENU button on the unit or the TFT MENU button on the remote control.
2、Select and open "IR".
3、Press the ◀/▶ button on the unit or ◀/▶ button on the remote control to select the A or B IR channel at your choice,
FM Transmitter
A built-in FM Transmitter allow audio to be sent to your car's speakers
1、Bring up the on-screen function menu by pressing the MENU button on the unit or the TFT MENU button on the remote control.
2、Select the desired menu by pressing the menu button on the unit or the TFT MENU button on the remote control.
3、Adjust the Radio frequency from 87.7 MHz\~107.9 MHz by pressing the ◀/▶ on the unit or the ◀/▶ buttons on the remote control.
SYSTEM
SYSTEM
1、Bring up the on-screen function menu by pressing the MENU button on the unit or the TFT MENU button on the remote control.
2、Select the S-COLOR by pressing the menu button on the unit or the TFT menu button on the remote control.
3、Control the desired OSD and color by pressing the ◀/▶ buttons on the unit or the ◀/▶ buttons on the remote control.
CLOCK
1、Bring up the on-screen function menu by pressing the MENU button on the unit or the TFT MENU button on the remote control.
2、Select CLOCK and set to the correct time.
3、Then filled in a figure of the SLEEP,TIME,
OFF-TIME,ON-TIME by click your remote control
or pressing the ◀/▶ buttons on the
unit or the ◀/▶ buttons on the remote control.
- SETUP KEY
Press the SETUP button to enter the SETUP MENU as shown below.
Inside the DVD SETUP MENU, three categories SYSTEM, LANGUAGE, VIDEO, could be chosen.
Users can adjust or choose different options included in the DVD disc that is playing.
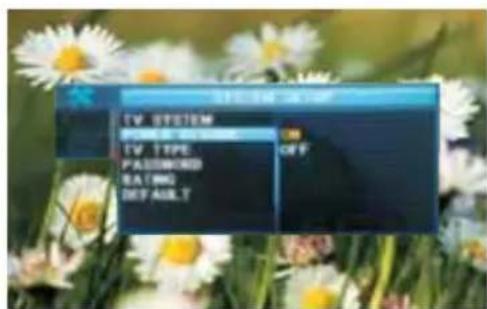
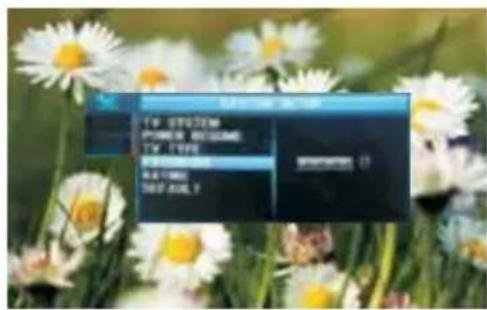
1. SYSTEM SETUP
A. TV SYSTEM
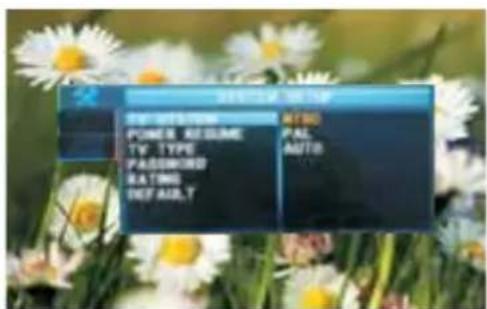
C. TV TYPE
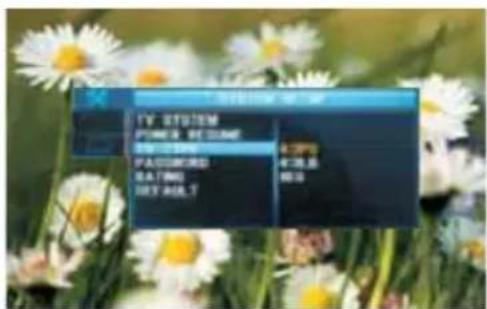
E. RATING
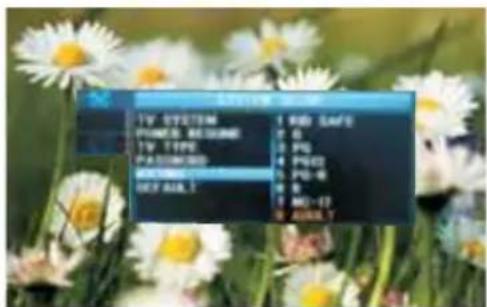
B. POWER RESUME
D. PASSWORD (0000)
F. DEFAULT
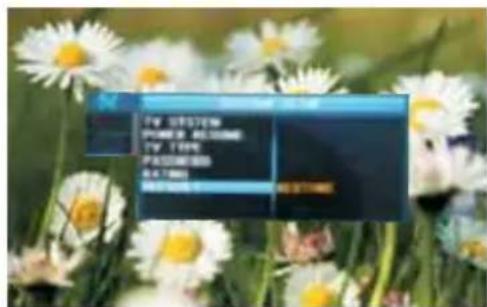
SETUP MENU
2. LANGUAGE SETUP
A. OSD LANGUAGE
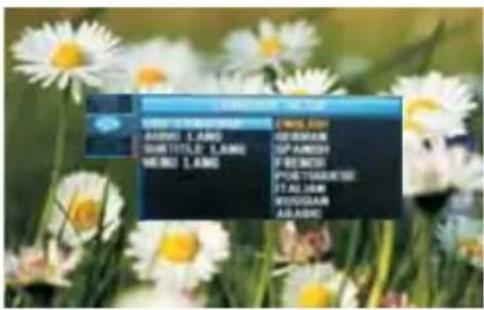
B. AUDIO LANG
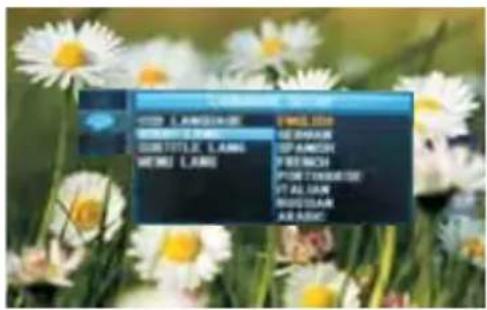
C. SUBTITLE LANG
![USB (LAN) [LAN] ALONG (LAN) SINNITISHI [LAN] HONG LAN NEW LIST NEW LIST NEW LIST NEW LIST NEW LIST NEW LIST NEW LIST NEW LIST NEW LIST NEW LIST NEW LIST NEW LIST NEW LIST NEW LIST NEW LIST NEW LIST NEW LIST NEW LIST NEW LIST NEW LIST NEW LIST NEW LIST NEW LIST NEW LIST NEW LIST NEW LIST NEW LIST NEW LIST NEW LIST NEW LIST NEW LIST NEW LIST NEW LIST NEW LIST](/content/2026/05/816786/images/fe20d407cf3120fa1bdf4c51d9796a36d6a948670090f4da847d640b21ef4b9d.jpg)
D. MENU LANG
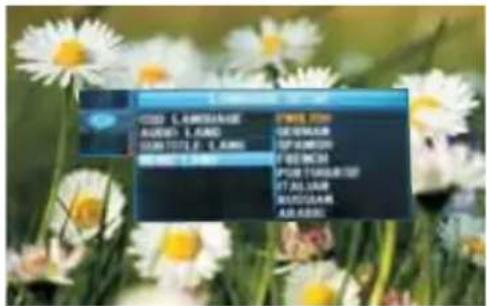
SETUP MENU
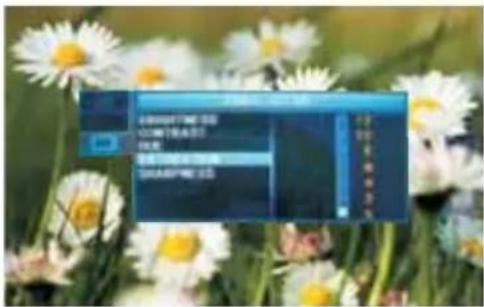
3. VIDEO SETUP
A. BRIGHTNESS
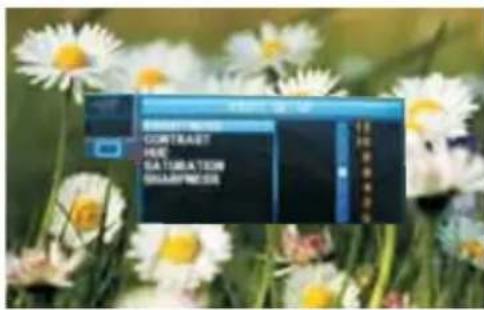
C. HUE
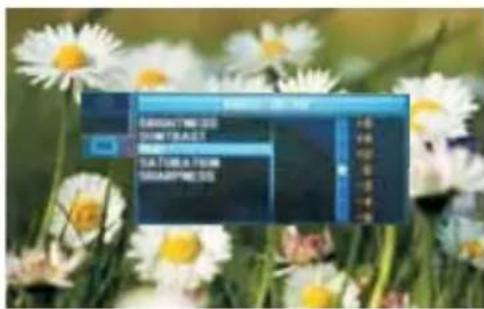
E. SHARPNESS
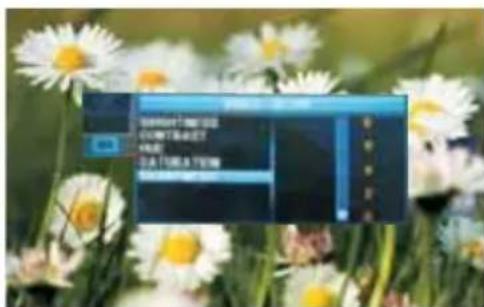
B. CONTRAST
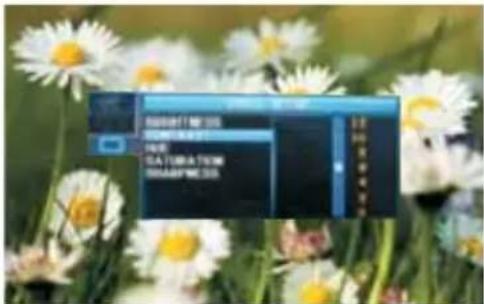
D. SATURATION
DVD FUNCTIONS
EJECT
Pressing the EJECT button changes the play mode.
VOL+ / VOL-
To adjust the audio output level of the speaker from 0 to 60.
MUTE
Pressing of the MUTE button changes the play mode.
| OSD | CONDITION |
| Mute | Mute |
| Mute off | Mute off |
PLAY OR PAUSE(▶II)
[DVD] / [AUDIO] / [Mp3]
Use this button to select a particular scene or play the disc. Most DVD discs will play automatically.
| OSD | CONDITION |
| Play Disc | |
| Pause |
AUDIO
[DVD]
Change the audio output type.
(If the loaded disc supports available audio type.)
| OSD | CONDITION |
| 1/2:AC3 2CH English | 2 Channel |
| 2/2:AC3 5.1CH English | 5.1 Channel |
[VCD] [AUDIO]
Change the audio output type.
(If the loaded disc supports available audio type.)
| OSD | CONDITION |
| Stereo | Stereo |
| Mono Left | Mono Left |
| Mono Right | Mono Right |
| Mix Mono | Mix Mono |
[MP3]
An invalid button press.
STOP(□)
[DVD] / [AUDIO]
Press the STOP button once to stop the movie temporarily. Press the Play/Pause button to resume play and pause. Press STOP button twice to completely stop and reset the memory. Pressing Play/Pause button again will send you back to the beginning of the disc.
| OSD | CONDITION |
| 1.Time Press Play Key To Continue | Stop |
| 2.Time | Disc Stop |
[MP3]
Press the STOP button to stop the disc. Press the Play/Pause button to display the first file of the disc.
| OSD | CONDITION | |
| 1.Time | Stop | Stop |
NUMERIC BUTTONS
[DVD]
Numeric buttons 0 to 9 are used to enter the number of tracks, the number of the DVD chapter, time data, etc.
[AUDIO]
You can select a track by pressing the corresponding numeric button.
| OSD | CONDITION |
| Select Track: __ | Stop |
[MP3]
You can select a track in the folder by pressing the corre sponding numeric button.
| OSD | CONDITION |
| : | Select track no |
SETUP
Use to set various functions according to your individual preference.
MENU
[DVD]
The menu of a DVD disc varies. The content of the menu on the screen is dependent on the particular DVD.
[AUDIO]/[MP3]∅
An invalid button press.
DVD FUNCTIONS
TITLE
[DVD]
Used to display the title menu of the loaded DVD disc.
(This function is disc-dependent.)
[AUDIO]/[Mp3]∅
An invalid button press.
FAST REVERSE SEARCHING(◀◀)
[DVD]
Pressing FR button changes the play mode as follows:
| OSD | CONDITION |
| FR 2X | 2X rewind search |
| FR 4X | 4X rewind search |
| FR 8X | 8X rewind search |
| FR 16X | 16X rewind search |
| FR 32X | 32X rewind search |
| PLAY | PLAY |
[AUDIO] / [DVD]
Pressing FR button changes the play mode as follows:
| OSD | CONDITION |
| FR 2X | 2X rewind play |
| FR 4X | 4X rewind play |
| FR 8X | 8X rewind play |
| FR 16X | 16X rewind play |
| FR 32X | 32X rewind play |
| PLAY | PLAY |
[MP3] / [DVD]
Pressing FR button changes the play mode as follows:
| OSD | CONDITION |
| FR 2X | 2X rewind play |
| FR 4X | 4X rewind play |
| FR 8X | 8X rewind play |
| FR 16X | 16X rewind play |
| FR 32X | 32X rewind play |
| PLAY | PLAY |
FAST FORWARD SEARCHING(▶)
[DVD]
Pressing FR button changes the play mode as follows:
| OSD | CONDITION |
| FF 2X | 2X forward search |
| FF 4X | 4X forward search |
| FF 8X | 8X forward search |
| FF 16X | 16X forward search |
| FF 32X | 32X forward search |
| PLAY | PLAY |
[AUDIO] / [VCD]
Pressing FR button changes the play mode as follows:
| OSD | CONDITION |
| FF 2X | 2X forward play |
| FF 4X | 4X forward play |
| FF 8X | 8X forward play |
| FF 16X | 16X forward play |
| FF 32X | 32X forward play |
| PLAY | PLAY |
[Mp3]
Pressing FR button changes the play mode as follows:
| OSD | CONDITION |
| FF 2X | 2X forward play |
| FF 4X | 4X forward play |
| FF 8X | 8X forward play |
| FF 16X | 16X forward play |
| FF 32X | 32X forward play |
| PLAY | PLAY |
PREV(I◄◄)
[DVD] / [VCD]
Used to move to the previous chapter from the current chapter.
[AUDIO] / [MP3]
Used to move to the previous track.
NEXT(▶▶)
[DVD] / [VCD]
Used to move to the next chapter from the current chapter.
[AUDIO] / [MP3]
Used to move to the next track from the current track.
DVD FUNCTIONS
REPEAT
[DVD]
Pressing REPEAT button changes the play mode as follows.
| OSD | CONDITION |
| Chapter | Repeat chapter |
| Title | repeat title |
| All | all |
| repeat off |
[VCD]
An invalid button press.
[AUDIO]
Pressing REPEAT button changes the play mode as follows.
| OSD | CONDITION |
| Track | Repeat single |
| All | all |
| repeat off |
[MP3]
Used to change the play mode. Pressing REPEAT button changes the play mode as follows:
| OSD | CONDITION |
| Repeat One | Single |
| Repeat Folder | repeat folder |
| Folder | repeat folder one time |
| Shuffle | all |
| Random | random play |
| Single | single play |
Connection Diagram
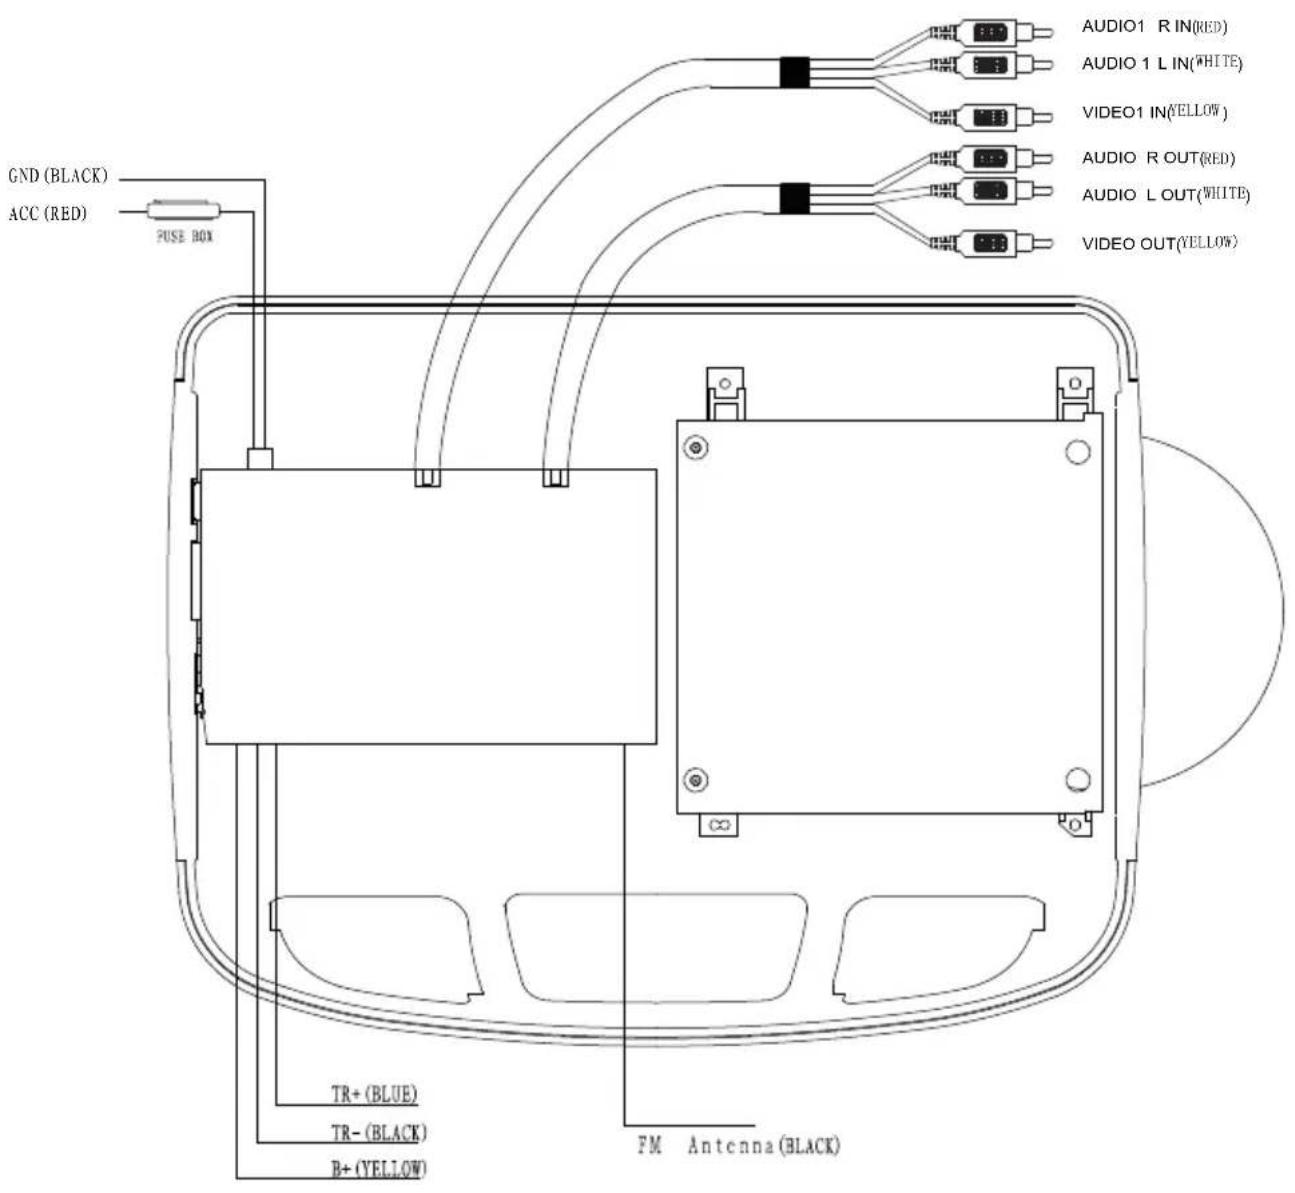
\*How to connect the DOOR TRIGGER wire
- Connect yellow positive (+) wire
- Check your vehicle's door trigger is positive “+” or negative “-”
- Connect unit one correct trigger wire (positive “+” or negative “-”) with vehicle’s door trigger in accordance
Installation
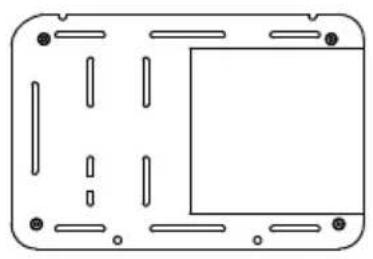
- Open the box and check the contents.
natural_image
Pure electrical circuit lines without any symbolsMounting Plate
natural_image
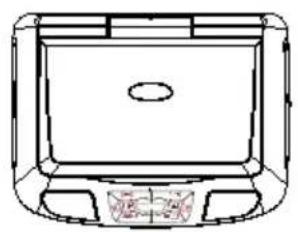
Line drawing of a laptop computer with front panel and screen (no text or symbols)UNIT
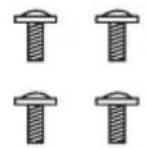
SCREW B
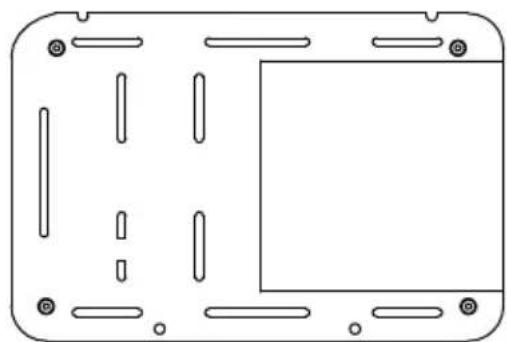
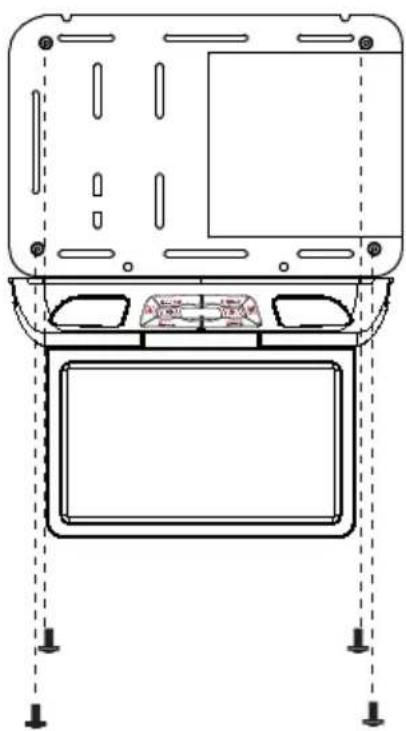
- Align mounting plate with installation position and secure plate with screws
natural_image
Pure technical diagram of a rectangular device with internal cutouts and mounting holes (no text or symbols)Use the correct screws that matches the car.
- Tighten the unit with the supplied SCREW B.
natural_image
Technical line drawing of a device chassis with mounting feet and control panel (no text or symbols)Interchangeabel housing change diagram
Assembling the shroud
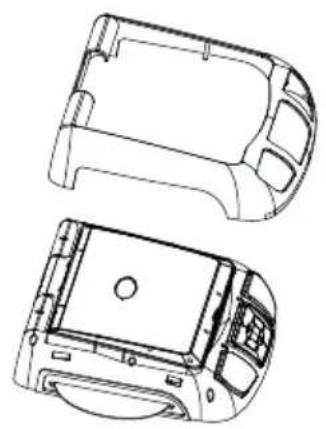
Beginning by hooking the area and press the shroud over the pod. The shroud will snap in place. Tighting the shroud by screws supplied. Removing shroud
Release screws and take out the shroud as diagram
natural_image
Technical line drawing of a car interior frame showing two views (top and side), no text or symbols present.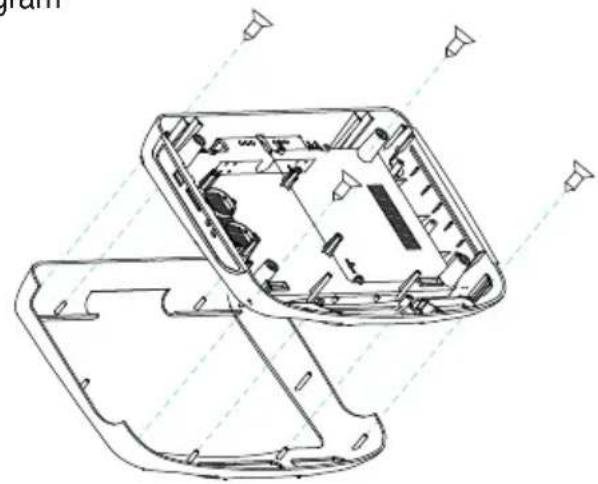
natural_image
Technical line drawing of a device casing with internal components and mounting holes (no text or symbols)Removing Screen back From The Housing
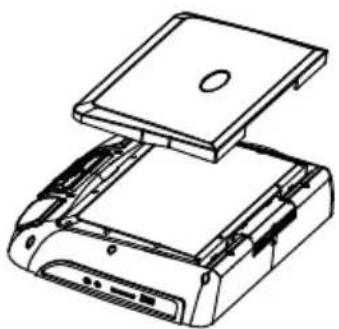
working on a soft surface to avoid damaging the plastic.
Insert the supplied pry tool between the Housing Screen back, then press the pry tool to release the Screen back.
Assembling the screen back
Begin by hooking the area and press the Shroud/Screenback over the pod.
The Shroud/Screen back will snap in place.
natural_image
Technical line drawing of a mechanical device with a lid and base plate (no text or symbols)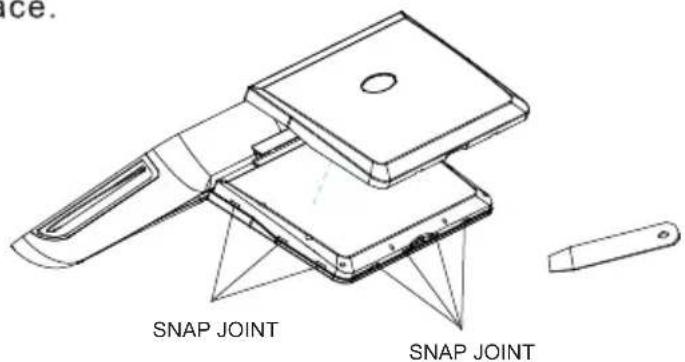
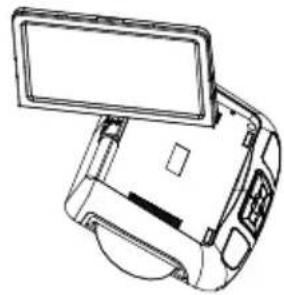
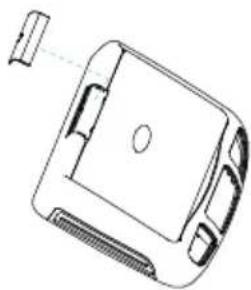
Swivel cover moving/assembling
Use supplied small tool to insert the hook hole, and get the cover off.
Pressing the swviel cover over the swivel, the cover will snap in place
natural_image
Line drawing of a vintage camera with a flat-screen screen (no text or symbols)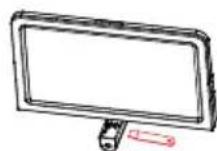
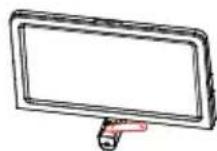
natural_image
Technical line drawing of a mechanical component with no visible text or symbolsDisc Information
DVD features
DVD discs provide high-resolution images with high-quality sound and surround sound effects. This DVD player can play not only DVD discs of various versions, but also S-VCD, VCD, audio CD and Mp3 disc. Each disc plays only the information saved on it, and some functions cannot be utilized.
Discs that cannot be played
DVD-RW, DVD -REM, CD-ROM, CD-EXTRA discs cannot be played on this unit. Also, a CD or a CD-RW which was recorded on special software cannot be played.
Region code
Your DVD player is designed and manufactured to region management information that is recorded on a DVD disc. Please check the region code.
1: North America 2: Japan 3: Korea and Southeast Asia
4: Australia, Mid & South America 5: Russia 6: China
Copyright protection
This product incorporates copyright protection technology that is protected by methods claims of certain U.S. Patents and other intellectual property rights owned by the Macrovision Corporation and other rights. Owner's use of this copyright protection technology must be authorized by the Macrovision Corporation, and is intended for home and other limited viewing uses only unless otherwise authorized by the Macrovision Corporation.
How to handle the disc
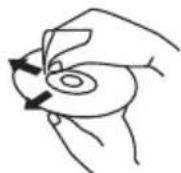
Don't touch the shiny side of the disc (the side with the embedded information). Don't stick a label or a glue-based note on eight side of the disc. Don't use discs that have glue or a damaged gluey label-it might result in damage to your DVD player. Don't put discs in the sunshine. Park your car in the shade.
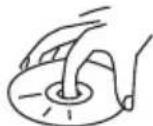



Caution
Wipe softly with a wet cloth and then with a dry one. Before playback, wipe the disc outward from the center with a clean cloth. Do not use any type of solvent such as thinner, benzene, commercially-available cleaners or antistatic spray. To avoid damaging your DVD player, don't use a scratched disc.
Troubleshooting
| Symptom | Items to check | Actions to be Taken |
| Button does not work | Is the power turned on? | Check the car battery capacity |
| No sound | Is the audio cable set to receive the DVD signal output?Is the audio cable connected securely?Is the monitor connected with the audio turned on ?Is the digital audio output set in the correct position? | Select the correct input mode for the audio receiver.Connect the audio cable into the jacks securely.Turn on the monitor connected to the audio cable does not work properlySet the Digital Audio Output to the correct position, and then turn on the DVD player by pressing the POWER button. |
| Remote control does not work properly. | Is the remote control facing the remote sensor?Is the distance too far?Is there any obstacle in the middle?Is the battery exhausted? | Point the remote control to the remote sensor of the product.Use the remote control within 5mRemove the obstacle.Replace with new batteriesCheck antenna connection. |
Specifications
Check point
When a disc is brought from a cold environment to a hot one, there may be condensation on the face of the disc or pick up lens. This can affect the operation of the unit.
- Remove the disc from the DVD player.
- Turn on the power and leave it on for an hour to vaporize the condensation.
- You can operate the DVD player without any problems.
| Screen size | 11.2 " TFT LCD Panel |
| Power | DC12V |
| Consumption | 20W |
| Screen Format | 16:9 |
| Resolution | 1024(H)x600(V) RGB |
| Color System | NTSC/PAL / Auto Selection |
| A/V Input | 2EA |
| A/V Output | 1EA |
| Dimension | 366.5(W)X300(D)X63.5(H)mm/14.4(W)X11.8(D)X2.5(H) |
Note : This equipment has been tested and has been found to comply with the limits for a Class A digital device, pursuant to part 15 of the FCC Rules. These limits are designed to provide reasonable protection against harmful interference when the equipment is operated in a commercial environment. This equipment generates, uses, and can radiate radio frequency energy and, if not installed and used in accordance with the instruction manual, may cause harmful interference to radio communications. Operation of this equipment in a residential area is likely to cause harmful interference in some case the user will be required to correct the interference at his own expense.
- USER'S MANUAL
- BOSS®
- Contents
- Caution
- WARNING
- Check Point
- Product Controls and Functions
- \* Caution
- Remote Control Diagram
- Power And Mode Selection
- - Mute Function
- Volume Control
- Mode Setting
- DVD Mode
- AV In Mode
- PICTURE
- Picture Control
- BRIGHTNESS/CONTRAST/COLOR/HUE
- OPTION
- IR Transmitter
- FM Transmitter
- SYSTEM
- CLOCK
- - SETUP KEY
- SYSTEM SETUP
- SETUP MENU
- LANGUAGE SETUP
- VIDEO SETUP
- DVD FUNCTIONS
- EJECT
- VOL+ / VOL-
- MUTE
- PLAY OR PAUSE(▶II)
- [DVD] / [AUDIO] / [Mp3]
- AUDIO
- [DVD]
- [VCD] [AUDIO]
- [MP3]
- STOP(□)
- [DVD] / [AUDIO]
- NUMERIC BUTTONS
- [AUDIO]
- SETUP
- MENU
- [AUDIO]/[MP3]∅
- TITLE
- FAST REVERSE SEARCHING(◀◀)
- [AUDIO] / [DVD]
- [MP3] / [DVD]
- FAST FORWARD SEARCHING(▶)
- [AUDIO] / [VCD]
- PREV(I◄◄)
- [DVD] / [VCD]
- [AUDIO] / [MP3]
- NEXT(▶▶)
- REPEAT
- [VCD]
- Connection Diagram
- \*How to connect the DOOR TRIGGER wire
- Installation
- Interchangeabel housing change diagram
- Assembling the shroud
- Removing Screen back From The Housing
- Assembling the screen back
- Disc Information
- DVD features
- Discs that cannot be played
- Region code
- Copyright protection
- How to handle the disc
- Troubleshooting
- Specifications
Marke : BOSS
Modell : BV11.2MC
Kategorie : Dvd player