Wu Hu 4+2 - Zelt Sierra Designs - Kostenlose Bedienungsanleitung
Finden Sie kostenlos die Bedienungsanleitung des Geräts Wu Hu 4+2 Sierra Designs als PDF.


Benutzerfragen zu Wu Hu 4+2 Sierra Designs
0 Frage zu diesem Gerät. Beantworten Sie die, die Sie kennen, oder stellen Sie Ihre eigene.
Eine neue Frage zu diesem Gerät stellen
Laden Sie die Anleitung für Ihr Zelt kostenlos im PDF-Format! Finden Sie Ihr Handbuch Wu Hu 4+2 - Sierra Designs und nehmen Sie Ihr elektronisches Gerät wieder in die Hand. Auf dieser Seite sind alle Dokumente veröffentlicht, die für die Verwendung Ihres Geräts notwendig sind. Wu Hu 4+2 von der Marke Sierra Designs.
BEDIENUNGSANLEITUNG Wu Hu 4+2 Sierra Designs
natural_image
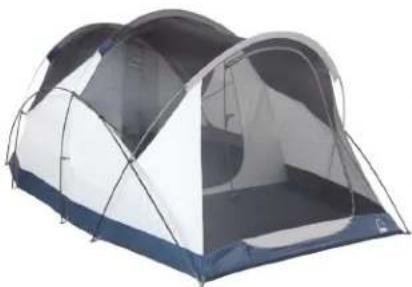
Exterior view of a camping tent with blue and white panels (no text or symbols visible)Wu Hu Annex 4+2 & 6+2-Pitching Instructions
In order to familiarize yourself with your new tent, we recommend you "test pitch" it before embarking on your wilderness adventure. For more helpful tips, please go to www.sierradesigns.com/tents.html

Package Includes: Tent Body, Rain Fly, 5 Poles (2 black, 1 dark gray, 1 silver & 1 blue), 4 Guy Cords, 14 Ground Stakes, 1 Pole Sack & 1 Stake Sack
natural_image
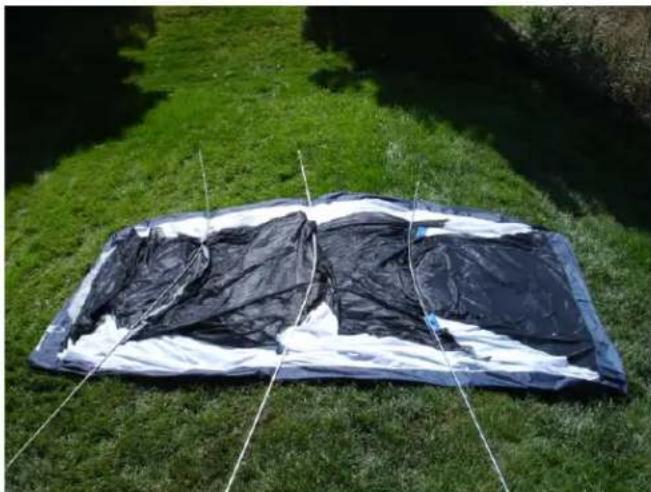
Two black-and-white camping tents placed on a grassy field, no visible text or symbolsStep 1: Find an even piece of ground, stake out your tent and assemble the poles. Be sure that the poles are fully seated together and the different colored poles are positioned by their corresponding colored pole sleeves for a quick and sturdy pitch.
natural_image
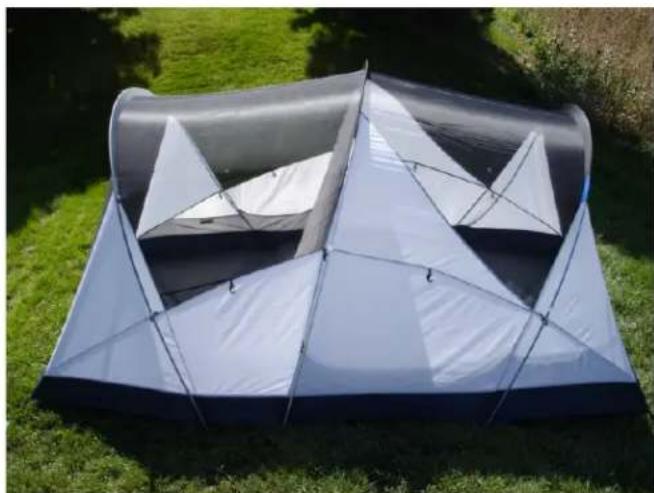
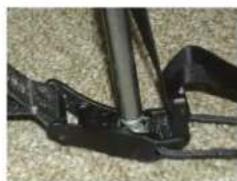
Exterior view of a gray and white camping tent made of tents, placed on grassy ground (no text or symbols visible)Step 2: Slide the colored poles with the Swivel C Connectors™ through their designated mesh sleeves (dark gray to dark gray, silver to silver and blue to blue) and insert the pole end Ball Connectors™ into the tents Jake's Foot™ attachments located on the side of the tent.
natural_image
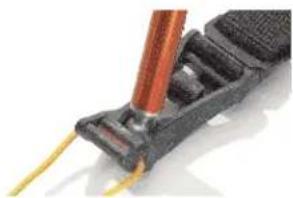
Close-up of a mechanical component with a copper rod inserted into a black textured base, showing yellow wires (no text or symbols visible)Jake's Foot™
natural_image
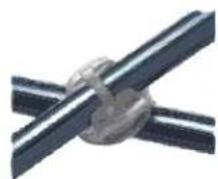
Close-up of two metallic metal rods with a central circular knob (no text or symbols visible)Swivel C Connector™
natural_image
Close-up of a mechanical component with a cylindrical rod inserted into a black bracket (no visible text or symbols)Jake's Foot™ Fly Attachment
natural_image
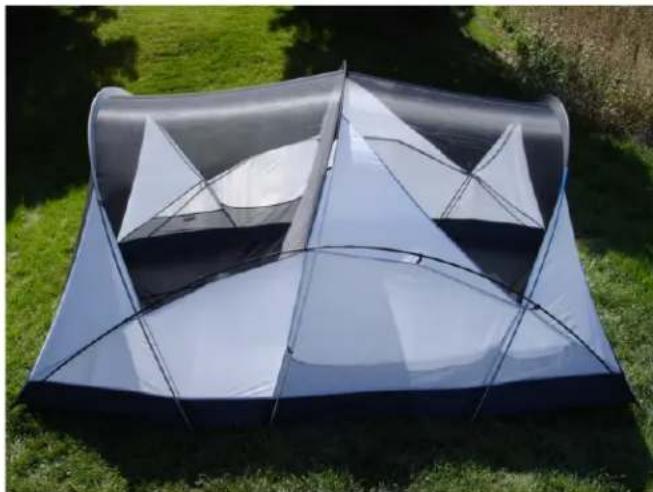
Exterior view of a blue and gray camping tent made of tents, placed on grassy ground (no text or symbols visible)Step 3: Secure the remaining black poles to the front and back corner Jake's Foot™ attachments running along both sides of the tent. Then connect the black poles to the front side of the colored poles by snapping them into the Swivel C Connectors™ and clip the remaining Swift Clips™ to the black poles.
natural_image
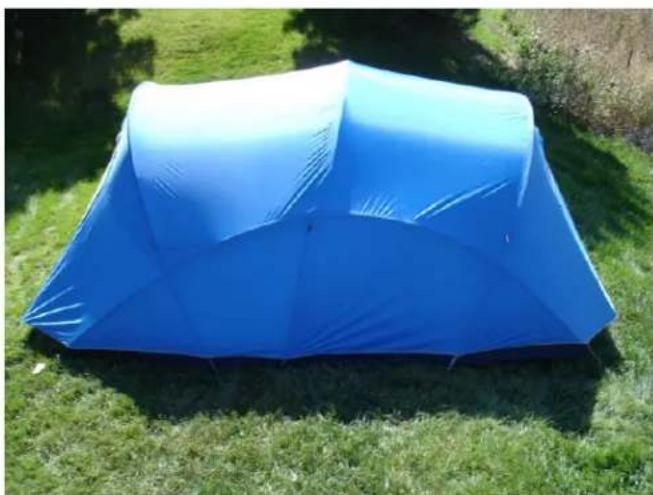
Blue outdoor camping tent placed on grassy field, no visible text or symbolsStep 4: Position the rain fly over the tent so that the gray vestibule door and the blue vestibule door are over thier corresponding main tent body doors. Next, attach the rain fly clips to the front bar of the Jake's Foot™ attachment, stake out the vestibules and admire your new tent.