Tensegrity 1 - Zelt Sierra Designs - Kostenlose Bedienungsanleitung
Finden Sie kostenlos die Bedienungsanleitung des Geräts Tensegrity 1 Sierra Designs als PDF.


Benutzerfragen zu Tensegrity 1 Sierra Designs
0 Frage zu diesem Gerät. Beantworten Sie die, die Sie kennen, oder stellen Sie Ihre eigene.
Eine neue Frage zu diesem Gerät stellen
Laden Sie die Anleitung für Ihr Zelt kostenlos im PDF-Format! Finden Sie Ihr Handbuch Tensegrity 1 - Sierra Designs und nehmen Sie Ihr elektronisches Gerät wieder in die Hand. Auf dieser Seite sind alle Dokumente veröffentlicht, die für die Verwendung Ihres Geräts notwendig sind. Tensegrity 1 von der Marke Sierra Designs.
BEDIENUNGSANLEITUNG Tensegrity 1 Sierra Designs
TENSEGRITY 1 & 2 (FL & ELITE MODELS)
PITCHING INSTRUCTIONS

Congratulations on the purchase of you new Sierra Designs Tent! In order to familiarize yourself with your new tent, we recommend you "test pitch" it before embarking on your wilderness adventure.
PACKAGE INCLUDES: Tent Body with Attached Rain Fly, 1 Hooped Rear Pole, Guy Cords, Stakes, Pole/Stake Bag and Tent Stuff Sack
Tensegrity tents were designed to save carry weight and require the use of trekking poles, which are not included.
Should you choose to forego trekking poles, you can order accessory poles (part #47154815) by calling 800.635.0461.
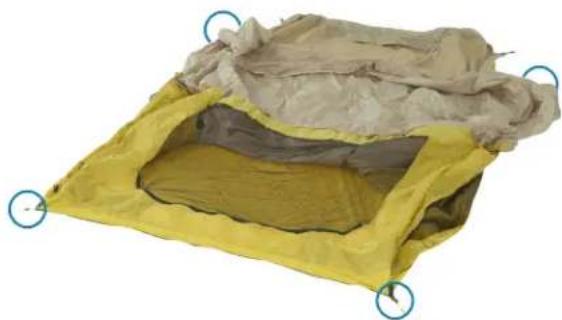
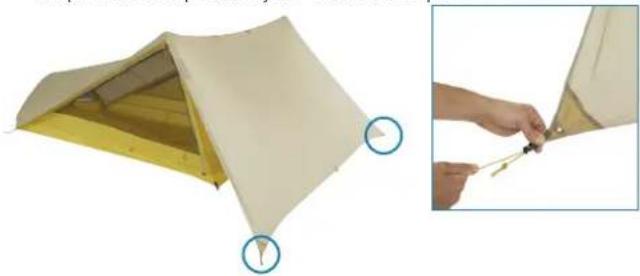
STEP 1: Find an even piece of ground; be sure area is clear of debris. Layout your tent as shown. Stake the 4 corners (circled).
natural_image
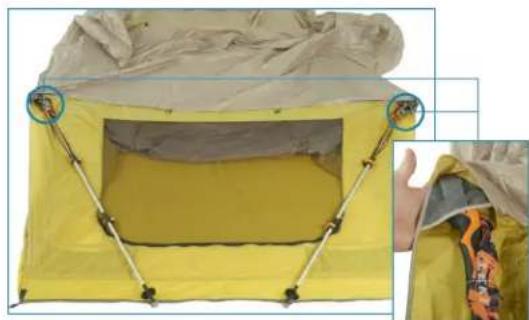
Yellow fabric tent with open interior and gray cover, no visible text or symbolsSTEP 2: Extend your trekking poles to the MAXIMUM length. Insert trekking pole handles into corner handle pocket. Angle poles so tips are even with grey slotted webbing.
natural_image
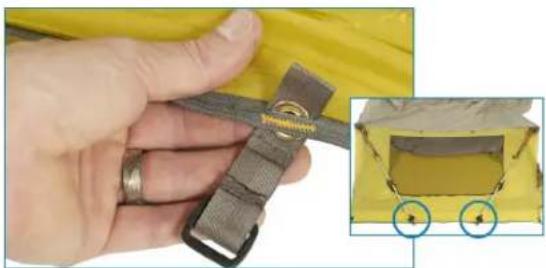
Yellow tent with attached straps and a hand holding a jacket (no visible text or symbols)STEP 3: Insert Grommet Tabs into slotted webbing closest to where trekking pole tip extends. Insert trekking pole tip into grommet (it should fit securely.)
natural_image
Close-up of a hand holding a yellow fabric with a gray strap, alongside an inset showing a tent interior (no text or symbols visible)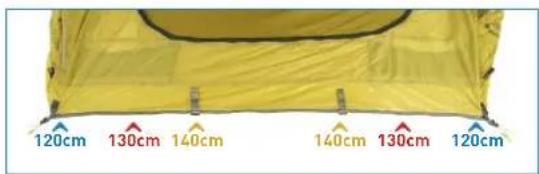
text_image
120cm 130cm 140cm 140cm 130cm 120cmNote: The colored bartacks along the slotted webbing will help you locate the approximate pole tip location on each side. The cm listed above is the approximate pole length.
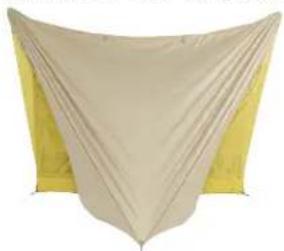
STEP 4: Erect the tent by loosely staking out the center loop of the gear closet panel. Note: this step will help to make sure the large panel is centered.
natural_image
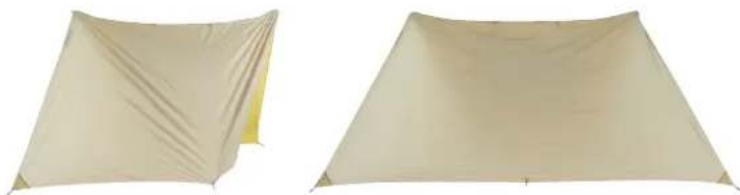
Beige fabric with yellow background, no text or symbols visibleSTEP 5: Completely LOOSEN the corner LineLoc® guy cord. Stake out the gear closet panel corners evenly. Remove center loop stake from panel (Step 4)
natural_image
Two beige tent-like structures with yellow covers, shown from different angles (no text or symbols visible)STEP 6: Assemble rear pole. Insert into sleeve and corner grommets. Stake out rear vent LineLoc®.
natural_image
Two-step illustration showing a person adjusting a yellow tent structure with a tool (no text or symbols visible)STEP 7: Evenly tighten front panel stake out loops from Step 5 and your tent is setup.
natural_image
Two-step illustration of a tent structure: one open with yellow interior, the other showing hands holding a small object (no text or symbols)TENSEGRITY 1 & 2 (FL & ELITE MODELS)
USING YOUR TENT
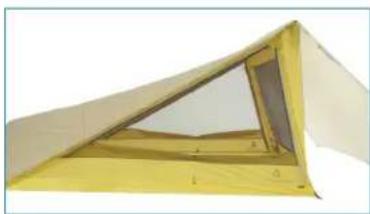
VENTILATION/VISIBILITY: Because we have replaced the vestibule with an awning above the door you have the ability to control the visibility and ventilation during a downpour. Simply zip up or zip down the waterproof door for the coverage you desire.
natural_image
Yellow triangular structural frame with internal cutouts and dimension lines (no text or symbols)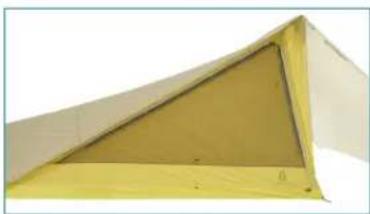
natural_image
Close-up of a yellow triangular structure with a small circular mark and dimension label 'a' (no text or symbols beyond the label)GEAR STORAGE: Your SD tent provides gear storage out of the doorway of the tent with access from inside and outside. We recommend inserting your pack into the Gear Closet from the outside of the tent.
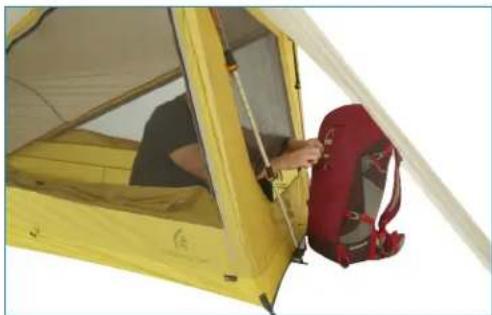
natural_image
Person inside a yellow camping tent with a red backpack, viewed from the side (no text or symbols visible)LINELOCS®: All tent and awning stake-out points feature LineLocs®. Lift up on the tab to decrease tension. Pull on the knotted end to increase tension.
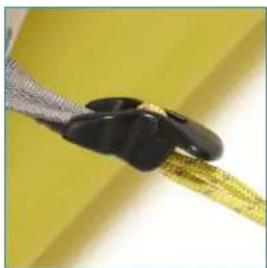
natural_image
Close-up of a black and gray object tied with a metallic string against a yellow background (no text or symbols visible)
natural_image
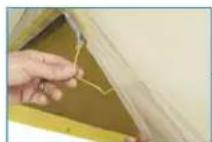
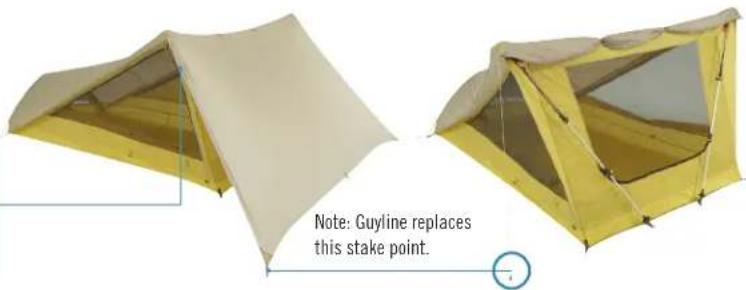
Close-up of hands holding a small object with a tool, possibly a tool or connector (no visible text or symbols)STARGAZING SETUP: When the weather is good use the guyline stored in the pocket to replace the panel stakeout. The large panel can be rolled and stowed using the loop and toggle along the ridge of the tent.
text_image
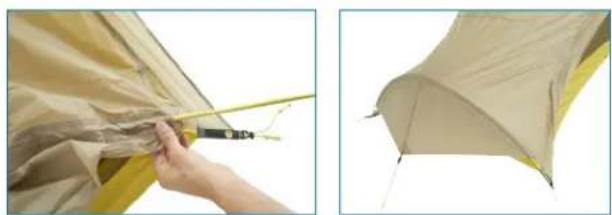
Note: Guyline replaces this stake point.OPEN AWNING SETUP:
- Begin with the guyline setup.
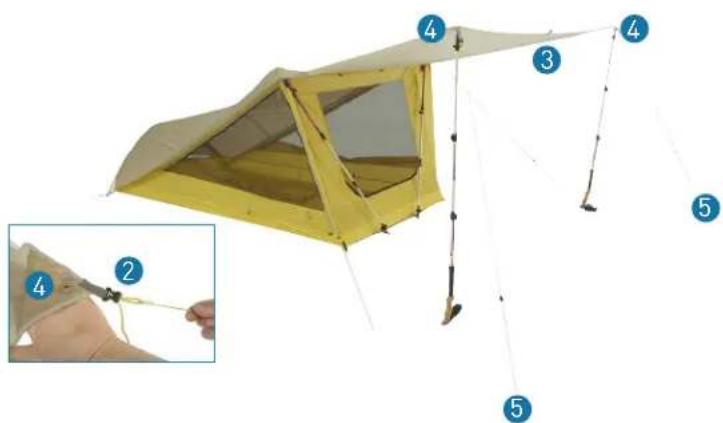
- Attach included guylines to corner panel loops.
- Extend panel.
- Insert trekking pole tips into corner grommets.
- Stake out guyline.