F320 - Heimtrainer BodyCraft - Kostenlose Bedienungsanleitung
Finden Sie kostenlos die Bedienungsanleitung des Geräts F320 BodyCraft als PDF.


Benutzerfragen zu F320 BodyCraft
0 Frage zu diesem Gerät. Beantworten Sie die, die Sie kennen, oder stellen Sie Ihre eigene.
Eine neue Frage zu diesem Gerät stellen
Laden Sie die Anleitung für Ihr Heimtrainer kostenlos im PDF-Format! Finden Sie Ihr Handbuch F320 - BodyCraft und nehmen Sie Ihr elektronisches Gerät wieder in die Hand. Auf dieser Seite sind alle Dokumente veröffentlicht, die für die Verwendung Ihres Geräts notwendig sind. F320 von der Marke BodyCraft.
BEDIENUNGSANLEITUNG F320 BodyCraft
BodyCrafti
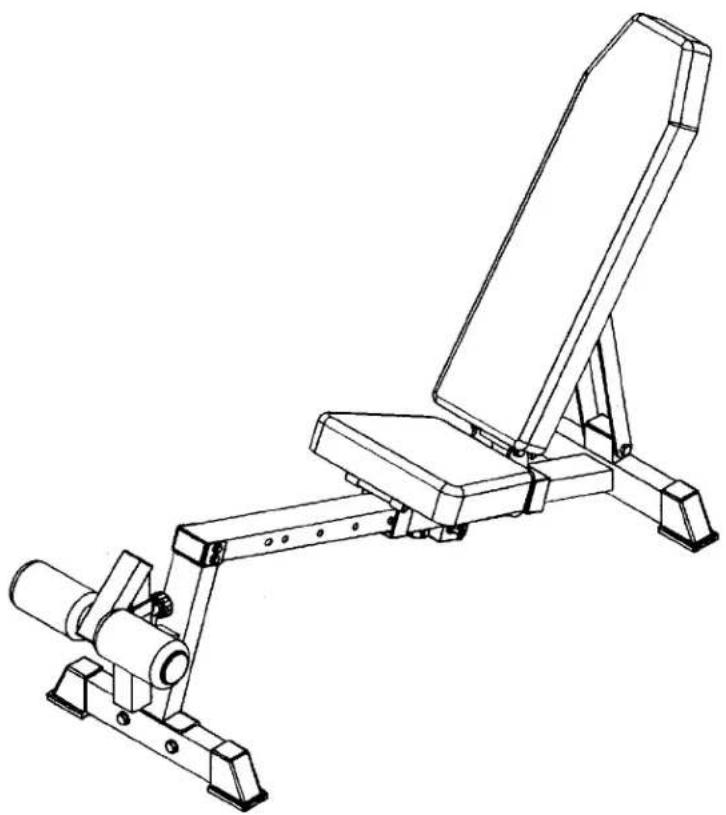
INSTRUCTION MANUAL ECONO FLAT / INCLINE / DECLINE BENCH MODEL : F320
natural_image
Line drawing of a balance exercise machine with lever and support structure (no text or symbols)QUESTION?
As a quality home gym supplier we are committed to your complete satisfaction. If you have questions, or find missing or damaged parts, we will guarantee your complete satisfaction through our authorized dealer service centers or our home office customer service department. Please call your local dealer for assistance or RSI at 800-990-5556 (9:00 AM - 5:00 PM). Our trained technicians will provide immediate assistance to you, free of charge.
We stand behind our products. Every piece, every part of this BODYCRAFT strength training system is guaranteed for as long as you own it. We will repair or replace anything that goes wrong.
Bodycraft is a division of Recreation Supply Inc.
P.O. BOX 181
Sunbury, OH 43074
BEFORE YOU BEGIN
Congratulations and thank you for selecting the Econo flat / incline / decline bench strength training system. The Econo flat / incline / decline bench offers an impressive array of strength training exercises to develop every major muscle group of the body. Whether your goal is cardiovascular fitness, a shapely, toned body or dramatic muscle size and strength, the Econo flat / incline / decline bench will help you achieve the specific results you want.
For your safety and benefit, read this manual and the accompanying literature before using the Econo flat / incline / decline bench. Keep this manual for future reference. If you have additional questions, please call your local BODYCRAFT dealer or our customer service department at 800-990-5556 Monday through Friday, 9 a.m. until 5 p.m. Eastern Time.
IMPORTANT SAFETY NOTES
There is a risk assumed by individuals who use this type of equipment. Before beginning this or any other exercise program consult your physician. This is especially important for individuals over the age of 35 or persons with pre-existing health problems. Recreation Supply, Inc. assumes no responsibility for personal injury or property damage sustained by or through use of this product.
- This product must be assembled on a flat, level surface to assure its proper function.
- Clean pads and frame on a regular basis. We recommend warm, soapy water. Do not use harsh or abrasive chemicals.
- Inspect and tighten all parts before every use. Replace any worn parts immediately. Failure to do so may result in serious injury.
- Keep children away from the Econo flat / incline / decline bench at all times.
- Keep your hands away from moving parts.
- When adjusting the seat, make sure the spring pin is fully engaged. If not, the seat may slip and cause serious injury.
- Exercise with care to avoid injury.
- If unsure about the proper use of the Econo flat / incline / decline bench strength training system call your local BODYCRAFT dealer or our customer service department at 800-990-5556.
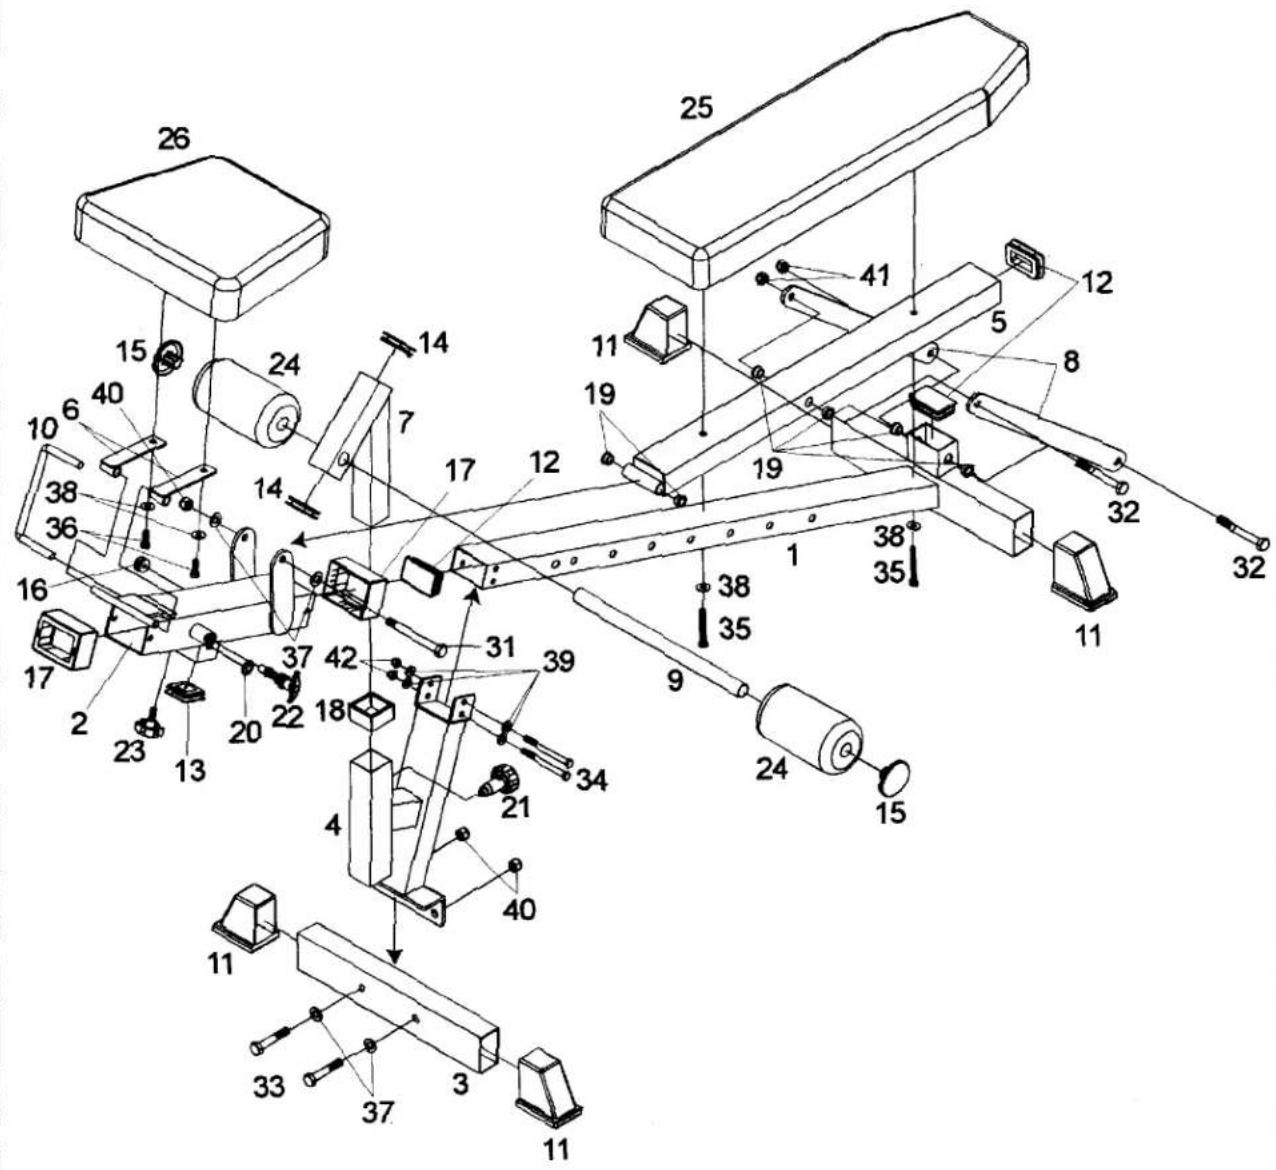
EXPLODE VIEW
text_image
Technical diagram of a mechanical assembly with numbered components and labeled partsPARTS CHART
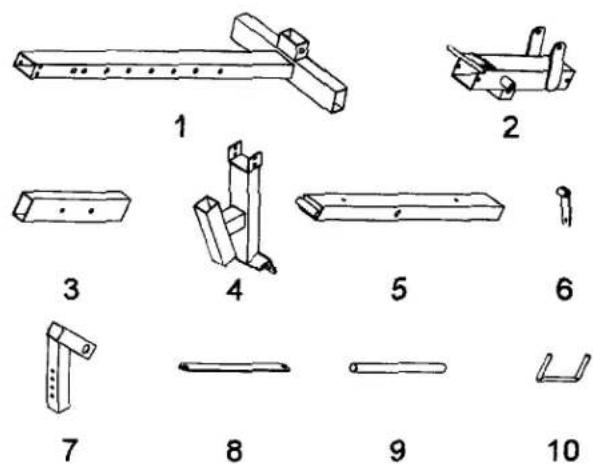
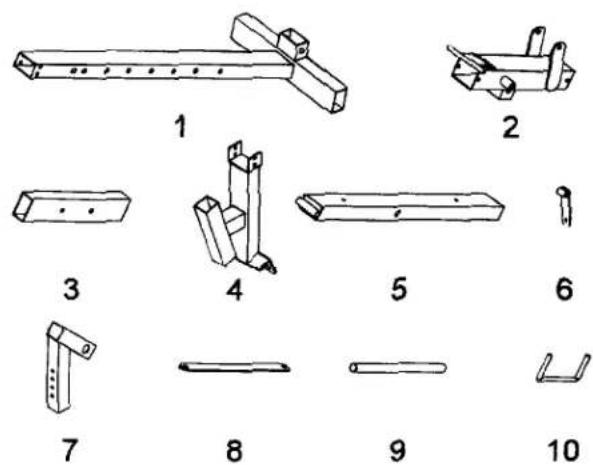
NO. DESCRIPTION QTY.
| 1 | SEAT SUPPORT | 1 |
| 2 | SEAT SLIDER | 1 |
| 3 | FRONT STABILIZER | 1 |
| 4 | FRONT UPRIGHT | 1 |
| 5 | BACK SUPPORT | 1 |
| 6 | SEAT HINGES | 2 |
| 7 | KNEE HOLD DOWN | 1 |
| 8 | SUPPORT PLATE | 2 |
| 9 | FOAM PAD HOLDER | 1 |
| 10 | U PIN | 1 |
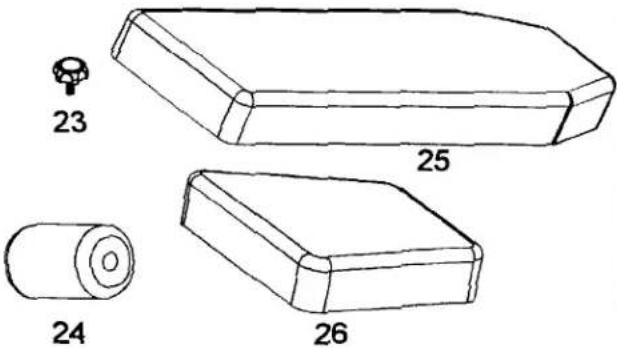
| 11 | 45mm X 75mm END RECT. CAP | 4 |
| 12 | 45mm X 75mm END RECT. PLUG | 3 |
| 13 | 50mm END SQ. PLUG | 1 |
| 14 | 45mm END SQ. PLUG | 2 |
| 15 | 1" ROUND PLUG | 2 |
| 16 | 1" ROUND PLUG (SMALL) | 1 |
| 17 | RECT. BUSHING | 2 |
| 18 | SPACER | 1 |
| 19 | STEEL BUSHING | 6 |
| 20 | METAL CAP | 1 |
| 21 | 3/8" POP PIN | 1 |
| 22 | 1/2" POP PIN | 1 |
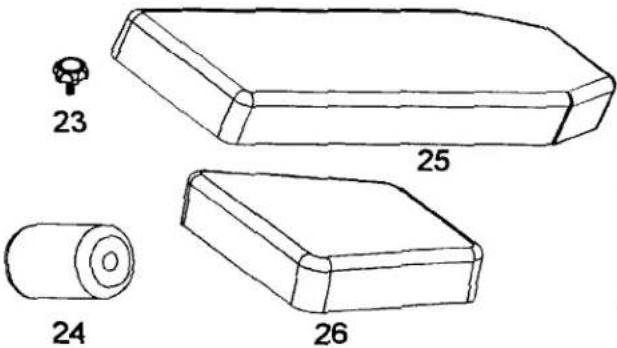
| 23 | KNOB | 1 |
| 24 | FOAM PAD | 2 |
| 25 | BACK PAD | 1 |
| 26 | SEAT PAD | 1 |

11

1

13

14

15

16

17

1

19

20

21

22
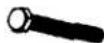
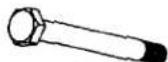
| 31 | 1/2" X 4-3/4" HEX HEAD BOLT | 1 |
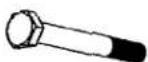
| 32 | 1/2" X 4" HEX HEAD BOLT | 2 |
| 33 | 1/2" X 2-3/4" HEX HEAD BOLT | 2 |
| 34 | 3/8" X 4" HEX HEAD BOLT | 2 |
| 35 | 3/8" X 2-3/4" HEX HEAD BOLT | 2 |
| 36 | 3/8" X 1" HEX HEAD BOLT | 2 |
| 37 | 1/2" WASHER | 4 |
| 38 | 3/8" WASHER | 4 |
| 39 | 3/8" WASHER (SMALL) | 4 |
| 40 | 1/2" NYLON NUT | 3 |
| 41 | 1/2" NYLON NUT (THINNER) | 2 |
| 42 | 3/8" CAP NUT | 2 |
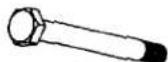
31
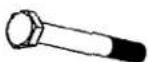
32
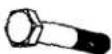
33
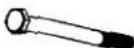
34
35

36

37

38

39

40

41

42

text_image
0 1/4 1/2 3/4 1" 1/2 2" 1/2 3" 1/2 4" 1/2 5" 1/2 6" (inch)ASSEMBLY INSTRUCTION
Do not tighten bolts until instructed.
- Attach two End Caps (11) and two End Plugs (12) onto Seat Support (1), then slide Seat Slider (2) into Seat Support (1). Attach End Plug (13) onto Seat Slider (2).
- Attach two End Caps (11) on Front Stabilizer (3). Attach Front Upright (4) to Front Stabilizer (3), using two Bolts (33), two Washers (37) and two Nuts (40).
- Attach Front Upright (4) to Seat Support (1) using two Hex Bolts (34), four Washers (39) and two Nuts (42). Screw Tension Knob (23) onto Seat Silder (2).
- Attach Seat Hinges (6) and Back Support (5) onto Seat Slider (2) using 1/2" X 4-3/4" Hex Bolt (31), two Washers (37) and Nut (40) for Back Support (5).
- Attach Support Plate (8) (one end pre-assembled to Back Support (5)) to Seat Support (1), using Bolt (32) and Nut (41). Loosen bolt approximately 1/2 turn so that Support Plate (8) pivot freely.
- Attach Seat Pad (26) to Seat Hinges (6) using Bolts (36) and Washers (38), Back Pad (25) to Back Support (5) using Bolts (35) and Washers (38).
- Slide 50 SQ. Spacer (18) onto Front Upright (4), then insert Knee Hold Down (7) into Front Upright (4). Attach End Plug (14) onto Knee Hold Down (7).
- Insert Foam Pad Holder (9) into Knee Hold Down (7) and slide Foam Pad (24) onto Foam Pad Holder (9) and attach 1" round End Plug (15) to each end.
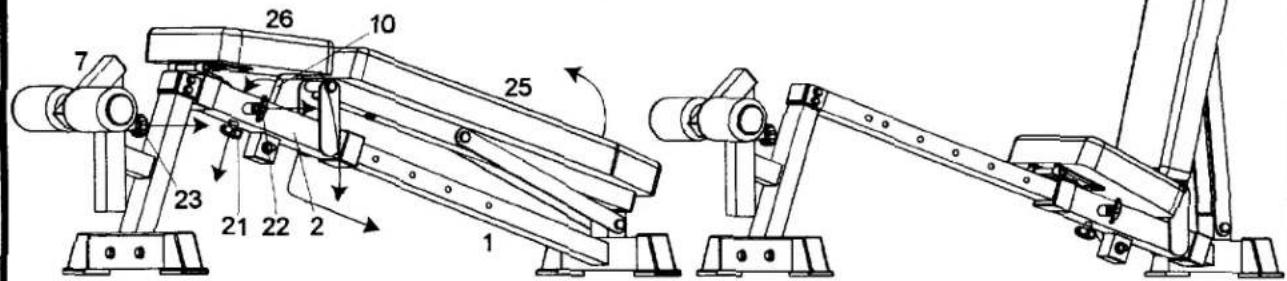
Slide seat to front to get decline position.
Please ensure all parts attached and tighten bolts.
text_image
Technical diagram of a mechanical assembly with numbered components and directional arrows indicating motion or movement.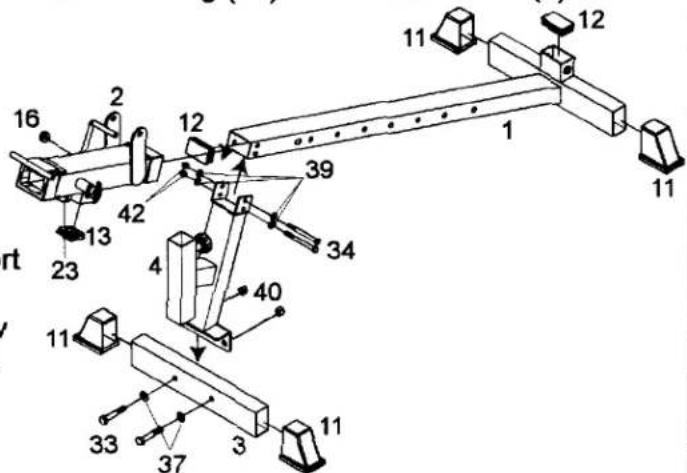
text_image
16 2 12 11 12 42 39 1 11 23 4 34 40 11 33 37 3 11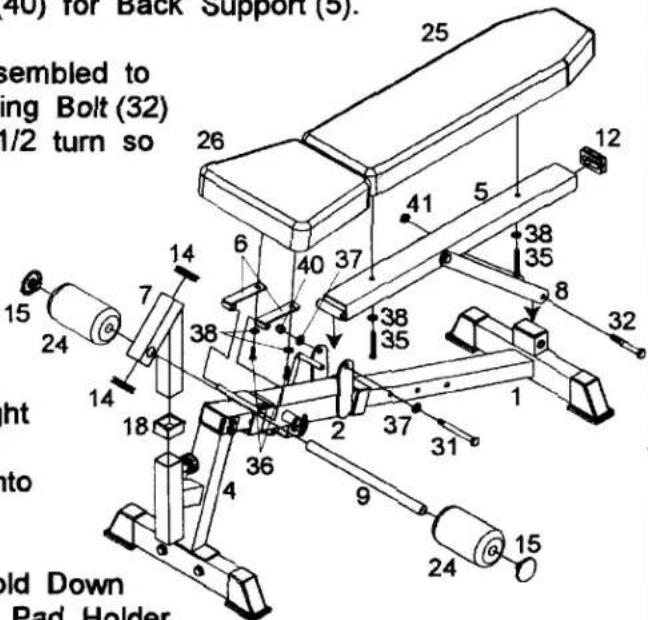
text_image
(40) for Back Support (5). Assembled to ing Bolt (32) 1/2 turn so old Down Pad HolderAssembly is complete! Please take the following steps before using the BODYCRAFT ECONO FLAT / INCLINE / DECLINE BENCH:
- Make certain all bolts are tightened securely.
- Enjoy many years of a Fit Lifestyle.
Thank you for purchasing the Bodycraft Econo flat / incline / decline bench Machine Training System. If You have any questions, please call your local BodyCraft dealer or call our customer service department at 800-990-5556
PARTS CHART
NO. DESCRIPTION QTY.
| 1 | SEAT SUPPORT | 1 |
| 2 | SEAT SLIDER | 1 |
| 3 | FRONT STABILIZER | 1 |
| 4 | FRONT UPRIGHT | 1 |
| 5 | BACK SUPPORT | 1 |
| 6 | SEAT HINGES | 2 |
| 7 | KNEE HOLD DOWN | 1 |
| 8 | SUPPORT PLATE | 2 |
| 9 | FOAM PAD HOLDER | 1 |
| 10 | U PIN | 1 |
| 11 | 45mm X 75mm END RECT. CAP | 4 |
| 12 | 45mm X 75mm END RECT. PLUG | 3 |
| 13 | 50mm END SQ. PLUG | 1 |
| 14 | 45mm END SQ. PLUG | 2 |
| 15 | 1" ROUND PLUG | 2 |
| 16 | 1" ROUND PLUG (SMALL) | 1 |
| 17 | RECT. BUSHING | 2 |
| 18 | SPACER | 1 |
| 19 | STEEL BUSHING | 6 |
| 20 | METAL CAP | 1 |
| 21 | 3/8" POP PIN | 1 |
| 22 | 1/2" POP PIN | 1 |
| 23 | KNOB | 1 |
| 24 | FOAM PAD | 2 |
| 25 | BACK PAD | 1 |
| 26 | SEAT PAD | 1 |

11

1

13

14

15

16

17

1

19

20

21

22
| 31 | 1/2" X 4-3/4" HEX HEAD BOLT | 1 |
| 32 | 1/2" X 4" HEX HEAD BOLT | 2 |
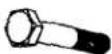
| 33 | 1/2" X 2-3/4" HEX HEAD BOLT | 2 |
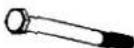
| 34 | 3/8" X 4" HEX HEAD BOLT | 2 |
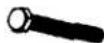
| 35 | 3/8" X 2-3/4" HEX HEAD BOLT | 2 |
| 36 | 3/8" X 1" HEX HEAD BOLT | 2 |
| 37 | 1/2" WASHER | 4 |
| 38 | 3/8" WASHER | 4 |
| 39 | 3/8" WASHER (SMALL) | 4 |
| 40 | 1/2" NYLON NUT | 3 |
| 41 | 1/2" NYLON NUT (THINNER) | 2 |
| 42 | 3/8" CAP NUT | 2 |
31
32
33
34
35

36

37

38

39

40

41

42
