
DIGITAL PHONO USB PREAMP PP 3I - Préampli phono USB NAD - Notice d'utilisation et mode d'emploi gratuit
Retrouvez gratuitement la notice de l'appareil DIGITAL PHONO USB PREAMP PP 3I NAD au format PDF.
| Type de produit | Préamplificateur phono USB |
| Caractéristiques techniques principales | Entrées RCA, sortie USB, compatible avec les platines vinyles |
| Alimentation électrique | Alimentation par USB, pas besoin de source d'alimentation externe |
| Dimensions approximatives | 210 x 150 x 50 mm |
| Poids | 0,5 kg |
| Compatibilités | Compatible avec Windows et Mac OS |
| Fonctions principales | Conversion analogique-numérique, amplification du signal phono |
| Entretien et nettoyage | Nettoyer avec un chiffon doux, éviter les produits chimiques agressifs |
| Pièces détachées et réparabilité | Réparabilité limitée, pièces non facilement accessibles |
| Sécurité | Utiliser dans un environnement sec, éviter les chocs électriques |
| Informations générales | Idéal pour les audiophiles souhaitant numériser leurs vinyles |
FOIRE AUX QUESTIONS - DIGITAL PHONO USB PREAMP PP 3I NAD
Questions des utilisateurs sur DIGITAL PHONO USB PREAMP PP 3I NAD
0 question sur cet appareil. Repondez a celles que vous connaissez ou posez la votre.
Poser une nouvelle question sur cet appareil
Téléchargez la notice de votre Préampli phono USB au format PDF gratuitement ! Retrouvez votre notice DIGITAL PHONO USB PREAMP PP 3I - NAD et reprennez votre appareil électronique en main. Sur cette page sont publiés tous les documents nécessaires à l'utilisation de votre appareil DIGITAL PHONO USB PREAMP PP 3I de la marque NAD.
MODE D'EMPLOI DIGITAL PHONO USB PREAMP PP 3I NAD
text_image
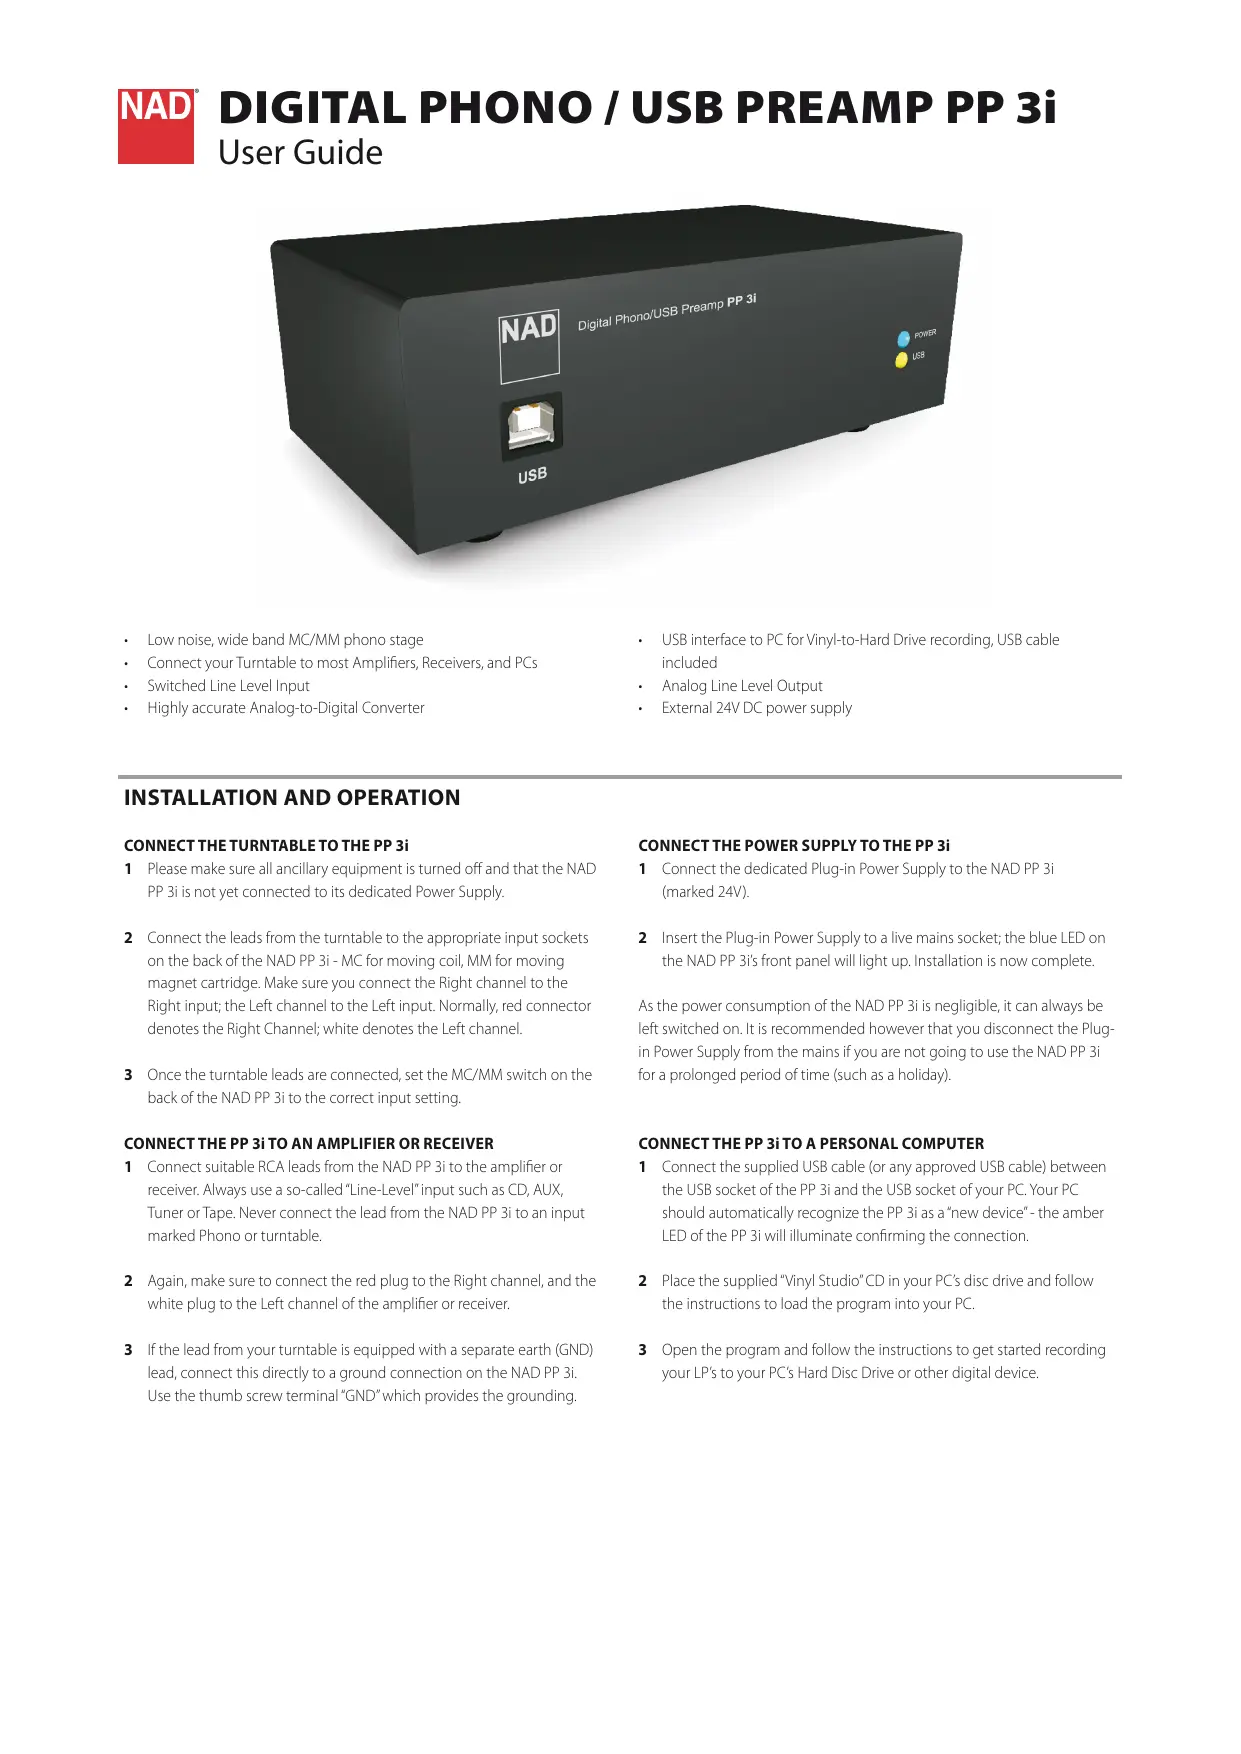
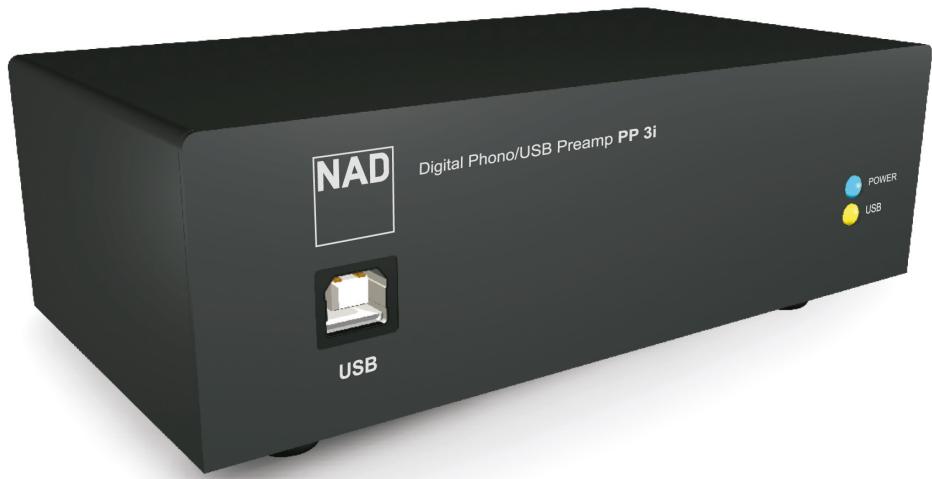
NAD Digital Phono/USB Preamp PP 3i USB POWER USB• Low noise, wide band MC/MM phono stage
- Connect your Turntable to most Amplifiers, Receivers, and PCs
• Switched Line Level Input
• Highly accurate Analog-to-Digital Converter
- USB interface to PC for Vinyl-to-Hard Drive recording, USB cable included
• Analog Line Level Output
• External 24V DC power supply
INSTALLATION AND OPERATION
CONNECT THE TURNTABLE TO THE PP 3i
1 Please make sure all ancillary equipment is turned off and that the NAD PP 3i is not yet connected to its dedicated Power Supply.
2 Connect the leads from the turntable to the appropriate input sockets on the back of the NAD PP 3i - MC for moving coil, MM for moving magnet cartridge. Make sure you connect the Right channel to the Right input; the Left channel to the Left input. Normally, red connector denotes the Right Channel; white denotes the Left channel.
3 Once the turntable leads are connected, set the MC/MM switch on the back of the NAD PP 3i to the correct input setting.
CONNECT THE PP 3i TO AN AMPLIFIER OR RECEIVER
1 Connect suitable RCA leads from the NAD PP 3i to the amplifier or receiver. Always use a so-called "Line-Level" input such as CD, AUX, Tuner or Tape. Never connect the lead from the NAD PP 3i to an input marked Phono or turntable.
2 Again, make sure to connect the red plug to the Right channel, and the white plug to the Left channel of the amplifier or receiver.
3 If the lead from your turntable is equipped with a separate earth (GND) lead, connect this directly to a ground connection on the NAD PP 3i. Use the thumb screw terminal "GND" which provides the grounding.
CONNECT THE POWER SUPPLY TO THE PP 3i
1 Connect the dedicated Plug-in Power Supply to the NAD PP 3i (marked 24V).
2 Insert the Plug-in Power Supply to a live mains socket; the blue LED on the NAD PP 3i's front panel will light up. Installation is now complete.
As the power consumption of the NAD PP 3i is negligible, it can always be left switched on. It is recommended however that you disconnect the Plugin Power Supply from the mains if you are not going to use the NAD PP 3i for a prolonged period of time (such as a holiday).
CONNECT THE PP 3i TO A PERSONAL COMPUTER
1 Connect the supplied USB cable (or any approved USB cable) between the USB socket of the PP 3i and the USB socket of your PC. Your PC should automatically recognize the PP 3i as a "new device" - the amber LED of the PP 3i will illuminate confirming the connection.
2 Place the supplied "Vinyl Studio" CD in your PC's disc drive and follow the instructions to load the program into your PC.
3 Open the program and follow the instructions to get started recording your LP's to your PC's Hard Disc Drive or other digital device.
Always turn down the volume to a low level or turn off all equipment before checking.
| PROBLEM | POSSIBLE CAUSE | POSSIBLE SOLUTION |
| No sound. | ·(LED is not illuminated) Power Supply not connected to either NAD PP 3i or mains socket. | ·Plug in dedicated Power Supply. |
| ·(LED is illuminated) Wrong input on amplifier/receiver selected. | ·Select input to which NAD PP 3i is connected. | |
| ·Check to see if the MM/MC selector switch is set correctly for your type of turntable cartridge (make sure to turn off all equipment beforehand). | ||
| ·Plugs from turntable and/or lead from NAD PP 3i to amplifier/receiver sockets not property fitted. | ·Check all connections (make sure to turn off all equipment beforehand). | |
| Sound in one channel only. | ·Plugs from turntable and/or lead from NAD PP 3i to amplifier/receiver sockets not property fitted. | ·Check all connections (make sure to turn off all equipment beforehand). |
| Hum or Buzz noise. | ·No connection from turntable to ground. | ·Connect the turntable's earth (GND) lead directly to a ground connection or to NAD PP 3i's thumb screw terminal "GND" which provides the grounding. |
| ·Earth loop present. | ·If connected, disconnect turntable's earth lead from amplifier/receiver. | |
| ·Interference from nearby equipment | ·Move NAD PP 3i and cables further away from other equipment. |
SPECIFICATIONS
MM SPECIFICATIONS
| Input impedance (R and C) | 47 kohms + 200 pF |
| Gain at 1 kHz | 35 dB |
| Input sensitivity for 300 mV output | 5 mV |
| Signal-to-noise ratio | 76 dB (A-weighted, with cartridge connected) |
| 65 dB (Unweighted, with cartridge connected) | |
| Input overload (20Hz/1kHz/20kHz) | 10/100/900 mV |
| Total Harmonic Distortion | <0.03% (20 Hz – 20 kHz at 3V output) |
| RIAA response accuracy | ±0.3 dB |
| Infrasonic filter | -14 dB (5 Hz) |
| -3 dB (10 Hz) | |
| Digital output (USB) | 16 bit linear PCM |
| Sampling frequency | 48 kHz |
| Dynamic range | 89 dB |
GENERAL SPECIFICATIONS
| AC supply | External 24V DC (analogue circuitry) |
| +5 V from USB (digital circuitry) | |
| Unit dimensions (W x H x D) | 135 x 43 x 72 mm |
MC SPECIFICATIONS
| Input impedance (R and C) | 100 ohms + 180 pF |
| Gain at 1 kHz | 58 dB |
| Input sensitivity for 300 mV output | 0.38 mV |
| Signal-to-noise ratio | 78 dB (A-weighted, with cartridge connected) |
| 70 dB (Unweighted, with cartridge connected) | |
| Input overload (20Hz/1kHz/20kHz) | 0.65/6.5/60mV |
| Total Harmonic Distortion | <0.03% (20 Hz – 20 kHz at 3V output) |
| RIAA response accuracy | ±0.3 dB |
| Infrasonic filter | -14 dB (5 Hz) |
| -3 dB (10 Hz) | |
| Digital output (USB) | 16 bit linear PCM |
| Sampling frequency | 48 kHz |
| Dynamic range | 86 dB |
Specifications are subject to change without notice. For updated documentation and features, please check out www.NADelectronics.com for the latest information about PP 3i.