Easy Install - Télécommande Projecta - Notice d'utilisation et mode d'emploi gratuit
Retrouvez gratuitement la notice de l'appareil Easy Install Projecta au format PDF.
| Type de produit | Télécommande RF |
| Marque | Projecta |
| Modèle | Easy Install |
| Technologie de transmission | RF (Radio Fréquence) |
| Fréquence de fonctionnement | 433,92 MHz |
| Portée maximale | 30 m (en espace libre) |
| Alimentation de la télécommande | 1 pile CR2032 3V (incluse) |
| Alimentation du récepteur | 230 V / 50 Hz (secteur) |
| Dimensions de la télécommande | 120 x 40 x 20 mm (approx.) |
| Poids de la télécommande | 50 g (avec pile) |
| Fonctions principales | Allumer/éteindre, variateur d'intensité (selon récepteur) |
| Nombre de canaux | 1 |
| Type de récepteur | Module RF Easy Wave (inclus) |
| Installation | Plug & Play : brancher le récepteur sur le secteur et associer la télécommande |
| Entretien et nettoyage | Nettoyer avec un chiffon doux et sec. Ne pas utiliser de produits abrasifs. |
| Sécurité | Ne pas exposer à l'humidité ou aux intempéries. Tenir hors de portée des enfants. |
| Pièces détachées et réparabilité | Pile de rechange (CR2032). Pas de pièces réparables par l'utilisateur. |
| Compatibilité | Avec les récepteurs RF Easy Wave de Projecta |
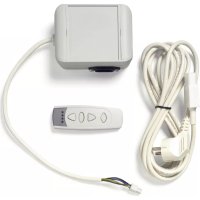
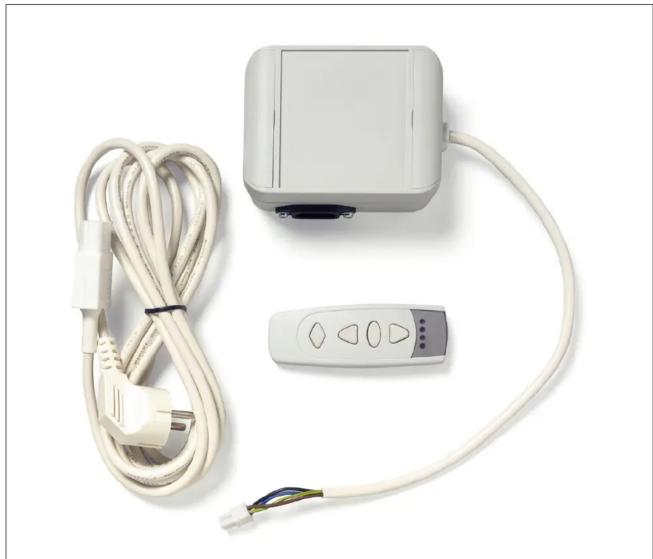
| Contenu de l'emballage | Télécommande, récepteur, pile, notice d'utilisation |
| Garantie | 2 ans |
FOIRE AUX QUESTIONS - Easy Install Projecta
Questions des utilisateurs sur Easy Install Projecta
0 question sur cet appareil. Repondez a celles que vous connaissez ou posez la votre.
Poser une nouvelle question sur cet appareil
Téléchargez la notice de votre Télécommande au format PDF gratuitement ! Retrouvez votre notice Easy Install - Projecta et reprennez votre appareil électronique en main. Sur cette page sont publiés tous les documents nécessaires à l'utilisation de votre appareil Easy Install de la marque Projecta.
MODE D'EMPLOI Easy Install Projecta

natural_image
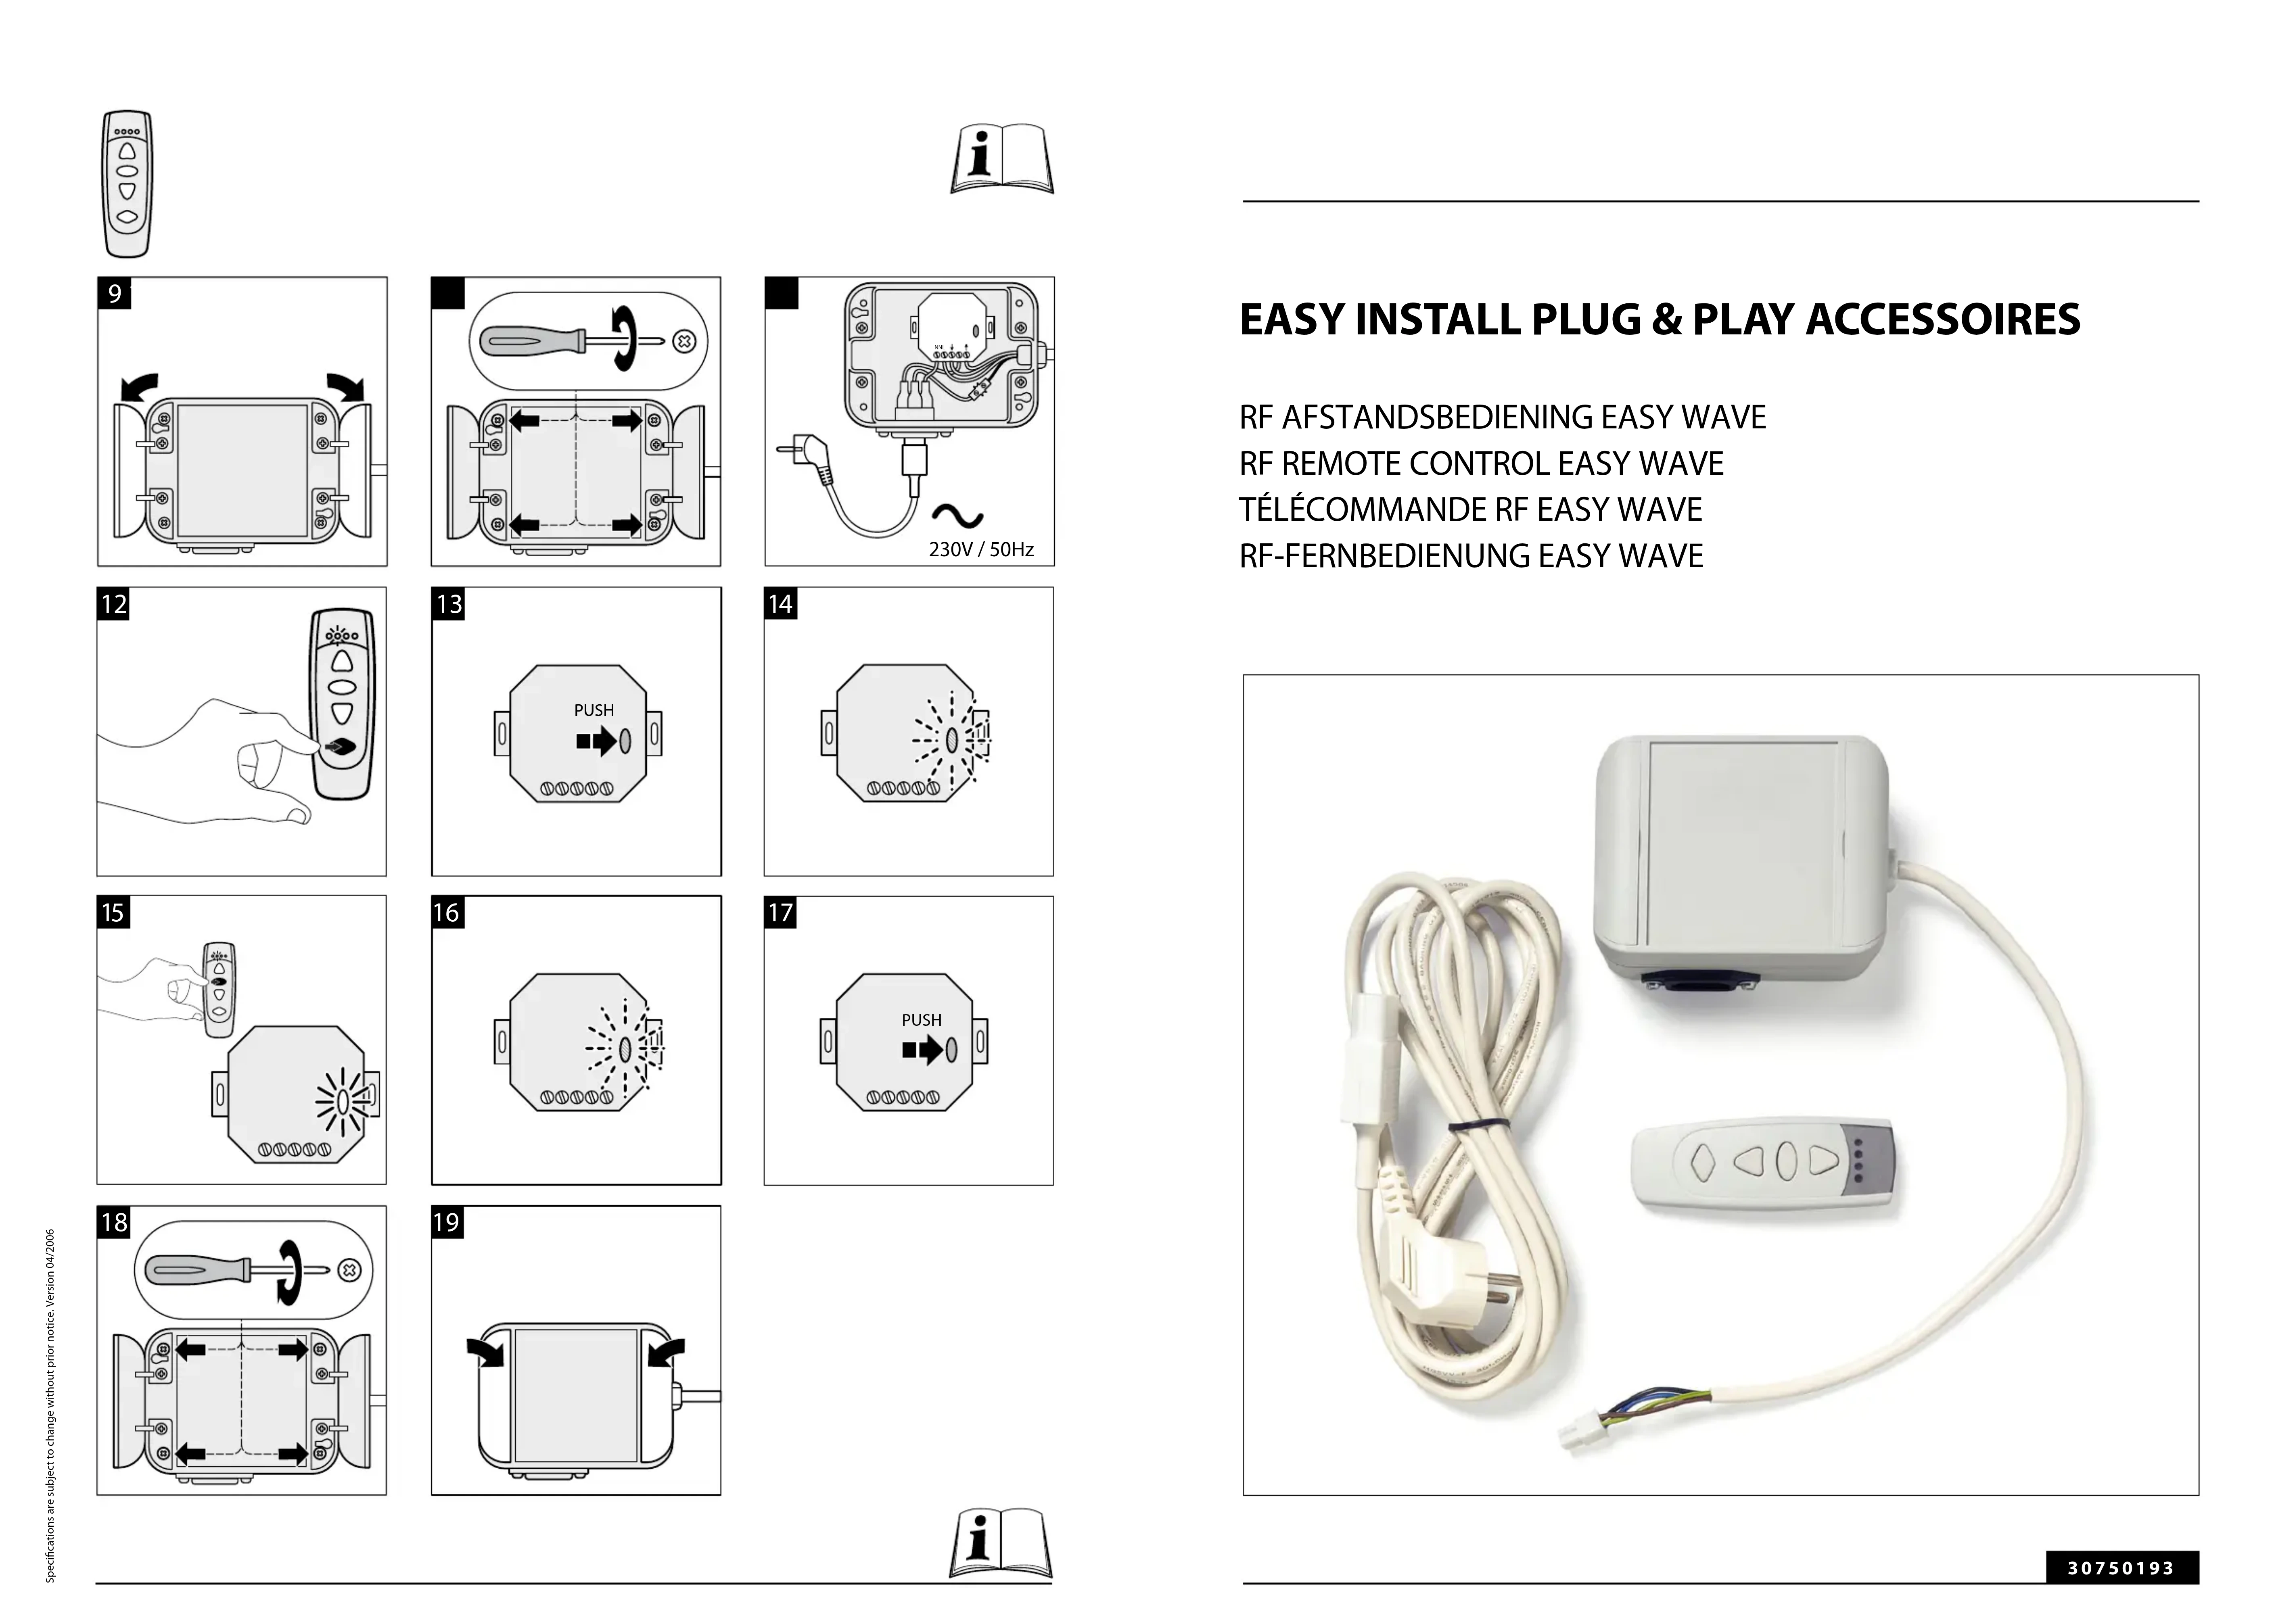
Diagram of a device with a central screen and two side connectors, no text or symbols present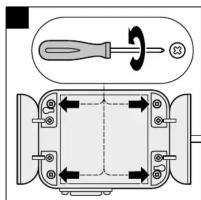
text_image
Technical diagram showing a screwdriver and its internal components with directional arrows indicating rotation or movement.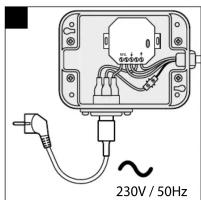
text_image
230V / 50Hz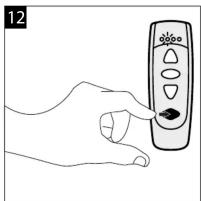
natural_image
Line drawing of a hand holding a remote control with a black clip (no text or symbols)
text_image
13 PUSH
natural_image
Simple line drawing of a symmetrical octagonal shape with radiating lines and dots, no text or symbols present.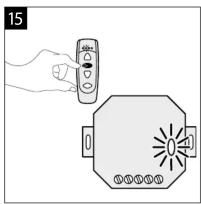
natural_image
Illustration of a hand holding a remote control next to an octagonal device with a light bulb (no text or symbols)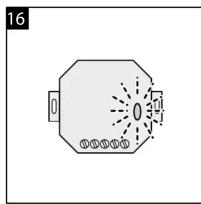
text_image
16 0 0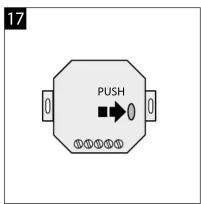
text_image
17 PUSH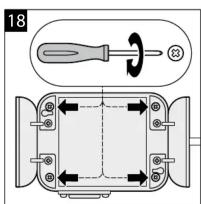
text_image
18
natural_image
Simple line drawing of a rectangular device with arrows indicating flow or movement, no text or symbols present.
EASY INSTALL PLUG & PLAY ACCESSOIRES
RF AFSTANDSBEDIENING EASY WAVE
RF REMOTE CONTROL EASY WAVE
TÉLÉCOMMANDE RF EASY WAVE
RF-FERNBEDIENUNG EASY WAVE
natural_image
White electrical controller with coiled cable, a remote control unit, and a terminal block (no text or symbols visible)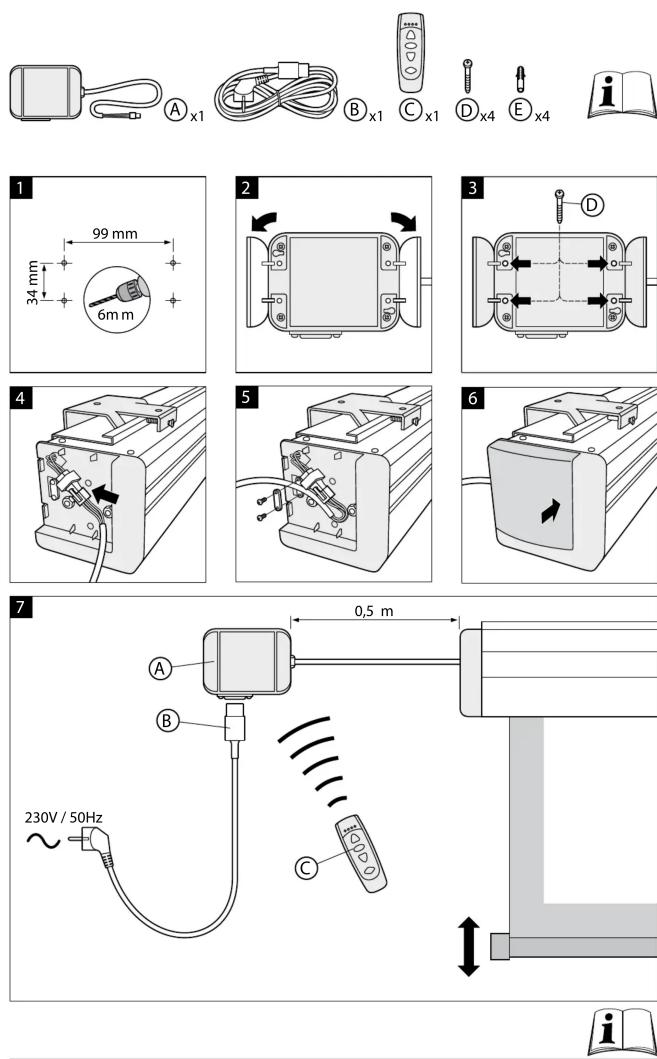

text_image
0,5 m 3 m F x1
natural_image
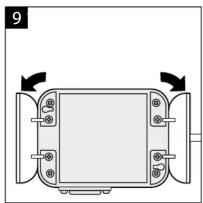
Technical diagram of a mechanical component with mounting holes and directional arrows (no text or symbols)
text_image
Technical diagram showing a screwdriver and a mechanical component with directional arrows indicating rotation or movement.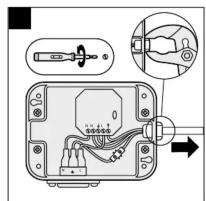
text_image
Diagram showing electrical switch connections with labeled components and a magnified view of the switch's internal wiring.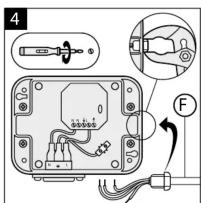
text_image
4 F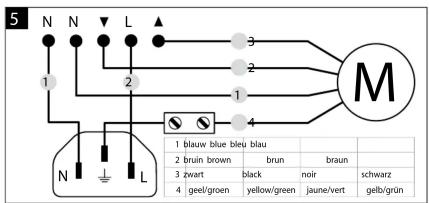
text_image
5 N N L 1 2 3 4 M N L 1 blauw blue bleu blau 2 brun brown brun braun 3 zwart black noir schwarz 4 geet/green yellow/green jaune/vert gelb/grün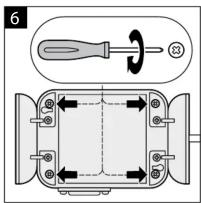
text_image
6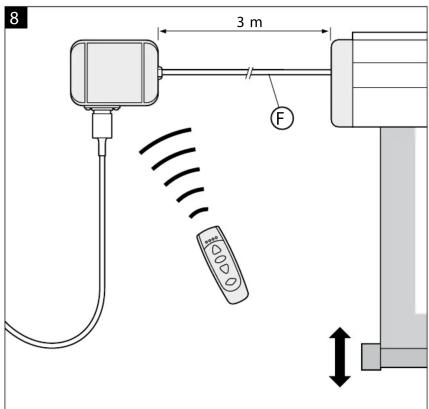
text_image
8 3 m F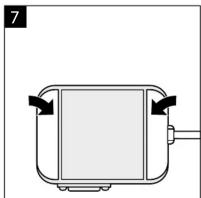
natural_image
Simple line drawing of a rectangular device with arrows indicating flow or movement, no text or symbols present.