
WAC104 - Point d'accès Wi-Fi NETGEAR - Notice d'utilisation et mode d'emploi gratuit
Retrouvez gratuitement la notice de l'appareil WAC104 NETGEAR au format PDF.

| Marque | NETGEAR |
| Modèle | WAC104 |
| Type de produit | Point d'accès Wi-Fi |
| Norme Wi-Fi | 802.11ac |
| Bandes de fréquence | 2,4 GHz et 5 GHz |
| Débit maximal | Jusqu'à 1200 Mbit/s (théorique) |
| Ports Ethernet | 1 port Ethernet 10/100/1000 (RJ-45) |
| Alimentation | Adaptateur secteur fourni (varie selon la région) |
| Contenu de la boîte | Point d'accès, câble Ethernet, adaptateur secteur |
| Configuration | Via interface web (adresse IP par défaut : 192.168.0.100) |
| Méthodes de connexion Wi-Fi | Manuelle (SSID) ou WPS |
| Sécurité Wi-Fi | WEP, WPA, WPA2 |
| SSID par défaut | Imprimé sur l'étiquette du produit (un pour 2,4 GHz et un pour 5 GHz) |
| Voyants LED | Power, WiFi, LAN |
| Boutons | Power On/Off, WiFi On/Off, WPS, Reset |
| Entretien et nettoyage | Nettoyer avec un chiffon doux et sec. Ne pas utiliser de produits chimiques. |
| Support | www.netgear.com/support |
FOIRE AUX QUESTIONS - WAC104 NETGEAR
Questions des utilisateurs sur WAC104 NETGEAR
0 question sur cet appareil. Repondez a celles que vous connaissez ou posez la votre.
Poser une nouvelle question sur cet appareil
Téléchargez la notice de votre Point d'accès Wi-Fi au format PDF gratuitement ! Retrouvez votre notice WAC104 - NETGEAR et reprennez votre appareil électronique en main. Sur cette page sont publiés tous les documents nécessaires à l'utilisation de votre appareil WAC104 de la marque NETGEAR.
MODE D'EMPLOI WAC104 NETGEAR
Installation
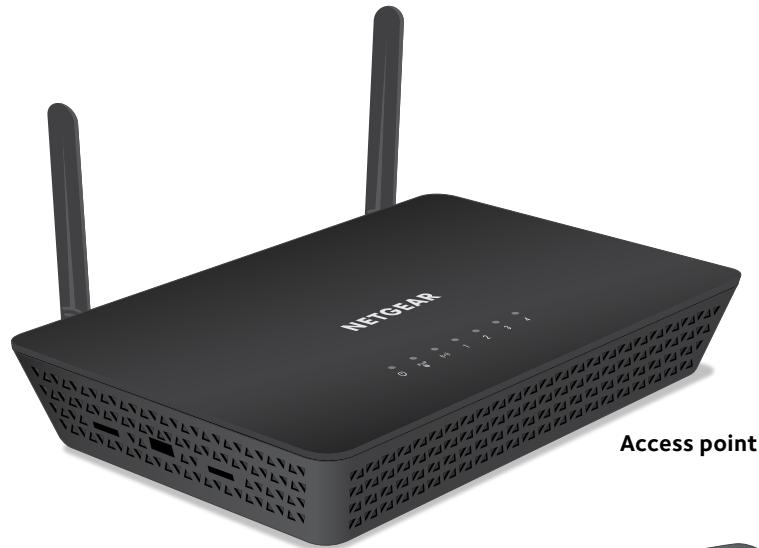
802.11ac Wireless Access Point
Model WAC104
Package Contents
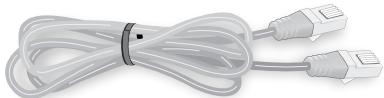
Ethernet cable
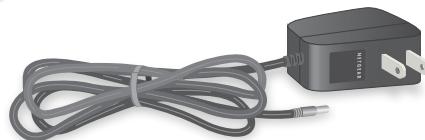
Power adapter
(varies by region)
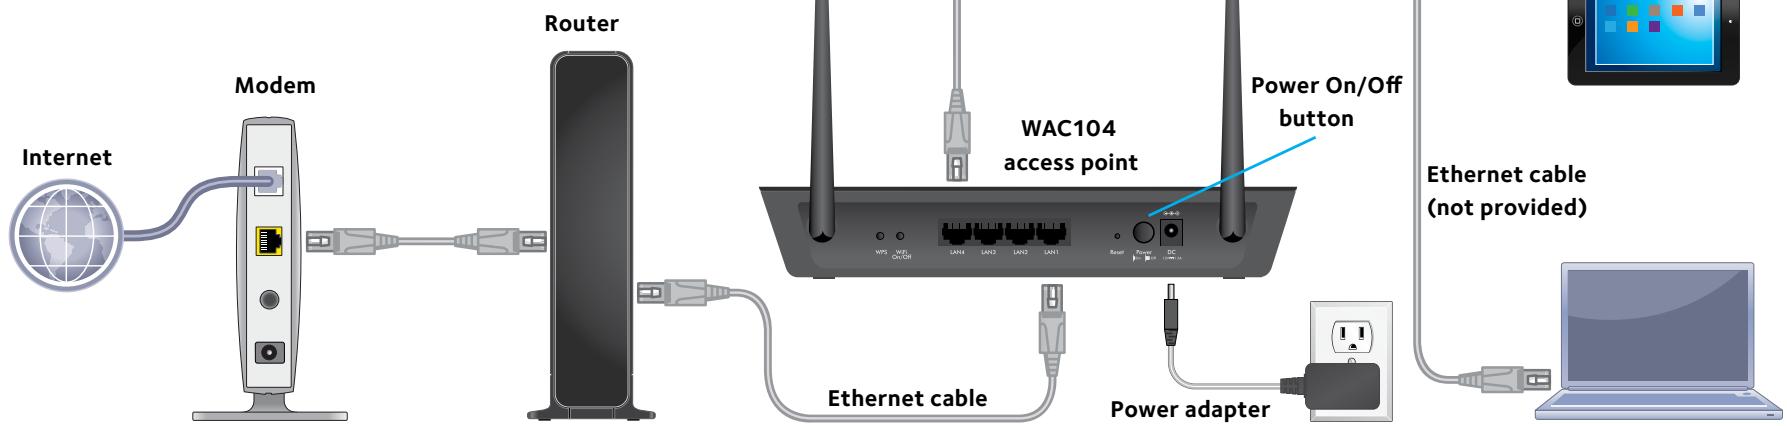
1. Connect the access point to your router.
Connect the Ethernet cable that came in the package to one of the access point's Ethernet ports. Connect the other end of the cable to an Ethernet port on your router.
Note: Do not connect your access point directly to your DSL or cable modem. The access point does not function as a router. If your network includes a DHCP server, you can connect the access point to a switch or hub that is connected to the DHCP server.
2. Power on the access point.
The Power LED

Power LED does not light, press the Power On/Off button.
Wait for the WiFi LED

to light solid
green. If the WiFi LED does not light, press the WiFi On/Off button.
- Method 2. Connect a WiFi device to the access point by using one of the WiFi network names (SSIDs) that are on the product label of the access point. A network key or password is not required. To connect over WiFi, you do not need to change the IP address of the WiFi device.
4. Log in to the access point.
Launch a web browser.
Enter http:// 192.168.0.100 in the address field of the web browser. When prompted, enter admin for the user name and password for the password.
The access point user interface displays.
3. Connect a device to the access point by one of the following methods.
- Method 1. Connect a computer to the access point by changing the IP address of the computer to 192.168.0.210 with subnet mask 255.255.255.0 and then connecting another Ethernet cable (not provided) from the computer to a LAN port on the access point.
5. Get the user manual.
You can get the user manual online at downloadcenter.netgear.com or through a link in the access point's user interface.
The user manual describes how you can change the preset WiFi network names (SSIDs), set up WiFi security, enable the access point's DHCP client, and much more.
WiFi Network Names
The default WiFi network name (SSID) for the 2.4 GHz radio band and the defaultSSID for the 5 GHz radio band are on the product label. By default, the access point's WiFi network provides open access. We recommend that you set up WiFi security.
Join the WiFi Network
To connect your computer or WiFi device (such as a smartphone) to your access point's WiFi network, you can use either the manual method or the Wi-Fi Protected Setup (WPS) method.
Manual Method
- Open the software utility that manages your WiFi connections on the computer or WiFi device that you want to connect to your access point. This utility scans for all WiFi networks in your area.
- Find and select your access point's WiFi network name (SSID). The defaultSSID for the 2.4 GHz radio band and the defaultSSID for the 5 GHz radio band are on the product label.
- Click the Connect button. By default, the WiFi network is open (that is, unsecured), so you do not need to enter a network key or password.
- Repeat Step 1 through Step 3 to add other computers or WiFi devices.
WPS Method
If your computer or WiFi device supports WPS, you can use WPS to join the access point's WiFi network. For help with the WPS button on your computer or WiFi device, check the instructions or online help that came with that computer or WiFi device. Some older equipment cannot use WPS.
Note: WPS does not support WEP security. If you are using WEP security, use the manual method.
- Press the WPS button on the access point.
- Within two minutes, on your computer or WiFi device, press its WPS
button or click its onscreen WPS button.
The computer or WiFi device connects to your access point's WiFi network.
- Repeat this process to add other computers or WiFi devices to the network.
Troubleshooting Tips
The following table provides some tips for correcting simple problems that you might encounter. For more troubleshooting information, see the troubleshooting chapter in the user manual.
| Problem | Cause | Possible Solution |
| Power LED is off. | The access point is not receiving power. | ·Make sure that the power adapter is securely connected to your access point and securely connected to a working power outlet. ·Check that you are using the power adapter that NETGEAR supplied for this product. |
| Power LED remains blinking green slowly and continuously. Note: When firmware is being upgraded, the Power LED temporarily blinks green. | A firmware or hardware problem exists. | If the Power LED is still blinking green three minutes after you turn on power to the access point or if the Power LED is blinking green slowly and continuously at any other time, do the following: 1. Turn off the power and then turn it back on to see if the access point recovers. 2. Press and hold the Reset button to return the access point to its factory settings. If the error persists, contact NETGEAR at netgear.com/support. |
| A LAN port LED is off. | A hardware connection problem exists. | ·Make sure that the Ethernet cable connectors are securely plugged into the access point and LAN device. ·Make sure that the LAN device is turned on. |
| WiFi LED is off. | The WiFi connection does not work. | ·Verify that the radios are turned on by pressing the WiFi On/Off button. ·If the radios are turned on but the WiFi LED remains off, contact NETGEAR. |
| You cannot connect to the access point from a browser. | Multiple possible causes. | ·If you are using an Ethernet-connected computer, check the Ethernet connection between the computer and the access point. ·Quit the browser, clear the cache, delete the cookies, and launch the browser again. |
Support
Thank you for purchasing this NETGEAR product. You can visit
www.netgear.com/support to register your product, get help, access the latest downloads and user manuals, and join our community. We recommend that you use only official NETGEAR support resources.
For more information about the installation options, visit
www.netgear.com/support to access the user manual.
For the current EU Declaration of Conformity, visit
http://support.netgear.com/app/answers/detail/a_id/11621/.
For regulatory compliance information, visit
http://www.netgear.com/about/regulatory/.
See the regulatory compliance document before connecting the power supply.