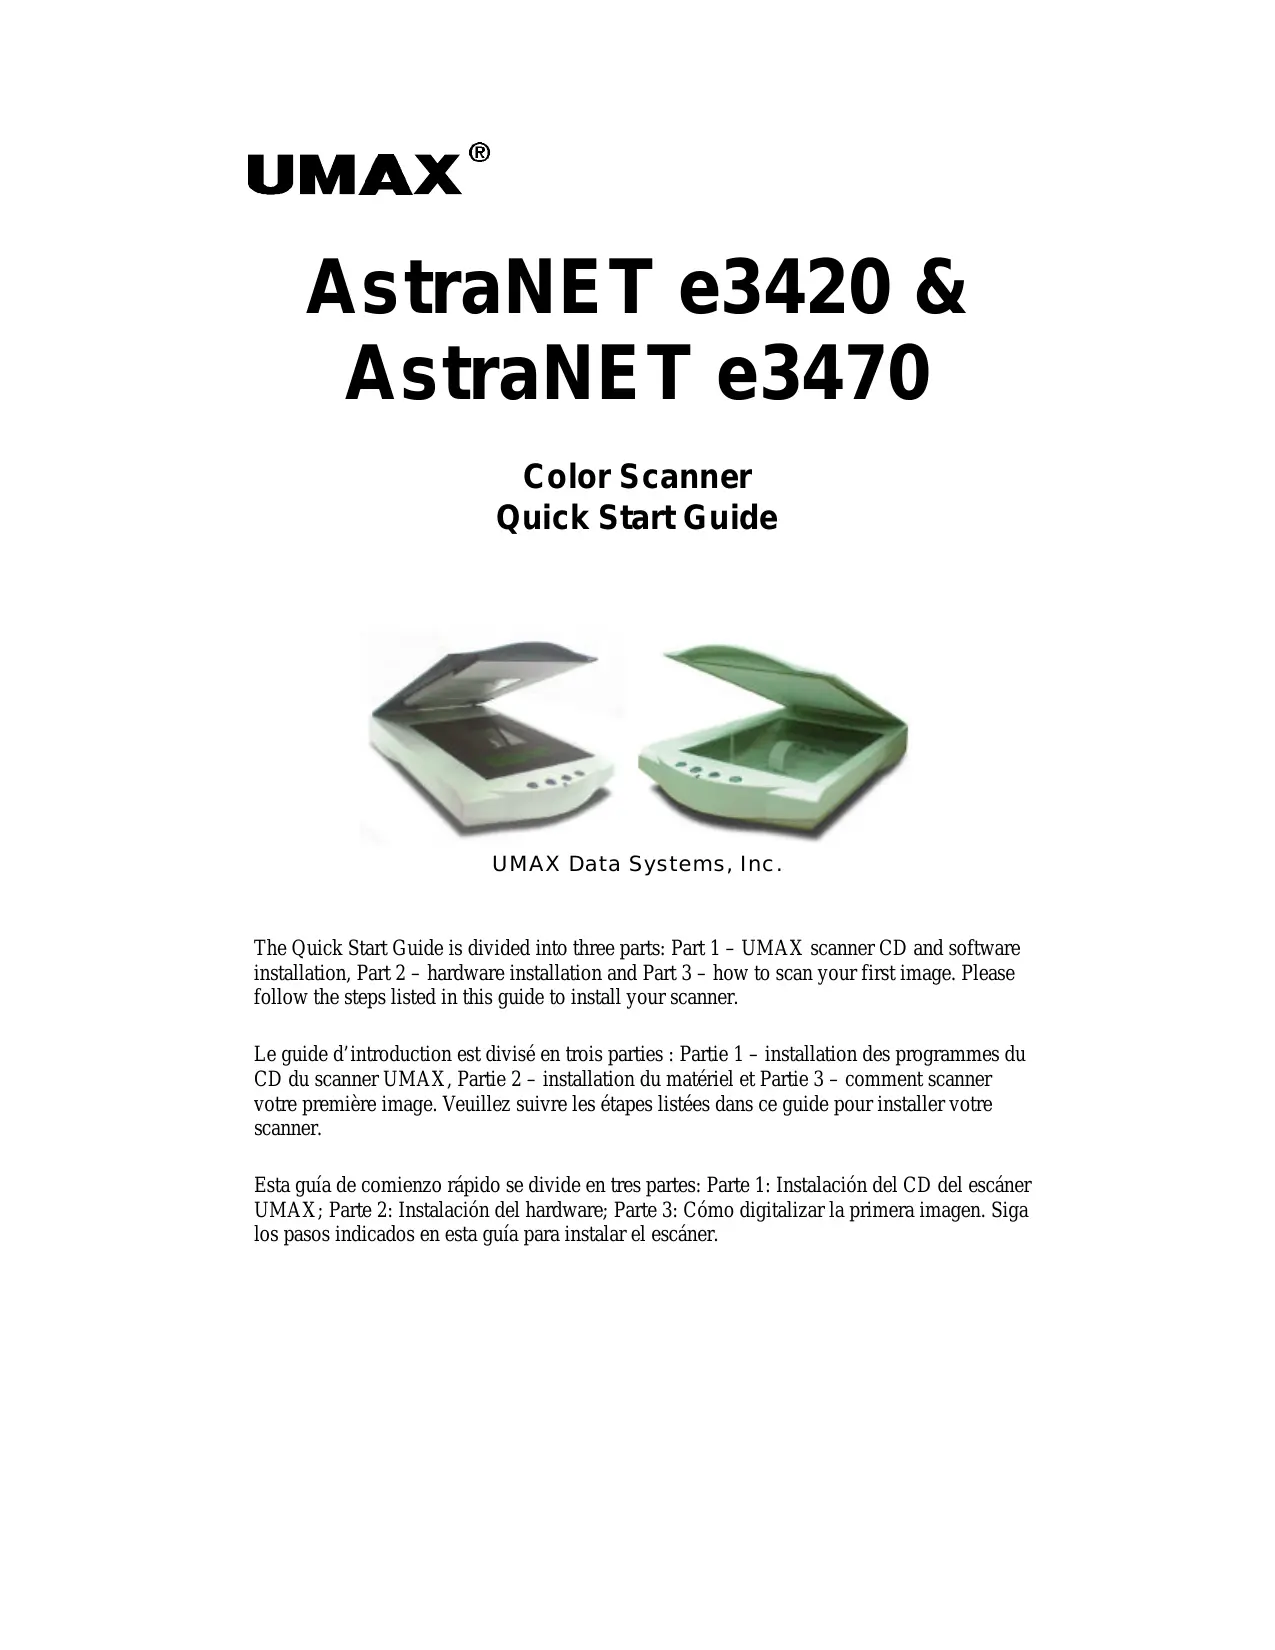
ASTRANET E3420 - Scanner UMAX - Notice d'utilisation et mode d'emploi gratuit
Retrouvez gratuitement la notice de l'appareil ASTRANET E3420 UMAX au format PDF.
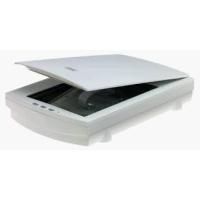
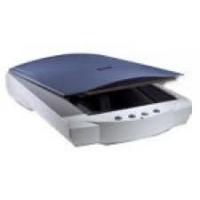
| Type d'appareil | Scanner à plat couleur |
| Technologie de numérisation | CCD (Charge Coupled Device) |
| Résolution optique | Non précisé |
| Profondeur de couleur | 24 bits couleur |
| Format de numérisation | JPEG, TIFF, BMP, PDF |
| Interface | USB |
| Compatibilité système | Windows, Mac OS |
| Alimentation | Alimentation secteur |
| Dimensions | Non précisé |
| Poids | Non précisé |
| Logiciel inclus | Logiciel de numérisation et pilotes |
| Type de numérisation | Numérisation de documents et photos |
| Vitesse de numérisation | Non précisé |
| Fonctions supplémentaires | Correction automatique des couleurs |
| Garantie | Non précisé |
FOIRE AUX QUESTIONS - ASTRANET E3420 UMAX
Téléchargez la notice de votre Scanner au format PDF gratuitement ! Retrouvez votre notice ASTRANET E3420 - UMAX et reprennez votre appareil électronique en main. Sur cette page sont publiés tous les documents nécessaires à l'utilisation de votre appareil ASTRANET E3420 de la marque UMAX.
MODE D'EMPLOI ASTRANET E3420 UMAX
The “NewSoft PageManager” Setup Window appears. Press “Next” to start the installation of the “NewSoft PageManager” program. The “NewSoft license Agreement” window appears. Please press “Yes” to go to the next step. The installation program will install PageManager in the default path. Press “Next” and go to the next step. L’écran d’installation de « NewSoft PageManager » apparaît. Cliquez sur « Suivant » pour lancer l’installation du NewSoft PageManager ». L’écran « NewSoft license Agreement » apparaît. Cliquez sur « Oui » pour passer à l’étape suivante. Le programme d’installation installera PageManager dans le chemin par défaut. Suivant » pour passer à l’étape suivante. Aparecerá la pantalla de instalación “NewSoft PageManager”. Haga clic en “Next” para comenzar la instalación del Aparecerá la ventana “NewSoft license El programa de instalación instalará PageManager en la ruta predeterminada. Haga clic en “Next” y continúe con el siguiente paso.
The “OmniPage LE” Setup Window appears. Press “Next” to start the installation of the “OmniPage Limited Edition” program. The “Caere software license Agreement” window appears. Please press “Yes” to go to the next step. Please input your name and the name of your company and press “Next” to go to the next step. L’écran d’installation de « OmniPage LE » apparaît. Cliquez sur « Suivant » pour lancer l’installation du programme OmniPage Limited Edition ». L’écran « Caere software license Agreement » apparaît. Cliquez sur « Oui » pour passer à l’étape suivante. Entrez votre nom et le nom de votre société et cliquez sur « Suivant » pour passer à l’étape suivante. Aparecerá la pantalla de instalación “OmniPage LE”. Haga clic en “Next” para comenzar la instalación del programa “OmniPage Limited Edition”. Se mostrará la ventana “Caere software license Agreement”. Haga clic en “Yes” y continúe con el siguiente paso. Escriba su nombre y el de su organización y haga clic en “Next” para continuar con el siguiente paso.
PARTIE 2 Installation du matériel
Connectez l’extrémité « TYPE A » du câble USB à un port USB sur votre ordinateur.
Connectez l’autre extrémité « TYPE B » du câble USB au port localisé sur le panneau postérieur du scanner. For Model AstraNET e3420 For Model AstraNET e3470 USB connector TYPE A Connecteur USB TYPE A USB-Anschluss TYP A Conexi ón del USB cable
Branchez l’adaptateur d’alimentation du scanner dans une sortie électrique.
Insérez l’autre extrémité de ce câble dans la prise d’alimentation sur le panneau postérieur du scanner. L’indicateur d’alimentation sur le panneau avant du scanner devrait s’allumer.
PARTIE 3 : Scanner votre première image De Presto! PageManager
Select VistaScan 32V3.x then click on the Select button Select File àImport àTWAIN_32 to run the scanner driver. Sélectionnez VistaScan 32V3.x et cliquez sur le bouton Select Sélectionnez File àImport à TWAIN_32 pour exécuter le pilote du scanner. Seleccione VistaScan 32V3.x y haga clic en el botón Select. Seleccione File àImport àTWAIN_32 para iniciar el driver del escáner. Select File à Import à Select TWAIN Source to select the scanner driver Cliquez sur Démarrer à Programmes à Adobe pour exécuter PhotoShop LE Sélectionnez File à Import à Select TWAIN Source pour sélectionner le pilote du scanner Haga clic en Start à Programs à Adobe para iniciar PhotoShop LE Selecione File à Import à Seleccione TWAIN Source para seleccionar el driver del escáner.
Select “Get & Fix Photo” Select “Get Photo” and then from the items listed, select “scanner” Cliquez deux fois sur l’icône PhotoDeluxe » sur votre bureau. Sélectionnez « Get & Fix Photo ». Sélectionnez « Get Photo » et « scanner » des articles listés. Haga doble clic en el icono “PhotoDeluxe” del escritorio. Seleccione “Get & Fix Photo” Seleccione “Get Photo” y luego, de los elementos enumerados, seleccione “scanner” your desktop.
Select “2 Mode” and then select “Custom” to call VistaScan. Sélectionnez « 1 Scanner », puis « Choose Scanner ». La boîte de dialogue « Select input Source » apparaît. Choisissez un gestionnaire de scanner et cliquez sur le bouton « OK ». Sélectionnez « 2 Mode », puis « Custom » pour invoquer VistaScan. Seleccione “1 Scanner” y, a continuación, seleccione “Choose Aparecerá el cuadro de diálogo “ Select input Source”. Seleccione el controlador del escáner y haga clic en el botón “ OK ”. Seleccione “2 Mode” y, a continuación, seleccione “Custom” para llamar a VistaScan.