F86 - Avion télécommandé VENOM - Notice d'utilisation et mode d'emploi gratuit
Retrouvez gratuitement la notice de l'appareil F86 VENOM au format PDF.
| Type d'appareil | Avion télécommandé |
| Matériau | Non précisé |
| Envergure | Non précisé |
| Longueur | Non précisé |
| Poids | Non précisé |
| Type de moteur | Électrique |
| Alimentation | Batterie rechargeable |
| Durée de vol | 10-15 minutes (estimée) |
| Portée de la télécommande | 100-200 mètres (estimée) |
| Âge recommandé | 14 ans et plus |
| Niveau de difficulté | Intermédiaire |
| Fonctions | Décollage, atterrissage, vol en avant, virages |
| Temps de charge | 60-90 minutes (estimé) |
| Accessoires inclus | Télécommande, chargeur, manuel d'instruction |
| Mode de contrôle | Radio fréquence |
| Recommandations de sécurité | Utilisation en extérieur, loin des foules |
FOIRE AUX QUESTIONS - F86 VENOM
Questions des utilisateurs sur F86 VENOM
0 question sur cet appareil. Repondez a celles que vous connaissez ou posez la votre.
Poser une nouvelle question sur cet appareil
Téléchargez la notice de votre Avion télécommandé au format PDF gratuitement ! Retrouvez votre notice F86 - VENOM et reprennez votre appareil électronique en main. Sur cette page sont publiés tous les documents nécessaires à l'utilisation de votre appareil F86 de la marque VENOM.
MODE D'EMPLOI F86 VENOM
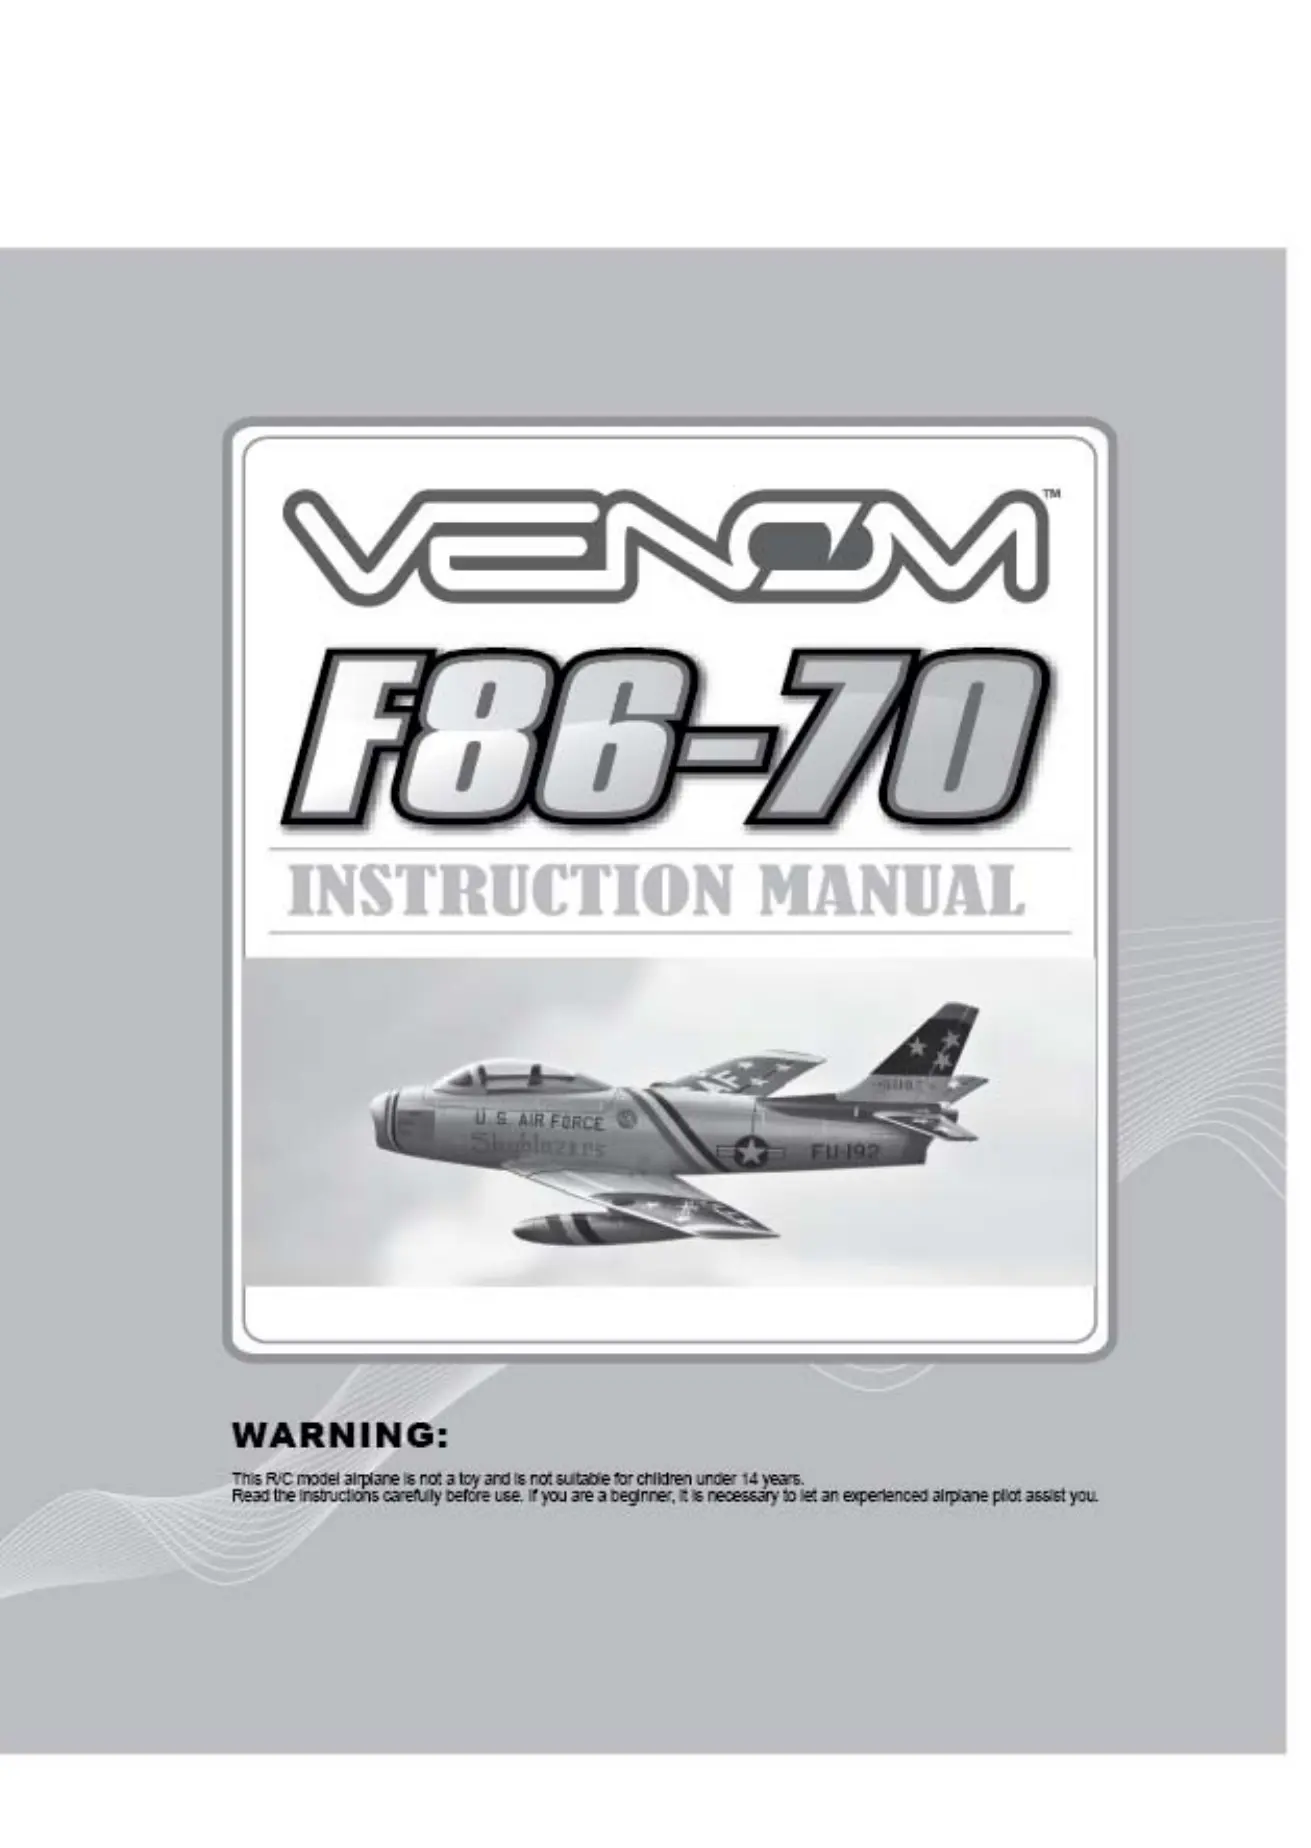
VENOM
F86-70
INSTRUCTION MANUAL
WARNING:
This R/C model airplane is not a toy and is not suitable for children under 14 years. Read the instructions carefully before use. If you are a beginner, it is necessary to let an experienced airplane pilot assist you.
WARNING:
Venom F-86 Electric R\C model is not a toy and is not suitable for children under 14 years.
- Do not fly near: Houses or buildings, playgrounds, traffic, railways, airports, overhead power lines and pylons. Do not fly over people.
- The ideal location for flying is a wide-open space with no people. (If using a model airfield, be sure to contact the airfield's administrator for permission.)
- The battery should not be overcharged or put on flammable material or near flammable material when it is being charged.
- Always check that other pilots are not using the same frequency (band) in the same area before flight and make sure you are flying in a safe area.
- Do not fly in strong winds.
- Do not try to catch the plane by hand when it is flying.
- Children who are younger than 14 years old should be assisted by an experienced adult when the plane is being flown.
- This model aircraft is designed to be powered by an electric motor. Flying this model aggressively may lead to serious accidents or injuries.
9.Do not touch the fan when the motor is running, as it could lead to serious injuries.
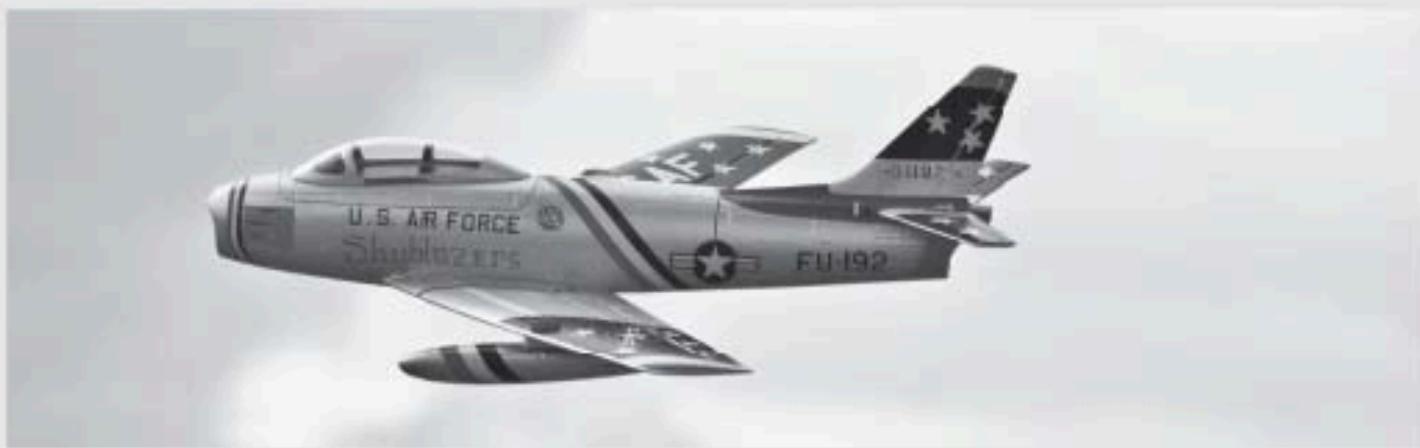
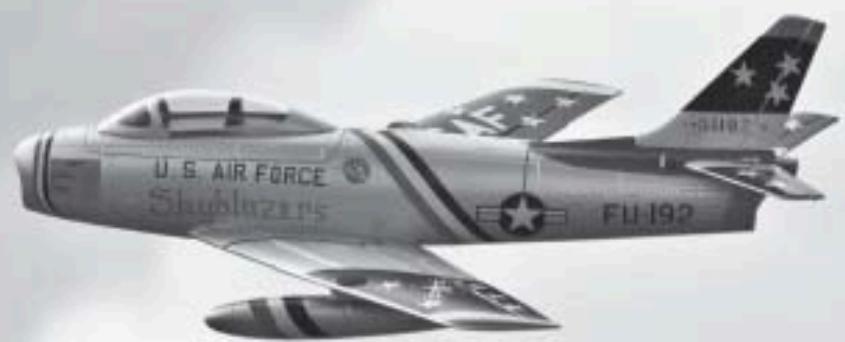
Thank you for purchasing Venom's F-86 Electric R\C airplane. The Venom F-86 is an Electric Ducted Fan Jet which is ideal for the intermediate or advance flyer.
In order to fly the F-86, please make sure you read through the instructions carefully before operating the model for the first time.
You alone are responsible for the safe operation of your radio-controlled model. Children should only be permitted to operate this model under the instruction and supervision of an adult.
If you have any questions regarding the safe operation of your RC model aircraft, please contact your local model shop for professional advice or Venom Customer Service at 1-800-705-0620 or email us at customerservice@venom-group.com
Radio-controlled models are very demanding and potentially dangerous machines, and call for a high level of technical knowledge and skill from the operator, together with a responsible attitude.
Please always keep this instruction manual ready at hand for quick reference, even after completing the assembly.
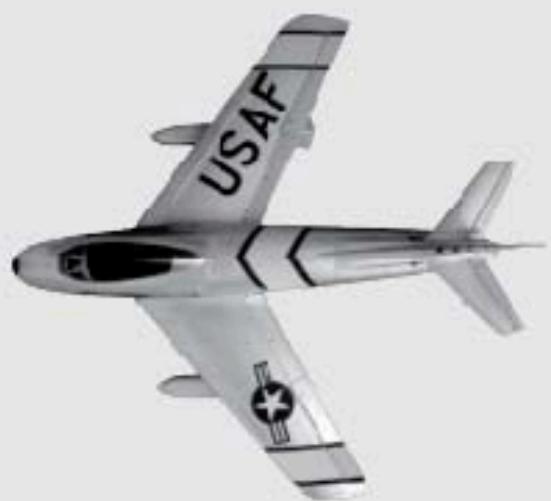
Features:
- Powerful 70mm Electric Ducted Fan Jets
- Perfect aerobatics maneuvers, such as rolls, loops, and the "Cobra maneuvers".
- Stable inverted flight
Excellent Pitch Stability - Steerable Tricycle landing gear easy to fly.
Molded foam parts are easily replaceable.
Wingspan: 1103mm (43.4 in.)
Length: 1085mm (42.7 in.)
Flying Weight: 1500g (52.9 oz.)
Wing Area: 15dm2 (232 sq in.)
Wing Loading: 100g/dm2 - Radio System: 6+ Channels Required
- All Micro Servos Pre-Installed
- 70MM Ducted Fan
- Powerful 2836 Out Runner Brushless Motor and 45A ESC 5A UBEC
- Battery: 3200Mah (5 minutes), 4000mah (7 minutes)14.8V - Recommended NOT INCLUDED
6858 Hardware Kit-F-66
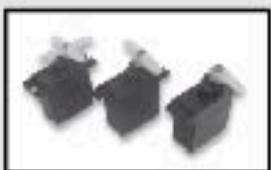
689-Micro Servos-Fes 680-Micro Servos (Reverse Rotation)
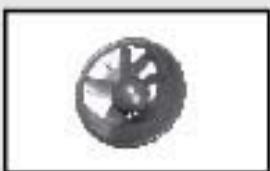
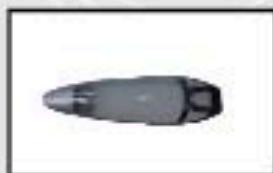
685670MMDuctedFanUnit-F-85
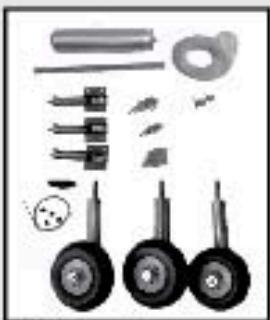
6857 Retractable Landing Gear Set-F-05

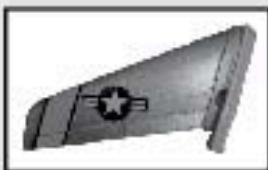
6835 F-86 Fuselage - Skyblazor 6842 F-86 Fuselage - The Huff 6842 F-86 Fuselage - Desert Rats
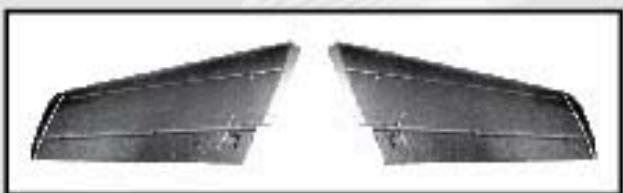
6836 F-86 Left Wing Panel - Skyblazar 6843 F-86 Left Wing Panel - The Huff 6850 F-86 Left Wing Panel - Desert Rats
6837 F-86 Right Wing Panel - Skyblazor 6844 F-86 Right Wing Panel - The Huff 6851 F-86 Right Wing Panel - Desert Rats

6841 F-86 External Fuel Tanks - Skyblazor 6848 F-86 External Fuel Tanks - The Huff 6855 F-86 External Fuel Tanks - Desert Rats
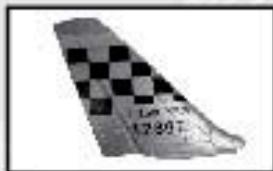
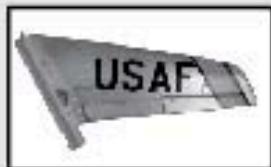
6830 F-86 Vertical Fin - Skyblazor 6846 F-86 Vertical Fin - The Huff 6853 F-86 Vertical Fin - Desert Rats
6838 F-86 Horizontal Tail Sat - Skyblazor 6845 F-86 Horizontal Tail Sat - The Huff 6852 F-86 Horizontal Tail Sat - Desert Rats
6840 F-86 Canopy/Cockpit Cover Set - Skyblazor 6847 F-86 Canopy/Cockpit Cover Set - The Huff 6854 F-86 Canopy/Cockpit Cover Set - Desert Rats
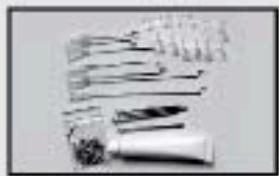
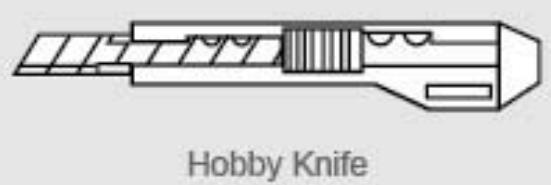
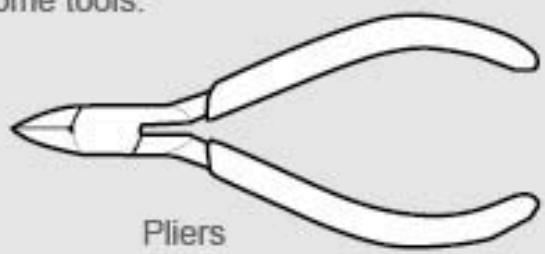
Tools and Item
To assemble this airplane you need to prepare some tools.
Assembly
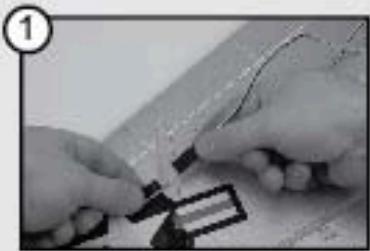
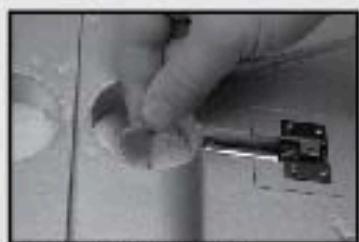
Connect the Ch1 wire to the aileron servo. Connect the Ch2 Wire to the servo.
Push the servo leads into the molded channels in the wing after connecting the servos.
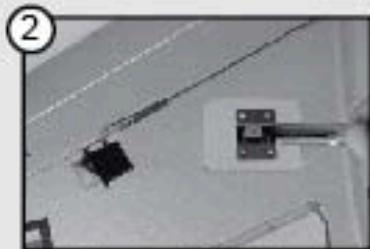
Glue the wing halves together. Put a thin layer of glue on the wing root of each panel to ensure a good bond. Wipe away excess glue.
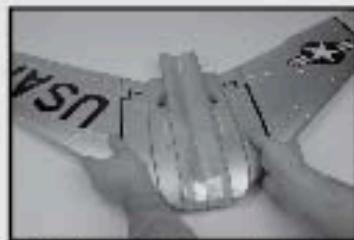
After the wing has dried, insert it into the fuselage and attach it with the four provided screws.
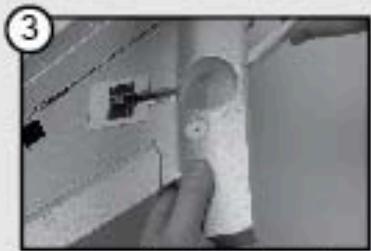
Run the wing servo leads through the molded channels in the fuselage up into the radio compartment.
Connect the air hoses to the retractable landing gear units. Connect the ends of the tubes to the air control valve.
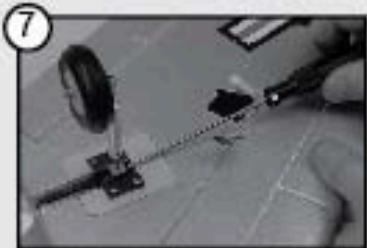
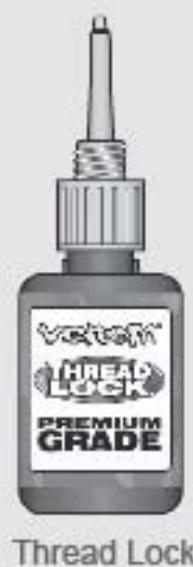
Install the landing gear legs, securing the setscrews with thread lock. Make sure the wheels are parallel to the centerline of the fuselage to ensure good tracking down the runway.
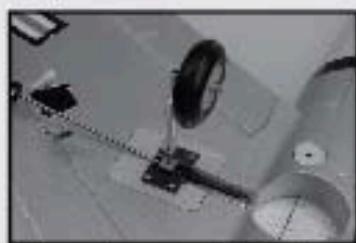
Attach the front landing gear strut. Hook up control cables from the steering servo to the landing gear leg. Cycle the landing gear up and down to ensure there is no binding.
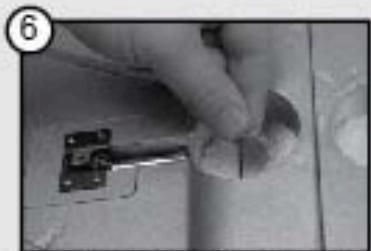
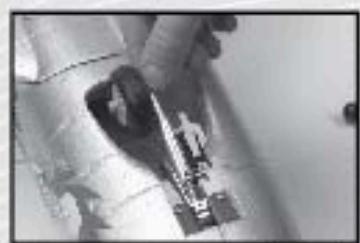
Hook the rudder control rod up to the servo and install the rudder horn.
Connect the rudder servo with the Ch4 lead.
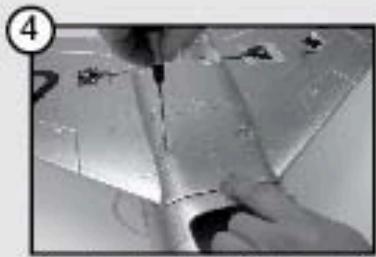
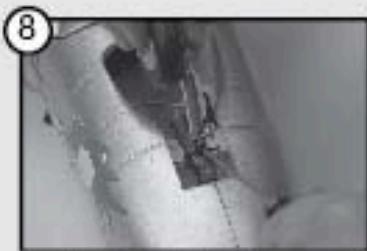
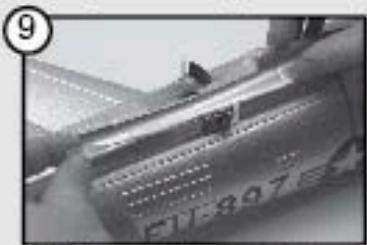
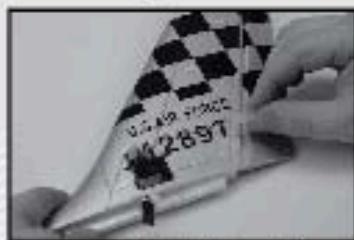
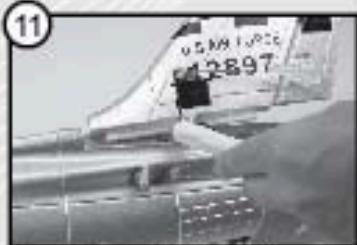
Glue the vertical fin to the fuselage.
Double check that the fin is installed so it is straight.
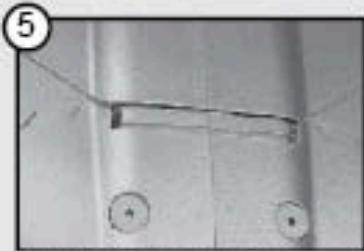
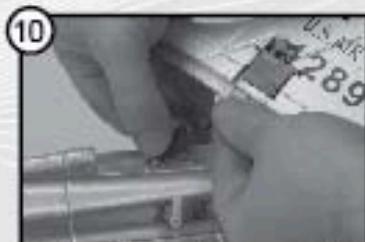
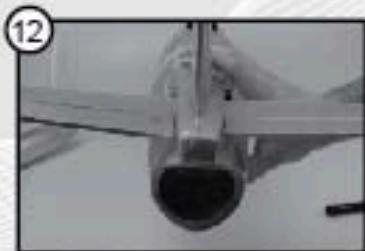
Install the horizontal tail with glue.
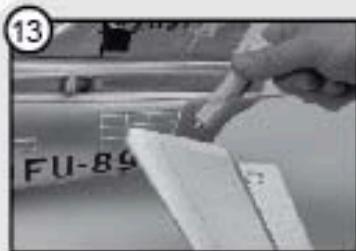
Glue gas tanks onto wings.
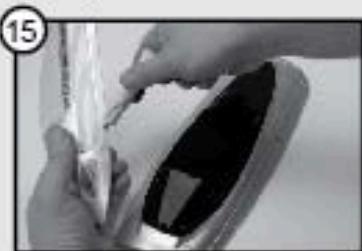
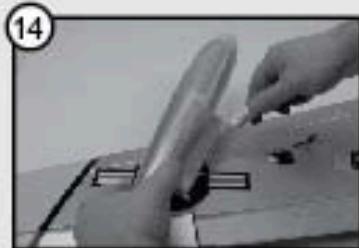
Glue the canopy onto the foam cockpit section.
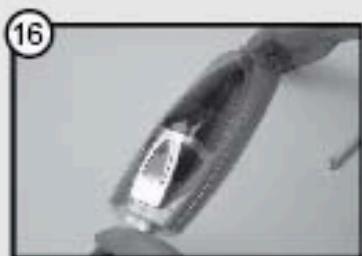
Install cockpit section onto the fuselage while the canopy glue is still drying.
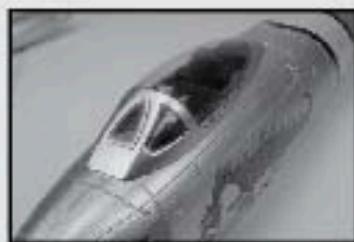
This will ensure the cockpit/canopy section fits perfectly.
Filling the Air Tank
- Attach an ordinary bicycle pump to the red metal fitting. If you have a hobby pump for retractable landing gear, attach the hose to the small metal fitting.
- Fill the air tank to 100 psi.
- Cycle the landing gear, listen for any leaks in the system.
Center of Gravity
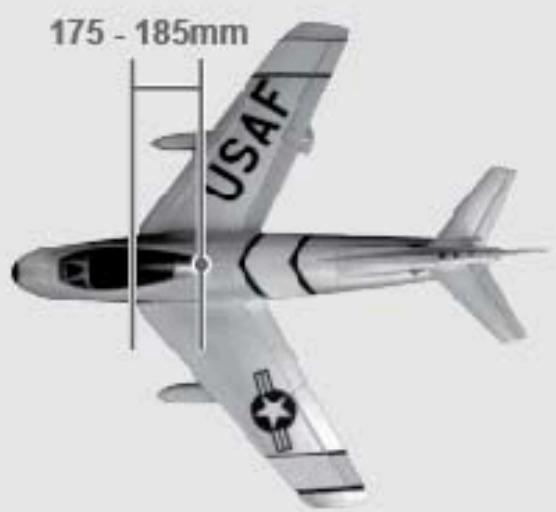
- Measure 180mm from the leading edge of the wing at the root and mark that point, on top of the wing.
- Place the battery pack into the battery compartment.
- Holding the airplane upside down, place your fingertips at the mark on the wing. The airplane should sit level.
- Shift the battery forward or backward until the correct CG is located.
- Use stick-on lead weights as necessary if correct CG cannot be set by shifting the battery.
Pre-Flight Check
- Check for any broken or damaged parts on main wing, fuselage or tail.
- Check the fan, adapter and all screws are securely fastened.
- Always check there are no other pilots using the same frequency (band) in the same area!
- Securely fasten the main wing.
- Be sure the retract air tank is fully filled to 100 PSI.
- Make sure the power switch on the plane is OFF before connecting the battery.
Make sure you stay clear of the fan. - Switch the transmitter ON, then switch the receiver ON.
- In case motor starts rotating accidentally, have an assistant hold the fuselage of the plane securely.
- Check that the plane responds properly to control signals.
- Cycle the landing gear to check that it functions properly.
Control Throws
Elevator - 8mm (5/16")
Aileron - 10mm (13/32")
Rudder - 8mm (5/6")
Flaps* - 25mm (31/32") NOTE: * When using Flaps, mix 75% up Elevator.
For best results, program your radio to change elevator trim automatically when flaps are deployed.
Flight
Take off:
- Face into the wind, and gradually apply throttle until you reach full. Allow at least 300 feet for a proper take off.
- Allow the airplane to build up plenty of ground speed, and then gradually apply up elevator. By allowing the airplane to build up sufficient speed on the ground, the aircraft will be flying "on the wing" instead of on power.
- Climb to at least 50 feet altitude before entering your first turn.
- Fly using mixed throttle settings. Flying for extended duration at half throttle setting could lead to the ESC over heating.
Flying:
- The F-86 will fly straight and level when trimmed and balanced correctly at 50% power with ease.
- Flight times will vary depending on battery used and throttle usage.
Landing:
- Enter your landing pattern at around half power. Allow for a nice wide gentle approach pattern during your first few landings while you get used to the slow speed handling of the F-86.
- Lower the landing gear first before deploying flaps.
- Lower flaps, adjust with elevator trim as necessary. In light wind conditions use 100% flaps to slow the airplane down. In heavier winds, only 50% flaps are necessary.
- Keep power on and fly the airplane to the ground. Use throttle to control your decent rate, with the elevator only used to adjust the attitude of the airplane.
- Once the airplane is just above the runway, gently pull the throttle back and pull back on the elevator to flare and make the final roll out.
- Allow the airplane to slow sufficiently before turning off the runway to prevent the airplane from tipping and possibly damaging the model.
Tips
- Flying with the assistance of an experienced flyer will help your first flight.
- Do not fly in strong winds.
- Always face the wind when taking off and landing.
- Do not fly the plane over your head, this can lead to disorientation, always fly the plane in front of the flight line and never behind.
- Please consider purchasing a spare battery pack for longer flights.
- Do not fly this plane with damaged or broken parts, as this may result in accidents or injury Please contact your local dealer for replacement spare parts.
Problem Solving
| Phenomenon | Typical error | Problem solving |
| Motor do not work | The battery is not full charged. | Charge the battery. |
| The battery of the transmitter is in low power. | Replace the battery in the transmitter. | |
| There is some broken circuit in the plane. | Contact your local dealer. | |
| Can not fly in a line | The rudder is not in the center of the fuselage. | Adjust the trim on the transmitter. |
| Can not climb | The battery is not fully charged. | Charge the battery. |
| Elevator is tilted downward. | Adjust the trim on the transmitter. | |
| Short control distance | The battery of the transmitter is in low power. | Replace the battery of transmitter. |
| The antenna is not fully extended. | Extend the antenna fully. |
Release of Liability
Venom™, it's affiliates, manufacturers, distributors, or retail partners shall not be held liable for any accident, injury to persons, or damage to property resulting from use, misuse, or abuse of any Venom product. In purchasing a Venom™ product the user agrees to accept responsibility for all such risks.
GUARANTEE
All products are inspected and adjusted individually before leaving the manufacturer and are guaranteed to be free of material defects and manufacturing faults.
General Warranty Policies
Venom™ products are warranted to be free of material and workmanship defects for a period of 30 days from date of purchase for all electronic components and 90 days for all non-electronic components. If a component is defective or was not correctly made, Venom™ will, at its sole discretion, repair or replace the item free of charge. This warranty does not cover normal wear and tear, crash damage, modifications, failure to perform routine maintenance, or any damages arising as a result of improper use.
Notice of Rights
All rights reserved. No part of this box may be reproduced or transmitted in any form by any means, electronic, mechanical, photocopying, recording, or otherwise, without the prior written permission of Venom™. For information on getting permission for reprints and excerpts, contact customerservice@venom-group.com.
Actual product may vary from product shown. Product is subject to change.
This product contains chemicals known to the State of California to cause Cancer, Birth Defects and other Reproductive Harm. Be responsible, dispose of properly.
This appliance is not intended for use by persons (including children) with reduced physical, sensory or mental capabilities, or lack of experience and knowledge, unless they have been given supervision or instruction concerning use of the appliance by a person responsible for their safety.

Venom Group International
14028 N. Ohio Street
Rathdrum, ID 83858
Australia
PO Box 7325
Alexandria NSW 2015
Customer Service
800.705.0620
Outside USA 208.762.0620
customerservice@venom-group.com


MADE IN CHINA