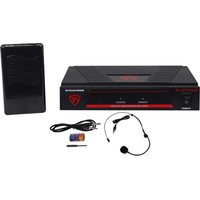
RWM1002VS - Microphone Rockville - Notice d'utilisation et mode d'emploi gratuit
Retrouvez gratuitement la notice de l'appareil RWM1002VS Rockville au format PDF.


| Type de produit | Microphone dynamique vocal |
| Marque | Rockville |
| Modèle | RWM1002VS |
| Directivité | Cardioïde |
| Réponse en fréquence | 50 Hz - 15 kHz |
| Impédance | 600 ohms |
| Connecteur | XLR 3 broches |
| Alimentation | Alimentation fantôme 48V (non requise pour usage standard) |
| Dimensions (L x diamètre) | 25 cm x 5 cm |
| Poids | 300 g |
| Matériau du corps | Métal robuste |
| Utilisation recommandée | Chant, conférences, sonorisation |
| Entretien et nettoyage | Essuyer avec un chiffon doux et sec. Éviter les liquides. |
| Sécurité | Ne pas exposer à l'humidité ou à la poussière. Ranger après usage. |
| Pièces détachées et réparabilité | Aucune pièce détachable par l'utilisateur. Contacter un technicien. |
| Garantie | Garantie constructeur standard (se référer au document fourni) |
| Accessoires inclus | Clip de microphone, adaptateur fileté, sac de transport |
FOIRE AUX QUESTIONS - RWM1002VS Rockville
Questions des utilisateurs sur RWM1002VS Rockville
0 question sur cet appareil. Repondez a celles que vous connaissez ou posez la votre.
Poser une nouvelle question sur cet appareil
Téléchargez la notice de votre Microphone au format PDF gratuitement ! Retrouvez votre notice RWM1002VS - Rockville et reprennez votre appareil électronique en main. Sur cette page sont publiés tous les documents nécessaires à l'utilisation de votre appareil RWM1002VS de la marque Rockville.
MODE D'EMPLOI RWM1002VS Rockville
ROCKVILLE
RWM1000 SERIES
HIGH PERFORMANCE WIRELESS MICROPHONE SYSTEMS
OWNER'S MANUAL
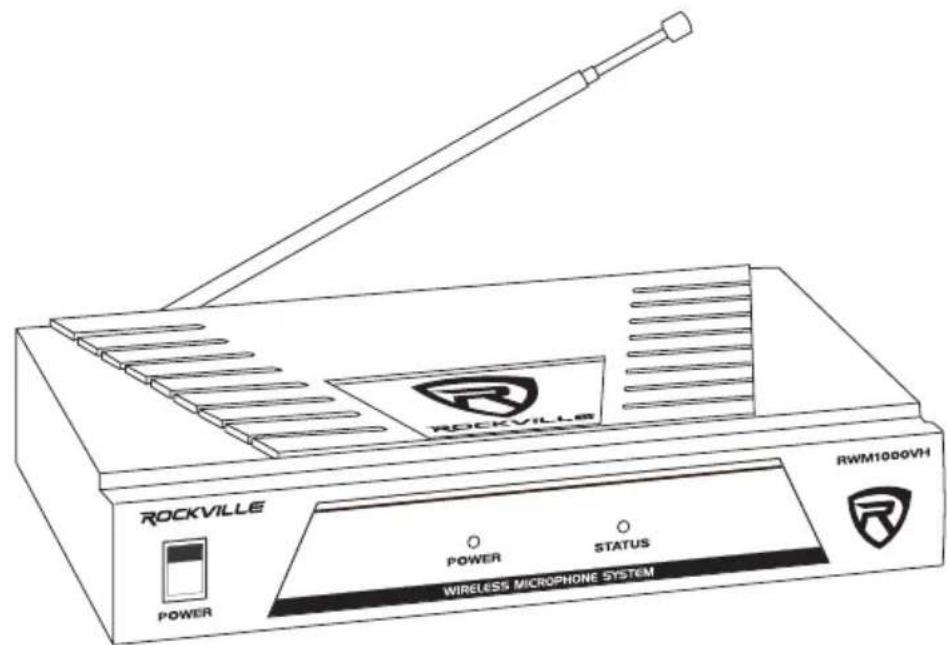
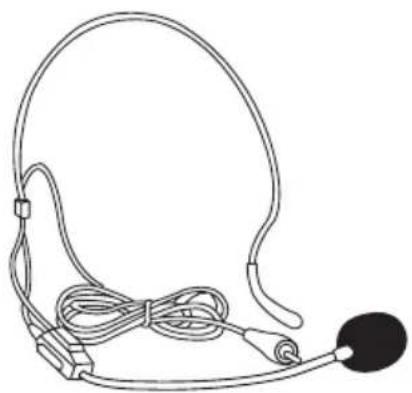
RWM1002VS
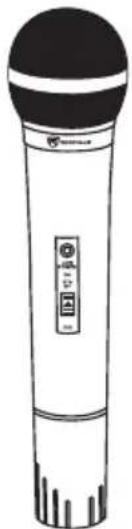
RWM1000VH
RWM1005VC
Missing items? If you ordered a bundle that includes more than one product and you are missing part of your bundle then it just means your order shipped from two different warehouses. You will receive the remaining items very soon. If you have any concerns or inquiries, feel free to call our customer support center at 1-646-758-0144, 24 hours a day/7 days a week.
Thank you for purchasing this Rockville Wireless Microphone System. Please read this installation guide carefully for proper use of your Rockville Wireless Microphone System. Should you need assistance, please call our technical help line at 1-646-758-0144, 24 hours a day/7 days a week.
Table of Contents
Specs 3
Microphones 4
Body Pack 4
Receiver (Front) 5
Receiver (Back) 5
Setup and Operation, Frequency Groups 6
Troubleshooting 7
Specs
SYSTEM
Operating Range*: 100'–200'(indoor), 65–165'(outdoor)
Audio Frequency Response: 80Hz - 12,000Hz
Dynamic Range: ≥80dB
Signal-to-Noise Ratio: ≥80dB
Operating Temperature: 41°F - 113°F
Carrier Frequency Range: 180MHz - 280MHz
RECEIVER
Sensitivity: (S/N=30dB) >2mV
De-Emphasis: 50μS
Audio Output Impedance: 600Ω
Audio Output Level.: 0 - 0.5V
Power Supply: AC110V/50Hz
Current Consumption: ≤50mA
Audio Out Connector: 1/4" unbalanced
TRANSMITTER
Frequency Stability: ±0.005%
RF Output Power: ≤30mW
Modulation Mode: VHF
Maximum Deviation Range: ±50kHz
Microphone Mode: Fixed
Pre-Emphasis: 50μS
Power Supply: 9V Batt/1.5V × 2
Current Consumption: ≤35mA
*Operating range is subject to environmental conditions.
Results may vary.
Microphones
a. Microphone windscreen
b. Power LED indicator
c. Power on/off switch
d. Battery compartment
e. Connector jack

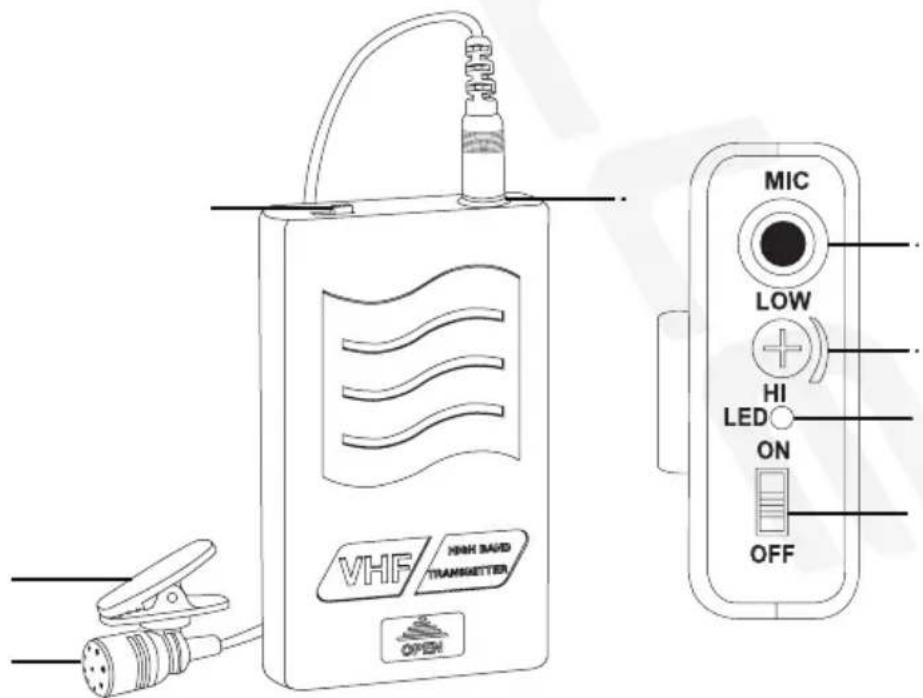
Body Pack
a. Power on/off switch
b. Microphone input
c. Clip
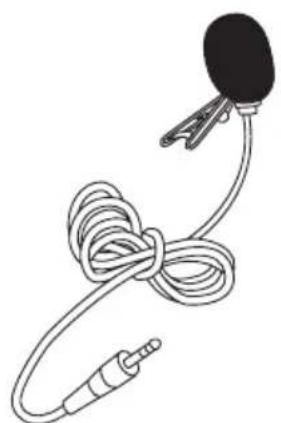
d. Microphone
e. Gain control
f. Power LED - When you power ON the body pack, the LED indicator will flicker and turn off. Upon requiring a battery replacement the LED indicator will remain on.
表决结果:同意9票,反对0票,弃权0票。
THE WORLD INVESTMENT
表决结果:同意9票,反对0票,弃权0票。
-
-
-
-
-
-
-
-
-
-
-
-
-
-
-
-
-
-
-
-
-
-
-
-
-
-
-
-
-
-
-
-
-
-
-
-
-
-
-
-
-
-
-
-
-
-
-
-
-
-
-
-
-
-
-
-
-
-
-
-
-
-
-
-
-
-
-
-
-
-
-
-
-
-
-
-
-
-
-
-
-
-
-
-
-
-
-
-
-
-
-
-
-
-
-
-
-
- 99.
-
-
-
-
-
-
-
-
-
-
-
-
-
-
-
-
-
-
-
-
-
-
-
-
-
-
-
-
-
-
-
-
-
-
-
-
-
-
-
-
-
-
-
-
-
-
-
-
-
-
-
-
-
-
-
-
-
-
-
-
-
-
-
-
-
-
-
-
-
-
-
-
-
-
-
-
-
-
-
-
-
-
-
-
-
-
-
-
-
-
-
-
-
-
-
-
For best performance of the wireless microphone system you should make sure that you run the cable from the receiver output (either XLR or 1/4 " output) into a Microphone input on a powered speaker or mixing board. If you run it right into a line level input then the audio volume level output of the microphone(s) will drop significantly. Most mixers and powered speakers have both a Microphone input and a line level input.
- The receiver should be placed in an area that is stable and least likely to shake the unit.
- The receiver should be at least 3' off the ground for optimal transmission.
- Connect the antenna, balanced cable AF line, and power supply provided.
• The antenna should extend vertically. - Switch on the receiver.
• While the receiver is in stand-by, switch on the microphones. - Adjust volume as necessary.
- Use trim adjustment on the body pack to fine tune the mic gain so that the audio output is louder or softer.
- When you power ON the body pack, the LED indicator will flicker and turn off. Upon requiring a battery replacement the LED indicator will remain on.
- When you power ON the microphone, the LED indicator will be on. When the battery gets low, the LED indicator will dim. When the LED indicator is off the microphone needs new batteries.
Tip:
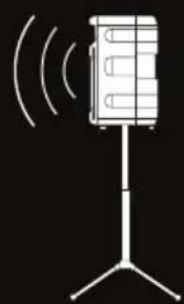
To minimize feedback avoid operating the microphones in close proximity of or in front of speakers.


Frequency Groups
• GROUP A: 202.90 MHz
• GROUP B: 204.40 MHz
• GROUP C: 201.80 MHz
• GROUP D: 209.10 MHz
• GROUP E: 205.30 MHz
| Problem Solution | Solution |
| No sound or faint sound | ·Verify all sound system connections or adjust channel volume as needed.·Verify that the receiver is connected to the mixer/amplifier. |
| ·Turn on transmitter.·Make sure the batteries are installed correctly.·Charge or change battery. | |
| ·Make sure AC adapter is securely plugged into electrical outlet.·Make sure receiver is powered on. | |
| Audio artifacts or dropouts | ·Identify nearby sources of interference (cell phones, Wi-Fi access points, signal processor, etc...) and shutdown or remove source.·Charge or change transmitter battery.·System must be set up within recommended range and receiver kept away from metallic surfaces.·Transmitter must be used in line of sight from receiver for optimal sound. |
| Distortion Reduce transce transmission volume. | |
| Sound level variations when switching to different sources | Adjust transmitter volume as necessary. |
Visit us at:
RockvilleAudio.com
Marque : Rockville
Modèle : RWM1002VS
Catégorie : Microphone