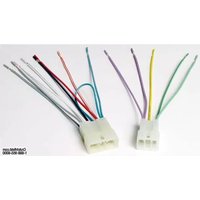
70-1398 - Kit d'encastrement Metra - Notice d'utilisation et mode d'emploi gratuit
Retrouvez gratuitement la notice de l'appareil 70-1398 Metra au format PDF.


| Type de produit | Kit d'encastrement |
| Marque | Metra |
| Modèle | 70-1398 |
| Utilisation | Installation d'un autoradio après-vente dans le tableau de bord d'un véhicule spécifique |
| Matériau | Plastique ABS de haute qualité |
| Couleur | Noir |
| Poids | 0,2 kg |
| Dimensions (approximatives) | 180 x 100 x 50 mm |
| Contenu du kit | 1 support de montage, vis de fixation, manuel d'installation |
| Installation | Nécessite un tournevis et des outils de démontage de base |
| Compatibilité véhicule | Conçu pour des modèles GM spécifiques (consultez la notice pour la liste) |
| Type d'autoradio compatible | Autoradio DIN simple ou double selon le modèle |
| Entretien et nettoyage | Nettoyer avec un chiffon doux et sec, éviter les produits abrasifs |
| Sécurité | Aucune pièce mobile ; s'assurer d'une fixation solide pour éviter tout déplacement |
| Garantie | 1 an |
| Pays de fabrication | Chine |
FOIRE AUX QUESTIONS - 70-1398 Metra
Questions des utilisateurs sur 70-1398 Metra
0 question sur cet appareil. Repondez a celles que vous connaissez ou posez la votre.
Poser une nouvelle question sur cet appareil
Téléchargez la notice de votre Kit d'encastrement au format PDF gratuitement ! Retrouvez votre notice 70-1398 - Metra et reprennez votre appareil électronique en main. Sur cette page sont publiés tous les documents nécessaires à l'utilisation de votre appareil 70-1398 de la marque Metra.
MODE D'EMPLOI 70-1398 Metra
Receiver Wiring Adaptor
IMPORTANT
120 70-1398
Before starting, compare items on your invoice with items received. Thoroughly check packing materials. If an item is missing, please call Crutchfield at 1-888-955-6000.
Revision 11/27/17
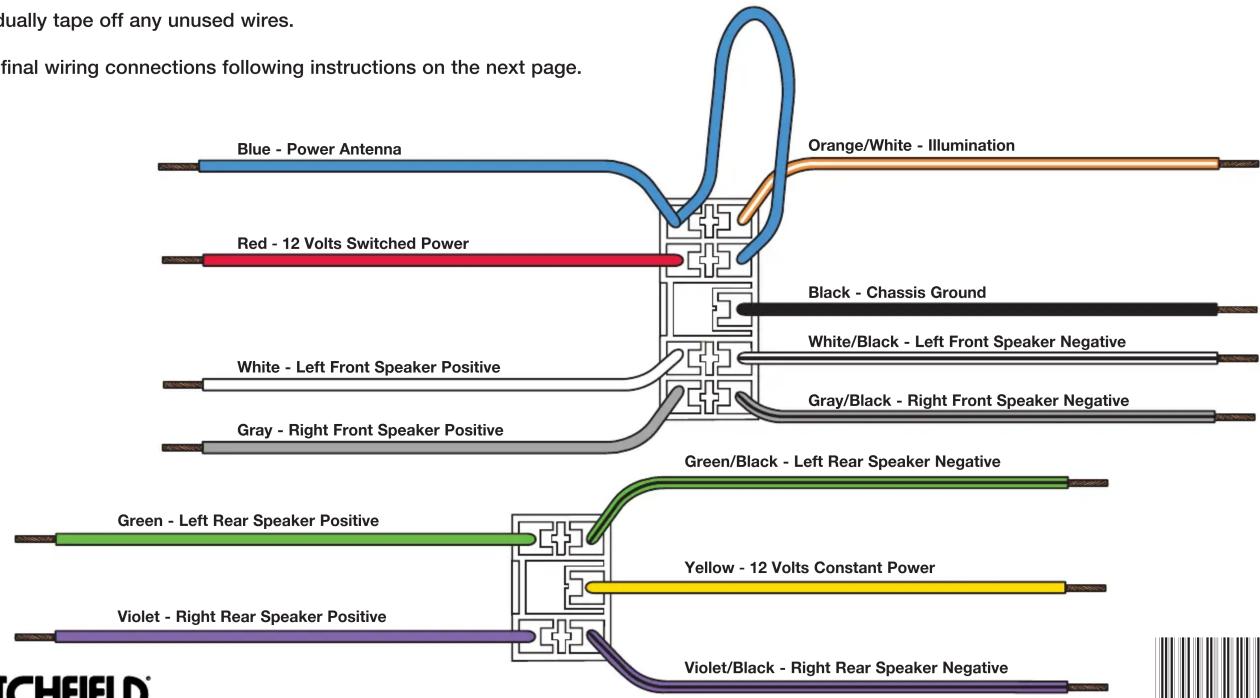
STEP 1 -- MATCH & CONNECT WIRES
A. Match wires below to the matching function of each wire on your receiver (refer to instructions supplied with receiver). The wire colors of your new receiver may, or may not, match the wire colors of the adaptor. Match adaptor and receiver wires by function, disregarding color.
B. Your receiver illumination wire could be Orange or Orange/White. As with other wires, match this wire to the illumination wire in this harness by function, not by color. If your receiver does not have an illumination wire, tape off the illumination wire.
C. Individually tape off any unused wires.
D. Make final wiring connections following instructions on the next page.
CRUTCHFIELD®
Copyright 2017 Crutchfield Corporation
*120701398*
Receiver Wiring Adaptor Connections
120 70-1398
STEP 2 -- CRIMP CONNECTIONS
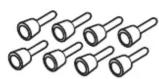
Tools & Parts Required ▶
Wire Stripper/Crimp Tool Crimp Caps

A. Strip wires back 1/2".

B. Twist wires together and insert in crimp cap.

C. Squeeze middle of cap for tight connection.

STEP 2 -- CONTINUED
D. Complete crimp connections for all necessary wires.
E. Be sure to wrap any wires from the Wiring Adaptor that are not necessary (wires with no match from the new receiver) with electrical tape.
Receiver Wiring Adaptor
Generic Illustration

STEP 3 -- APPLICATION
A. When ready to install the receiver, plug the wiring Adaptor from the new receiver, or receiver assembly into the factory radio harness(es) in the vehicle dash.
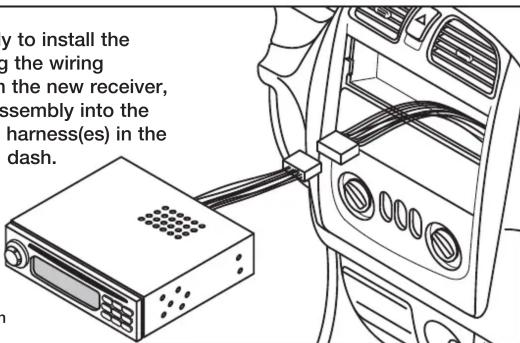
Generic Illustration
CRUTCHFIELD®
Copyright 2017 Crutchfield Corporation


Marque : Metra
Modèle : 70-1398
Catégorie : Kit d'encastrement