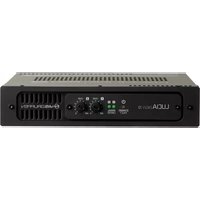
LUCIA 240/1-70 - Recepteur Lab Gruppen - Notice d'utilisation et mode d'emploi gratuit
Retrouvez gratuitement la notice de l'appareil LUCIA 240/1-70 Lab Gruppen au format PDF.


| Type de produit | Récepteur audio amplifié |
| Marque | Lab Gruppen |
| Modèle | LUCIA 240/1-70 |
| Puissance de sortie | 240 W sous 70 V |
| Impédance de sortie | 70 V / 100 V |
| Nombre de canaux | 1 canal |
| Entrées audio | Entrée ligne symétrique (XLR) et asymétrique (RCA) |
| Réponse en fréquence | 20 Hz - 20 kHz |
| Dimensions (L × H × P) | 483 × 44 × 200 mm |
| Poids | 3,5 kg |
| Alimentation | Secteur 230 V AC, 50/60 Hz |
| Consommation électrique | 300 W max |
| Protection intégrée | Protection contre les courts-circuits, surchauffe et surtension |
| Indicateurs LED | Marche, signal, protection |
| Montage en rack | Oui, 1U |
| Ventilation | Ventilation forcée avec ventilateur |
| Température de fonctionnement | 0 °C à 40 °C |
| Matériau du boîtier | Métal |
| Entretien et nettoyage | Nettoyer avec un chiffon sec et doux. Ne pas utiliser de solvants. |
| Sécurité | Ne pas exposer à l'humidité ou aux liquides. Débrancher avant nettoyage. |
| Pièces détachées et réparabilité | Contacter le service après-vente Lab Gruppen pour toute réparation. |
| Informations générales | Notice d'utilisation disponible gratuitement en PDF sur notice-facile.com. |
FOIRE AUX QUESTIONS - LUCIA 240/1-70 Lab Gruppen
Questions des utilisateurs sur LUCIA 240/1-70 Lab Gruppen
0 question sur cet appareil. Repondez a celles que vous connaissez ou posez la votre.
Poser une nouvelle question sur cet appareil
Téléchargez la notice de votre Recepteur au format PDF gratuitement ! Retrouvez votre notice LUCIA 240/1-70 - Lab Gruppen et reprennez votre appareil électronique en main. Sur cette page sont publiés tous les documents nécessaires à l'utilisation de votre appareil LUCIA 240/1-70 de la marque Lab Gruppen.
MODE D'EMPLOI LUCIA 240/1-70 Lab Gruppen
LUCIA Optional Accessories
A range of optional accessories enhances the utility and cost-effectiveness of LUCIA compact installation amplifiers. Flexible mounting options allow placement of LUCIA amplifiers either in equipment racks or adjacent to video screens, fixed either on screen support poles or ceiling structural elements. In addition, the purpose-built remote control units (both standalone potentiometer 'DIY kits' and self-contained complete units**) allow remote volume control and source selection without the complexity of integrating, third-party control systems.
Each accessory is ordered separately according to the listed part number.
** complete wall panel control unit available within EU only
Benefits
• Extends the utility and flexibility of LUCIA
- Three placement/mounting options
- Simplifies system design - No third party controller required
- Designed to make LUCIA extremely contractor-friendly
• Supplied and supported by Lab.gruppen


LUCIA Optional Accessories
Pole Mount Kit
Part Number: 990692001
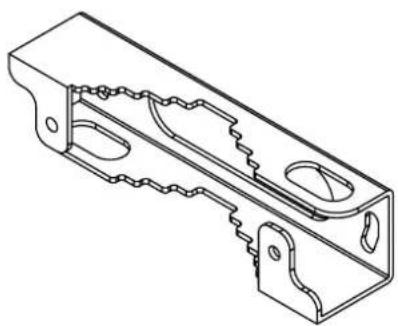
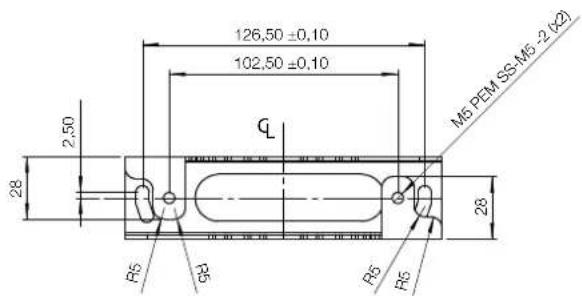
The Pole/Ceiling Mount Kit facilitates fast and secure fixing of a LUCIA unit to poles, beams and ceiling structures of various shapes and dimensions (circular, rectangular, oval, quadratic). Options might include a free-standing pole for a loudspeaker or video screen, a projector ceiling mount, or a cable tray. Included screws allow attachment to circular poles with a diameter from 19 mm (3/4") to 51 mm (2").

Installation of Pole Mount - Method 1 Installation of Pole Mount - Method 2

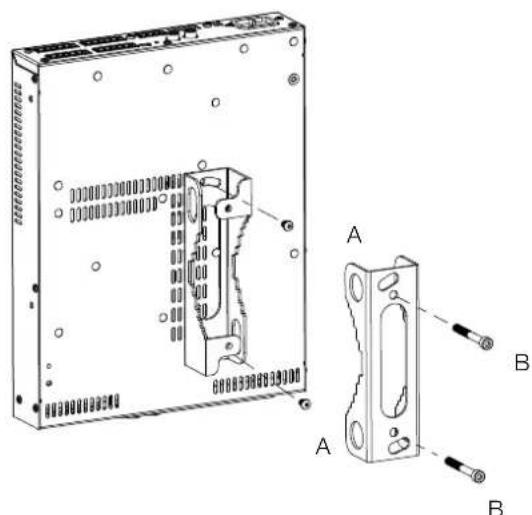
A: Use M4X5.5 mm screw supplied with product accessories
B: Use M5X45 mm screw supplied with product accessories or
B: Use M5X30 mm screw supplied with product accessories
LUCIA Optional Accessories
Pole Mount Kit
Apparatus on the opposite side of the pole/beam

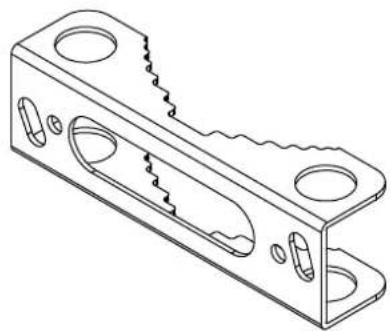
Apparatus attached to LUCIA



LUCIA Optional Accessories
Rack Mount Kit
Part Number: 990692002
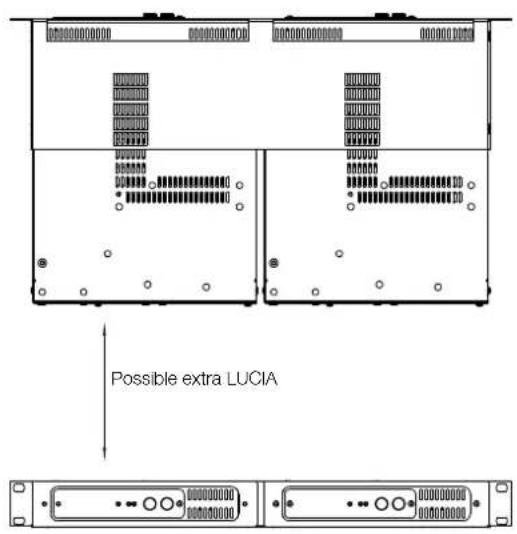
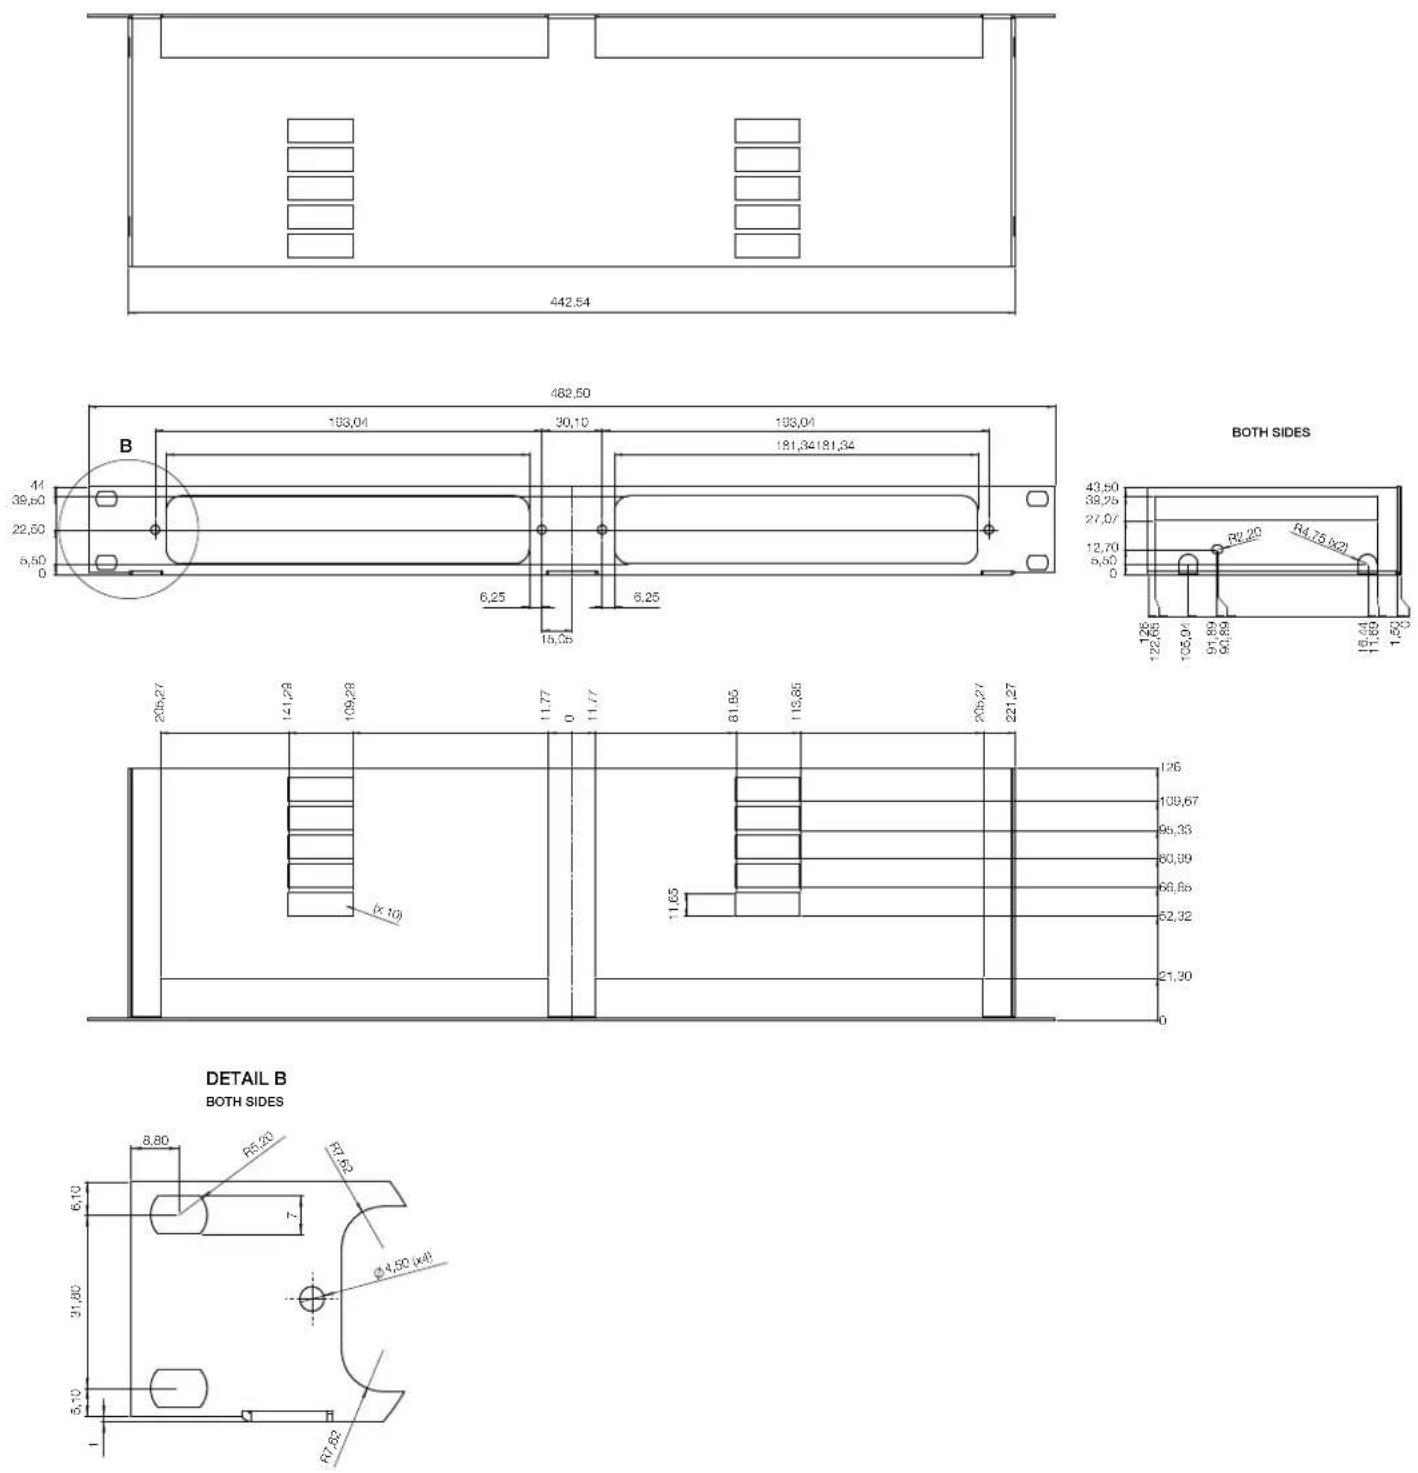
The Rack Mount Kit enables mounting of one or two LUCIA amplifier units in 1U of a standard 19" equipment rack. Mounting is quickly accomplished by removal of the front faceplate of the LUCIA unit(s) and reinstalling with the included M3 x 10mm machine screws. It is permissible to mount LUCIA units or other equipment directly above or below rack-mounted LUCIA units; however, allowing 1U space above or below will allow higher power output in silent or whisper mode.


Assembly Instructions
- Remove the two TORX screws holding the decorative outer rim of the front plate.
- Place the amplifier on top of the rack mount according to the drawing opposite.
- Replace the decorative outer rim of the front plate in front of the rack part.
- Reassemble the front, rack mount and amplifier by use of two of the M3 x 10 mm length machine screws (A) supplied as accessories with the LUCIA amplifier.
- In the side of the rack mount, fix the third of the M3 x 10 mm length machine screws (A) supplied as accessories with the LUCIA amplifier.
- If two amplifiers are placed on the rack mount - please repeat assembly instructions 1 to 5 for the other amplifier.
Attention
Do not use the rack mount for other equipment, as this could overload the mount and make it unsafe. It is recommended to leave a one unit high rack space empty - either above or below the LUCIA amplifier rack.
LUCIA Optional Accessories
Rack Mount Kit
LUCIA Optional Accessories
Level control with white knob for DIY
Part Number: 990692005
The Remote Volume Control Kit is an easy-to-install, bespoke solution for controlling the volume of LUCIA amplifier from a remote location. The kit contains a circuit board, a connector with screw terminals, a continuously variable level control, and a white knob (replaceable with other standard knobs. Installation is accommodated with any wall plate or panel with a maximum thickness of 2.5 mm and circular opening of 9 mm diameter.
Note: Please refer to the LUCIA Operation Manual for information on configuring the unit for remote level control.

Selector with white knob for DIY (for LUCIA M models only)
Part Number: 990692006
The Remote Source Selector kit enables switching and routing of inputs/outputs of LUCIA M models according to presets configured in the LUCIA Application Browser. The kit includes a resistor ladder and four-position selector switch to access the programmed functions. Installation is accommodated with any wall plate or panel with a maximum thickness of 2.5 mm and circular opening of 9 mm diameter. It is mechanically identical to 990692005.
Note: Please refer to the LUCIA Operation Manual for information on configuring the unit for remote switching.
LUCIA® Optional Accessories
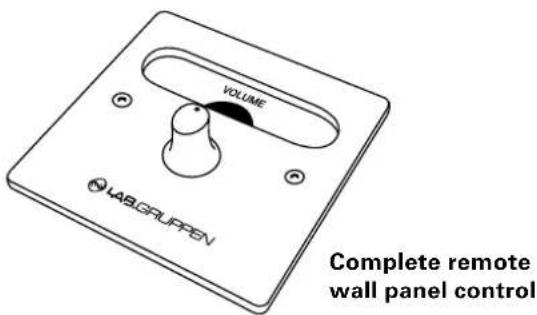
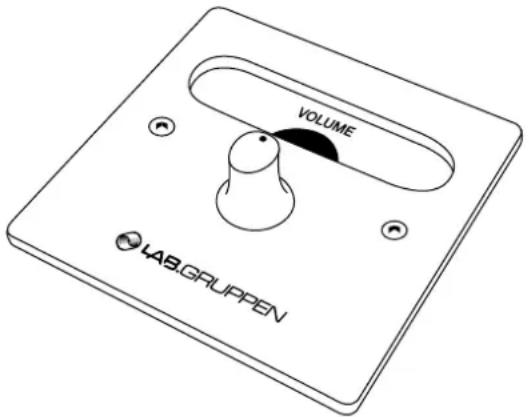
Complete remote wall panel control
Part Number: 990692004
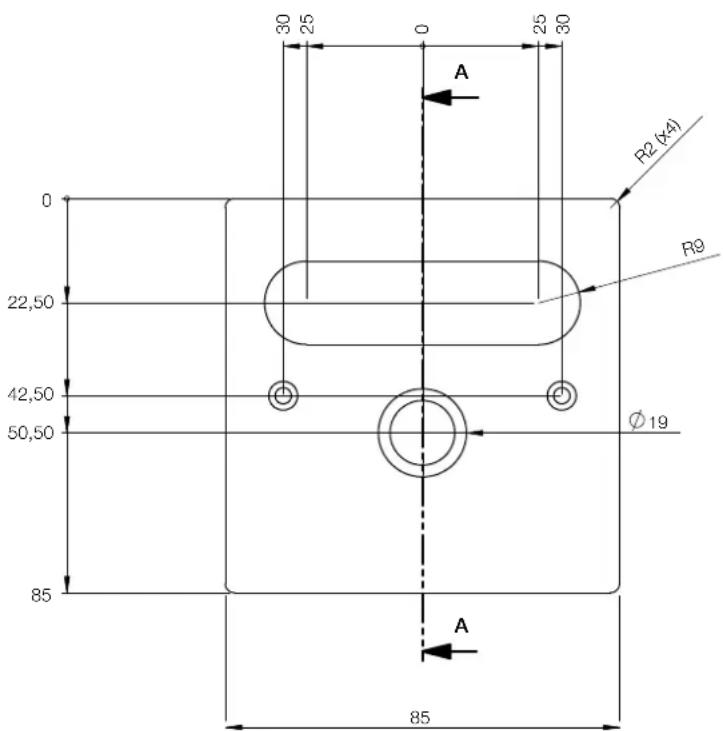
This is functionally the same as the 990692005, but complete with a white panel. The screw holes are 60 mm apart, matching the EU standard for back boxes. It can be mounted in any in- or on-wall back box provided the screw holes are 60 mm apart. It can also be mounted in many of the cable canals that are typically found in corporate environments. The panel requires simple pre-assembly by the installer, during which a label can be located behind a protective plastic film, allowing for customized text (eg. function, etc) to be shown through the oval window in the panel.
SECTION A-A

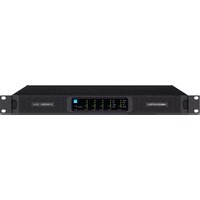
Marque : Lab Gruppen
Modèle : LUCIA 240/1-70
Catégorie : Recepteur