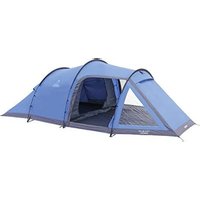
Venture 450 - Tente Vango - Notice d'utilisation et mode d'emploi gratuit
Retrouvez gratuitement la notice de l'appareil Venture 450 Vango au format PDF.


| Type de produit | Tente 4 personnes |
| Marque | Vango |
| Modèle | Venture 450 |
| Dimensions (L x l x H) | Environ 350 x 240 x 130 cm |
| Poids | Environ 8,5 kg |
| Matériau principal | Polyester 75D avec enduction PU |
| Arceaux | Fibre de verre (DAC Pressfit) |
| Imperméabilité | Colonne d’eau 3000 mm |
| Nombre de pièces | Double toit + chambre intérieure + arceaux |
| Montage | Montage rapide par arceaux clipsés |
| Fonctions principales | Double toit déperlant, moustiquaire, rangements intérieurs, entrée latérale |
| Entretien et nettoyage | Nettoyer à l’eau claire, sécher avant rangement |
| Sécurité | Revêtement ignifuge selon norme EN 5912 |
| Pièces détachées et réparabilité | Arceaux de rechange disponibles, kit de réparation fourni |
| Informations générales | Garantie 2 ans, usage camping 3 saisons |
FOIRE AUX QUESTIONS - Venture 450 Vango
Questions des utilisateurs sur Venture 450 Vango
0 question sur cet appareil. Repondez a celles que vous connaissez ou posez la votre.
Poser une nouvelle question sur cet appareil
Téléchargez la notice de votre Tente au format PDF gratuitement ! Retrouvez votre notice Venture 450 - Vango et reprennez votre appareil électronique en main. Sur cette page sont publiés tous les documents nécessaires à l'utilisation de votre appareil Venture 450 de la marque Vango.
MODE D'EMPLOI Venture 450 Vango
TENT PITCHING INSTRUCTIONS – VENTURE (EN)
natural_image
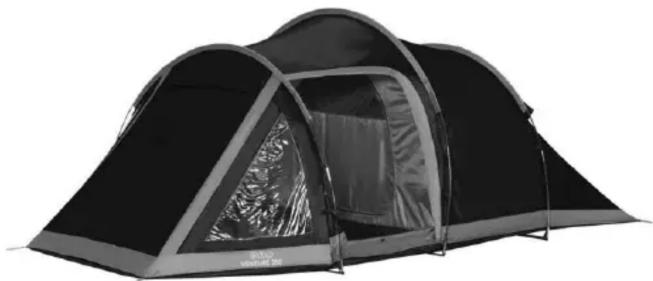
Black camping tent with a dome-shaped roof and open interior (no text or symbols visible)Flysheet First Pitching
- Assemble poles and lay them parallel on the ground. (3 poles) Each pole is colour coded to match the corresponding pole sleeve.
- Open flysheet on ground and position tent in desired direction.
- Locate pole sleeves on the flysheet and insert poles, one at a time. Locate one end of each pole into corresponding pin system on flysheet.
- Push poles into an arch from opposite side and locate pole ends into corresponding pin system on flysheet.
- Peg out elasticated pegging points at both corners of one end of tent using pin-pegs supplied.
- Pull flysheet taut, away from pegged points, until tent takes shape. Peg the opposite two elasticated pegging points using the pin-pegs. Ensure the tent is in a straight line.
- Peg down poles through metal rings and remaining flysheet pegging points using alloy pin-pegs.
- Peg out ALL guy lines using the pin-pegs.
Inner
- Open out inner tent inside flysheet and position doorway to correspond with the porch entrance of the flysheet.
- Starting from the rear corners of the tent, attach the hooks on the groundsheet to corresponding rings on the base of the flysheet.
- Suspend the inner by attaching hooks of inner tent with rings on inside of flysheet. Start at the rear and work forwards.
- Attach hooks on front of groundsheet, to corresponding rings on base of flysheet.
- Attach porch groundsheet using the hooks to attach to the rings at the base of the poles and at the front of the tent. Use the flat top groundsheet pegs in the eyelets across the entrance to the tent to secure the groundsheet.
The inner tent and flysheet can remain attached when pitching or packing. However, in humid or very wet weather, the underside of the flysheet may be coated with condensation. If this occurs, it may be advisable to detach the inner and pack it separately to avoid the inner tent becoming wet.


Marque : Vango
Modèle : Venture 450
Catégorie : Tente