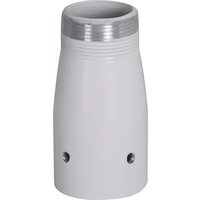
CMS261W - Accessoire de projecteur Chief - Notice d'utilisation et mode d'emploi gratuit
Retrouvez gratuitement la notice de l'appareil CMS261W Chief au format PDF.


| Type de produit | Support de projecteur (accessoire) |
| Marque | Chief |
| Modèle | CMS261W |
| Poids maximal supporté | 22,7 kg |
| Matériau principal | Acier moulé sous pression, finition blanche |
| Compatibilité | Projecteurs avec trous de montage VESA jusqu'à 400x400 mm |
| Dimensions du support | Environ 30 x 25 x 10 cm (hors bras) |
| Réglages | Inclinaison +/- 10°, rotation 360°, niveau à bulle intégré |
| Type de montage | Au plafond (fournitures incluses : vis, ancrages) |
| Distance plafond-projecteur | Min. 15 cm, max. 45 cm (ajustable) |
| Installation | Nécessite perçage, outillage standard (clé Allen incluse) |
| Entretien | Nettoyer avec chiffon doux sec, pas de solvants |
| Sécurité | Conforme normes UL 2442, charge de sécurité testée à 4x capacité |
| Réparabilité | Pièces non détaillées ; contact SAV Chief pour remplacement |
| Garantie | 5 ans (limitée, contre défauts de fabrication) |
| Poids du support | Environ 4,5 kg |
FOIRE AUX QUESTIONS - CMS261W Chief
Questions des utilisateurs sur CMS261W Chief
0 question sur cet appareil. Repondez a celles que vous connaissez ou posez la votre.
Poser une nouvelle question sur cet appareil
Téléchargez la notice de votre Accessoire de projecteur au format PDF gratuitement ! Retrouvez votre notice CMS261W - Chief et reprennez votre appareil électronique en main. Sur cette page sont publiés tous les documents nécessaires à l'utilisation de votre appareil CMS261W de la marque Chief.
MODE D'EMPLOI CMS261W Chief
INSTALLATION INSTRUCTIONS

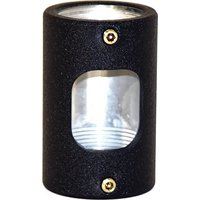
Cut-Off Thread Adapter
DISCLAIMER
Milestone AV Technologies, Inc., and its affiliated corporations and subsidiaries (collectively, "Milestone"), intend to make this manual accurate and complete. However, Milestone makes no claim that the information contained herein covers all details, conditions or variations, nor does it provide for every possible contingency in connection with the installation or use of this product. The information contained in this document is subject to change without notice or obligation of any kind. Milestone makes no representation of warranty, expressed or implied, regarding the information contained herein. Milestone assumes no responsibility for accuracy, completeness or sufficiency of the information contained in this document.
Chief® is a registered trademark of Milestone AV Technologies. All rights reserved.

IMPORTANT WARNINGS AND TIONS!

WARNING: A WARNING alerts you to the possibility of serious injury or death if you do not follow the instructions.

CAUTION: A CAUTION alerts you to the possibility of damage or destruction of equipment if you do not follow the corresponding instructions.

WARNING: Failure to read, thoroughly understand, and follow all instructions can result in serious personal injury, damage to equipment, or voiding of factory warranty! It is the installer's responsibility to make sure all components are properly assembled and installed using the instructions provided.

WARNING: Exceeding the weight capacity can result in serious personal injury or damage to equipment! It is the installer's responsibility to make sure the combined weight of all components attached to the CMS-261 does not exceed 500 lbs (226.80 kg).
- The weight capacity of the CMS-261 may be LIMITED to the lowest weight capacity of any other component located between the CMS-261 and the supporting structure!
DIMENSIONS
![135.00° 90.00° [59.39] Ø2.338 3X 5/16-18 THREADED HOLE 1-1/2 NPT THREADS [51.56] Ø2.030 [40.44] Ø1.592 [48.26] Ø1.900 [25.40] 3X 1.000 [57.15] 2.250 [114.30] 4.500 MEASUREMENTS: [MILLIMETERS] INCHES](/content/2026/06/1328511/images/239193fdc91b0835f1775028123b04cba97647873de8aebccc8117b28a550fab.jpg)
TOOLS REQUIRED / PARTS PROVIDED
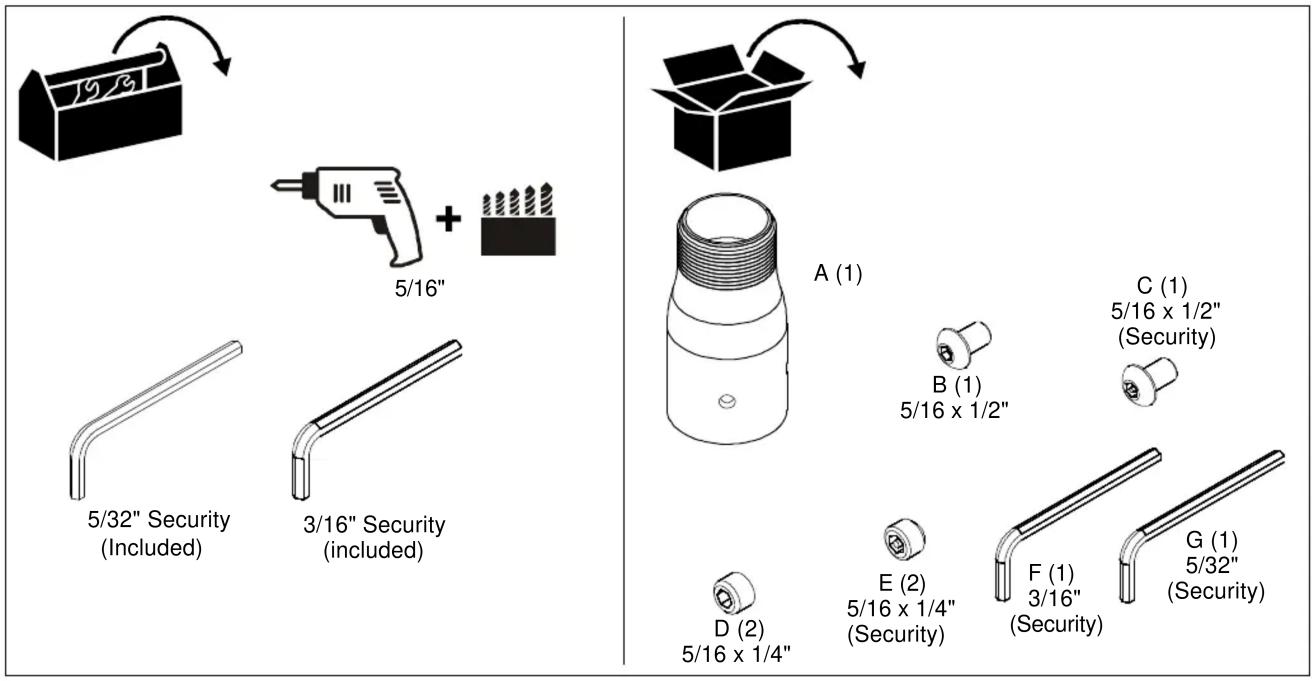
ASSEMBLING COLUMN
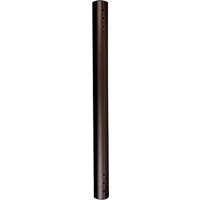
- If required, cut off 1-1/2" NPT pipe at desired length.
- Drill a 5/16" hole 1" from end of pipe. (See Figure 1)
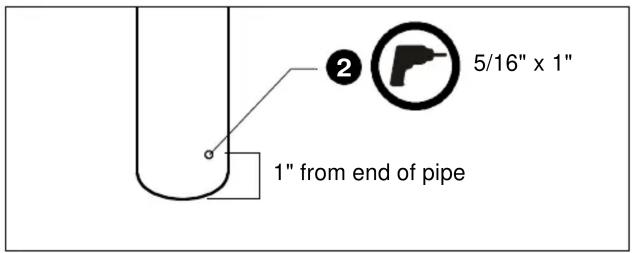
Figure 1
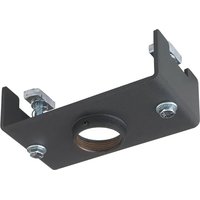
- Slide CMS-261 (A) onto end of pipe and attach with a 5/16 x 1/2" button head cap screw (B) or 5/16 x 1/2" button head security cap screw (C). (See Figure 2)

Figure 2
- Attach and tighten two 5/16 x 1/4" set screws (D) or two 5/16 x 1/4" security set screws (E) into side of CMS-261 (A). (See Figure 3)
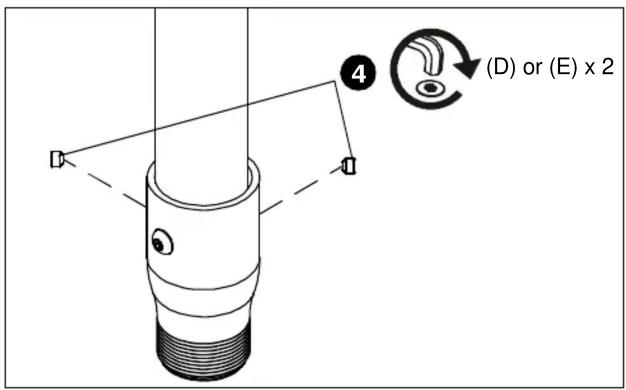
Figure 3
Install the 1-1/2" NPT threaded column with the attached CMS-261 following instructions provided with the column.
Installation Instructions
Marque : Chief
Modèle : CMS261W
Catégorie : Accessoire de projecteur