
SK-5500 - Four SANYO - Notice d'utilisation et mode d'emploi gratuit
Retrouvez gratuitement la notice de l'appareil SK-5500 SANYO au format PDF.


| Type de produit | Four à micro-ondes |
| Marque | Sanyo |
| Modèle | SK-5500 |
| Dimensions (L x P x H) | 48 x 32 x 28 cm |
| Poids | 12 kg |
| Alimentation | 230 V, 50 Hz |
| Puissance nominale | 1200 W |
| Capacité | 25 L |
| Puissance micro-ondes | 800 W |
| Couleur | Blanc |
| Matériau de la cavité | Émaillé |
| Type de commande | Mécanique |
| Nombre de niveaux de puissance | 5 |
| Minuterie | Oui, jusqu'à 30 minutes |
| Fonction décongélation | Oui |
| Plaque tournante | Oui |
| Verrouillage enfant | Oui |
| Arrêt automatique | Oui |
| Porte | Avec joint d'étanchéité |
| Éclairage intérieur | Oui |
| Sonnerie de fin | Oui |
| Entretien | Nettoyer avec un chiffon humide |
| Sécurité | Ne pas faire fonctionner à vide |
| Pièces détachées | Disponibles sur demande |
FOIRE AUX QUESTIONS - SK-5500 SANYO
Questions des utilisateurs sur SK-5500 SANYO
0 question sur cet appareil. Repondez a celles que vous connaissez ou posez la votre.
Poser une nouvelle question sur cet appareil
Téléchargez la notice de votre Four au format PDF gratuitement ! Retrouvez votre notice SK-5500 - SANYO et reprennez votre appareil électronique en main. Sur cette page sont publiés tous les documents nécessaires à l'utilisation de votre appareil SK-5500 de la marque SANYO.
MODE D'EMPLOI SK-5500 SANYO
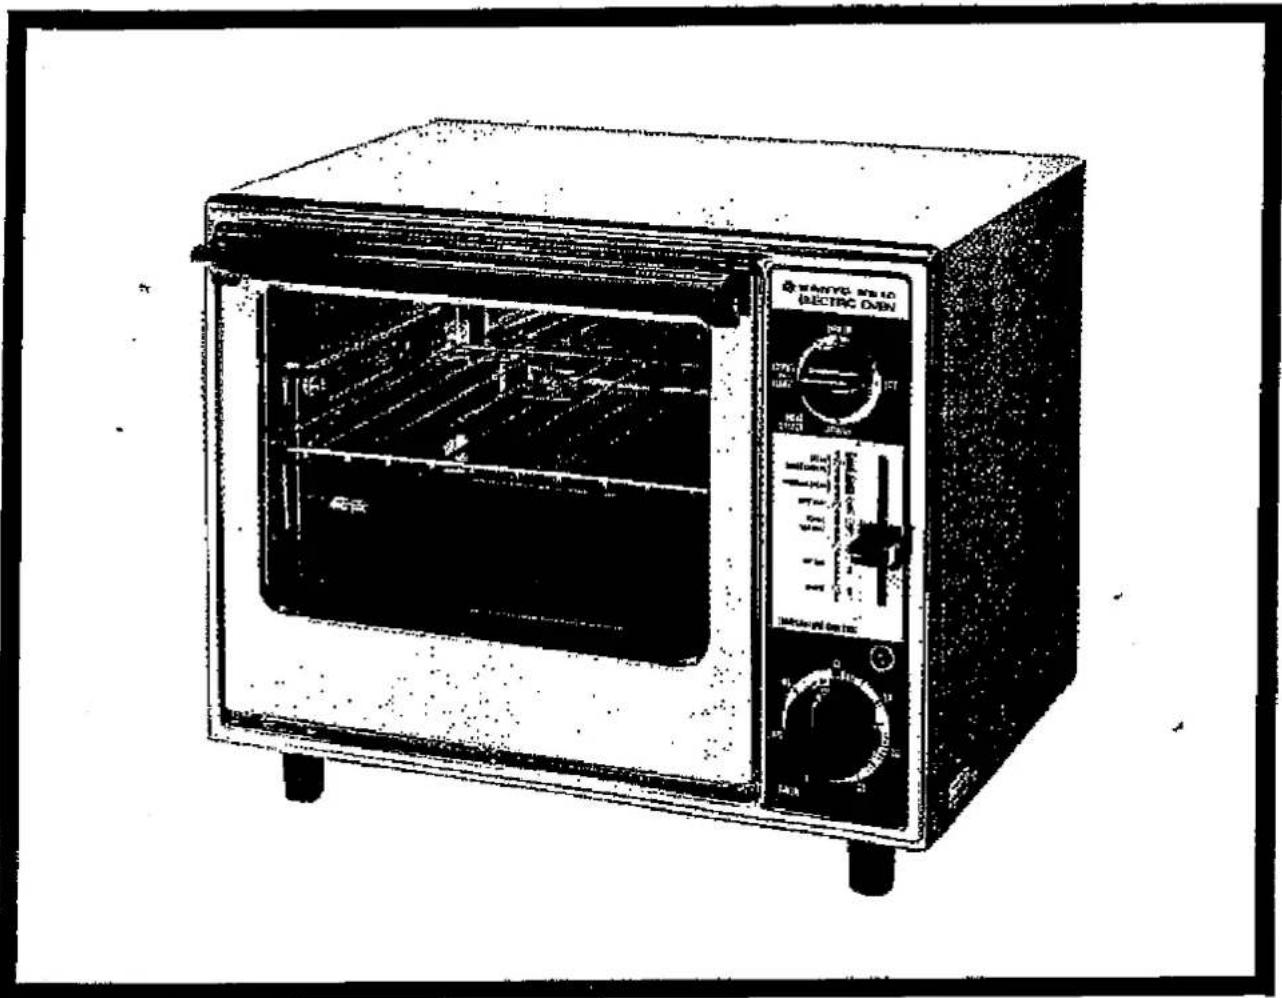
SANYO ELECTRIC OVEN OPERATING INSTRUCTIONS
Thank you for your purchase of the Sanyo Electric Oven.
Please read these instructions carefully before using.
FEATURES
- Upper and lower heater for fast, even cooking.
- Thermostat temperature control for added heating efficiency and complete safety.
- Four-level rack support, handy recipe guide.
- Heater selector switches and indicator lamp.
- Large glass front window for checking food being cooked.
- Cabinet finished in attractive orange.
- Shut-off timer (60 minutes).
HOW TO USE
1. Heater Selector Switches
Select both heaters, the upper heater or the lower heater according to cooking needs. When the heater selector switches and timer are turned on, the pilot lamp lights up.
When heat inside the oven reaches the preset level, the thermostat is activated and heating momentarily stops. From that point on, the unit adjusts and maintains the temperature at a constant level by turning on and off.
Most cooking is done with both heaters in operation. However, browning with only the upper heater or low heat cooking with only the lower heater can be easily and efficiently carried out with this unit.
Note:
Always be sure to preheat the oven before putting food in.
-
Set the temperature control dial in accordance with the food to be cooked.
-
Switch on both heaters (upper and lower).
-
Set the timer to about 10 minutes.
When the chime rings, the oven is well heated and ready for cooking. Reset the timer to the desired cooking time.
2. Temperature Control Dial
The temperature control dial can be adjusted to any one of 7 positions, or set in between these positions. Align the white line on the temperature control dial to the desired temperature.
Note:
The indicated temperature is attained when both heaters are in operation.
3. Timer
- Turn the timer dial clockwise until the white line points to the desired cooking time.
- When cooking time is completed the oven will shut off automatically and a chime will sound.
- The oven can also be shut off manually by turning the timer counterclockwise to 0.
Note:
When setting the timer to less than 10 minutes, first turn it past the desired time and then turn it back until the desired time is reached.


4. Drip trays and baking grill
A 4-level rack support is provided inside the oven for a drip tray or grill. Once food has been placed on the tray or grill, simply slide it onto the proper level. The baking grill can also be arranged inside the tray. Consult the following chart for proper usage.
| Drip Tray | Baking Grill | Drip tray with Grill |
| Roast chickenHamburg steakGratinSponge cakeMost other oven-cooked foods | Baked potatoesOther dry foods | Broiled fishOther grilled foods with drip |
Note:
Do not use 2 drip trays at the same time. Prepare one while the other is being used in the oven.
When cooking is finished, remove the drip tray and/or grill with the supplied tray handle. Take proper precautions to avoid burning.
5. Rack Supports
The tray or grill can be positioned in any one of 4 levels according to the dish to be cooked. For example, when cooking food that should have the top part well browned such as macaroni gratin, use the top or second level. For deep roasting of a fairly large amount of food, e.g., roast chicken, use the third or bottom level.
A FEW THINGS TO REMEMBER
- Allow a space of at least 10 cm between the oven and the wall.
- Do not put objects on top of the oven while it is in operation.
- Unplug the cord after use.
- Use only a properly wired AC outlet. Do not overload the outlet with other appliances.
- Do not open the back cover. If repairs are needed, consult your dealer or nearest Sanyo Service Center.
- Use the supplied tray handle for removing the tray and/or grill from the oven.
- Do not apply water to the glass window while the oven is in operation. This could crack the glass.
- To avoid accidents, use with care. Keep children away from the oven.
CARE AND MAINTENANCE
-
After the oven has cooled, remove the drip tray and baking grill and wash with water and sponge.
-
Use a dry cloth to clean the outer surface and glass window.
-
The 4 rack supports can also be detached for cleaning. Simply remove the
2 nuts and remove the rack supports from the cabinet walls. To reattach, align the holes in the rack supports with the rollers, place the rack supports against the cabinet walls and re-fit the 2 nuts, tightening them securely.


SPECIFICATIONS
| Power source | AC: local voltage |
| Power consumption | 1.2 kW |
| Timer | 60-minute shut-off timer with chime |
| Temperature control range | 100°C - 250°C |
| Heaters | Sheathed heatersUpper: 600 WLower: 600 W |
| Dimensions | Outer: 315(H)×394(W)×300(D) mmInner: 230(H)×278(W)×245(D) mm |
| Accessories | Drip tray×2, baking grill, tray handle |
Marque : SANYO
Modèle : SK-5500
Catégorie : Four