
381323-01 - Kit d'encastrement PIONEER - Notice d'utilisation et mode d'emploi gratuit
Retrouvez gratuitement la notice de l'appareil 381323-01 PIONEER au format PDF.


| Type de produit | Kit d'encastrement pour autoradio |
| Marque | Pioneer |
| Modèle | 381323-01 |
| Compatibilité | Autoradios Pioneer double DIN |
| Dimensions | 178 x 100 x 50 mm |
| Poids | 0,5 kg |
| Matériau | Plastique ABS |
| Couleur | Noir |
| Contenu du kit | Cadre de montage, vis de fixation, câbles adaptateurs |
| Fonctions principales | Installation en tableau de bord, fixation sécurisée |
| Alimentation | Non applicable (kit mécanique) |
| Sécurité | Conforme aux normes ISO 7736 |
| Entretien et nettoyage | Nettoyage avec un chiffon doux et sec |
| Pièces détachées et réparabilité | Pièces de rechange disponibles auprès de Pioneer |
| Garantie | 2 ans |
FOIRE AUX QUESTIONS - 381323-01 PIONEER
Questions des utilisateurs sur 381323-01 PIONEER
0 question sur cet appareil. Repondez a celles que vous connaissez ou posez la votre.
Poser une nouvelle question sur cet appareil
Téléchargez la notice de votre Kit d'encastrement au format PDF gratuitement ! Retrouvez votre notice 381323-01 - PIONEER et reprennez votre appareil électronique en main. Sur cette page sont publiés tous les documents nécessaires à l'utilisation de votre appareil 381323-01 de la marque PIONEER.
MODE D'EMPLOI 381323-01 PIONEER
Pioneer
sound.vision.soul
Installation Manual
Double DIN Kit
Part-No.: 381323-01
• Porsche Cayenne
Compatible with these Pioneer double DIN devices
Pioneer Navigation

natural_image
Exploded view of a mechanical assembly with labeled components (no text or symbols visible)Double DIN Kit contents
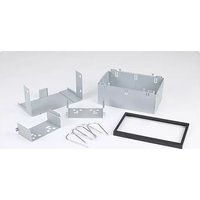
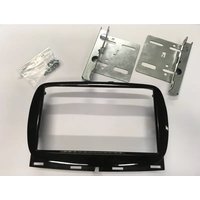
• (1) Metal Frame
• (2) Facia Plate
Installation Kit (3)
Trim Frame (4)
Installation Manual Double DIN Kit 381323-01

- Porsche Cayenne with OEM head unit.
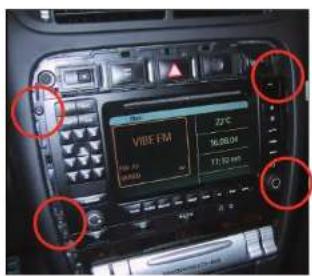
- Remove trim frame, surrounding the OEM head unit.
Remove the 4 screws.
Remove the OEM head unit.
natural_image
Interior view of a mechanical or electronic device with no visible text, numbers, or symbols
natural_image
Close-up of a metallic electronic component with multiple circular holes and a central rectangular feature, no visible text or symbols.(sample photo)
(sample photo)
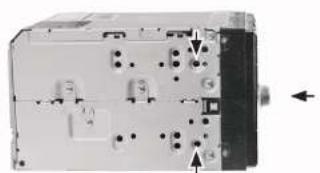
Mount the metal brackets to the double DIN head unit.
The position of the copper coloured holder can be adjusted to your needs for perfect fit. (see sample)

- Place facia plate on the dashboard. Fix it with the 4 original screws.
Push the Metal Frame into the facia plate
Connect all required circuit points and push the double DIN head unit in the metal frame until it snaps in.
Place the trim frame.
Reinstall everything in reverse order to finish installation.
All installation work must be performed by a qualified professional installer only. The manufacturer / dealer is not liable for any kind of incidental or indirect damages.
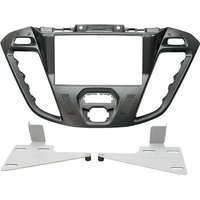
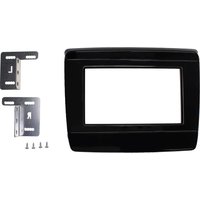

Marque : PIONEER
Modèle : 381323-01
Catégorie : Kit d'encastrement