KAPCARSTE9A - Kit voiture Kogan - Free user manual and instructions
Find the device manual for free KAPCARSTE9A Kogan in PDF.


| Product Type | 9-inch Touchscreen Car Display with Apple CarPlay & Android Auto |
| Brand | Kogan |
| Model | KAPCARSTE9A |
| Screen Size | 9 inches (diagonal) |
| Screen Resolution | 1024 x 600 pixels |
| Power Supply | 12V DC (cigarette lighter socket) via included power cable |
| Audio Output Methods | Built-in speaker, FM transmitter (FM 100–108 MHz), AUX output (3.5mm) |
| Wireless Connectivity | Wi-Fi (for CarPlay/Android Auto), Bluetooth 5.0 |
| Supported Smartphone Integration | Apple CarPlay (wireless), Android Auto (wireless) |
| Media Playback | Micro SD card up to 128GB |
| Video Formats Supported | MPG, H264, DivX, MKV, MOV, WMV, FLV, VOB, TS |
| Audio Formats Supported | MP3, ACCLC, ACCHE, OGG, WAV, FLAG, APE |
| Bluetooth Chip Version | Bluetooth 5.0 |
| Installation Options | Dashboard mount (adhesive pad) or windscreen mount (suction cup) |
| Included Components | 9" display, 12V power cable, AUX cable, display mount, dash mount base, cable guide, user guide |
| Safety Features | Secure mounting; do not obstruct driver view; avoid airbags; use only provided accessories |
Frequently Asked Questions - KAPCARSTE9A Kogan
User questions about KAPCARSTE9A Kogan
0 question about this device. Answer the ones you know or ask your own.
Ask a new question about this device
Download the instructions for your Kit voiture in PDF format for free! Find your manual KAPCARSTE9A - Kogan and take your electronic device back in hand. On this page are published all the documents necessary for the use of your device. KAPCARSTE9A by Kogan.
USER MANUAL KAPCARSTE9A Kogan
9-inch Touchscreen Car Display
with Apple CarPlay & Android Auto
KAPCARSTE9A
Safety & Warnings
- Ensure the display is securely mounted to prevent movement while driving.
- Do not install the display in a location that obstructs the driver's view of the road.
- Avoid placing the display over airbags or other safety equipment.
- Use only the provided power cable and accessories to prevent damage or malfunction.
- Do not attempt to operate the display while driving. Set up and adjust the display when the vehicle is stationary.
- If unsure about installation, consult a licensed trade professional.
Components
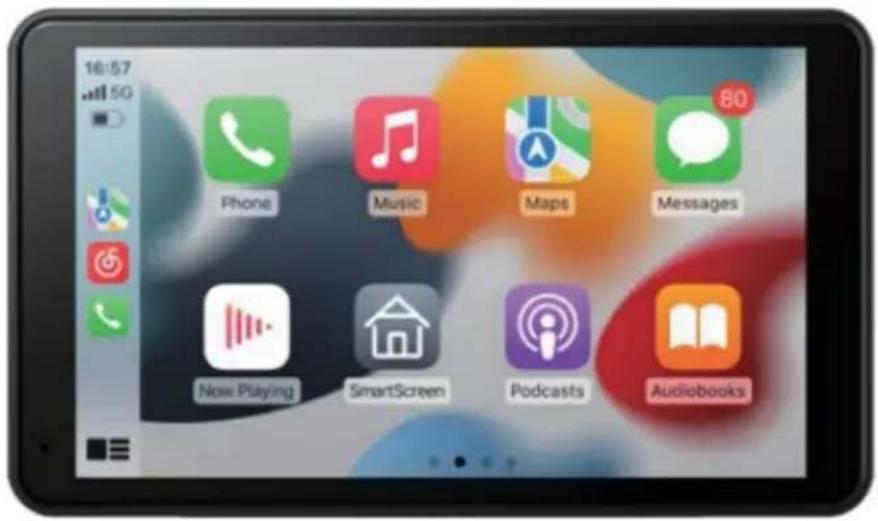
9" Touchscreen Display
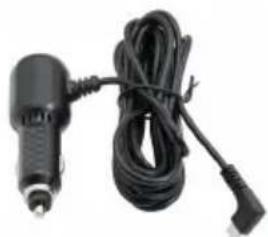
natural_image
Black handheld electrical plug with coiled cable and terminal connector (no text or symbols visible)12V Power Cable
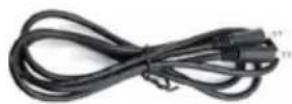
Auxiliary Cable

natural_image
Black mechanical device with attached bracket and base mount (no visible text or symbols)Display Mount

natural_image
Circular black object with three small holes, resembling a fan or disc (no text or symbols visible)Dash Mount Base
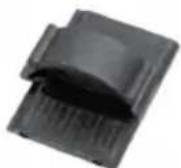
Cable Guide
User Guide
Overview
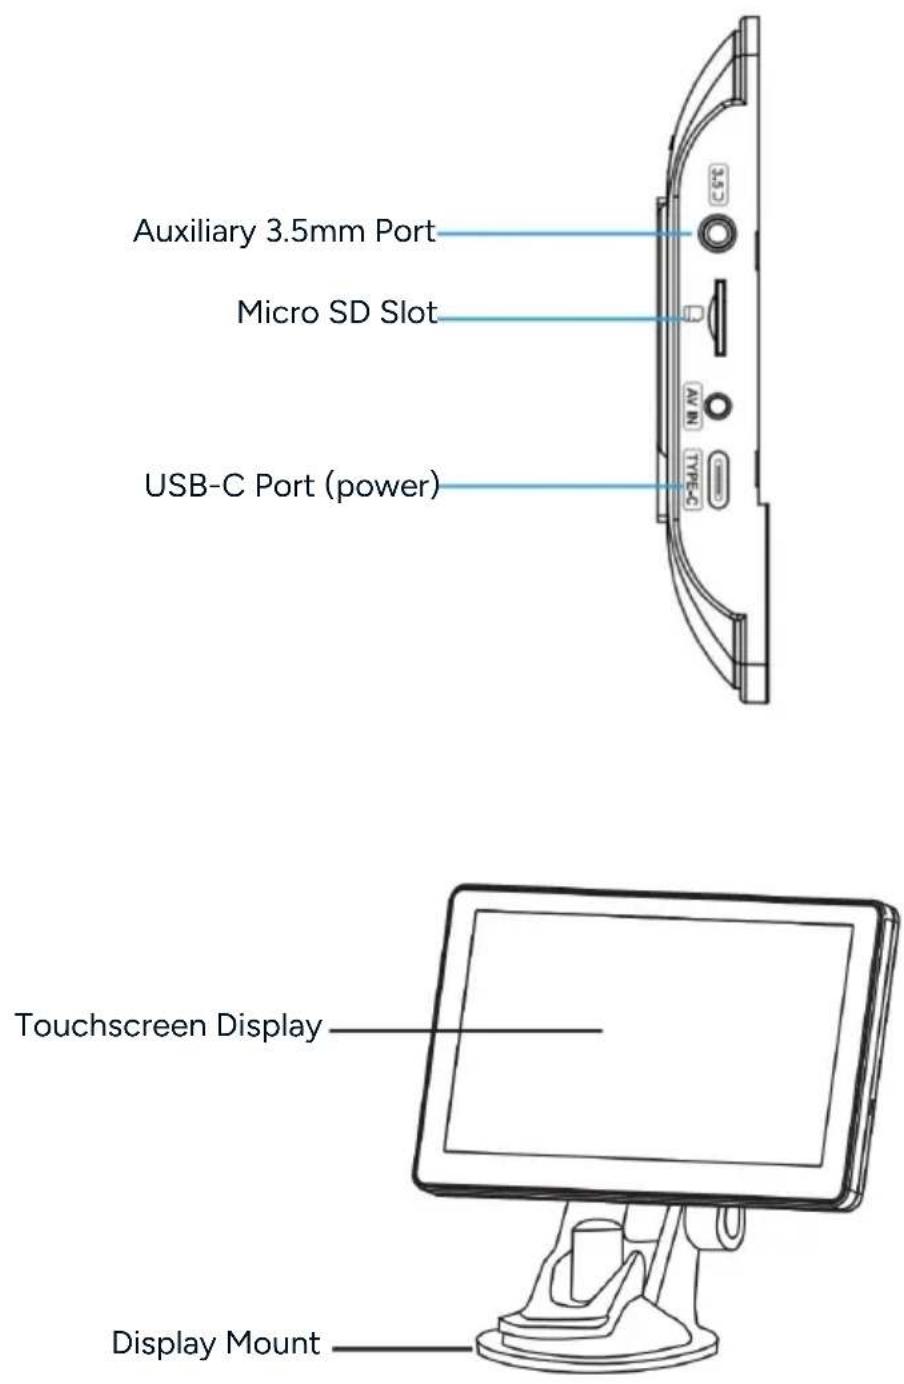
Installation
Dash Mount
- Clean the dashboard surface where the dash pad will be attached.
- Remove the adhesive backing and attach the dash pad to the vehicle dash.
- Remove the protective film from the suction cup.
- Ensure the switch on the rear of the mount is in the open position (there will be a gap between the suction cup and plastic housing).
- Push the mount firmly onto the dashboard surface. Secure the suction cup to the dash mount base and place the switch in the closed position. The mount should now firmly be secured to the dash.
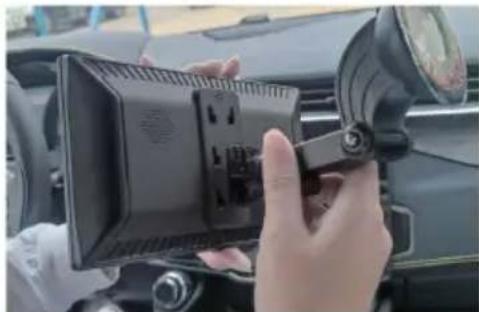
- Attach the display to the mount and adjust its position as required.
Notes:
- Ensure the display is securely mounted to prevent movement while driving.
- Do not install the display in a location that obstructs the driver's view of the road.
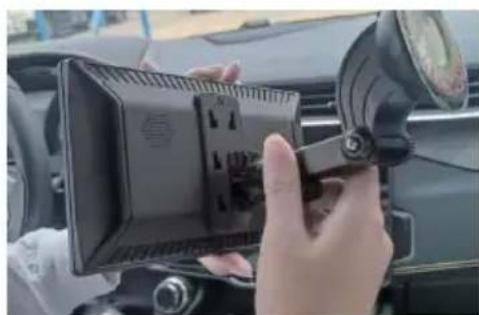
natural_image
Close-up of a hand holding a black plastic device with a sensor array, mounted on a car dashboard (no visible text or symbols)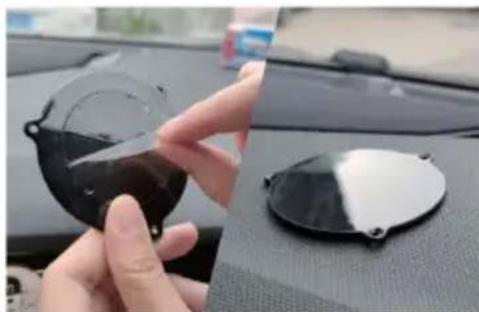
natural_image
Close-up of a hand holding a black circular object with a knife, next to a white circular object on a car (no visible text or symbols)
natural_image
Close-up of a hand cleaning a white cloth on a black circular object (no text or symbols visible)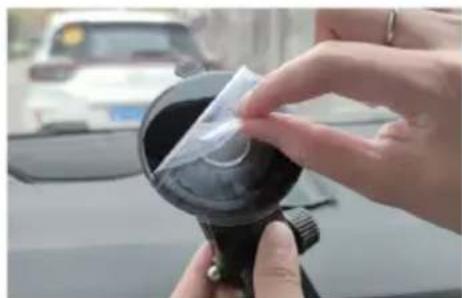
natural_image
Close-up of hands holding a small transparent object into a dark container, with a blurred background vehicle (no visible text or symbols)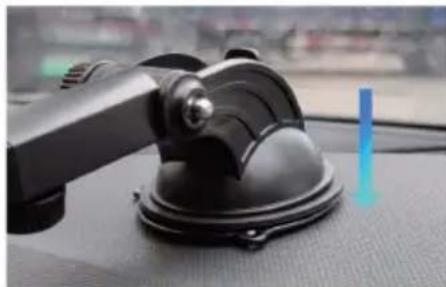
natural_image
Close-up of a black navigation camera on a car's rearview, showing the camera and dashboard (no visible text or symbols)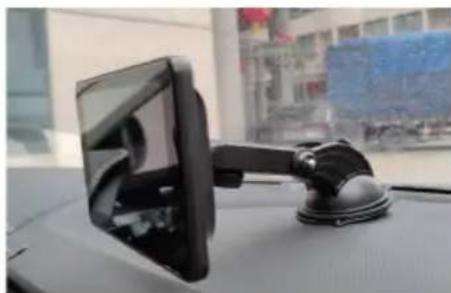
natural_image
Front view of a car front-mounted steering wheel with a black headrest, displayed indoors near a window (no visible text or symbols)Windscreen Mount
-
Clean the windscreen surface where the suction cup will be attached.
-
Remove the protective film from the suction cup.
-
Ensure the switch on the rear of the mount is in the open position (there will be a gap between the suction cup and plastic housing).
-
Press the suction cup firmly against the windscreen surface.
-
Place the switch in the closed position to secure the mount. Ensure the mount is firmly attached to the windscreen.
-
Attach the display to the mount and adjust its position as required.
Notes:
- Ensure the display is securely mounted to prevent movement while driving.
- Do not install the display in a location that obstructs the driver's view of the road.
natural_image
Close-up of a hand holding a black rectangular device with a sensor or connector, mounted on a vehicle's dashboard (no visible text or symbols)
natural_image
Close-up of a hand wearing a wristwatch, holding a white paper over a car window (no visible text or symbols)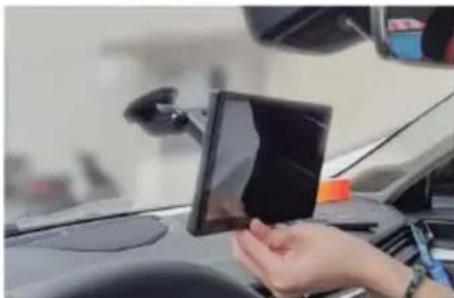
natural_image
Close-up of a hand holding a tablet device on a car dashboard (no visible text or symbols)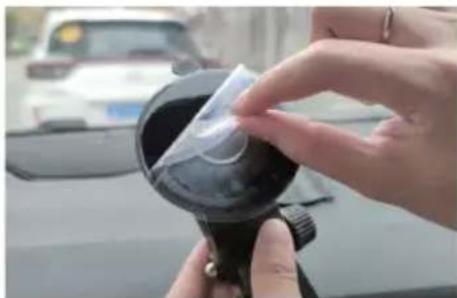
natural_image
Close-up of hands holding a black eyeshadow lens outdoors, with a car in the background (no visible text or symbols)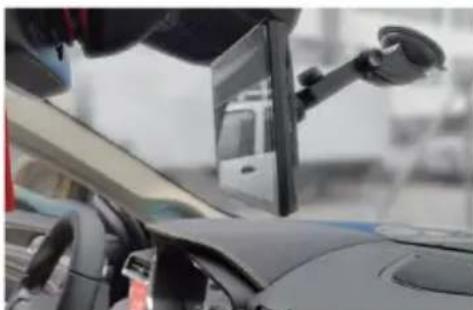
natural_image
Interior view of a car showing a mounted steering wheel and dashboard, with no visible text or symbols.Operation
Powering On the Display
- Connect the provided 12V power cable to your vehicle's 12V socket (cigarette lighter).
- Connect the other end of the cable to the USB-C power input port on the display.
- The display will turn on automatically.
Note:
Use only the provided power cable and accessories to prevent damage or malfunction.
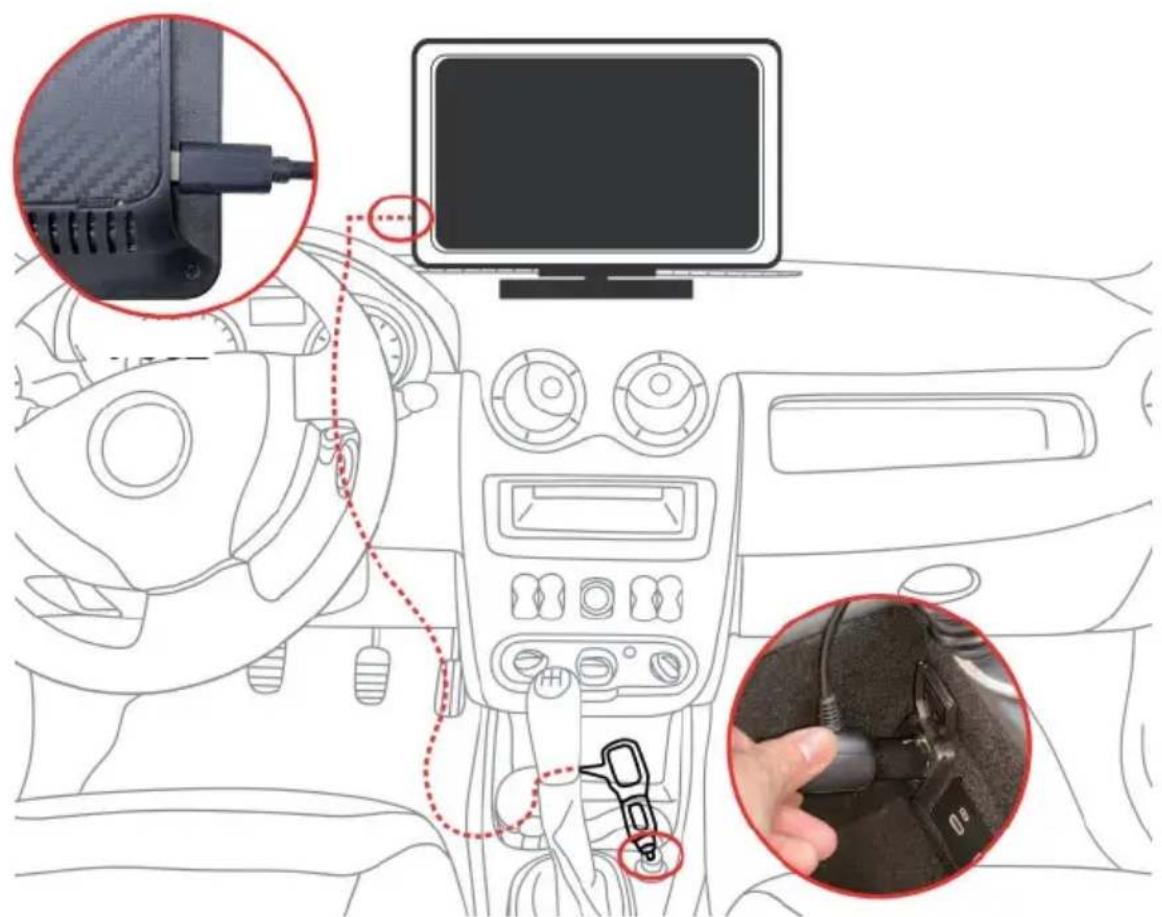
CarPlay Wireless Connection
- Go to Setup → Phonelink Setting and enable "CarPlay (Wi-Fi)".
- Turn on your phone's Wi-Fi and Bluetooth.
- Search for and connect to the device (e.g., CAR-XX-XXXX).
- Authorise the CarPlay connection on your phone. The display will swap to CarPlay once successfully paired with your phone.

natural_image
Green square icon with a white play button symbol (no text or numbers)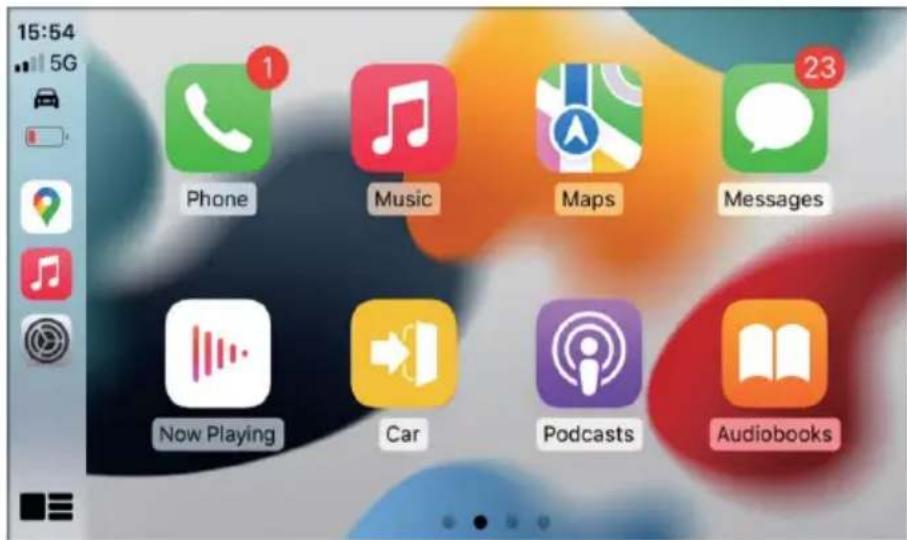
When reconnecting:
- Wait for the message 'Connecting cell phone please wait'.
- Do not touch 'Exit' as this will disrupt the connection.
- If the connection fails, turn Bluetooth off and on again.
- Remove the device and reconnect via Bluetooth if necessary.
Note:
To switch to wireless CarPlay after using Android Auto or Mirror Link, disable Bluetooth and Wi-Fi on your Android phone. If the CarPlay connection does not establish successfully, restart your device and attempt to connect again.
Android Auto Wireless Connection
- Go to Setup → Phonelink Setting and enable 'Android Auto (Wi-Fi)'.
- Turn on your phone's Wi-Fi and Bluetooth.
- Search for and connect to the device (e.g., CAR-XX-XXXX).
- Authorise the Android Auto connection on your phone.

natural_image
Abstract geometric logo with blue and white triangular shapes forming a star-like shape (no text or symbols)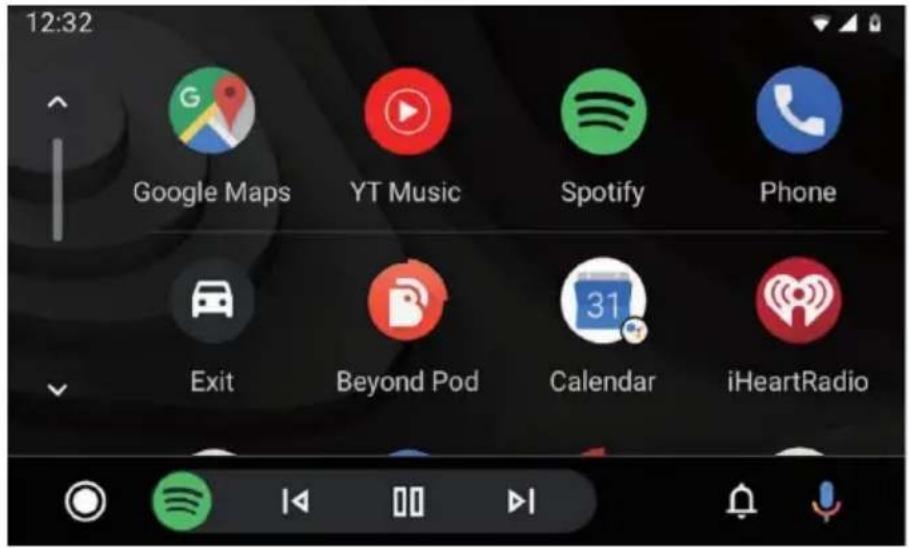
Note:
Wireless Android Auto is compatible only with Android phones that support 5.0GHz Wi-Fi. If you experience issues entering Android Auto during the initial connection, disconnect the power supply and try again. To switch to Android Auto after using CarPlay, disable Bluetooth and Wi-Fi on your iPhone.
Audio Output
• Built-in Speaker: Default audio output.
- AUX Output: Connect to the car's AUX input for direct audio.
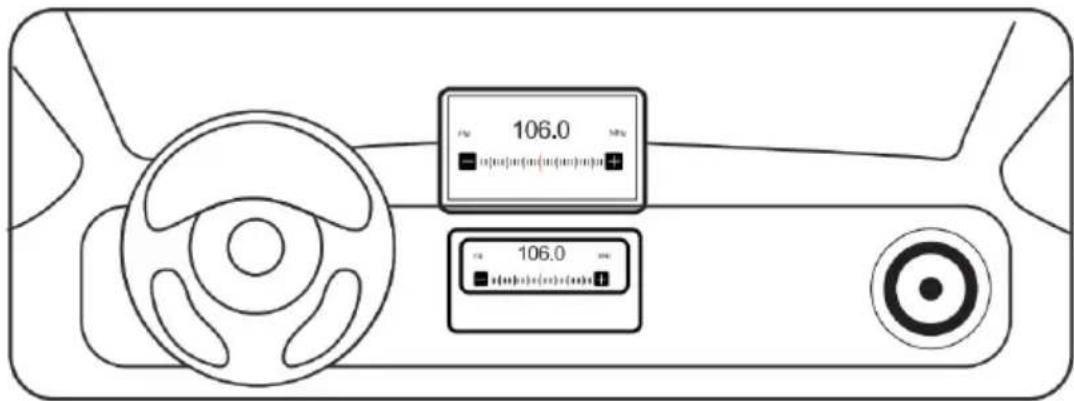
- FM Transmit: Enable FM Transmit in the settings to play audio through the car's radio. Select a frequency (e.g., 106.0 MHz) and match it on your car's radio.
FM Transmit Function:
The FM Transmit function allows the sound from the display to be transmitted to your car's radio and played through the vehicle's built-in speakers. Follow these steps to enable and use FM Transmit:
- Tap the 'FM Transmit' button in the home menu to activate the function.
- Select a frequency to broadcast the sound (e.g., FM 106.0 MHz).
- Tune your car's radio to the same frequency (e.g., FM 106.0 MHz) to receive the signal.
- Once the connection is established, all audio will be transmitted through the car's speakers.
Notes:
- Ensure the auxiliary cable is not connected to the display when using the FM transmitter to output the audio.
- When the FM Transmit function is active, the device's built-in speaker will be disabled.
- To restore sound to the built-in speaker, disable the FM Transmit function or switch the audio back to the display.
- Recommended frequency range: FM 100–108 MHz.
- Ensure you use the provided power cable for optimal FM signal performance.
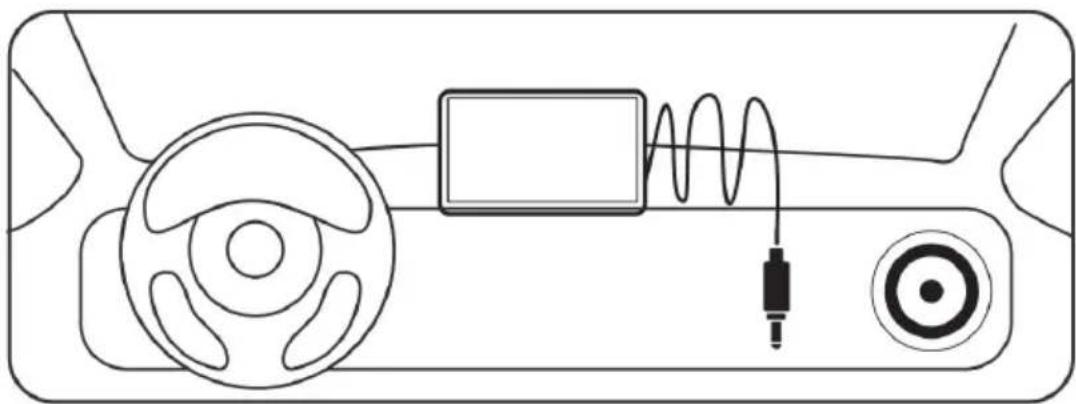
Auxiliary Connection:
The AUX connection allows direct wired audio output to your car's stereo system. Follow these steps to set it up:
- Connect one end of the provided AUX cable to the AUX output port on the display.
- Plug the other end into the AUX input of your car's stereo system.
- Select the AUX input mode on your car stereo to begin playing audio from the display.
Note:
Ensure the AUX cable is securely connected for optimal audio quality.
natural_image
Diagram of a device with labeled components including a wheel, sensor, and speaker (no text or symbols)Media Playback (SD Card)
Insert a Micro SD card into the Micro SD card slot in the display (up to 128GB) to play supported media files directly from the SD card.
• Video Formats: MPG, H264, DivX, MKV, MOV, WMV, FLV, VOB & TS
• Audio Formats: MP3, ACCLC, ACCHE, OGG, WAV, FLAG, APE
Note:
The maximum memory supported by this device is 128GB.
Bluetooth
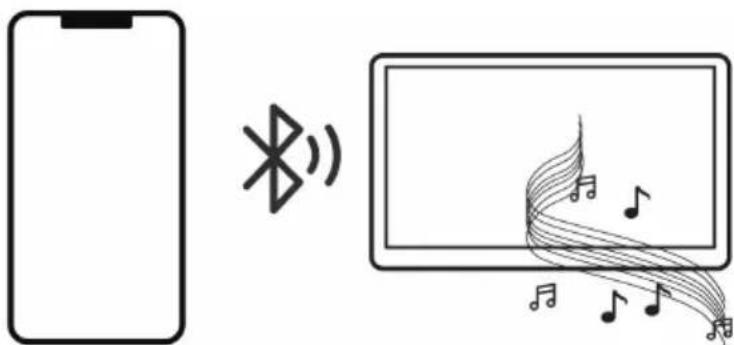
The display supports Bluetooth connectivity for streaming music and making hands-free calls. Follow these steps to utilise Bluetooth functions:
Streaming Music:
-
Select "BT Music" from the home screen.
-
Ensure your phone's output is set to "CAR-XX-XXXX" rather than CarPlay.
-
Play music from your phone and enjoy audio through the display or connected speakers.
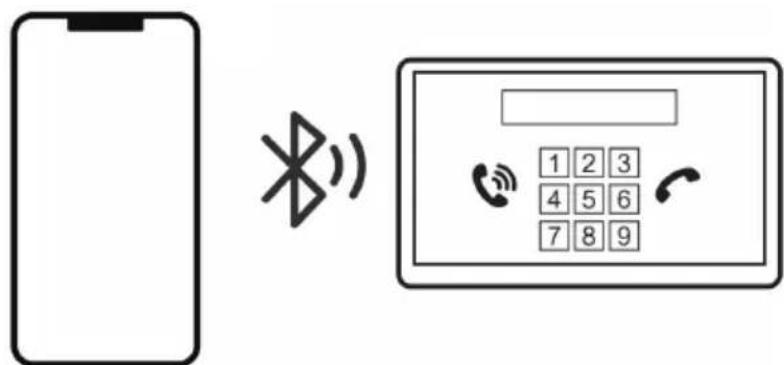
Making and Receiving Calls:
-
Select the Bluetooth phone icon from the home screen.
-
Use the interface to dial numbers or access your phone's contact list.
-
Ensure the phone is paired to "CAR-XX-XXXX" for smooth operation.
Notes:
For optimal performance, ensure Bluetooth is enabled on your phone and paired correctly with the display.
FAQ
Q1: Why is there an electrical sound when using the FM transmitter?
A1: This is normal when using FM to transmit audio. Adjust the volume on the device to the maximum and turn down the sound on the car radio. The current sound should significantly improve. Try a different frequency. Ensure the AUX cable is disconnected when using the FM transmitter.
Q2: How many audio output methods does this product support?
A2: Built-in speaker, FM transmitter, and AUX.
Q3: Is it suitable to support video playback?
A3: The display supports video playback via Micro SD card; however, it is incredibly dangerous and often illegal to play videos while driving. DO NOT play videos while driving. When you connect to CarPlay or Android Auto, video playback is not supported. To view videos, disconnect the CarPlay/Android Auto connection first.
Q4: How to fix the screen lag?
A4: Perform a factory reset. You can find the factory reset option in the settings menu.
Q5: Why is there a sound delay when the phone plays a video?
A5: The connection between the mobile phone and the device uses a Bluetooth 5.0 chip for audio transmission. This method of Bluetooth transmission may cause audio and video to be out of synchronisation.
Q6: Does this product support dual Bluetooth functionality?
A6: Currently, it does not support dual Bluetooth functionality.
Q7: Is it normal for the product to heat up?
A7: Yes, the device may heat up during use due to its motherboard function. This is normal and safe.
Q8: What is the screen resolution of the product?
A8: The product resolution is 1024 x 600.
Q9: After successfully connecting CarPlay or Android Auto, why does it occasionally disconnect?
A9: Environmental factors may cause interference. If you pass through an area with strong signal interference, Wi-Fi may disconnect. Once interference is avoided, the connection will automatically re-establish.
Q10: How do I fix the display when it freezes?
A10: Press the reset button on the back of the display and restore the factory settings. If the issue persists after 2 or 3 resets, contact help.Kogan.com for support.
Q11: I cannot connect my Huawei smartphone to Android Auto?
A11: Huawei smartphones with HarmonyOS are incompatible.
Q12: Apple CarPlay connection issue
A12: For certain iOS smartphone versions, try restarting the phone before attempting to connect again.
Q13: Why has the use of an AUX cable reduced stereo power?
A13: Ground interference caused by the AUX cable may lead to noise.
Q14: Why is there distortion in the product's built-in speaker output?
A14: The speaker power is relatively low. Excessive volume may cause sound distortion. The design is intended to replace the original car stereo for music playback, not to produce particularly loud output.
Need more information?
We hope that this user guide has given you the assistance needed for a simple set-up.
For the most up-to-date guide for your product, as well as any additional assistance you may require, head online to help.Kogan.com.
kogan.com
- 9-inch Touchscreen Car Display
- Safety & Warnings
- Components
- Overview
- Installation
- Dash Mount
- Notes:
- Windscreen Mount
- Operation
- Powering On the Display
- Note:
- CarPlay Wireless Connection
- When reconnecting:
- Android Auto Wireless Connection
- Audio Output
- FM Transmit Function:
- Auxiliary Connection:
- Media Playback (SD Card)
- Bluetooth
- Streaming Music:
- Making and Receiving Calls:
- FAQ
- Need more information?
Brand : Kogan
Model : KAPCARSTE9A
Category : Kit voiture