
MIN18-AU - Fireplace DIMPLEX - Free user manual and instructions
Find the device manual for free MIN18-AU DIMPLEX in PDF.


| Product Type | Electric Fireplace |
| Model | MIN18-AU |
| Brand | Dimplex |
| Dimensions (W x H x D) | 18 x 24 x 10 inches |
| Weight | 15 kg |
| Power Supply | 120 V / 60 Hz |
| Heating Capacity | Up to 400 sq. ft. |
| Heat Output | 1500 W (max) |
| Flame Effect | Realistic 3D flame with adjustable brightness |
| Thermostat | Adjustable thermostat with temperature range 60-80°F |
| Remote Control | Included with on/off, heat, and flame settings |
| Timer | Programmable timer (1-8 hours) |
| Overheat Protection | Automatic shut-off when overheating is detected |
| Installation | Built-in, wall-mounted, or freestanding |
| Maintenance | Clean with a soft cloth; do not use water or chemicals |
| Replacement Parts | Heating element, remote control, glass front (available separately) |
| Warranty | 1 year limited warranty |
Frequently Asked Questions - MIN18-AU DIMPLEX
User questions about MIN18-AU DIMPLEX
0 question about this device. Answer the ones you know or ask your own.
Ask a new question about this device
Download the instructions for your Fireplace in PDF format for free! Find your manual MIN18-AU - DIMPLEX and take your electronic device back in hand. On this page are published all the documents necessary for the use of your device. MIN18-AU by DIMPLEX.
USER MANUAL MIN18-AU DIMPLEX
natural_image
Line drawing of a portable stove with open door and side legs, no text or symbols presentMini 1.8kW Portable Electric Fire
Model: MIN18-AU
For domestic household use only.
CAUTION: FAILURE TO FOLLOW THESE INSTRUCTIONS MAY CAUSE INJURY AND/OR DAMAGE AND MAY INVALIDATE YOUR WARRANTY
Please read the operating instructions carefully before using your product for the first time and keep them in a safe place.
- When using electrical appliances, basic precautions should always be followed to reduce the risk of fire, electrical shock and injury to persons, including the following:
- If the appliance is damaged, check with the supplier before installation and operation.
- Do not use outdoors.
- Do not use in the immediate surroundings of a bath, shower or a swimming pool.
- Do not use this heater if it has been dropped.
- Do not use if there are visible signs of damage to the heater.
- Use this heater on a horizontal and stable surface, or fix it to the wall, as applicable.
- Do not locate the appliance immediately below a fixed socket outlet or connection box.
- This appliance is not intended for use by persons (including children) with reduced physical, sensory or mental capabilities, or lack of experience and knowledge, unless they have been given supervision or instruction concerning use of the appliance by a person responsible for their safety.
- Children should be supervised to ensure that they do not play with the appliance.
- Do not use this appliance in series with a thermal control, a program controller, a timer or any other device that switches on the heat automatically, since a fire risk exists when the appliance is accidentally covered or dis-placed.
• In the event of a fault, unplug the appliance. - Unplug the appliance when not required for long periods.
• This product is only intended for INDOOR RESIDENTIAL applications only.
• DO NOT cover cord with carpeting, throw rugs, runners, or similar coverings. - DO NOT route cord under furniture or appliances. Take care to position the cord away from traffic areas and where it will not be a tripping hazard.
• This appliance must not be used in a bathroom. - Although this appliance complies with safety standards, we do not recommend
its use on deep pile carpets or on long hair type of rugs
- The appliance must be positioned so that the plug is accessible.
- If the supply cord is damaged it must be replaced by the manufacturer or service agent or a similarly qualified person in order to avoid a hazard.
- Keep the supply cord away from the front of the appliance.
- Do not use this heater in small rooms when they are occupied by persons not capable of leaving the room on their own, unless constant supervision is provided.
- In order to avoid overheating, DO NOT COVER the appliance. Do not place material or garments on the appliance, or obstruct the air circulation around the appliance, for instance by curtains or furniture, as this could cause overheating and a fire risk.
• The Heater carries the warning symbol indicating that it must not be covered.
- In order to avoid a hazard due to inadvertent resetting of the thermal cut-out, this appliance must not be supplied through an external switching device, such as a timer, or connected to a circuit that is regularly switched on and off by the utility.
- CAUTION Some parts of this product can become very hot and cause burns. Particular attention has to be given where children and vulnerable people are present.
• Children shall not turn on/off the appliance.
- Ensure that furniture, curtains or other combustible material are positioned no closer than 1 metre from the appliance.
- Unplug the appliance when not required for long periods.
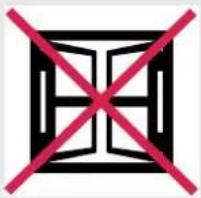
Exposed to the weather outdoors
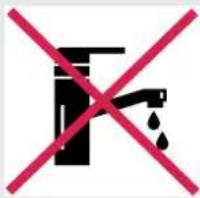
Near water If the power cable wires are frayed or cut
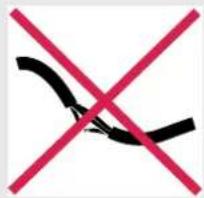
wires are frayed or cut
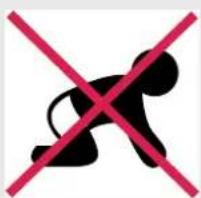
natural_image
Black silhouette of a person running with a red X symbol (no text or numbers present)Where small children may be left unattended
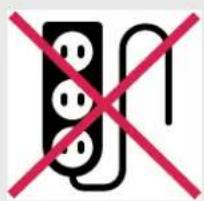
No extension leads or power boards
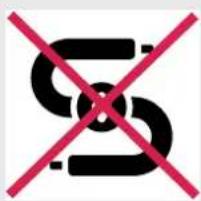
Where the power cable may be damaged

natural_image
Pure graphic of a black rectangle with a red X-shaped line crossing through it, no text or symbols present.On a slope or uneven surface
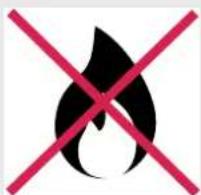
Where there is risk of fire or close to a naked flame
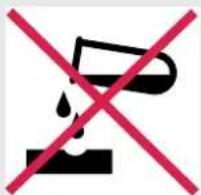
Where it may be damaged by chemicals
Where there is a risk of interference by foreign objects

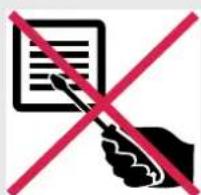
This product is not made for DIY repair
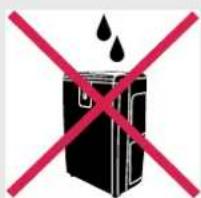
If there is a risk of water falling on the unit
Specifications
| Model MIN18-AU | |
| Colour/Finish Black | |
| Heat Output | 1.8kW |
| Heat Settings | 2 |
| Thermostat Control Y | |
| Independent Flame Effect Y | |
| Warranty 2 years | |
| Dimensions (w x d x h) 445 x 254 x 528mm | |
| Weight (Net) 7.6kg |
For greater precision, please always refer to the rating label placed on the product.
Assembly
natural_image
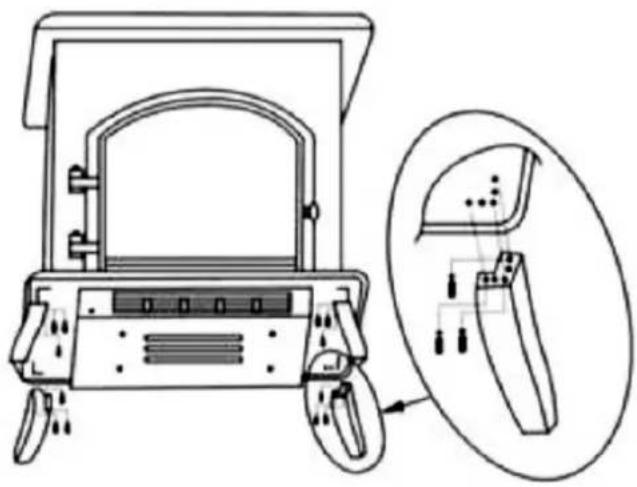
Technical line drawing of a mechanical device with a close-up inset showing internal components (no text or symbols)- Ensure the heater is not plugged in and is completely cool before attaching the feet
- Carefully turn the heater over so that the underside is facing upwards. Place the heater on a soft surface so as to not scratch the top.
- Place one of the included feet against a corner of the underside of the heater, ensuring that the screw holes are aligned with the thread in the heater.
- Secure the foot to the heater using 3 of the supplied screws. Tighten them evenly to avoid the foot becoming skewed.
- Repeat steps 3-4 for each of the remaining feet, until all four are securely attached.
- Carefully turn the heater upright and check the stability of the feet. If there is no excessive wobble once turned upright then the heater can be placed in the desired position and operated normally. If there is wobble, then ensure that the screws are evenly tightened
Operation
WARNING: FALLING OR TIPPING APPLIANCES CAN CAUSE INJURY OR DEATH OF YOUNG CHILDREN, PLEASE ENSURE CHILDREN DO NOT CLIMB, HANG OR STAND ON THIS PRODUCT.
Thermal Safety Cut-out
This appliance is fitted with a safety cut-off which will operate if the fire overheats (e.g. due to a blocked air vent). For safety purposes, the appliance will NOT automatically reset. To reset the appliance, disconnect the appliance from the power supply for a minimum of 15 minutes. Once the 15 minute period is observed, the appliance can be reconnected to the power supply and can be operated.
WARNING: In order to avoid a hazard due to inadvertent resetting of the thermal cut-out, this appliance must not be supplied through an external switching device, such as a timer, or connected to a circuit that is regularly switched on and off by the utility.
Operation
General
Unpack the heater carefully and retain the packaging for possible future use, in the event of moving or returning the fire to your supplier.
These models are designed to be free standing and are normally positioned against a wall.
The fire incorporates a flame effect, which can be used with or without heating, so that the comforting effect may be enjoyed at any time of the year. Using the flame effect on its own only requires little electricity. A choice of 900W or 1.8kW heat output is provided by the fan heater, which is located at the bottom of the unit.
Before connecting the heater check that the supply voltage is the same as that stated on the heater.
Please note: Used in an environment where background noise is very low, it may be possible to hear a sound which is related to the operation of the flame effect. This is normal and should not be a cause for concern.
CAUTION: Except for installation and cleaning described in this manual, an authorized service representative should perform any other servicing.
WARNING - THIS APPLIANCE MUST BE EARTHED
This heater must be used on an AC - supply only and the voltage marked on the heater must correspond to the supply voltage.
Before switching on, please read the safety warnings and operating instructions.
Light Emitting Diode
This fire is fitted with LED (Light Emitting Diode) bulbs in place of traditional incandescent bulbs. These generate the same light levels as traditional bulbs, but use a fraction of the energy consumed. These LED lamps are maintenance free and should not require replacing during the life of the product.
Operation
Controls
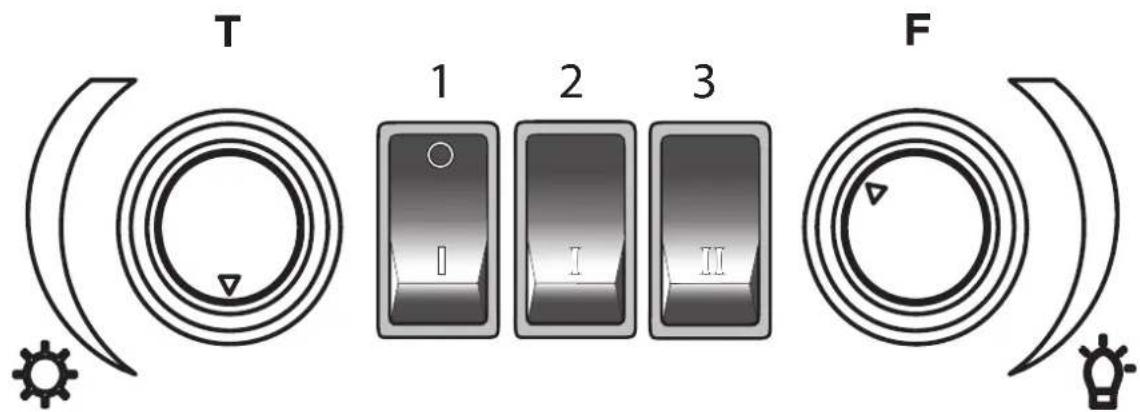
The switches provide a choice of heat settings. The appliance is in standby mode when the mains lead is plugged in. The two selector switches are in the ON position when the side with the markings on (i.e. I, or II) is pushed
-
Selector switch 1 (O/I) - Controls the electricity supply to the appliance and flame effect. Press for 'ON' & 'Standby'. If both selector switches 2 and 3 are in the OFF position, the product works on flame effect only.
-
Selector Switch 2 (I) - Provides 900W heat output.
-
Selector Switch 3 (II) - Provides 1800W output with switch 2 also pressed.
Thermostat (T)
In order to maintain a certain room temperature, set the controller to 'max.'. Operate the appliance at full power until the required room temperature is reached. Set back the thermostatic controller until the appliance switches off with an audible "click". This temperature will be kept almost constant by the thermostatic control switching on and off automatically.
Note: The heater will only turn on if the flame switch (1) is turned on and the thermostat is set above the current room temperature.
Flame Intensity (F)
The intensity of the flame effect can be adjusted by rotating the flame intensity knob (F) clockwise or anti-clockwise.
Troubleshooting
No Heat or Light
Check the wall socket by plugging in a working appliance. If the socket is functional and the cord or plug of the heater is suspected to be faulty, have it checked by an electrician.
Light but no Heat
Check that the Thermostat (T) on the stove is set above the current room temperature. Alternatively, the thermal safety cut-out may have engaged - see thermal cut-off section.
Cleaning
Over time, dust can accumulate which can effect performance. It is recommended to clean the unit at least once a month.
CAUTION: ALWAYS Turn the unit OFF and disconnect the appliance from the power supply before undergoing any cleaning and maintenance.
For general cleaning use a soft clean duster - never use abrasive cleaners. The glass viewing screen should be cleaned carefully with a soft cloth.
DO NOT use proprietary glass cleaners.
To remove any accumulation of dust or fluff the soft brush attachment of a vacuum cleaner should occasionally be used to clean the outlet grille of the fan heater.
WARNING: do not operate the product without the grille and outer glass in position as this may effect the operation of the heater.
IMPORTANT
The control panel and other parts must not come into contact with water or any other liquids.
Warranty
Please refer to the warranty card in the box for warranty information. For any troubleshooting advice, please contact the relative Customer Care Centre below.
Glen Dimplex Australia Pty Ltd
Glen Dimplex New Zealand Ltd
8 Lakeview Drive,
38 Harris Road, East Tamaki,
Scoresby 3179, Victoria
Auckland 2013
Australia
New
Zealand
Ph: 1300 556 816
Ph: 0800 666 2824
natural_image
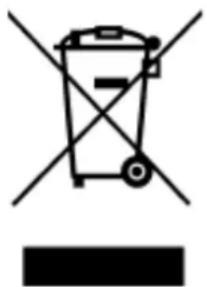
Symbol of a trash bin crossed with no text or labels, accompanied by a black rectangular block below (no readable text or symbols)Recycling: Do not dispose of electrical appliances as unsorted municipal waste. Use separate collection facilities. Contact your local government for information regarding the collection systems available. If electrical appliances are disposed of in landfills or dumps, hazardous substances can leak into the ground water, polluting the food chain and damaging health and well-being.
DCDimplex®
Customer Care: 1300 556 816
customer.care@glendimplex.com.au
www.dimplex.com.au
Supplied by Glen Dimplex Australia
8 Lakeview Drive, Scoresby, Victoria, 3179
© Glen Dimplex Australia. All rights reserved. Material contained in this publication may not be reproduced in whole or in part, without prior permission in writing of Glen Dimplex Australia.
MIN18-AU v1
- Mini 1.8kW Portable Electric Fire
- CAUTION: FAILURE TO FOLLOW THESE INSTRUCTIONS MAY CAUSE INJURY AND/OR DAMAGE AND MAY INVALIDATE YOUR WARRANTY
- Specifications
- Assembly
- Operation
- WARNING: FALLING OR TIPPING APPLIANCES CAN CAUSE INJURY OR DEATH OF YOUNG CHILDREN, PLEASE ENSURE CHILDREN DO NOT CLIMB, HANG OR STAND ON THIS PRODUCT.
- Thermal Safety Cut-out
- General
- WARNING - THIS APPLIANCE MUST BE EARTHED
- Light Emitting Diode
- Controls
- Thermostat (T)
- Flame Intensity (F)
- Troubleshooting
- No Heat or Light
- Light but no Heat
- Cleaning
- IMPORTANT
- Warranty
- Glen Dimplex Australia Pty Ltd
- Glen Dimplex New Zealand Ltd
- DCDimplex®
Brand : DIMPLEX
Model : MIN18-AU
Category : Fireplace