
Jasper - Car seat Lionelo - Free user manual and instructions
Find the device manual for free Jasper Lionelo in PDF.


| Product Type | Car Seat |
| Brand | Lionelo |
| Model | Jasper |
| Category | Child Car Seat |
| Group | 0+/1/2 (0-25 kg) |
| Installation Method | ISOFIX + Top Tether or Seat Belt |
| Harness Type | 5-point harness |
| Side Impact Protection | Integrated head and side wings |
| Weight Range | 0-25 kg (approx. birth to 7 years) |
| Height Range | 40-105 cm |
| Dimensions (W x D x H) | 44 x 54 x 62 cm (approx.) |
| Weight (Product) | 9.5 kg (approx.) |
| Fabric Type | Breathable, removable and washable cover |
| Cleaning Instructions | Hand wash cover at 30°C, do not bleach, do not tumble dry |
| Certifications | ECE R44/04 or R129 (i-Size) compliant |
| Warranty | 2 years |
| Recline Positions | Multiple (travel and rest) |
| Headrest Adjustment | Height adjustable |
| Spare Parts Available | Yes, through manufacturer |
| Maintenance | Regularly check for wear, clean harness |
Frequently Asked Questions - Jasper Lionelo
User questions about Jasper Lionelo
0 question about this device. Answer the ones you know or ask your own.
Ask a new question about this device
Download the instructions for your Car seat in PDF format for free! Find your manual Jasper - Lionelo and take your electronic device back in hand. On this page are published all the documents necessary for the use of your device. Jasper by Lionelo.
USER MANUAL Jasper Lionelo
natural_image
Line drawing of a baby car seat with adjustable straps and seatbelt (no text or symbols)PL
Informacja
natural_image
Front view of a white car icon inside a gray circular background (no text or symbols)1. Zastosowanie
natural_image
Diagram of a spiderweb with a yellow rod and orange cable, no text or symbols presentzła pozycja
natural_image
Diagram of a mechanical or electrical component with no visible text, numbers, or symbols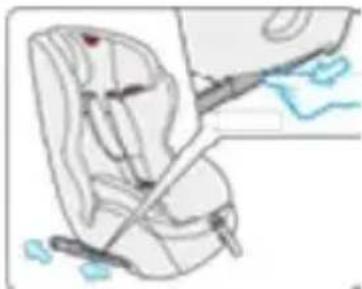
natural_image
Illustration of a car seat with blue accents and a small inset showing a device (no text or symbols)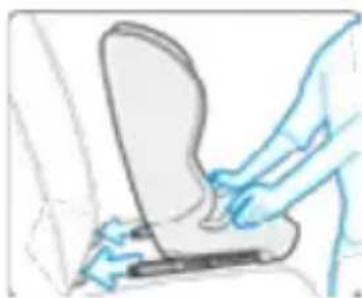
natural_image
Illustration of a hand using a tool to lift a seatbelt (no text or symbols visible)natural_image
Illustration of a car seatbelt with a hand pointing to it, showing no text or symbols on the suit itself.
natural_image
Illustration of a hand cleaning a shoe with a red X mark and green checkmark (no text or symbols)SYSTEM MOCOWANIA PASA GÓRNEGO
natural_image
Illustration of a hand using a tool to cut or mark a cylindrical object (no text or symbols visible)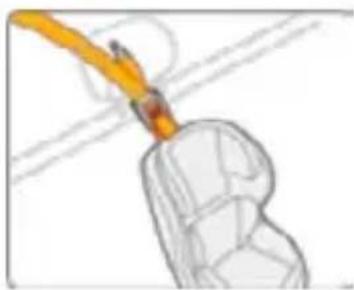
natural_image
Illustration of a tool applying adhesive to a surface, showing a yellow tip and orange tip (no text or symbols)PL
natural_image
Illustration of a hand using a tool to lift a piece of paper or plastic (no text or symbols visible)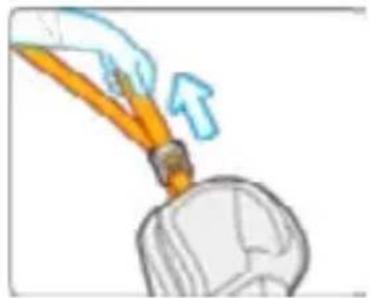
natural_image
Illustration of a hand holding a yellow pen tip over a glass with an arrow indicating upward motion (no text or symbols)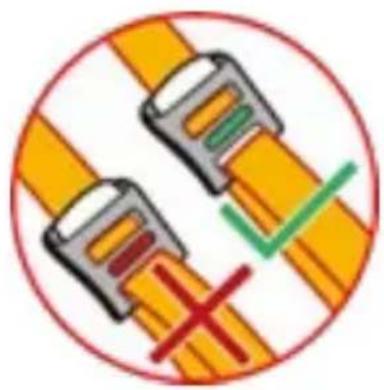
natural_image
Circular icon showing two yellow belt buckle clips with a green checkmark and red X mark (no text or symbols)DEMONTAŻ ZACZEPÓW ISOFIX ORAZ PASA GÓRNEGO
natural_image
Illustration of a person performing a foot massage or pressure technique on a leg, with red arrows indicating direction (no text or symbols present)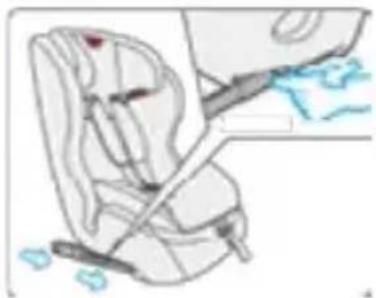
natural_image
Illustration of a car seatbelt with a blue car seat and seatbelt, no text or symbols presentnatural_image
Illustration of a hand using a tool to adjust or install a mechanical component (no text or symbols visible)
natural_image
Illustration of a hand using a tool to lift a component (no text or symbols visible)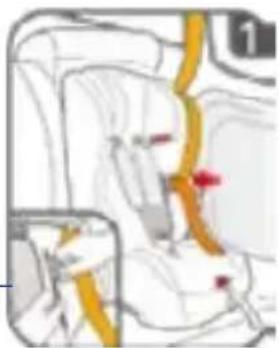
natural_image
Interior view of a car seatbelt with orange and yellow safety stripes (no text or symbols visible)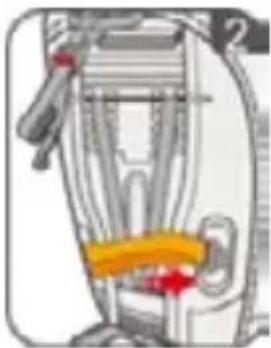
natural_image
Diagram of a vehicle seatbelt with orange band and red connectors (no text or symbols)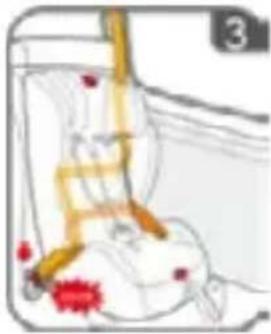
natural_image
Illustration of a car seatbelt with red markers, no text or symbols present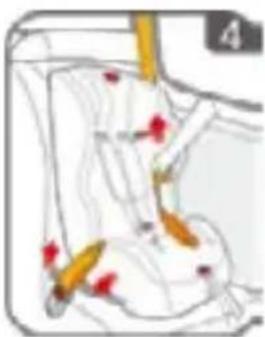
natural_image
Medical illustration showing a patient's arm and foot with red markings (no text or symbols)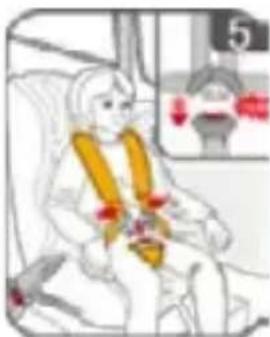
natural_image
Illustration of a child wearing a seatbelt and orange belt, seated in a chair (no text or symbols visible)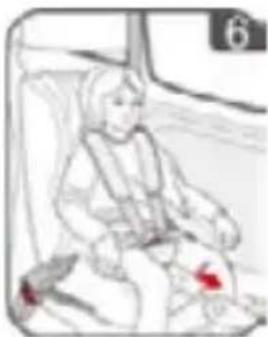
natural_image
Illustration of a person sitting in a seat, wearing a seatbelt and holding a red object (no text or symbols present)PL
natural_image
Illustration of a car seat with yellow tools and a small orange circular badge (no text or symbols)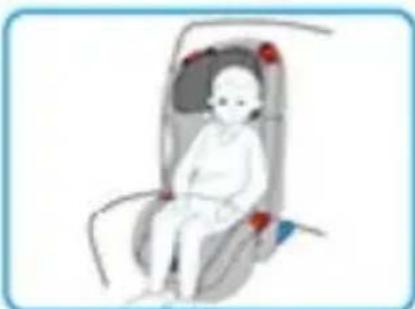
natural_image
Illustration of a child seated in a car seat, no text or symbols present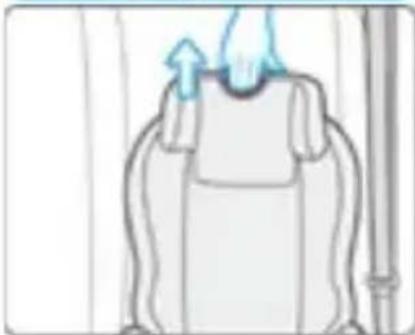
natural_image
Illustration of a person sitting in a chair with a blue flame above their head, next to a pipe (no text or symbols)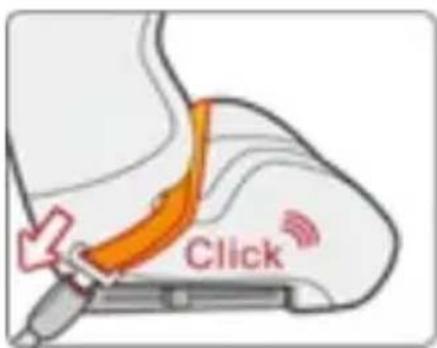
natural_image
Illustration of a child wearing a seatbelt and holding an orange belt, no text or symbols present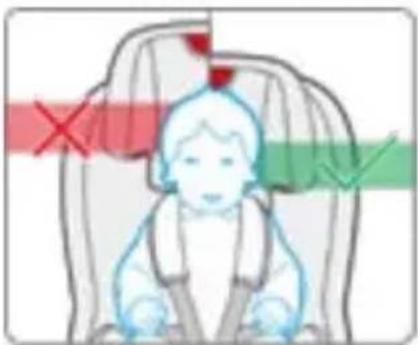
natural_image
Illustration of a baby in a car seat with red and green background symbols (no text or labels)natural_image
Illustration of a person's head with a blue arrow pointing to the shoulder area (no text or symbols)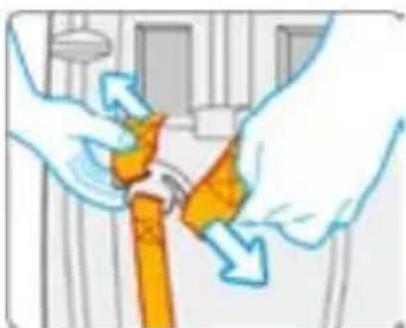
natural_image
Illustration of hands performing a tool manipulation or repair operation (no text or symbols visible)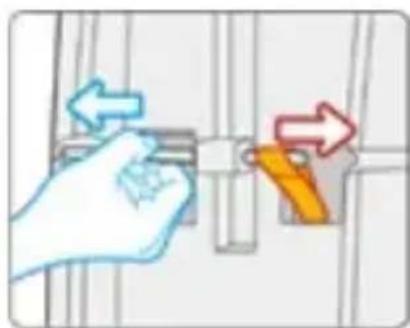
natural_image
Illustration of a hand holding a small object with directional arrows indicating movement or process (no text or symbols)natural_image
Illustration of a car interior with two bottles and hand gestures (no text or symbols)natural_image
Illustration of a car seat with airflow indicators (no text or symbols)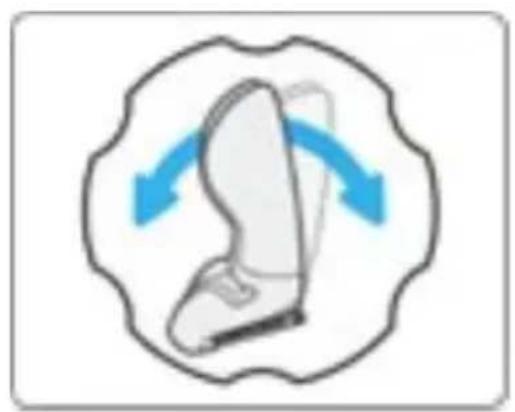
natural_image
Illustration of a shoe with blue curved arrows indicating motion or movement (no text or symbols)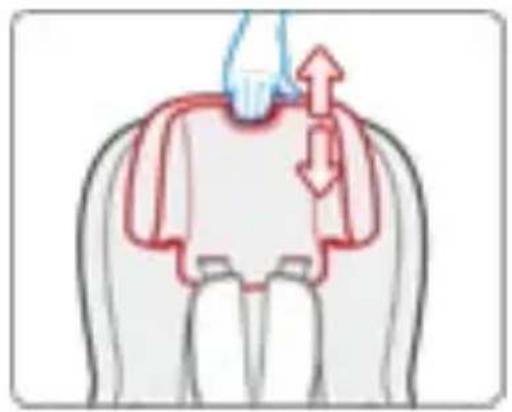
natural_image
Diagram of a tooth with highlighted anatomical structures and directional arrows (no text or labels)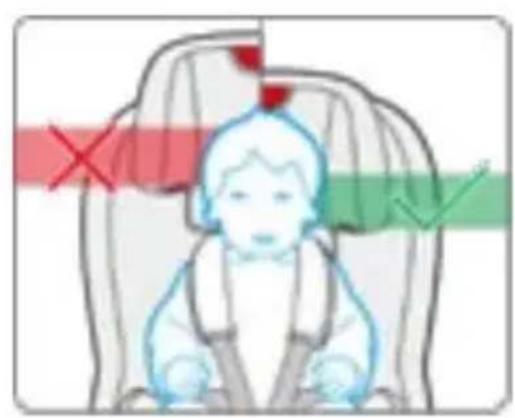
natural_image
Illustration of a baby in a seat with red and green background symbols (no text or labels)Istotne informacje
This is a “universal” child restraint. It is approved to Regulation No. 44.04 series of amendments, for general use in vehicles, and can be installed on most car seats.
A correct installation is possible if the vehicle manufacturer has declared in the vehicle's manual that the vehicle is capable of accepting a “universal” child restraint for this age group.
This child restraint has been classified as “universal” under more stringent conditions than those applied to earlier designs, which do not carry this notice.
In case of any questions, please contact either the manufacturer or the retailer of the device.
Only suitable if the approved vehicles are fitted with 3-point retractor safety belts, approved to UN/ECE Regulation No.16 or other equivalent standards.
Introduction
Dear Customer!
Thank you for placing your trust in us and purchasing the Lionelo child safety seat.
Our child restraint systems are made with the utmost care to ensure comfortable journeys and, above all, maximum safety of your child. Implementation of high quality materials and modern technologies allows us to provide users with a product that is perfectly suited for everyday use.
In case of any questions or comments on the purchased
product, please contact us:
The product is compliant with ECE R44/04 as a car safety seat suitable for I + II + III age groups that is for children between 9 and 36 kg of weight. Only when installed correctly, according to the instructions in the manual, can the safety seat protect your child the most effectively. Failure to comply with the provisions in the manual can result in an accident. In order to protect your child, always install and use LO-Jasper as described in this manual.
natural_image
Front view of a white car icon inside a gray circular background (no text or symbols)Remarks:
Before you start using this seat, please read the user manual carefully. Improper use may lead to a serious threat to the
life of your child.
1. Function
This safety seat is designed for the I, II and III mass group (category), that is for children weighing: 9 - 36 kg (aged from about 9 months to 11 years)
I mass group: 9kg - 18kg II mass group: 15kg-25kg III mass group: 22kg-36kg
Children from group I must use the 5-point safety harness (included with the safety seat). The safety seat itself is attached to the vehicle's seat with a 3-point seat belt of the car. In case of children from groups II and III (15 - 36 kg) the 5-point safety harness is removed and a child is secured with a 3-point seat belt of the car.
Note: Please read this manual carefully before using the car safety seat and keep it for future reference. Improper installation may lead to a serious threat to the life of your child! This is the ISOFIX car safety seat compliant with ECE R44/04. It can only be mounted in the cars equipped with ISOFIX connectors. The product must be installed in a car (according to the vehicle's manual) in a place and position suitable for a given group and an ISOFIX type. This safety seat is designed for the I, II and III ISOFIX age group, that is for children weighing from 9 to 36 kg.
2. Using the safety seat in a car
Do not use the safety seat in a car equipped with 2-point seat belts. You can only use it in cars equipped with 3-point seat belts.
The seat can only be installed in vehicles equipped with 3-point safety-belts (static or inertia-reel ones), approved to ECE R 16 standards.
natural_image
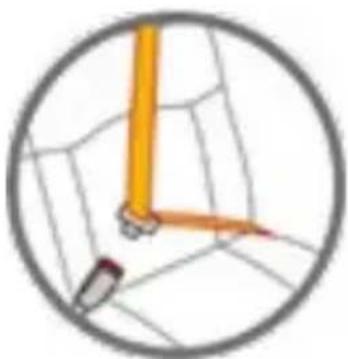
Diagram of a robotic arm positioned on a wireframe grid, with no visible text or symbolsDo not mount the safety seat in a front car seat with an airbag, unless it is inactive. Otherwise it can cause death or a serious injury of the child. Please check the manual of your vehicle to find the information regarding the installation of a child safety seat. As far as children aged 0-12 are concerned, vehicle's back seats are the safest place to mount the safety seat. This safety seat has to be installed in a forward-facing position. Do not mount it sideways or in a rear-facing way. In case of any doubts regarding installation of the safety seat, please contact your vehicle dealer.
EN
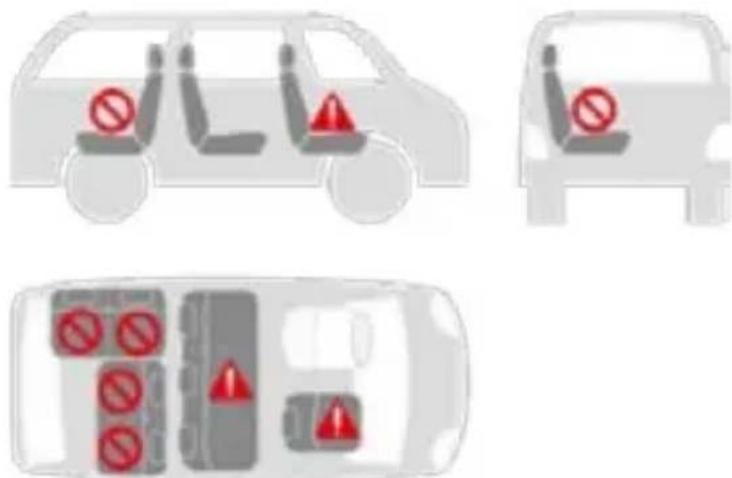
Proper and improper installation of the safety seat:
Wrong position
It must NOT be installed in a car equipped with an active airbag
It can be used with 3-point safety belts.
Warnings:
- The safety seat is only suitable for children weighing from 9 to 36 ~kg .
- The safety seat can only be used in vehicles equipped with a 3-point safety belt and an ISOFIX connector with an upper clasp.
- Please install the safety seat according to the backseat stickers or the instructions given in this manual.
- This safety seat must only be installed in a forward-facing position.
- Only the correct use of the safety belts ensures maximum protection of the child during an accident.
- Please do not forget to properly secure the safety seat even when it is empty. The unsecured safety seat can cause injury to the people in the car during an accident or heavy braking.
- It is forbidden to use unsuitable cushions or any other unfit accessories with the safety seat.
- During an accident the safety seat is subjected to large forces that may seriously damage its construction. Therefore, it is not recommended to continue using the safety seat after the accident. In that case it is recommended to replace the safety seat with a new one.
- During a serious accident the safety of the passengers depends mainly on the structure of the vehicle. The safety seat alone cannot fully protect the child from all harm. Nevertheless, the correct installation and use of the safety seat provides a better chance of their survival. Make sure that all the users can properly install and use the safety seat.
- Do not use the safety seat without the cover. Do not replace the cover with the one that is not recommended by the manufacturer. It is an integral part of the product and it
contributes to the safety of the child.
- When the car is parked in sunlight, please cover the safety seat. It is recommended not to expose the safety seat to direct sunlight. Otherwise it may become hot and cause harm to the child's skin.
- If it is not used, please store the safety seat in a safe place. Do not place any heavy objects on the safety seat. It can be dangerous to use any uncertified or modified products. It is also not recommended to use products without installation manual.
- During the installation of the safety seat always follow the instructions provided by the manufacturer.
- Do not try to disassemble the components of the safety seat or modify the way of connection of the safety belts, unless such a method is described in the manual.
- Do not use other fixing points than the ones indicated in the manual.
- Do not place any objects, such as bags, books etc. on the safety seat. Otherwise, they may cause injury to the people in the vehicle during an accident or heavy breaking.
- Do not install the safety seat on an unlocked folding car seat. Unlocked car seats may affect the safety of the child during an accident or heavy breaking.
- Do not ever leave your child unattended in a safety seat.
- If the child unfastens the safety belt, please stop immediately and fasten it back.
- It is recommended to teach children safety habits. Therefore always fasten your seat belt to set a good example. Do not violate the safety rules when your child is crying.
Note:
Do not install the safety seat in a forward-facing position with an active airbag. Otherwise it may cause permanent damage to health or death.
Rigid items and plastic parts of a child restraint must be located and installed in such a way so that, under normal operating conditions of the vehicle, they cannot be trapped or jammed by a sliding seat, a door, etc.
3. Description
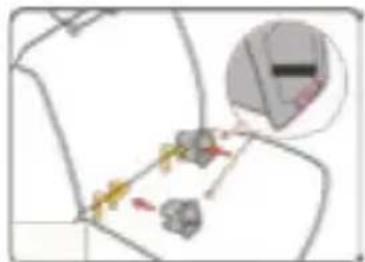
ISOFIX connectors
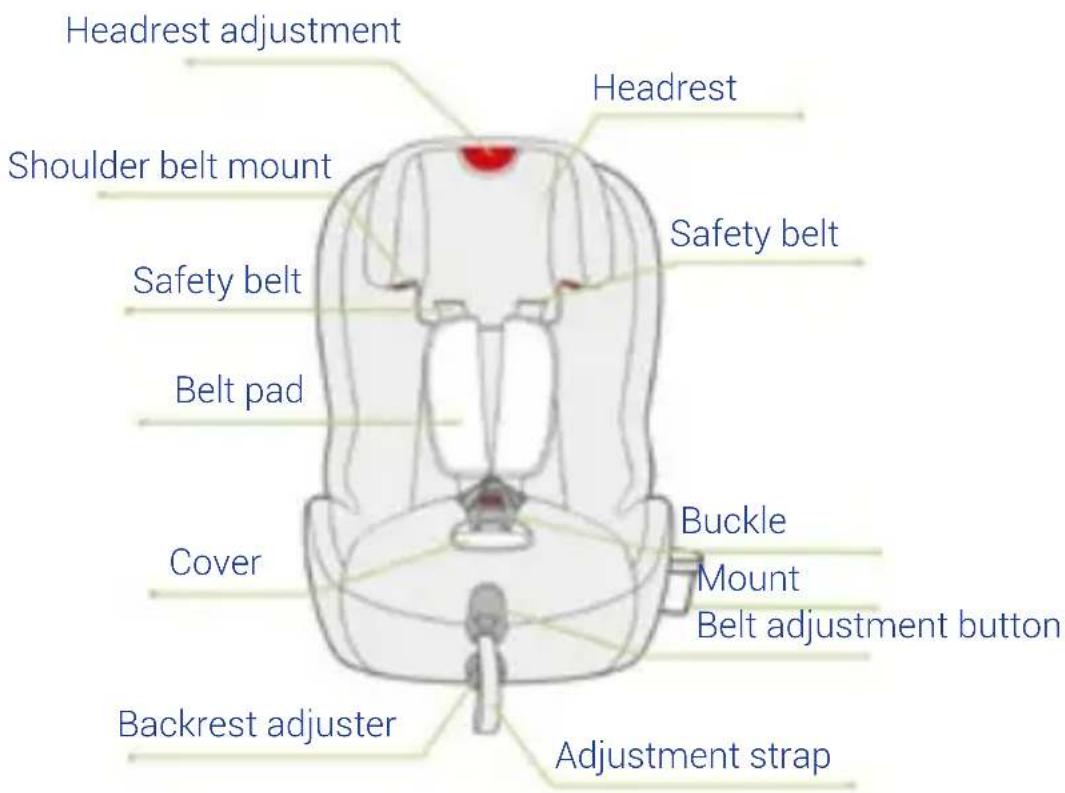
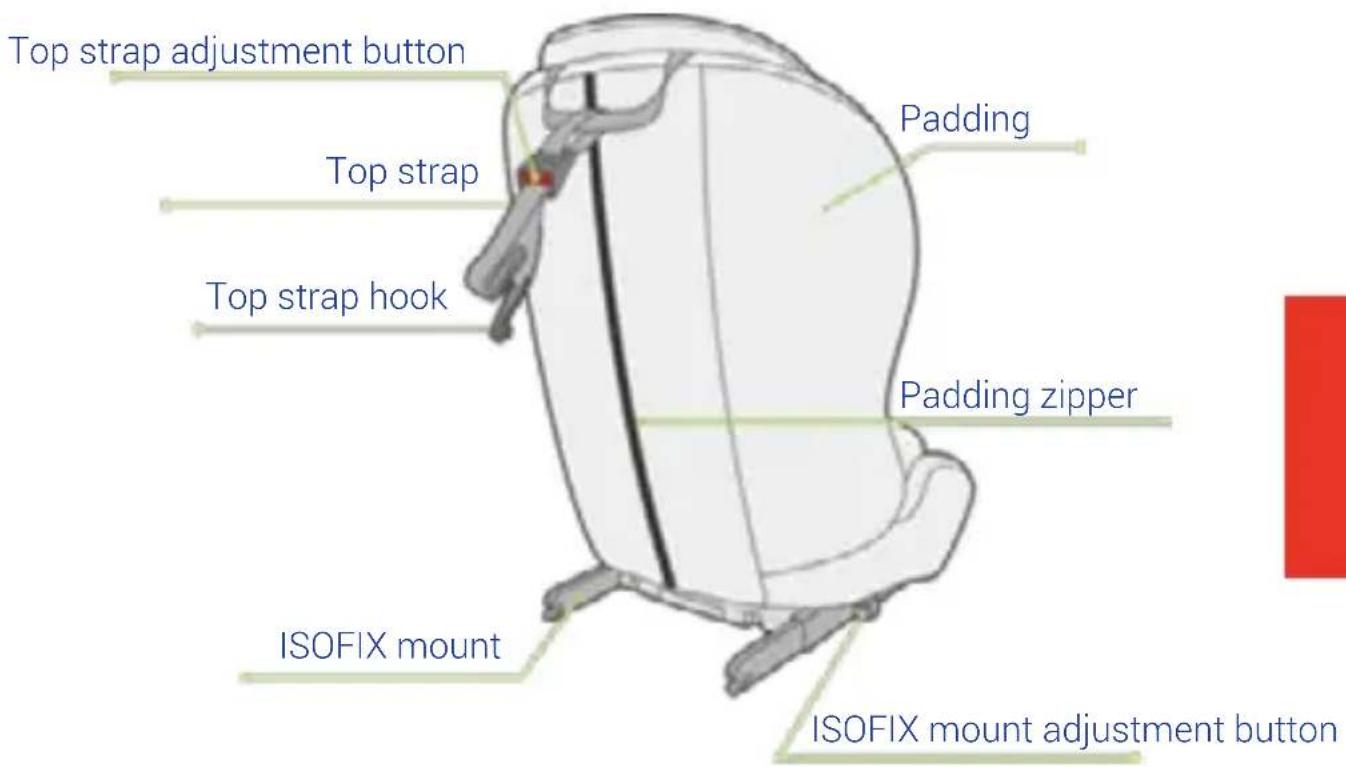
ISOFIX is the system of connectors enabling the installation of safety seats in a vehicle. It comprises of two connectors located between the seats and the backrest. They are an integral part of the vehicle's structure and therefore provide stable and more reliable mounting.
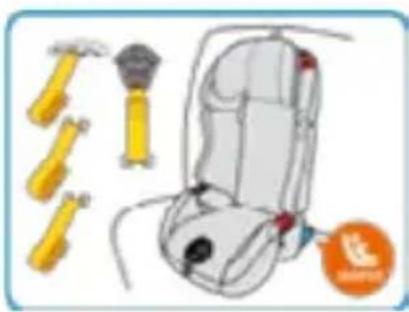
The safety seat is equipped with ISOFIX anchorage system. It includes two ISOFIX connectors on the bottom and a top safety strap. The system is used to strengthen the connection between the safety seat and the vehicle seat, in terms of the installation for Group I, II or III. It must be used together with a 3-point safety belt. Do not use the ISOFIX system alone.
EN
Find the vehicle's ISOFIX connectors and mount the guides. You do not need to install the guides if it is not necessary in a given vehicle.
Press the ISOFIX mount adjustment button and pull out the mounts as much as possible.
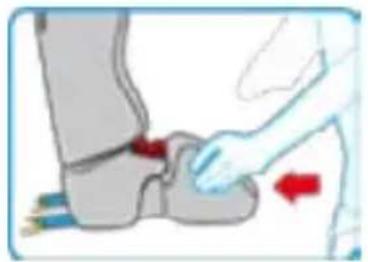
Hold the base of the safety seat and push it toward the vehicle's seat until the ISOFIX connectors snap into place.
Two audible "clicks" indicate that the connectors are properly locked.
Pull out the safety seat hard to make sure it is properly secured.
TOP STRAP CONNECTION
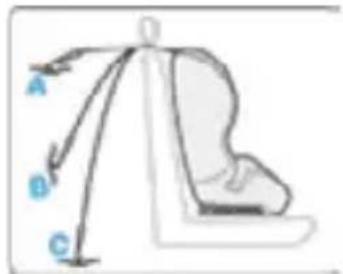
The top strap adjustment can increase the fixing strength, however it's not suitable in case of some vehicles (including those equipped with ISOFIX connectors) equipped with top strap mount. The position of the fixing points may vary depending on a given vehicle.
A. In most vehicles the fixing point is located on the rear windscreen panel, behind the back seats.
B. The connector is located right under the vehicle's seats.
natural_image
Diagram of a mechanical or electrical component with no visible text, numbers, or symbols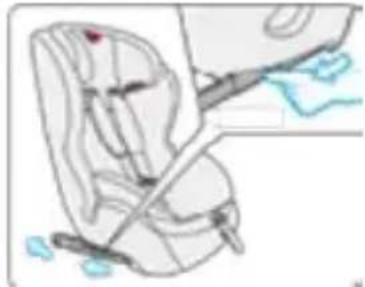
natural_image
Illustration of a car seatbelt with a blue car wheel and a red circular mark on the seat (no text or symbols)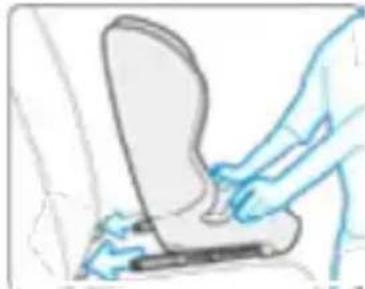
natural_image
Illustration of a person using a car seatbelt to lift a seat (no text or symbols visible)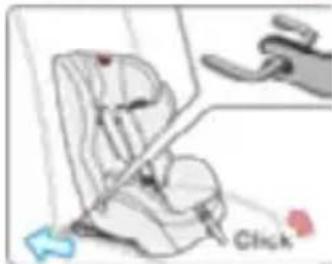
natural_image
Illustration of a car seat with a hand pointing at it, no text or symbols present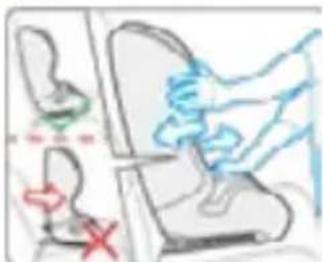
natural_image
Illustration of a hand cleaning a shoe with a blue cloth, showing no text or symbolsYou need to fold down the seats to find it. C. This fixing point is located on the boot floor, behind the back seats.
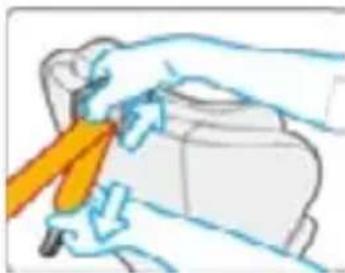
Press the top strap adjuster button and pull the top strap in or out to adjust it.
Make sure that the strap is not twisted and lock it in the vehicle's ISOFIX connector.
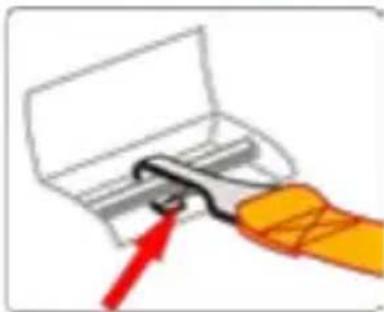
Connect the top strap hook with the mount in the car.
Pull out the adjustment end of the top strap in order to tighten the safety seat firmly to the vehicle's seat. The top strap is properly installed when the indicator on the adjuster turns green. If there is no green indicator on the top adjuster, or it is red, it means that the safety seat mount is not firm enough, or it has been installed improperly. In that case you need to install the top strap again.
EN
natural_image
Illustration of a hand holding a tool near a container (no text or symbols visible)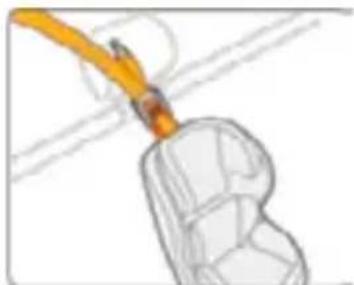
natural_image
Illustration of a hand holding a tool near a cylindrical object (no text or symbols visible)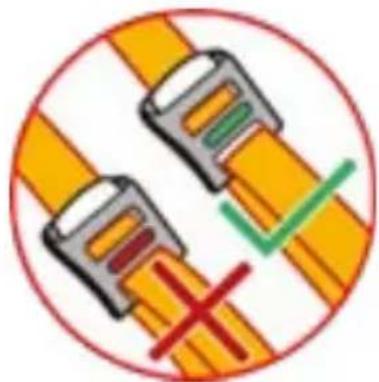
natural_image
Circular icon showing two yellow belt belts with a red X mark and green checkmark, no text or symbols present.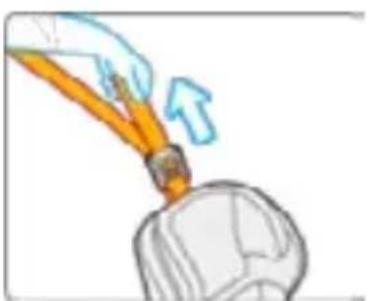
natural_image
Illustration of a hand holding a paintbrush above a cylindrical object with an arrow indicating upward motion (no text or symbols)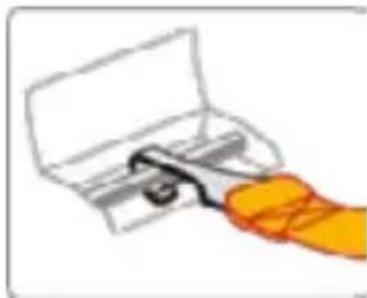
natural_image
Illustration of a hand using a power tool to lift a piece of material (no text or symbols visible)DISASSEMBLING TOP STRAP AND ISOFIX CONNECTORS
EN
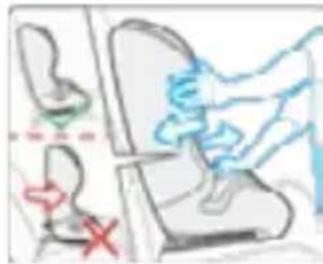
Hold the both sides of the safety seat's base and push it toward the vehicle's seat.
Press the ISOFIX mount adjustment button to unmount it.
Press the top strap adjuster button and loosen the strap.
Press the elastic end of the top strap hook and detach the hook.
Installation for Group I (9-18kg) - after the ISOFIX assembly
Pull out the vehicle's 3-point safety belt.
The vehicle's lap belt should be carried through the guide hook.
Carry the vehicle's belt behind the backrest and run it through the guide hook on the other side.
Run the vehicle's shoulder belt through the holes on the backrest of the seat, as shown in the picture.
natural_image
Illustration of a hand performing a medical or therapeutic procedure on a patient's leg, with no visible text or symbols.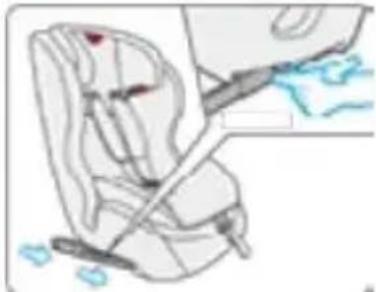
natural_image
Illustration of a car seatbelt with a close-up inset showing a blue water surface (no text or symbols)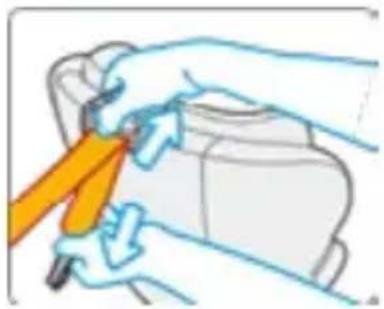
natural_image
Illustration of a hand using a tool to adjust or install a mechanical component (no text or symbols visible)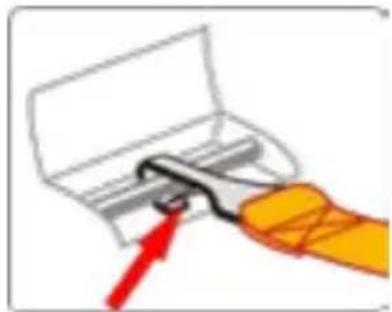
natural_image
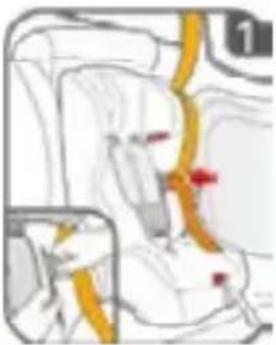
Hand holding a tool interacting with a device (no text or symbols visible)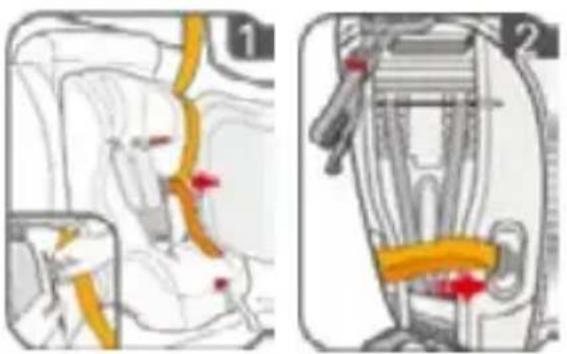
Lock the metal end of the vehicle's seat belt in the car buckle.
Tighten the belt and check whether the safety seat is firmly mounted. If it is loose, tighten the belt again.
Put the two parts of the bucket and their straps on the armrests so that they don't block the seat. Then, place your child in the safety seat.
Put the two metal connectors together. Insert the two metal connectors into the bucket.
natural_image
Medical illustration of a car seatbelt with orange and yellow anatomical structures (no text or labels)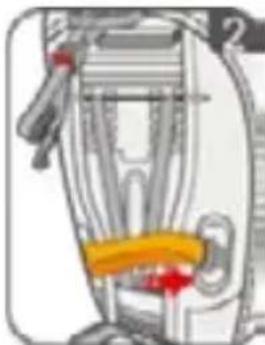
natural_image
Mechanical component diagram showing a yellow belt and red clamps (no text or symbols)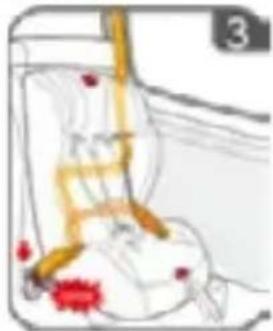
natural_image
Illustration of a person sitting in a chair with a yellow arm strap and red flowers, no text or symbols present.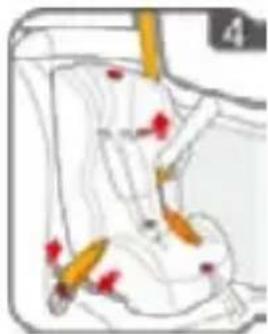
natural_image
Medical illustration of a human car seat with red markings and orange connectors (no text or symbols)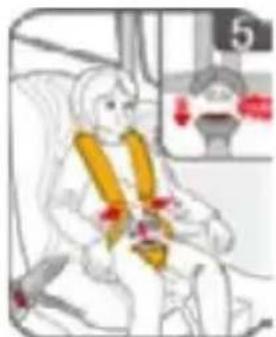
natural_image
Illustration of a person wearing a seatbelt and holding a red object, seated in a chair (no text or symbols visible)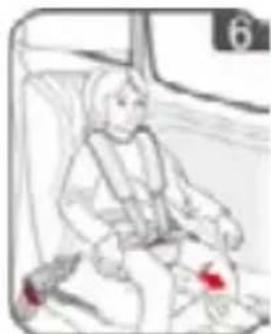
natural_image
Illustration of a child seated in a car seat, wearing a seatbelt and holding an object (no text or symbols visible)The “click” sound indicates that the safety harness has been properly fastened. Make sure that the harness is properly secured.
Pull out the adjustment strap to tighten the 5-point safety harness.
Installation for Group II and III (15-36kg)
Remove the 5-point safety harness.
Mount the safety seat using the ISOFIX connectors.
Place your child in the safety seat. Adjust the height of the headrest so that it is the most suitable for your child.
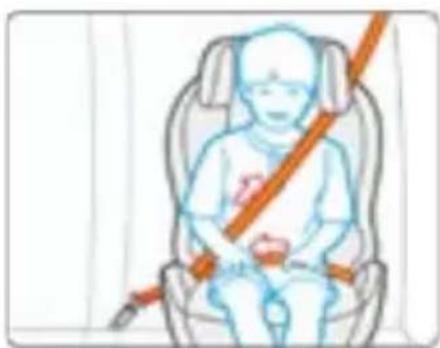
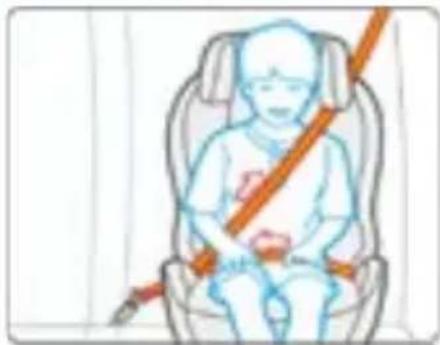
Carry the vehicle's belt under the armrest, over the child's body and under the other armrest.
Fasten the vehicle's belt locking the metal connector into the vehicle's buckle. Then, tighten the belt slightly to finish the installation.
EN
natural_image
Illustration of a car interior with yellow tools and a hammer, no text or symbols present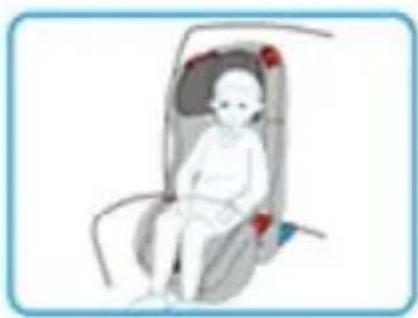
natural_image
Illustration of a child seated in a car seat, no text or symbols present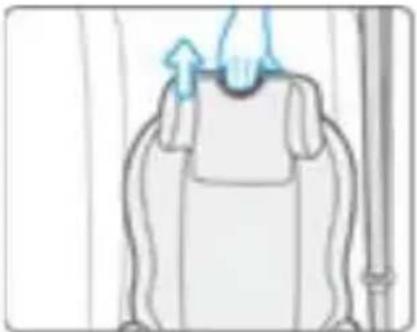
natural_image
Illustration of a person performing a medical or therapeutic procedure with an arrow indicating upward motion (no text or symbols present)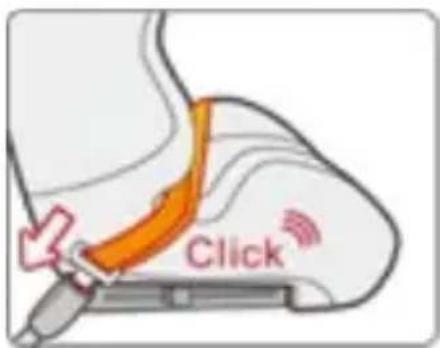
natural_image
Illustration of a baby wearing a seatbelt and holding a belt, with no text or symbols present.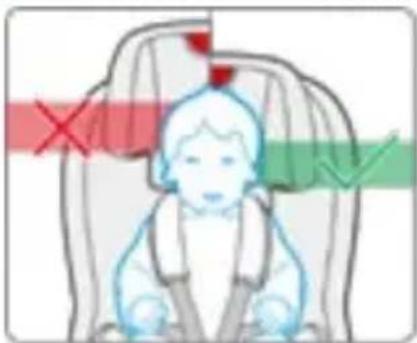
natural_image
Illustration of a baby in a seat with red and green background symbols (no text or labels)5-point safety harness detachment
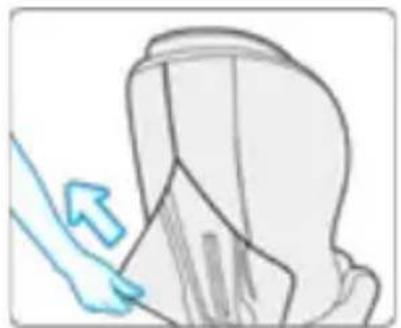
Unzip the padding using the zipper on the back of the backrest.
Detach the safety straps from the connector.
Remove the straps from the locking axle.
Pull the straps out of the safety seat.
natural_image
Illustration of a person's head and shoulders with a blue arrow indicating direction (no text or symbols)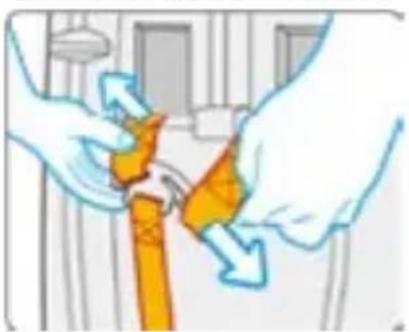
natural_image
Illustration of hands performing a manual task with an orange tool, no text or symbols presentTo install the five-point safety harness in the safety seat, follow the same procedure starting from the end.
Backrest and headrest adjustment
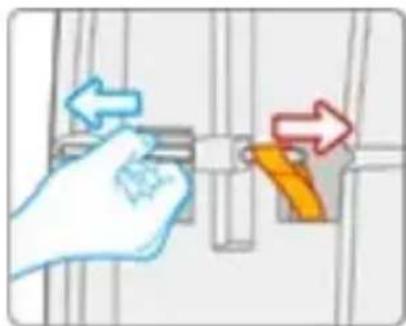
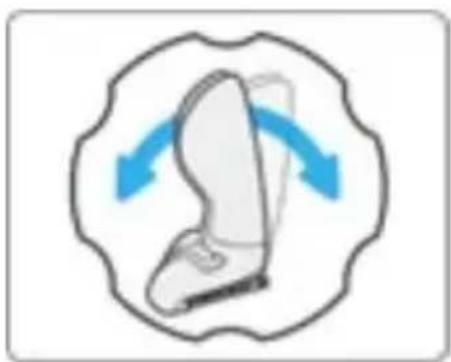
Use the knob at the front of the safety seat to change the backrest position.
Turn it clockwise to tilt the backrest up.
Turn it counterclockwise to tilt the backrest down.
Press the button in the upper front part of the headrest and move it up or down to a desired position.
Make sure the head of the child always rests in the center of the headrest.
natural_image
Illustration of a hand holding a tool with directional arrows indicating movement (no text or symbols)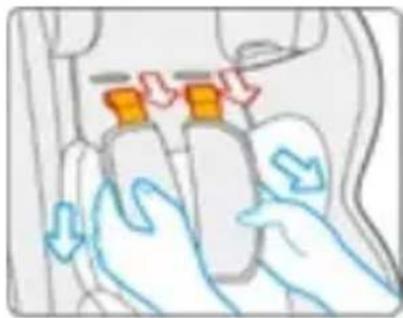
natural_image
Illustration of two handbags with orange caps and blue/green arrows, no text or symbols presentEN
natural_image
Illustration of a boot with blue curved arrows indicating motion or movement (no text or symbols)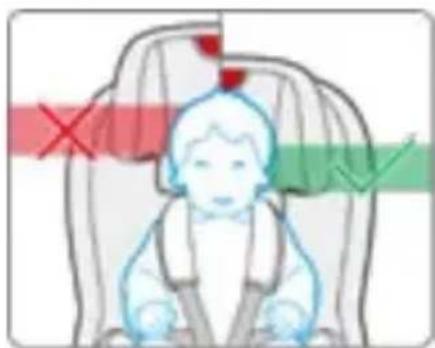
natural_image
Illustration of a baby in a baby chair with red and green checkmarks indicating safety or inspection (no text or symbols)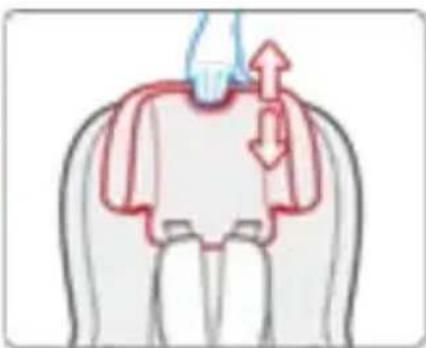
natural_image
Diagram of a tooth with arrows indicating direction of movement or force (no text or symbols present)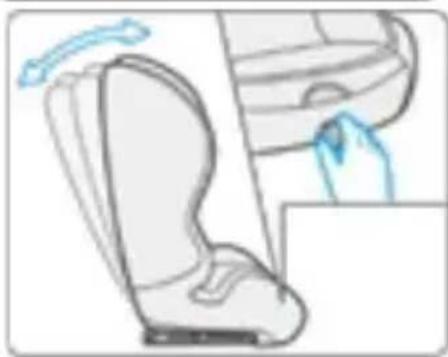
natural_image
Illustration of a car seatbelt being lifted by a hand, showing the seat and seat area (no text or symbols)Important information
EN
Note: Please read this manual carefully before using the car safety seat and keep it for future reference. Improper installation may lead to a serious threat to the life of your child!
- This is the ISOFIX car safety seat compliant with ECE R44/04. It can only be mounted in the cars equipped with ISOFIX connectors.
- The product must be installed in a car (according to the vehicle's manual) in a place and position suitable for a given group and an ISOFIX type.
- This safety seat is designed for the I, II and III ISOFIX age group, that is for children weighing from 9 to 36 kg.
Cleaning
Use only a damp cloth to wipe the padding. Do not machine wash, tumble dry or wring it.
Note: Excessive scrubbing can damage the surface of the padding.
The pictures in this manual are for illustrative purposes only. Therefore, they may differ from the actual product.
WARRANTY CARD KARTA GWARANCYJNA
Model: ....
SN: ....
May be sold in: BE CZ DK DE EE IE EL ES FR HR IT LV LT HU MT NL AT PL PT RO SI SK FI SE UK
Warunki gwarancji:
Warranty conditions:
- The Lionelo brand with its registered office at Dziadoszańska 10, 61-248 Poznań, Poland guarantees that the equipment is operational in accordance with the technical-operating conditions described in the manual.
- The warranty is granted for a 60 months period from the date of sale. If the Buyer is a company (VAT invoice), the warranty is granted for a 12-month period.
- The warranty is valid in the country of purchase.
- Revealed manufacturing defects shall be removed during the warranty period free of charge by the Authorised Manufacturer Service.
- Any defects or damages discovered and reported within the warranty period will be removed free of charge within 21 working days, but in justifiable cases (for instance, spare parts must be brought from abroad) this period may be extended by another 30 days.
- Any defects or damages to the equipment should be reported and delivered to the service site immediately after being revealed.
- Accessories included with the devices are under 3-month warranty from the date of purchase.
- In case of an unjustified complaint (a complaint of efficient product or the mechanically damaged one), the person who reports a complaint shall be charged for transportation cost.
- The Customer is entitled to replacement of the product to another with the same or similar specifications (and) colours if the Service determines that the removal of defects is not possible.
- The service is not responsible for any loss of data.
-
The warranty will be respected only if the customer attaches (to the faulty device) a damage description, all of the accessories received at the moment of the equipment purchase, and proof of purchase containing the date of sale.
-
The warranty does not cover: natural wear of the product related to its normal operation, damage resulted from improper usage or non-compliance of the instructions described in the manual, tears or cracks caused by the Customer, fading of fabric resulting from prolonged exposure to sunlight or washing the product or its parts in the wrong temperature, mechanical, electrical, thermal and intentional damages and defects caused by them, as well as damage caused by unauthorised modifications or repairs.
- The Service may refuse to repair products in case of any traces of unauthorised repair.
- If the fault is not covered by the manufacturer's warranty, paid repair may be offered by the Service.
- Neither the Manufacturer nor the Authorised Service is responsible for any damages or losses arising from the inability to use the device that is being repaired.
- The product that has not been collected from the service site within 3 months can be charged with storage cost appropriate to the storage time.
- Delivery of the product which is incomplete or lack of proper packaging is equivalent to the failure of the warranty conditions by the Buyer, and it can provide a basis to refusal of the repair or extension of the repair period.
- In case of sending the product for repair, when no defect is found, the expenses for the expert assessment shall be fully borne by the consumer.
- If the product (sent for repair) works properly, and the reason of its invalid operation is, for instance, a low battery, the Consumer shall bear the cost of the expert assessment.
- The product warranty shall not exclude, limit or suspend the Customer rights resulting from the guarantee.
- Only clean products in original or replacement packagings can be reclaimed.
Lionelo Service – Support
natural_image
Red logo featuring a stylized white sheep face with a scalloped rim, set against a solid red background (no text or symbols)lionelo
natural_image
Child sitting in a car seat with visible ear damage and safety harness (no text or symbols)WWW.LIONELO.COM
- PL
- Informacja
- Zastosowanie
- SYSTEM MOCOWANIA PASA GÓRNEGO
- DEMONTAŻ ZACZEPÓW ISOFIX ORAZ PASA GÓRNEGO
- Istotne informacje
- Introduction
- Dear Customer!
- Remarks:
- Function
- I mass group: 9kg - 18kg II mass group: 15kg-25kg III mass group: 22kg-36kg
- Using the safety seat in a car
- Warnings:
- Note:
- Description
- ISOFIX connectors
- EN
- TOP STRAP CONNECTION
- DISASSEMBLING TOP STRAP AND ISOFIX CONNECTORS
- Installation for Group I (9-18kg) - after the ISOFIX assembly
- Installation for Group II and III (15-36kg)
- 5-point safety harness detachment
- Backrest and headrest adjustment
- Important information
- Cleaning
- WARRANTY CARD KARTA GWARANCYJNA
- Warunki gwarancji:
- Warranty conditions:
- Lionelo Service – Support
- lionelo
Brand : Lionelo
Model : Jasper
Category : Car seat