
FM1D20 - Timer INTERMATIC - Free user manual and instructions
Find the device manual for free FM1D20 INTERMATIC in PDF.


| Product Type | Digital Timer |
| Brand | Intermatic |
| Model | FM1D20 |
| Power Supply | 120V AC, 60Hz |
| Maximum Load | 15A (resistive), 1/2 HP (motor) |
| Number of Programs | Up to 7 on/off events per day |
| Display Type | LCD with backlight |
| Battery Backup | Rechargeable NiMH (maintains time and programs) |
| Operating Temperature | 32°F to 122°F (0°C to 50°C) |
| Dimensions (H x W x D) | 5.2 x 3.8 x 2.4 inches (132 x 97 x 61 mm) |
| Weight | 0.6 lbs (272 g) |
| Wiring Type | Single pole or 3-way (requires neutral wire) |
| Color | White |
| Mounting | Wall box (standard single gang) |
| Compliance | UL Listed, cUL Listed |
| Warranty | 1 year limited |
| Manual Language | English |
| Manual Pages | 20 |
Frequently Asked Questions - FM1D20 INTERMATIC
User questions about FM1D20 INTERMATIC
0 question about this device. Answer the ones you know or ask your own.
Ask a new question about this device
Download the instructions for your Timer in PDF format for free! Find your manual FM1D20 - INTERMATIC and take your electronic device back in hand. On this page are published all the documents necessary for the use of your device. FM1D20 by INTERMATIC.
USER MANUAL FM1D20 INTERMATIC
Safety precautions 2
Program structure 3
Symbols, keys 5
Setting the timer 6
Setting 24h or am/pm clock, time and weekday .....7
Pre-set programs 9
Selecting pre-set programs P01 to P03 10
User defined programs 11
Deleting programs 15
Daylight Savings time 16
Automatic operation / fixed ON / fixed OFF ....17
Warranty 18


Safety precautions
- The connection and installation of electrical devices may only be carried out by a qualified electrician.
- Interventions in and changes to the device result in the voiding of the warranty claim.
- Observe your national regulations and the respective safety provisions.
- Switch-off commands have priority over switch-on commands.

Press Reset Button
First installation setting Review/adjust
Menu
Set time: Format 24h or am/pm
24h blinking, using +/- to select, then OK
Set time: Hour Hour blinking, using +/- to select, then OK
Set time: Minute Minute blinking, using +/- to select, then OK
Set time: Day Monday blinking, using +/- to select, then OK
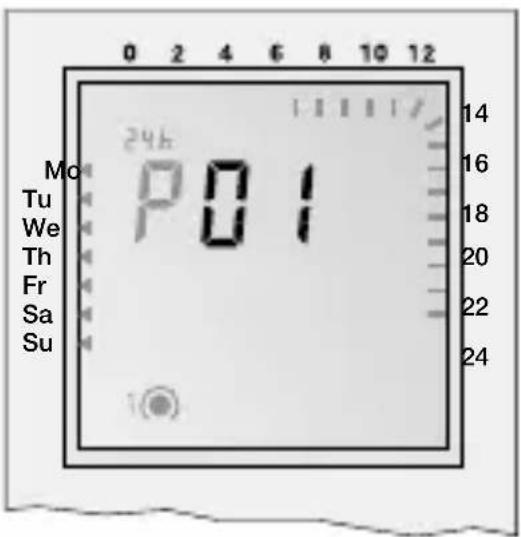
Set Program: P01 / P02 / P03 or P-- Using +/- to select, then OK to set ON/OFF times or press Menu to terminate programming
Note: P01-03 are pre-set

OKMenu
P01-03, P-- Set switching times: First free memory location blinks. Press '-' to go back one memory location. Press OK for setting the switching times
Prog01 Set switching times: First free memory location blinks. Press OK for setting the switching times
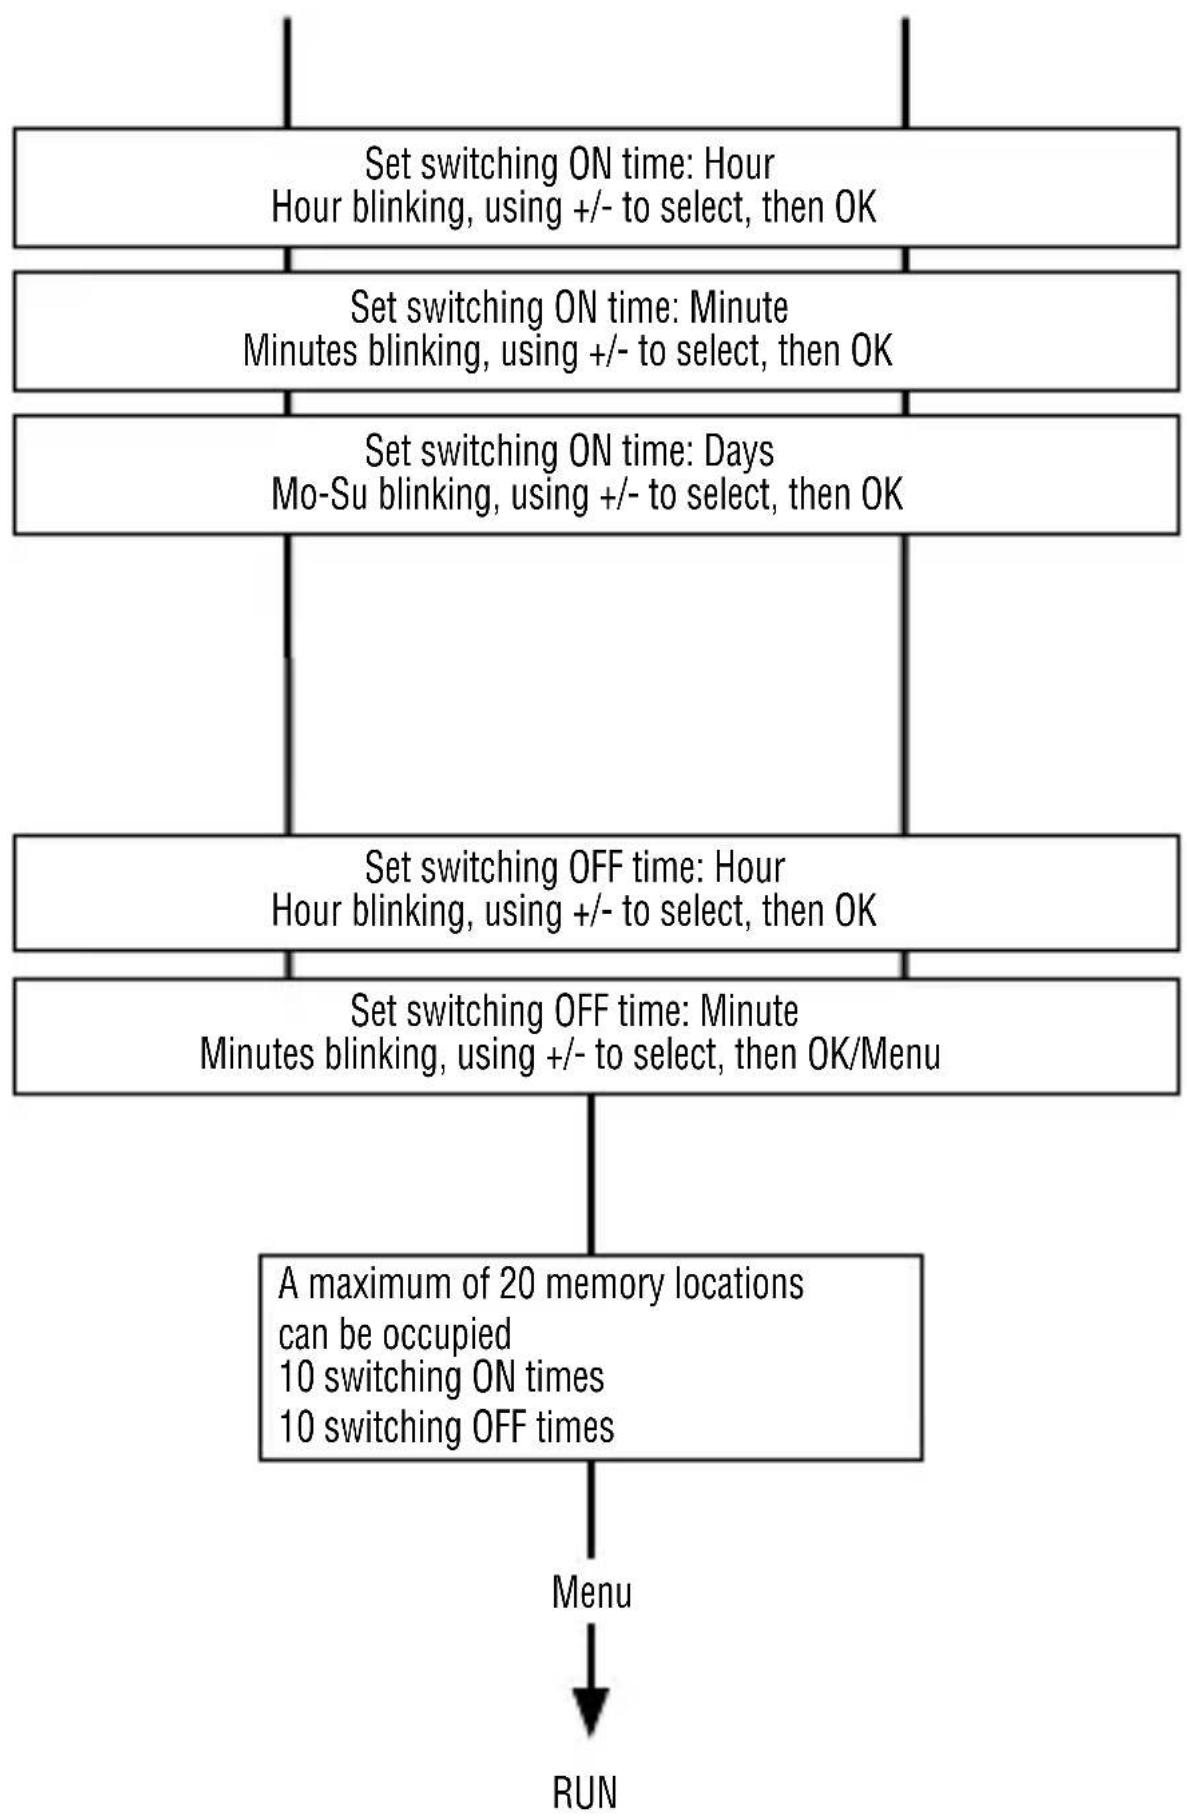
flowchart
graph TD
    A["Set switching ON time: Hour\nHour blinking, using +/- to select, then OK"] --> B["Set switching ON time: Minute\nMinutes blinking, using +/- to select, then OK"]
    B --> C["Set switching ON time: Days\nMo-Su blinking, using +/- to select, then OK"]
    C --> D["Set switching OFF time: Hour\nHour blinking, using +/- to select, then OK"]
    D --> E["Set switching OFF time: Minute\nMinutes blinking, using +/- to select, then OK/Menu"]
    E --> F["A maximum of 20 memory locations\ncan be occupied\n10 switching ON times\n10 switching OFF times"]
    F --> G["Menu"]
    G --> H["RUN"]
OK reset
: Overview of daily switching program
24h: Setting of 24h or am/pm
+1h : Summer/winter clock changes
: Weekday display
: Switching status display ON/OFF

+/- : Adjustment keys: By pressing the key longer than 2 sec. you can adjust the timer in steps of 5 units
Res. : Reset
Menu : By pressing the menu key programming is terminated and the system reverts to automatic operation
OK : Confirmation of programming

Setting of this programmable timer is depending of the user preference to use pre-set programs or defining own programming. Using Pre-set programs (first time installation)

Using Reset key you can adjust the following values:
24h or am/pm: see pg 6
Time (hour and minutes): see pg 6
Week day: see pg 7
Pre-set programs
P01 to P03: see pg 7
User defined programming by Menu mode
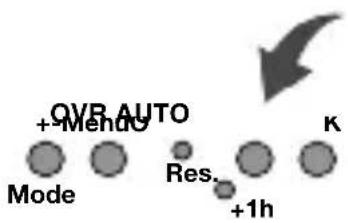
Using Menu key you can adjust / review the following values:
24h or am/pm: see pg 6
Time (hour and
minutes): see pg 6
Week day: see pg 7
Programs P--: see pg 7
[Non-Text]
[Non-Text]
[Non-Text]
[Non-Text]
[Non-Text]
[Non-Text]
[Non-Text]
[Non-Text]
[Non-Text]
[Non-Text]
[Non-Text]
[Non-Text]
[Non-Text]
[Non-Text]

Sequence to follow after selecting programming by pre-set programs or Menu mode.

Set display format 24h or am/pm
flowchart
graph TD
    A["Mode"] --> B["Member"]
    B --> C["OVB AUTO"]
    C --> D["K"]
    style A fill:#ccc,stroke:#333
    style B fill:#ccc,stroke:#333
    style C fill:#ccc,stroke:#333
    style D fill:#ccc,stroke:#333
Select 24h or am/pm (+/-) and confirm with OK.

Set hour

flowchart
graph TD
    A["112"] --> B["QVR AUTO"]
    B --> C["K"]
    B --> D["Mode"]
    B --> E["Res."]
    B --> F["+1h"]
Select hour (+/-) and confirm with OK.


Set minutes

flowchart
graph TD
    A["1 1 2"] --> B["Mode + Merde"]
    B --> C["Res. +1h"]
    C --> D["K"]
Select minutes (+/-) and confirm with OK.

Set week day

flowchart
graph TD
    A["1 1 2"] --> B["+ Mode"]
    B --> C["Res. +1h"]
    C --> D["K"]
Select week day (+/-) and confirm with OK.
Prog.
The switching on and off times for programs P01 to P03 are preset (pre).
The user can change these pro - grams.
Individual program, P--
Under the menu option P-- you have the option of creating a user-defined program.
This program can be changed at any time. There are up to 20 memory locations available for 10 OFF and 10 ON commands.
You can allocate a corresponding weekday or week block to each memory location.
Sequence to follow after setting time in the Reset mode.
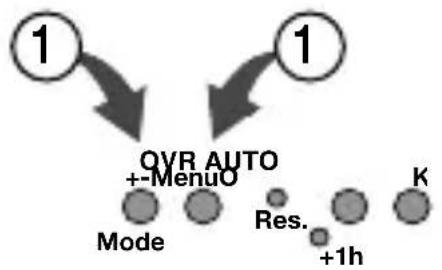
flowchart
graph TD
    A["1"] --> B["OVR AUTO"]
    C["1"] --> B
    B --> D["Mode"]
    B --> E["Res."]
    B --> F["K"]
    D --> G["+1h"]
Select pre-set program (+/-).
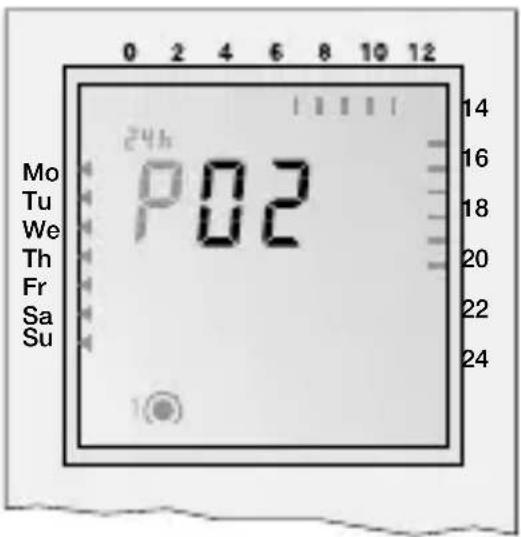

flowchart
graph TD
    A["Mode"] --> B["Res."]
    B --> C["+1h"]
    D["Mode"] --> E["K"]
    F["1a1b"] --> G["Mode"]
    style A fill:#f9f,stroke:#333
    style B fill:#ccf,stroke:#333
    style C fill:#cfc,stroke:#333
    style D fill:#fcc,stroke:#333
    style E fill:#ffc,stroke:#333
    style F fill:#cff,stroke:#333
    style G fill:#ffc,stroke:#333
Once selected the program desired there are following options:
Menu : terminate programming
OK: Going through pre-set programs to modify selection (any program ON or OFF can be modified by using "+ "or "-" -" keys and confirming with OK) or accept it with OK key to go the next free memory location in order to add new user defined pro - grams (see pg 30).

e.g. after selecting P02 you should also program:
Sa-Su 22:30 ON (prog05)
23:00 OFF (prog06)
Sequence to follow after setting time and week day while running Menu mode or adding programs to the pre-set P01 to P03.
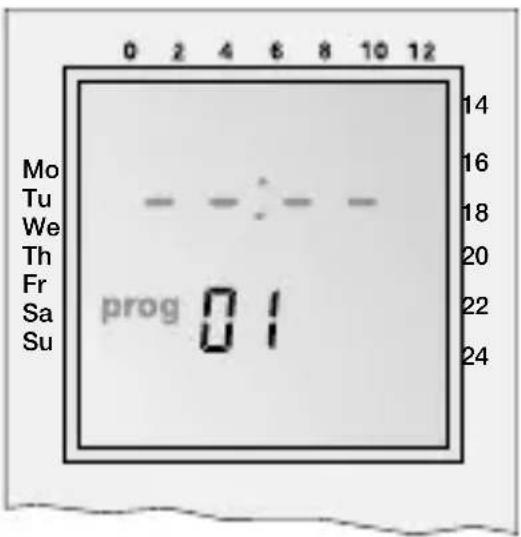
Select program ON
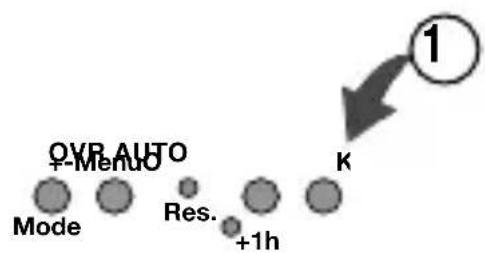
and confirm with OK.

Set hour ON

flowchart
graph TD
    A["112"] --> B["Menu"]
    B --> C["Mode"]
    B --> D["Res."]
    B --> E["K"]
    C --> F["+1h"]
Select hour (+/-) and confirm with OK.
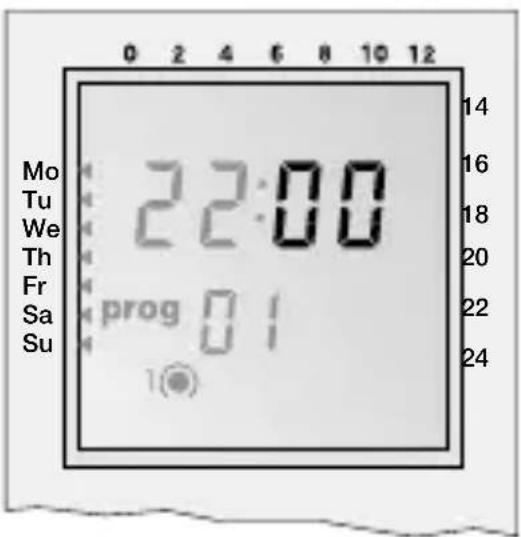
Set minutes ON

flowchart
graph TD
    A["112"] --> B["Mode"]
    B --> C["Res. +1h"]
    C --> D["K"]
Select minutes (+/-) and confirm with OK.


Set week day ON
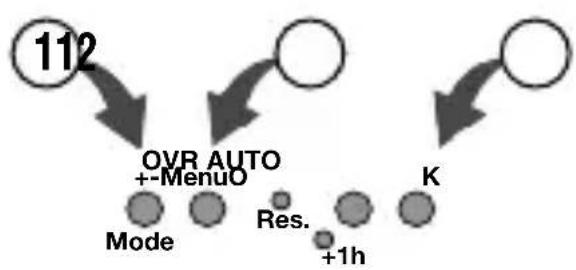
flowchart
graph TD
    A["112"] --> B["Mode"]
    B --> C["Res. +1h"]
    C --> D["K"]
    D --> E["OVR AUTO"]
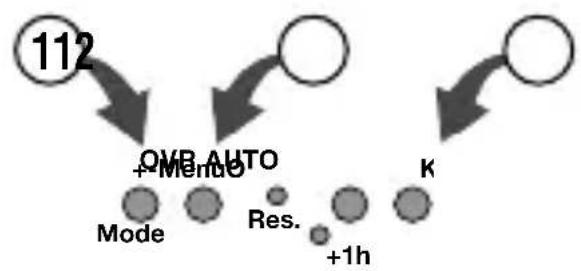
    E --> F["+MenuO"]
Select week day (+/-) and confirm with OK.
Possible week blocks and individual days
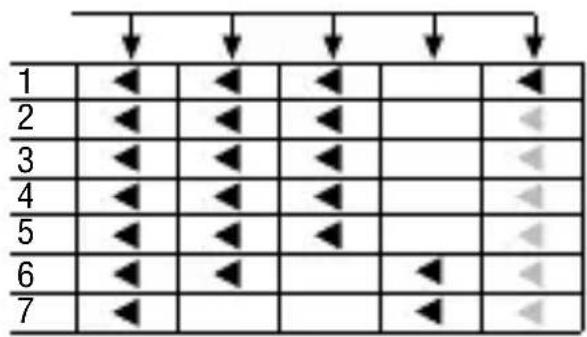
flowchart
graph TD
    A["1"] --> B["◀"]
    C["2"] --> D["◀"]
    E["3"] --> F["◀"]
    G["4"] --> H["◀"]
    I["5"] --> J["◀"]
    K["6"] --> L["◀"]
    M["7"] --> N["◀"]
    B --> O["◀"]
    D --> P["◀"]
    F --> Q["◀"]
    H --> R["◀"]
    J --> S["◀"]
    L --> T["◀"]
    N --> U["◀"]

Set hour OFF

flowchart
graph TD
    A["112"] --> B["OVR AUTO"]
    B --> C["Mode"]
    B --> D["Res. +1h"]
    B --> E["K"]
Select hour (+/-) and confirm with OK.

Set minutes OFF

flowchart
graph TD
    A["112"] --> B["Mode"]
    B --> C["Res."]
    C --> D["+1h"]
    D --> E["○"]
    E --> F["○"]
    style A fill:#f9f,stroke:#333
    style B fill:#ccc,stroke:#333
    style C fill:#fff,stroke:#333
    style D fill:#ccc,stroke:#333
    style E fill:#fff,stroke:#333
    style F fill:#fff,stroke:#333
Select minutes (+/-) and confirm with OK.

Set week day OFF

flowchart
graph TD
    A["1c1b1a"] --> B["OVR AUTO +Menu"]
    B --> C["Mode"]
    B --> D["Res. +1h"]
    B --> E["K"]
    F["○"] --> G["○"]
Should the OFF command be the same day of ON command then select Menu to terminate program -ming or select OK to go to a new program ON setting.

Shift
Should the OFF command be the following day of ON command then select "+ "key then select Menu or OK.
Example:
Mo-Fr Mo-Fr
20:00 p.m. - 03:00 a.m. ON
03:00 a.m. - 20:00 p.m. OFF
03:00 a.m. - 20:00 p.m. OFF

20:00 p.m. - 03:00 a.m. ON
Tu-Sa
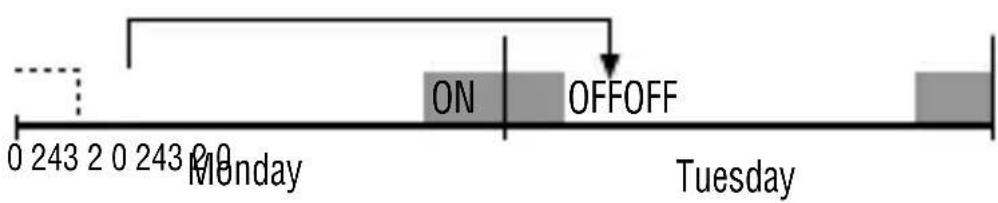

flowchart
graph TD
    A["Mode +MeHAC"] --> B["QVB AUTO"]
    B --> C["K"]
    C --> D["2"]
    style A fill:#ccc,stroke:#333
    style B fill:#ccc,stroke:#333
    style C fill:#ccc,stroke:#333
    style D fill:#ccc,stroke:#333
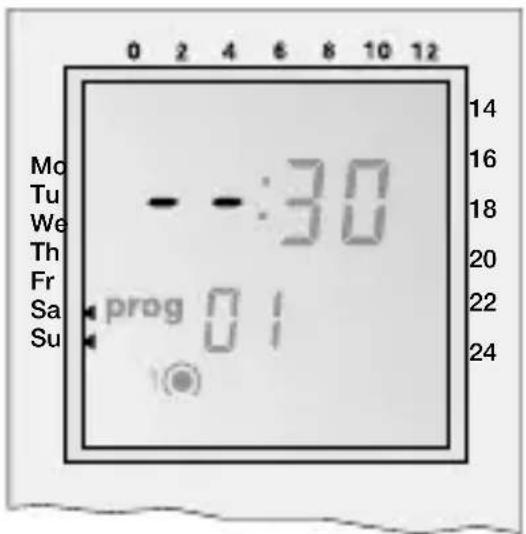
Select Menu, then select OK key until getting onto the ON time of the program you want to delete.


flowchart
graph TD
    A["1"] --> B["OVR AUTO"]
    B --> C["Mode"]
    B --> D["Res."]
    B --> E["K"]
    B --> F["+1h"]
Select "--" with (+/-) key and confirm with OK.

flowchart
graph TD
    A["Mode"] --> B["QVR AUTO"]
    B --> C["MenuO"]
    C --> D["Res."]
    D --> E["K"]
    E --> F["+1h"]
    F --> G["Step 2"]
Note: Switching programmes are deleted in ON-OFF pairs. If you delete a single ON instruction, the corresponding OFF instruction is also deleted.
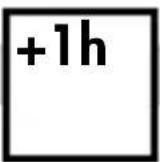


The +1h key is for the change to daylight savings time.
- By pressing the +1h key 1 hour is added to the current time.
- +1h is shown on the display.
- By pressing +1h again 1 hour is subtracted from the current time.
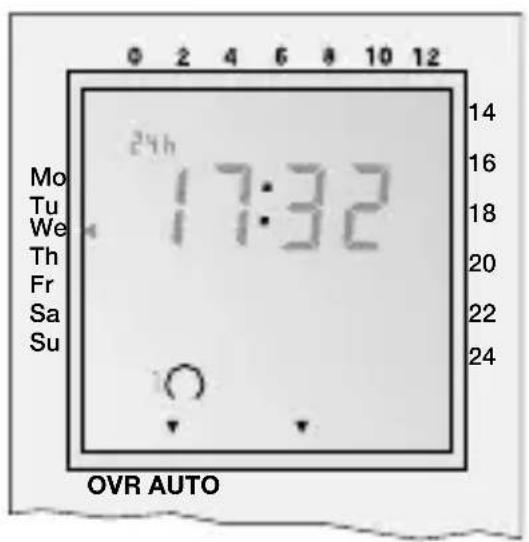

The "+"key serves to change over between automatic, AUTO to override (OVR) ON and override (OVR) OFF (CH1).

WARRANTY
Warranty service is available by either (a) returning the product to the dealer from whom the unit was purchased or (b) completing a warranty claim online at www.intermatic.com. This warranty is made by: Intermatic Incorporated, 1950 Innovation Way, Suite 300, Libertyville, IL 60048. For additional product or warranty information go to: http://www.Intermatic.com or call 815-675-7000.
INTERMATIC INCORPORATED Libertyville, IL 60048
158--02264


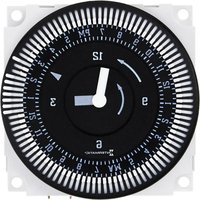


Brand : INTERMATIC
Model : FM1D20
Category : Timer