Huntington GG501715 - Barbecue Nordic Season - Free user manual and instructions
Find the device manual for free Huntington GG501715 Nordic Season in PDF.


User questions about Huntington GG501715 Nordic Season
0 question about this device. Answer the ones you know or ask your own.
Ask a new question about this device
Download the instructions for your Barbecue in PDF format for free! Find your manual Huntington GG501715 - Nordic Season and take your electronic device back in hand. On this page are published all the documents necessary for the use of your device. Huntington GG501715 by Nordic Season.
USER MANUAL Huntington GG501715 Nordic Season
ASSEMBLY, USE AND INSTRUCTION MANUAL
EN
Huntington
High Class
4+1
GG501715
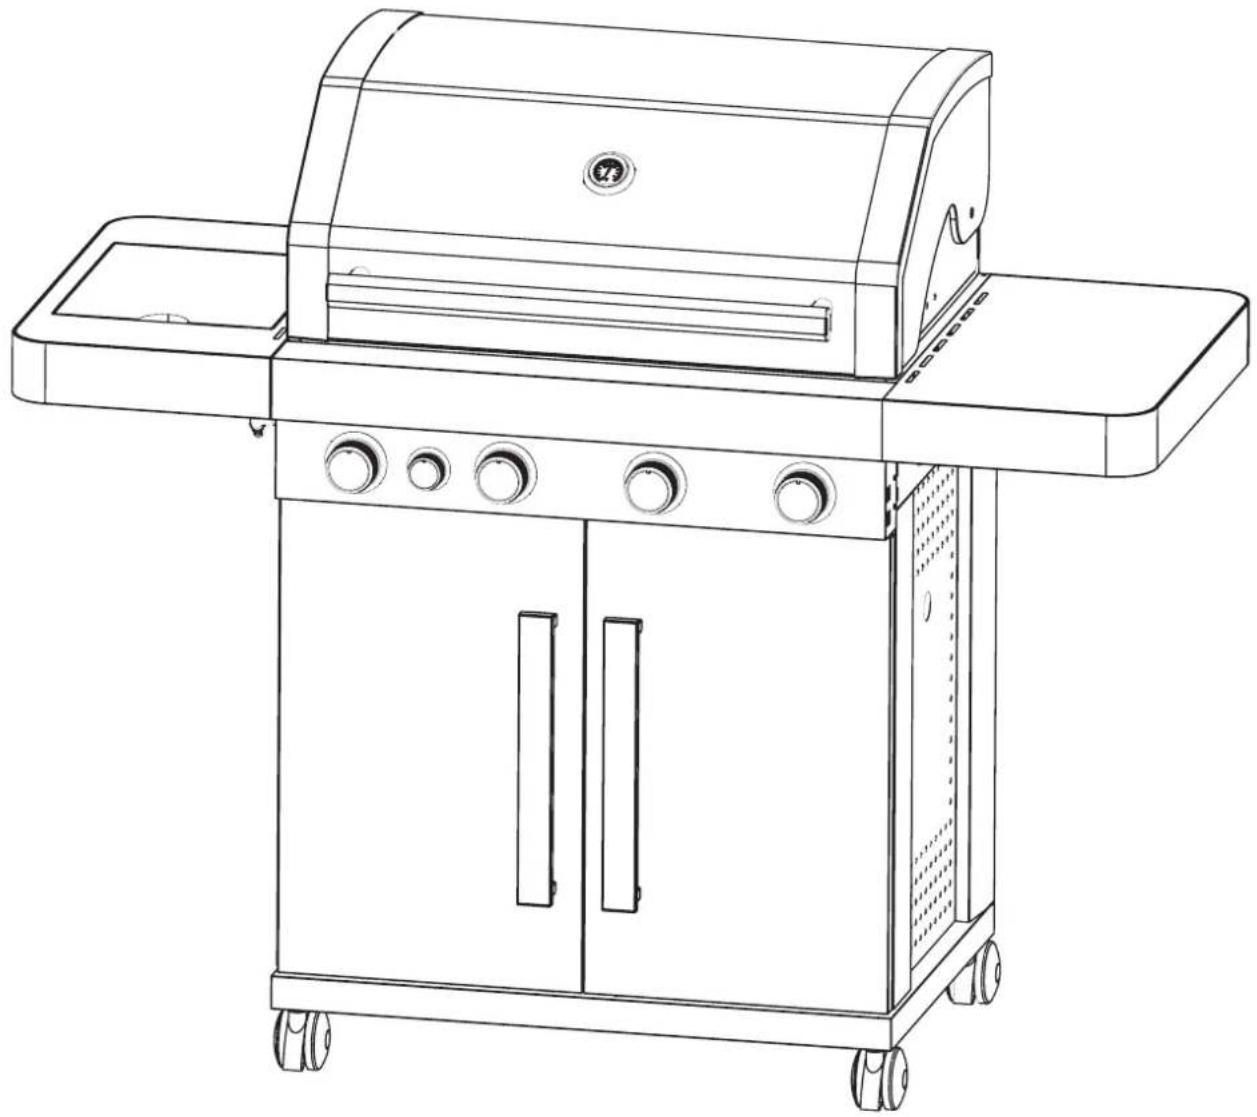
natural_image
Line drawing of a modern gas stove with control panel and wheels (no text or symbols)FOR OUTDOOR USE ONLY

text_image
Nordic™ Season
CAREFULLY READ THE SAFETY INSTRUCTIONS AND WARNING BEFORE USE.
WARNING! AVOID STORING THE BBQ IN DIRECT SUNLIGHT. PARTS IN STAINLESS STEEL AND GLAS CAN REFLECT SUNLIGHT AND CAUSE FIRE.
Contents
Warnings.... 3
Technical data ....4
Gas category ....4
Exploded drawing 5
Parts list 6
Hardware 7
Assembly instructions 8
Gas leak test 20
Connecting gas 21
Lighting instructions 22
Before using the grill.... 24
Warnings 25
Maintenance 26
Cleaning 26
Troubleshooting 27
Consumer Contact 28

Failure to follow the instructions provided can imply a risk of us injury to personnel and fixed installations.

Some grill parts can be sharp, we recommend wearing gloves in assembling and lifting. Sharp edges can cause injury.

The grill is intended for outdoor use only in well-ventilated areas. For grill in enclosed spaces or under a roof, due to the danger of the of oxygen.

Accessible parts of the grill become very hot during use. Children and others who need supervision at a safe distance.

Do not move the grill while in use or connected to the gas bottle. Off the gas on the regulator after use and disconnect from the bottle.

Modification of the grill can cause danger and will invalidate warranty.

Never keep the gas bottle under the grill when in use. Gas leaks cause serious damage. Place the gas bottle by the side of the grill using use.

Do not place the grill cover or other flammable material in the compartment under the grill when it is in use or hot.

Do not use lava stones, charcoal or briquettes.

Clean the grill regularly and thoroughly.
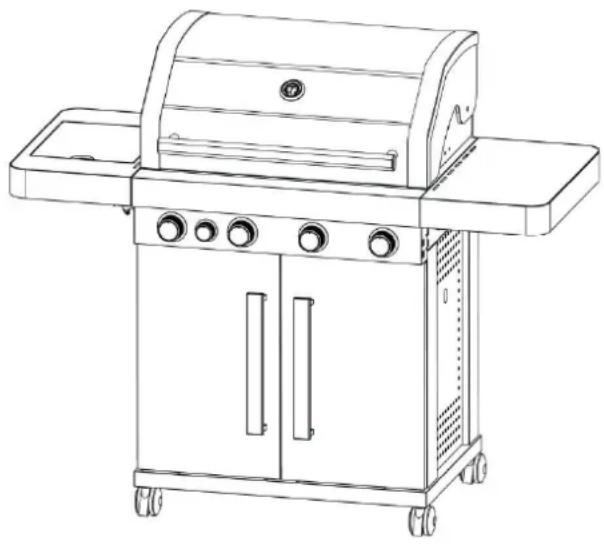
natural_image
Line drawing of a portable electric grill with control panel and wheels (no text or symbols)Total effect: 17 kW
(main burner heat input 14 kW (1020 g/h, side burner heat input: 3 kW (218g/h))
Total gas consumption: 1238 g/h.
Hose and regulator (not included): Must be approved according to EN standard.
Gas bottle (not included): Use standard bottle approved for use in the Nordic Region, 10/11 kg recommended. Even though butane and propane gas can be used, we recommend propane for use in the Nordic Region. Approved hoses and regulators are available from most outlets selling gas equipment.
NB!
Gas hoses used for this product must not exceed 120 cm in length.
Gas information
CE 2575-21
| FOR USE IN COUNTRIES | VALVE SIZE GAS TYPE GAS CATEGORY | ||
| BE, CH, CY, CZ, ES, FR, GB, GR, IE, IT, LT, LU LV, PT, SK, SI | 0.9 mm | Butan (28~30) mbarPropan 37 mbar | I3+(28-30/37) |
| BE, CY, CZ, DK, EE, FI, FR, HU, IT, LT, NL, NO, SE, SI, SK, RO, HR, TR, BG, IS, LU, MT | 0.9 mm | G30(butan),G31(propan) and mixture of these, LPG 28~30 mbar | I3B/P(30) |
| PL 0.86 mm | G30(butan), G31(propan) and mixture of these, LPG 37mbar | I3B/P(37) | |
| AT, CH, DE, SK 0.81 mm | G30 (butan),G31(propan) and mixture of these, LPG 50mbar | I3B/P(50) | |
This product is produced according to EUROPEAN GAS APPLIANCE STANDARD EN498 AND EN484 and is CE certified.
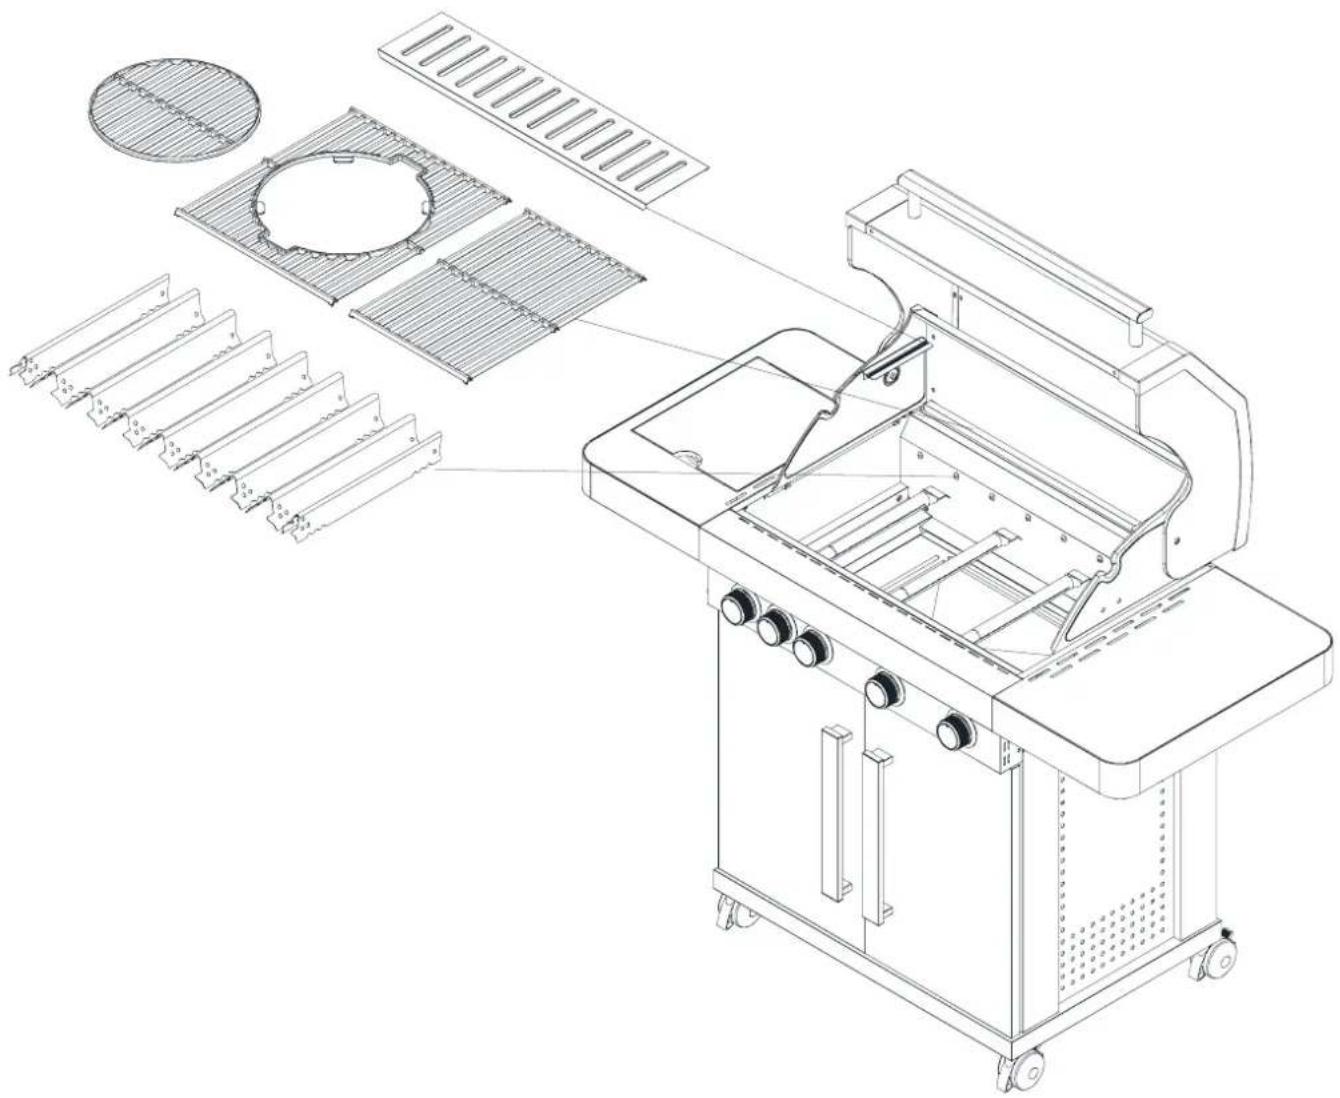
Exploded drawing

text_image
Exploded view diagram of a microwave oven with numbered components for identification| Nr. | Appellation | Qty |
| 1 | Lid | 1 |
| 2 | Thermometer | 1 |
| 3 | Lid handle | 1 |
| 4 | Warming rack | 1 |
| 5 | Insert system basic grill MGS* | 1 |
| 6 | Cast iron grid | 1 |
| 7 | Big heat distribution panel | 7 |
| 8 | Small heat distribution panel | 2 |
| 9 | Grease tray | 1 |
| 10 | Grease cup | 1 |
| 11 | Rear low panel | 1 |
| 12 | Right side table | 1 |
| 13 | Leg-A | 2 |
| 14 | Side low panel | 2 |
| 15 | Leg-B | 2 |
| 16 | Door magnet | 1 |
| 17 | Cart front beam | 1 |
| 18 | Bottom panel | 1 |
| 19 | Bottom panel ornament | 1 |
| 20 | Lockable caster | 4 |
| 21 | Cart attachment bracket | 4 |
| 22 | Door | 2 |
| 23 | Door handle | 2 |
| 24 | Control panel assembly | 1 |
| 25 | Control panel ornament | 1 |
| 26 | Main burner tube assembly | 4 |
| 27 | Firebox assembly | 1 |
| 28 | Side burner control knob | 1 |
| 29 | Main burner control knob | 4 |
| 30 | Side burner nozzle base | 1 |
| 31 | Table connection bars | 4 |
| 32 | Side burner assembly | 1 |
| 33 | Side burner cooking grid | 1 |
| 34 | Insert system round grill (5) | 1 |
*Multi Grill System
When ordering spare parts, please use the code from parts list found here.
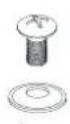
The following screws and nuts are supplied with the grill and must be fitted.
| A | B | C | D | E | F | G | H | I | J | K |
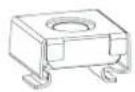
 M4x12 M4x12 |  M4x8 M4x8 |  X44M6x12 X44M6x12 |  X6M6 X6M6 |  X40 X40 |  X2 X2 |  X4 X4 |  X2 X2 |  X4 X4 |  X4 X4 |
TOOLS FOR ASSEMBLING (NOT INCLUDED)
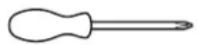
Medium size flat blade or Philips/cross-point screwdriver
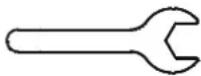
Adjustable spanner or metric spanner set

Ruler
WARNING!
Never use power tools when mounting – their strength can damage the screws.

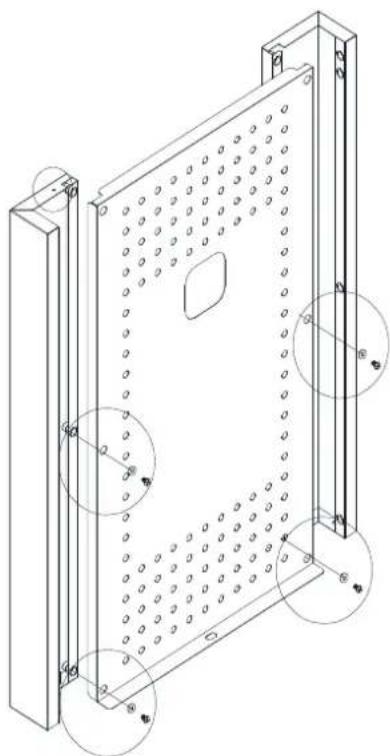
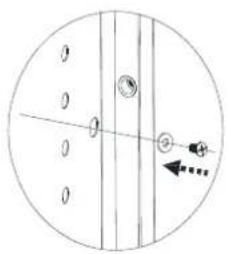
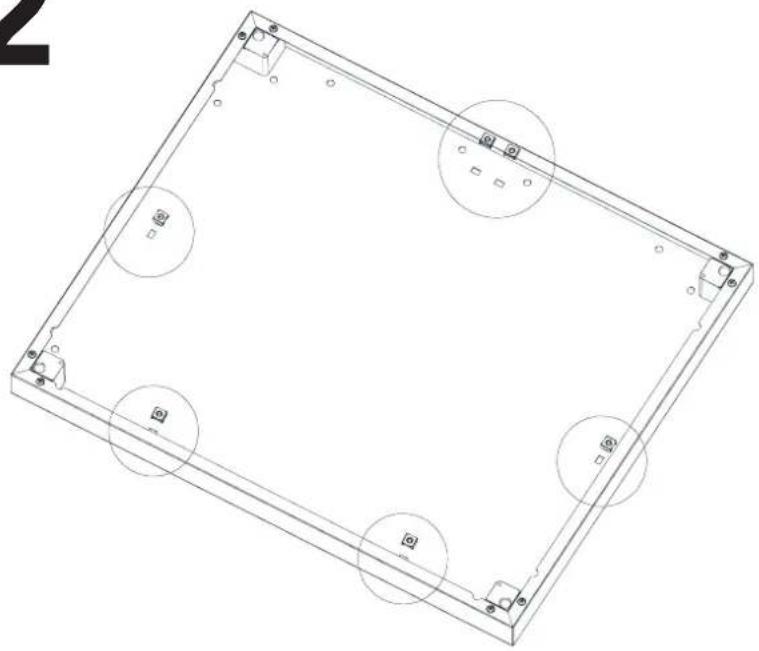
Please follow these instructions step by step. We recommend two people to assemble the grill to avoid heavy lifting.
1
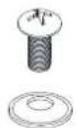
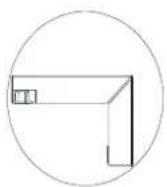
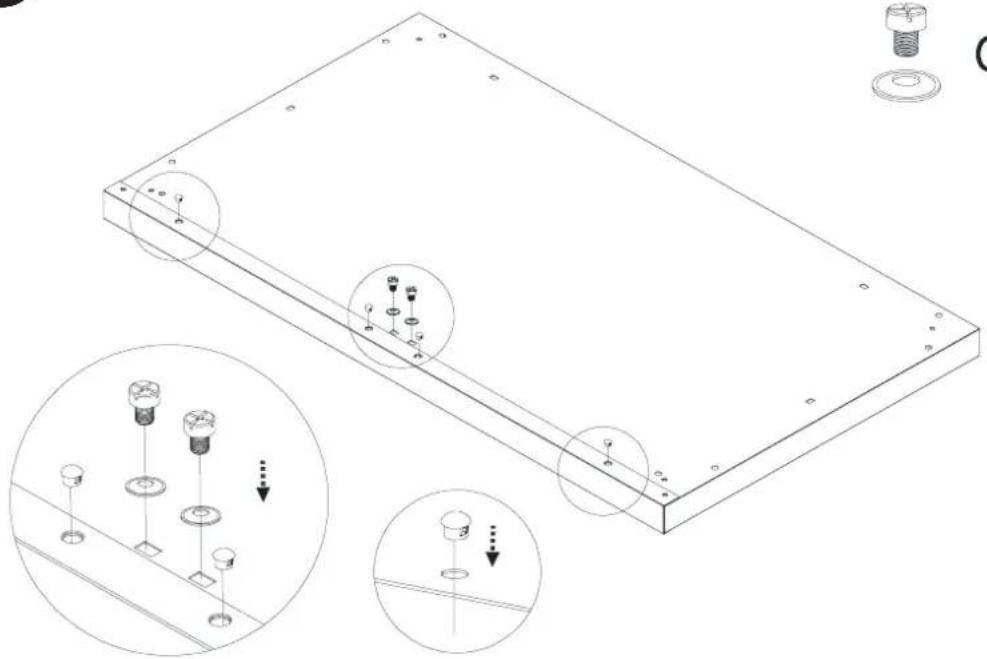
C+E X8
natural_image
Technical line drawing of a mechanical panel with mounting holes and circular features (no text or symbols)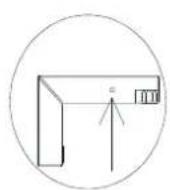
text_image
Diagram showing a circular object with labeled points and directional arrows, possibly illustrating a physical or mathematical concept.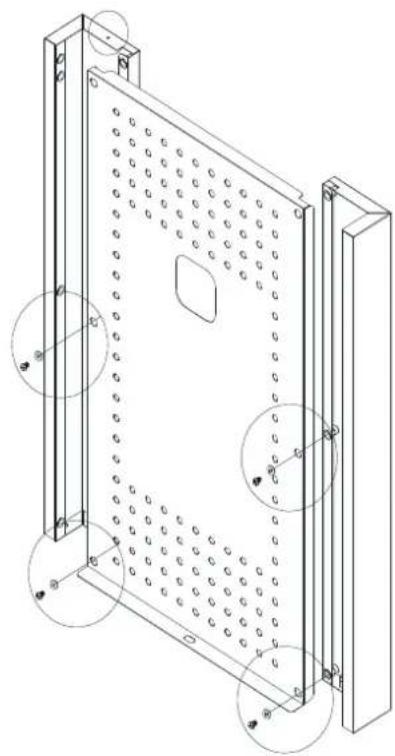
natural_image
Technical line drawing of a mechanical panel with mounting brackets and perforated panels (no text or symbols)2
D X6
natural_image
Isometric technical drawing of a rectangular frame with circular cutouts and mounting holes (no text or symbols)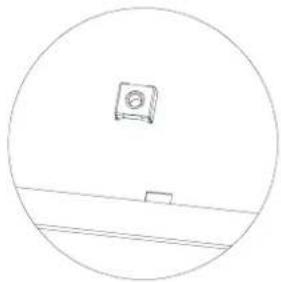
natural_image
Simple line drawing of a circular frame with a central square and horizontal lines, no text or symbols present.3

H X4
natural_image
Technical line drawing of a rectangular electronic component with mounting holes and internal components, shown with magnified insets (no text or symbols)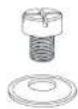
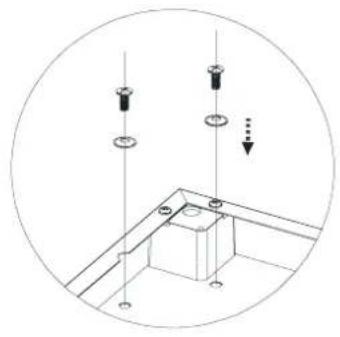
G+E X2
4
natural_image
Technical diagram showing a mechanical assembly with mounting holes and a circular outline (no text or symbols)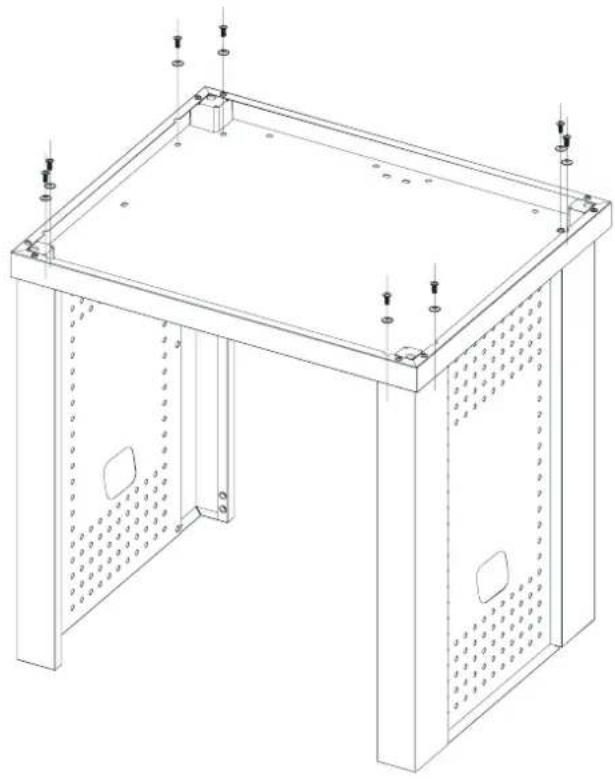
natural_image
Technical line drawing of a rectangular metal enclosure with mounting holes and perforated panels (no text or symbols)
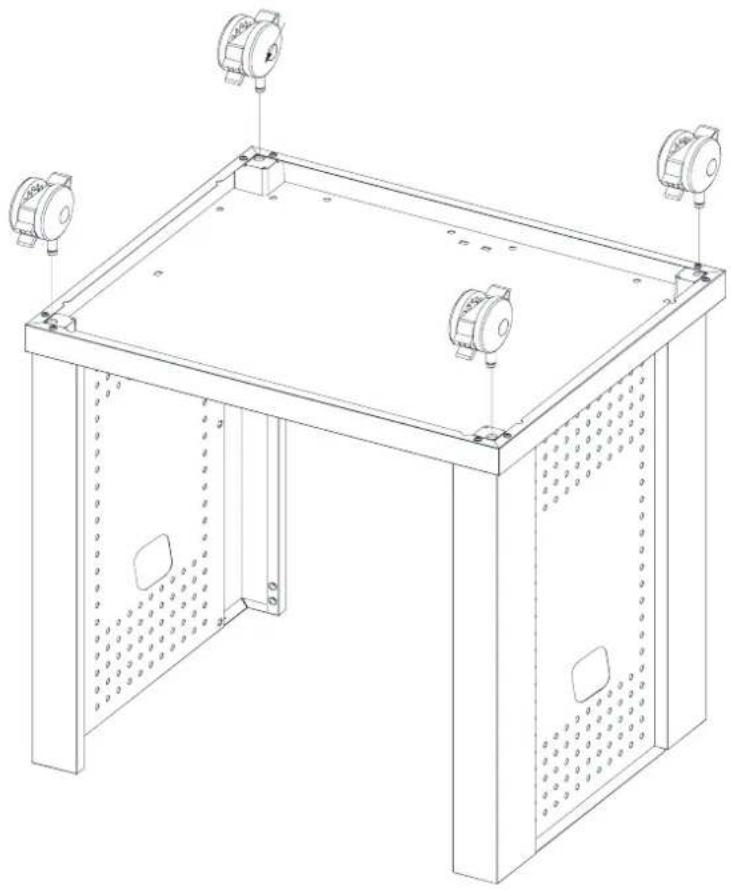
C+E X8
5
natural_image
Technical line drawing of a mechanical setup with pressure gauges and perforated panels (no text or symbols)6
text_image
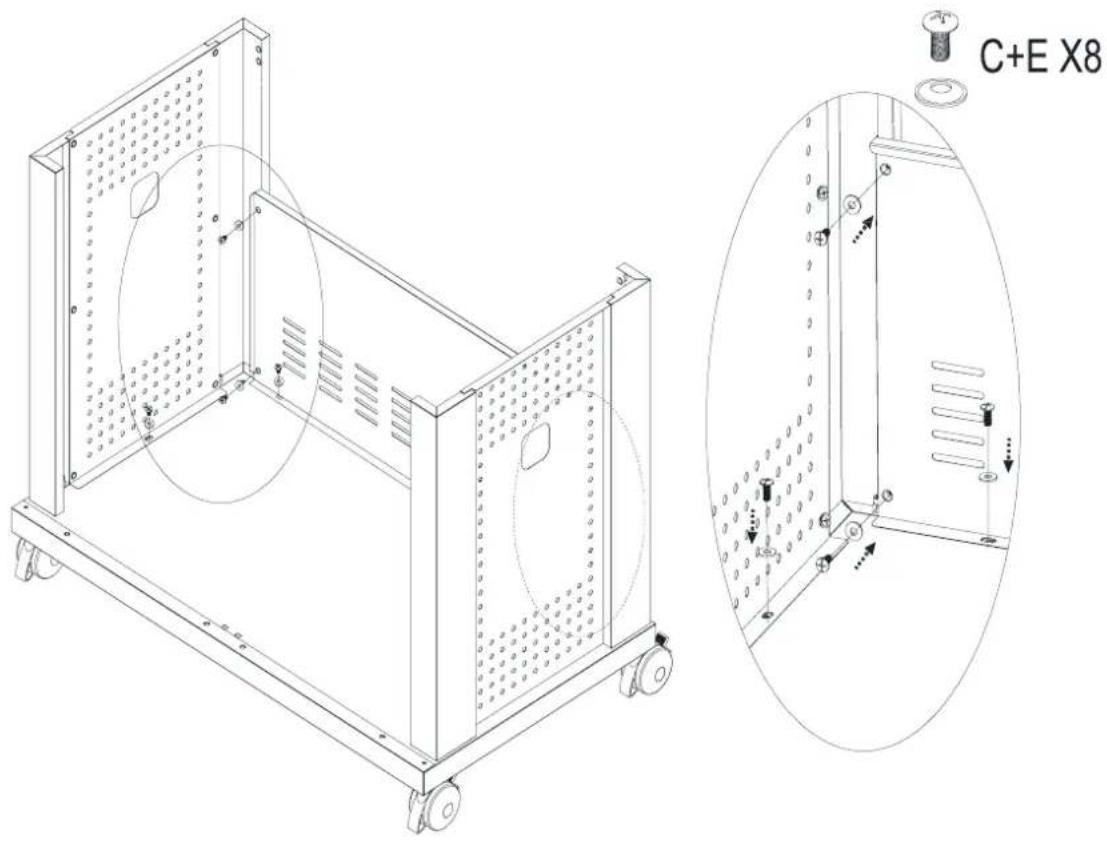
C+E X87
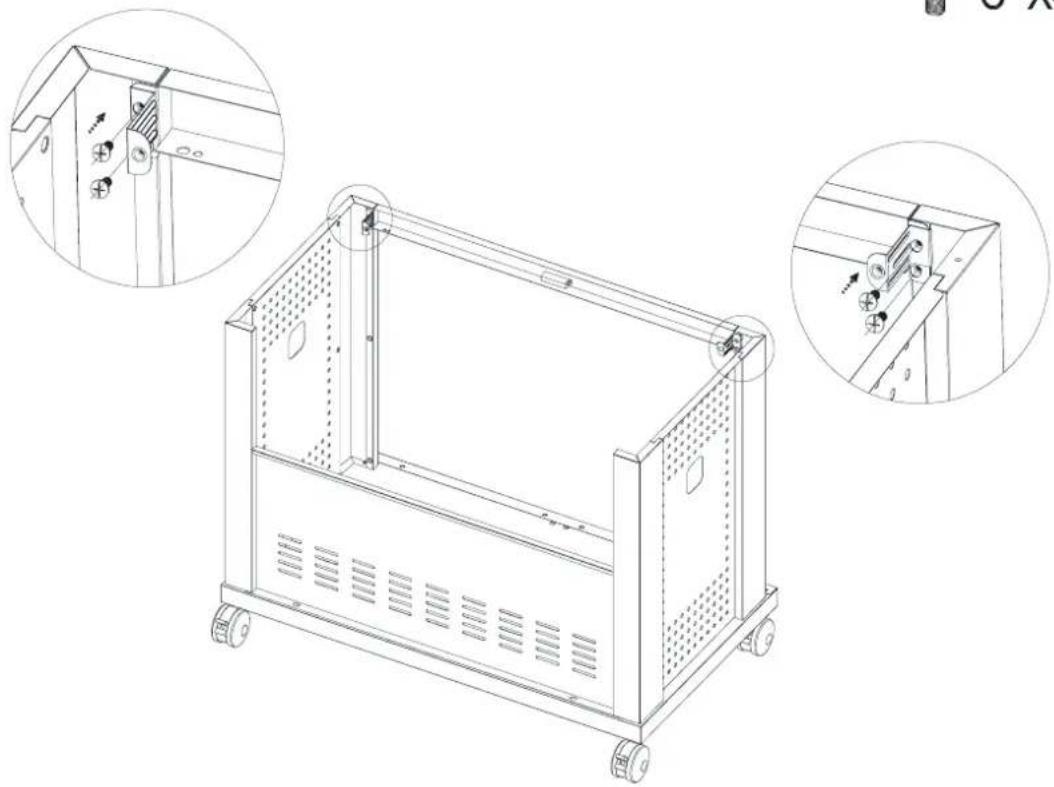
natural_image
Technical line drawing of a modular device with mounting holes and internal compartments, shown in two views (no text or symbols present)8
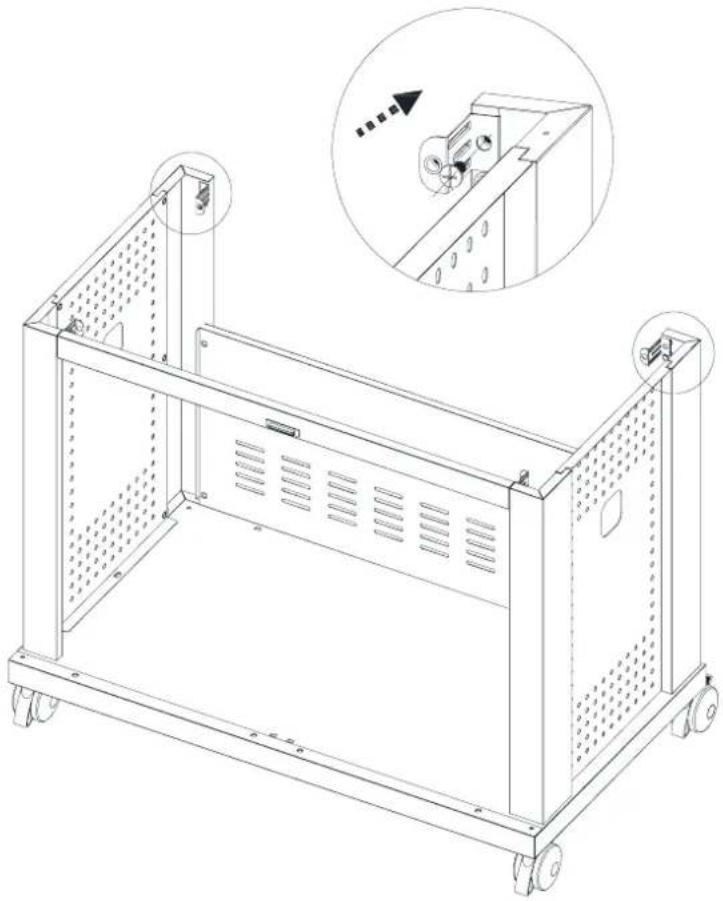
natural_image
Technical line drawing of a modular electronic device with mounting holes and ventilation slots (no text or symbols)
C X2
9
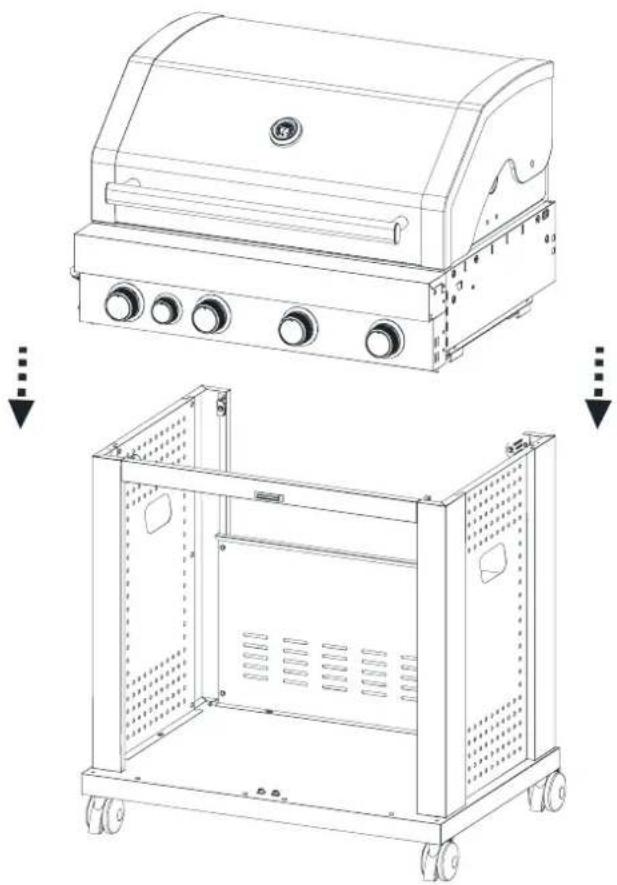
natural_image
Technical line drawing of a portable gas stove with control panel and wheels, shown from top and side views (no text or symbols)
10
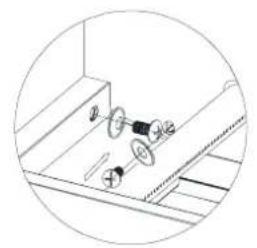
natural_image
Pure technical diagram of a mechanical assembly without any text, numbers, or symbols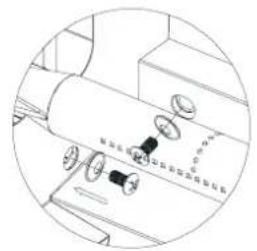
natural_image
Technical line drawing of a mechanical component with no visible text or symbols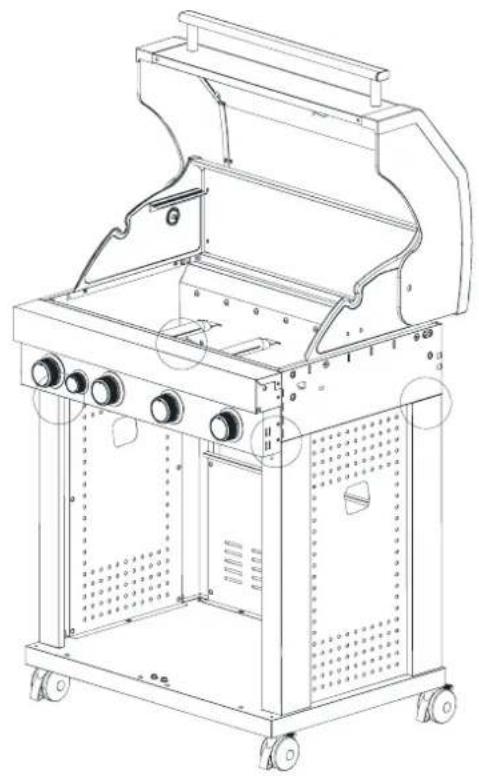
natural_image
Technical line drawing of a portable gas stove or boiler unit with mounting brackets and control panels (no text or symbols)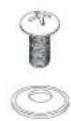
C+EX8
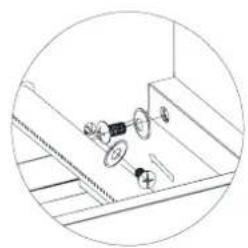
natural_image
Simple line drawing of a mechanical assembly or fixture with no visible text, numbers, or symbols.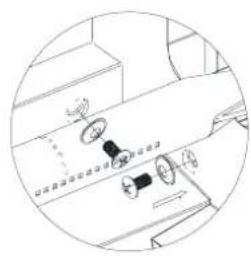
natural_image
Simple line drawing of a mechanical device with no text or symbols11
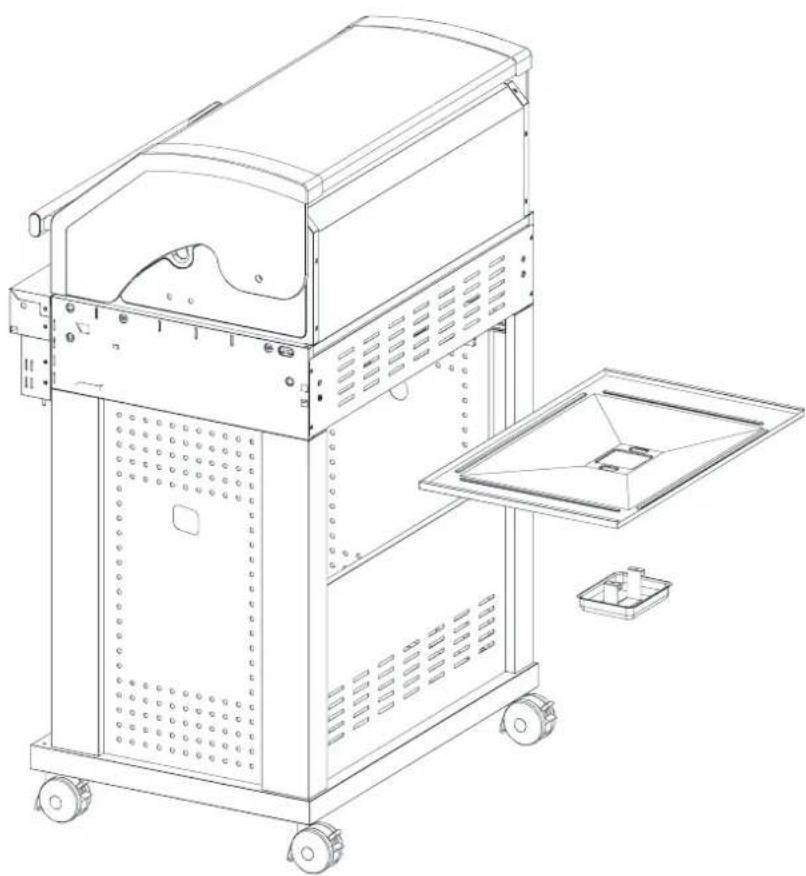
natural_image
Technical line drawing of a mechanical device with wheels and internal components (no text or symbols)12

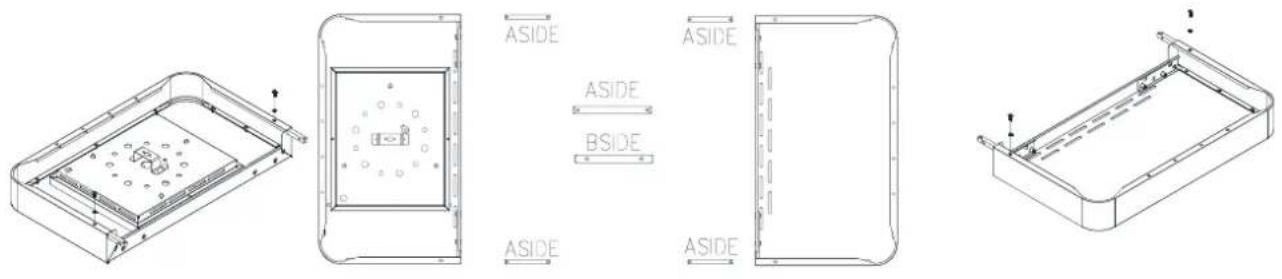
B X4
text_image
ASIDE ASIDE ASIDE ASIDE ASIDE ASIDE13
C+EX4

natural_image
Technical line drawing of a mechanical device with exploded and assembled views (no text or symbols)14

A X2

C+E X2

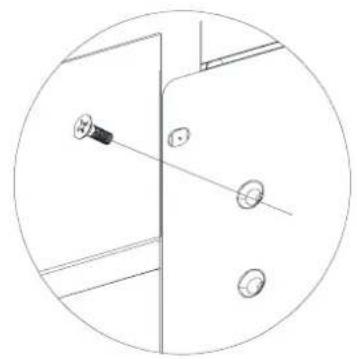
natural_image
Simple line drawing of a door with a screw and two circular components, enclosed in a circle (no text or symbols)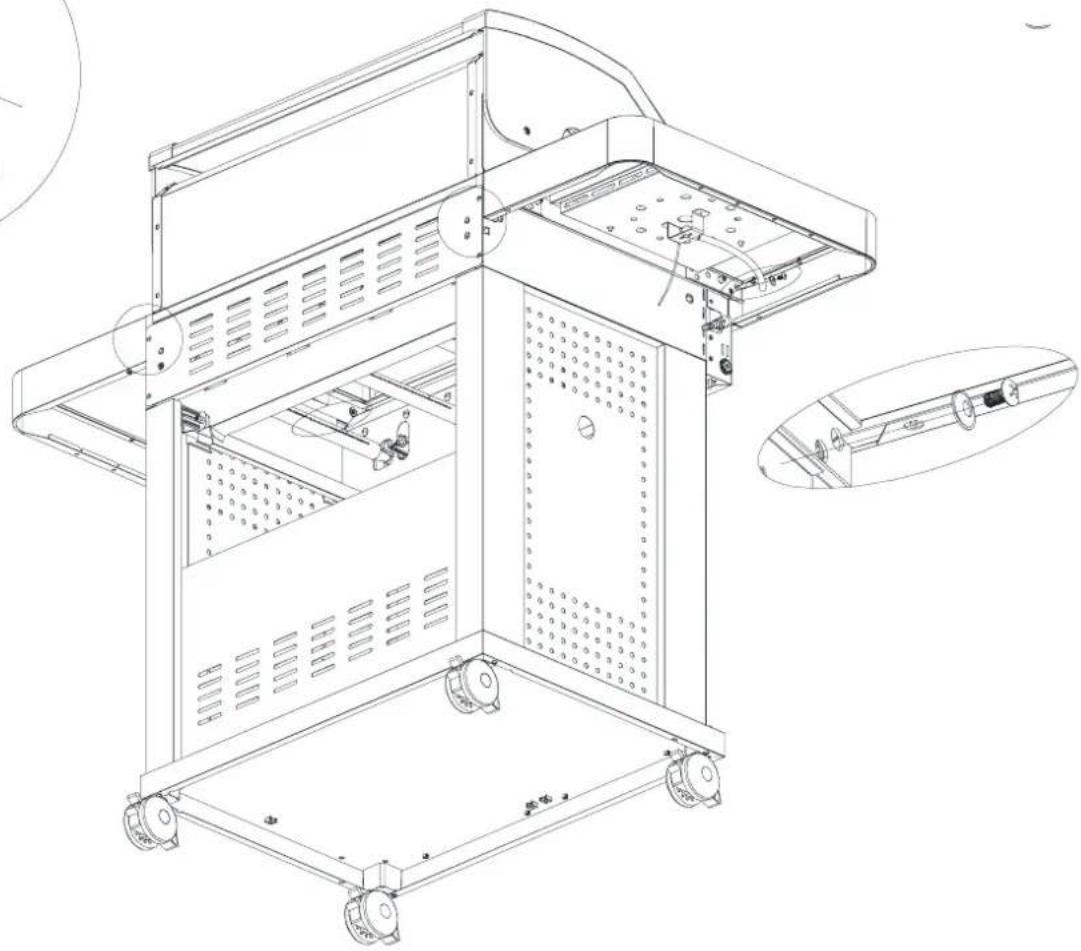
natural_image
Technical line drawing of a mechanical device chassis with mounting holes and internal components (no text or symbols)15

B X2
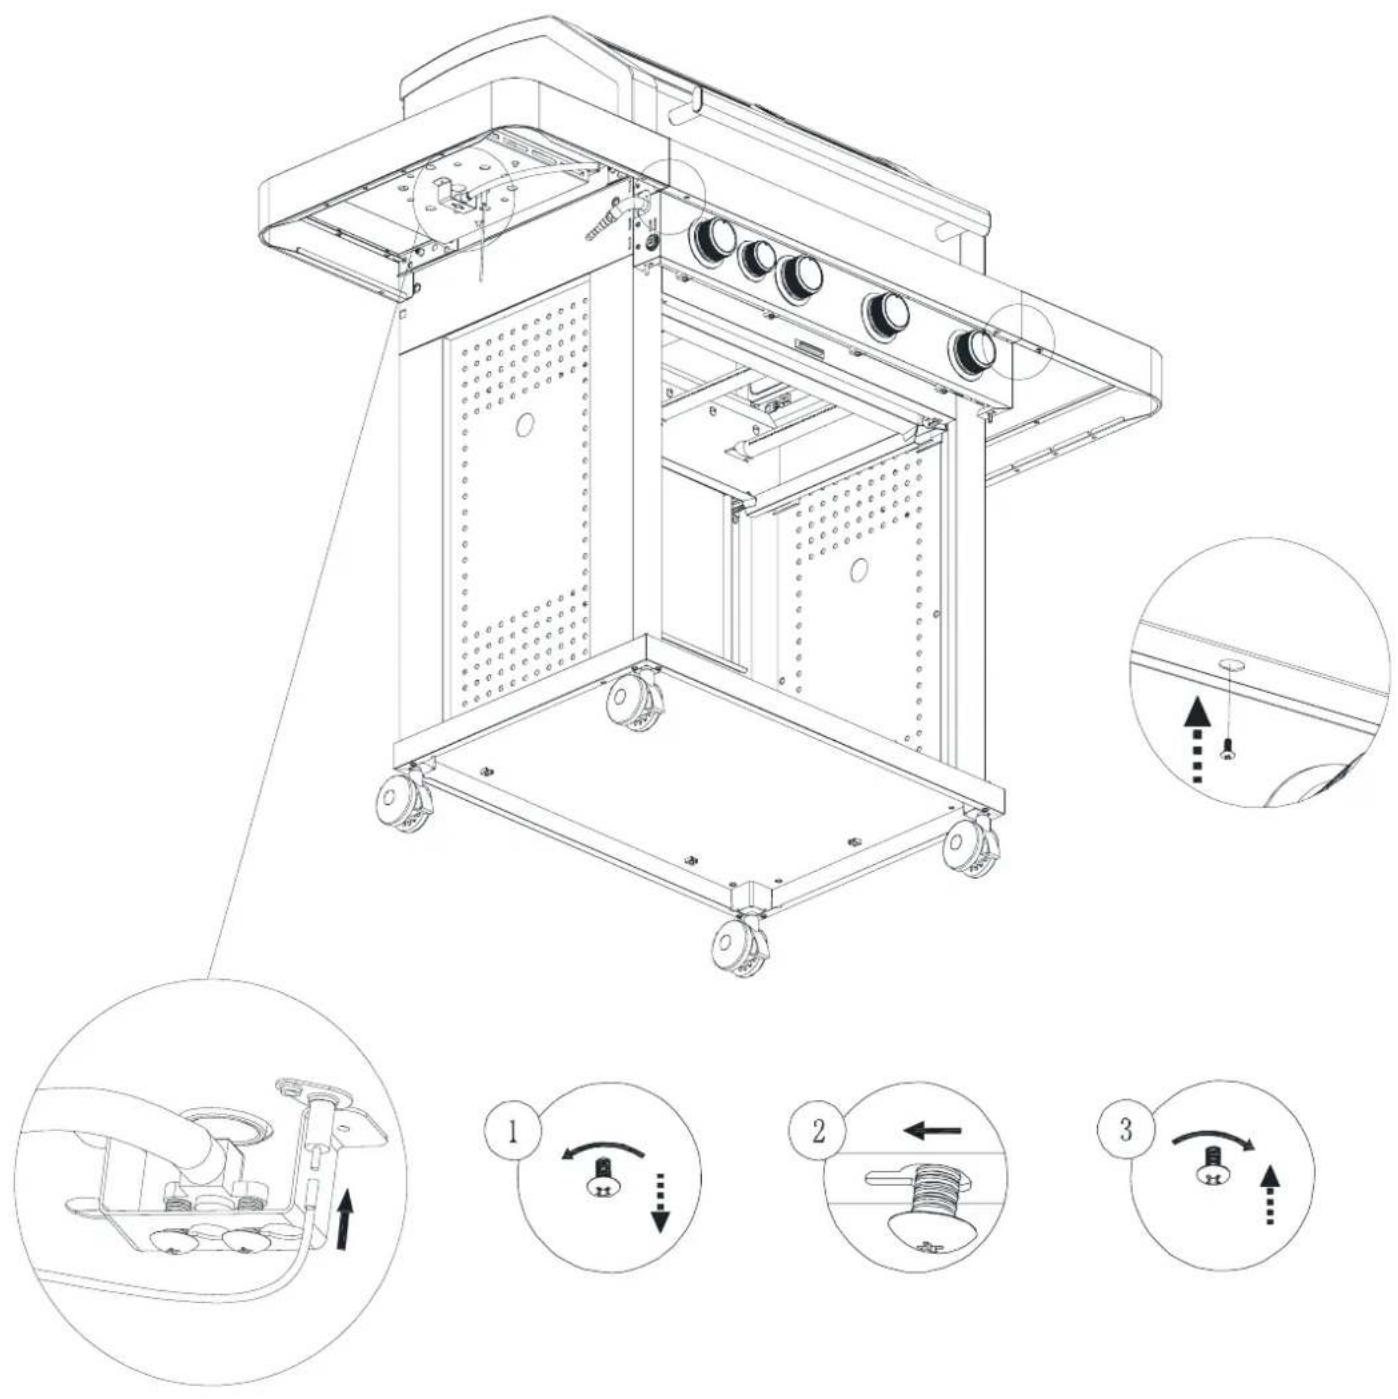
text_image
Technical diagram of a portable air conditioner unit with labeled parts and directional arrows indicating motion or adjustment.16
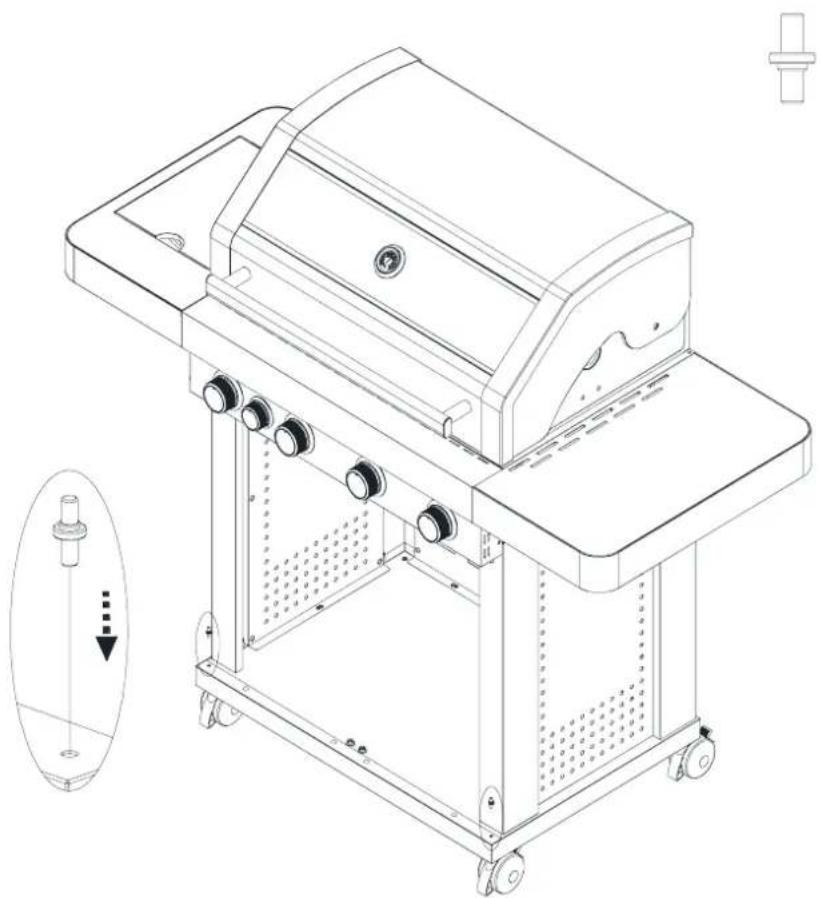
natural_image
Technical line drawing of a portable electric grill with control panel and side view indicator (no text or symbols)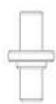
| X2
17

J X4

K X4
text_image
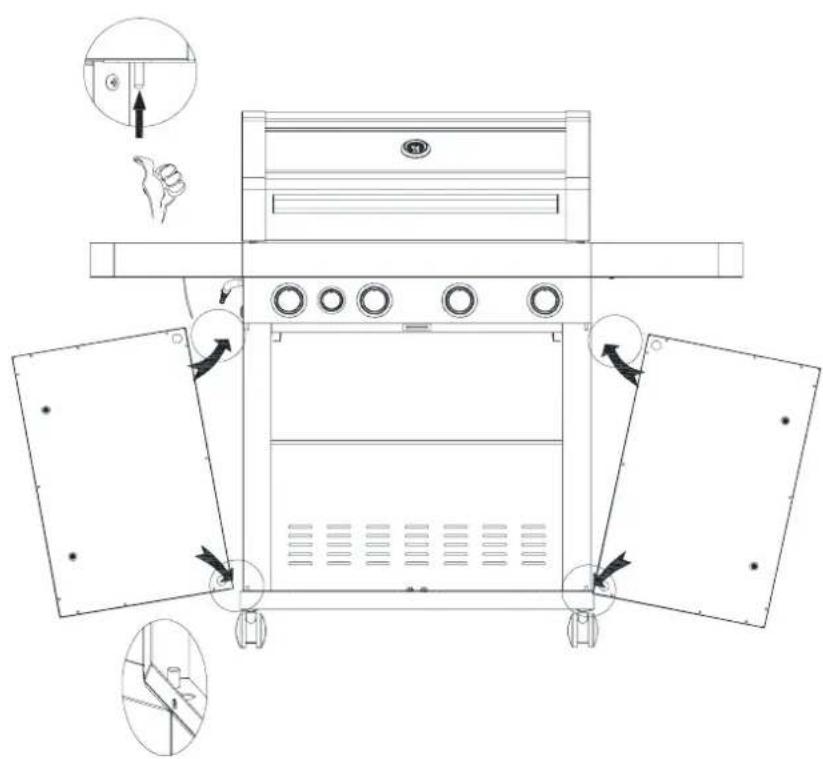
Technical diagram of a portable electric stove with labeled components and directional arrows indicating assembly steps.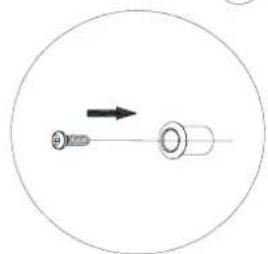
natural_image
Simple diagram of a screw and a circular component with an arrow indicating direction (no text or symbols)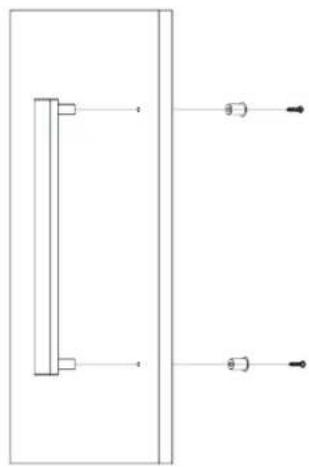
natural_image
Pure electrical circuit lines without any symbols18
natural_image
Technical line drawing of a gas stove internal components, showing exploded view and layout (no text or labels)
natural_image
Line drawing of a portable electric grill with control panel and wheels (no text or symbols)ASSEMBLY IS NOW COMPLETE.
ALL JOINTS AND CONNECTIONS MUST NOW BE LEAK TESTED BEFORE USING THE GRILL. READ CAREFULLY CHAPTER ON LEAK TESTING.
ALL JOINTS AND CONNECTIONS MUST NOW BE
LEAK TESTED BEFORE USING THE GRILL.
Leak test annually, and whenever the gas bottle is removed or replaced.
Always perform a leak test in a well-ventilated area.
1 Make a mixed solution ( 12 water and 12 liquid detergent / soap).
2 Ensure that there are no naked flames, heat sources and cigarettes in the vicinity when performing a leak test.
3 Check that all controls on the grill are in the "OFF" position.
4 Set the regulator to the "OFF" position and connect it to the gas bottle.
5 Apply the liquid to all joints and connections on the gas bottle, regulator, the entire hose and all valves on the grill.
6 Open the gas tap on the regulator and carefully check for bubbles appearing anywhere the liquid has been applied.
7 IF BUBBLES APPEAR, SWITCH OFF THE GAS SUPPLY AND REPAIR THE PROBLEM. PERFORM A NEW LEAK TEST. DO NOT USE THE GRILL BEFORE YOU ARE SURE THAT THERE ARE NO LEAKS.
8 If there are still gas leaks after repeated attempts, contact your dealer.
! WARNING!
NEVER USE AN OPEN
FLAME TO PERFORM
A GAS LEAK TEST
ALWAYS perform a gas leak test before using the grill.
Hose
- Connect the gas hose to the gas rail inlet on the left hand side of the barbecue. Do not overtighten.
- Do not use any sealing tape, paste or liquid on the connection.
- Connect the regulator to the gas bottle according to your regulator and bottle dealer's instructions.
● Gas hoses used for this product must not exceed 120 cm in length
Regulator
- Confirm all barbecue control knobs are in the OFF position.
- We recommend propane gas for use in the Nordic Region, but butane can also be used. Butane is not very suitable for low temperatures.
● Fit the regulator and the hose. Follow the assembly instructions supplied with the regulator set.
The following gas types can be used
● I3B/P(30): G30(Butane), G31(propane) and mixture of these, LPG 28-30 mbar
Gas bottle
- Check the gas hose regularly for cracks, damage and decay. Never use a damaged gas hose.
- Check that the movable plastic collar on the regulator is intact and that it has not been damaged by hot grill parts.
- Check that the gas bottle stands on a firm, flat surface and is lower than the connector.
- Use an approved gas bottle that fits the regulator supplied. Bottles of 10/11 kg or above are recommended.

WARNING
Never store the gas bottle the grill when in use. If the bottle is being stored under the when not in use, disconnect regulator.

Never move the grill while use, or connected gas bottle.
1 The lid must be open when lighting the burner. Do not stand with your face directly over the gas grill when lighting it. Your gas grill will have following method of ignition: PILOT GAS CONTROL IGNITION:
2 With all gas controls on the gas grill in the "OFF" position, turn the gas cylinder valve to the ON position at the regulator.
3 To create a spark you must push the control knob in (A) and hold in this position for 3-5 seconds to allow gas flow and then turn anticlockwise to" HIGH" (B). It can spark to the burner lighting tube (C). You will hear a "snap" from the igniter and you will also see a 3"-5" orange flame coming from the burner lighting tube at the left side of the burner (D). Continue to hold the burner control knob in for two seconds after the "snap", this will allow gas to flow completely down the burner tube (E) and insure ignition.
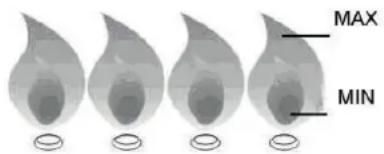
4 When the burner is alight, adjacent burners will cross light when their controls are turned to "HIGH". At "High" setting the burner flame should be approximately 12-20mm long with a minimum of orange flame. Turn the gas control fully anticlockwise for minimum setting.
5 Should you have any difficulty lighting your gas grill following the above steps, contact your dealer for advice.
6 After completion of preheating, turn all burners to the low position for best cooking results.
MANUAL IGNITION
If the grill will not light using the normal lighter, use the following procedure for manual lighting. Use a long match or lighter.
- Follow step 1 and 2 (Lighting instruction).
- Lift up the grate and place a grillighter or a lit match close to one burner.
- Push and turn any knob anticlockwise to the high position, taking care to protect yourself from the flames.
- When the burner is lit, light the remaining burners. Confirm that each burner is alight before turning on the next burner.
- If a burner fails to ignite, contact your local dealer for assistance.
- Follow step 6.

natural_image
Mechanical assembly diagram showing a lever mechanism with labeled components A and B (no text or symbols beyond labels)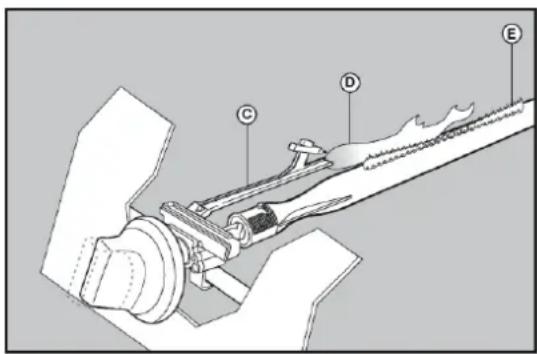
text_image
Technical diagram of a mechanical assembly with labeled components C, D, and E
WARNING: If the burner still does not light, turn the burner control knob to OFF and wait 5 minutes to let the gas clear before lighting again.
IGNITION OF SIDE BURNER:
To get the maximum yield with the minimum consumption of gas it is handy to keep the following points in mind:
1 Once the burner has been alighted, adjust the flame according to your needs, from "Maximum" to "Minimum" position.
2 Use proper pan size (with flat bottom only) for each burner
3 When the content of the pan start to boil, turn the knob down to "Reduced rate position" (small flame).
4 Always put a lid on the pan.

Flames should be blue able. If the flames are and yellow, flaring or en', check the eshooting manual.
IF THE GRILL WILL NOT LIGHT USING NORMAL OR MANUAL LIGHTING, REFER TO THE TIPS SECTION IN THE TROUBLESHOOTING MANUAL, OR CONTACT YOUR DEALER.

NEVER DOUSE THE GRILL WITH WATER WHEN THE SURFACES ARE HOT.
Switch off the gas supply at the bottle.
Turn all control valves to the "Off" position.
Wait until the barbecue is sufficiently cool before closing its hood.
LOCATION
☑ Ensure that the grill is placed at least 150cm in all directions from house walls, trees, plants and other flammable materials or liquids when in use.
Do not place the grill under a roof or overhang.
√ Ensure the grill is placed where there is plenty of ventilation.
Do not grill below normal ground level.
√ Always lock the wheels, whenever using the grill.
FINAL CHECK
√ Check that all controls knobs work normally.
√ Check that the gas hose is free of cracks and damage (it should always be done before using the grill).
√ Check that the gas bottle and hose do not come into contact with hot objects.
Grilling tips
●A CLEAN GRILL WORKS BETTER, causes less smoke and prevents fat catching fire. Burn off the grill after use by opening the lid and burning all the burners at full power for 10 minutes. Allow the grill to cool, and then brush off ash from flame guards and grates.
- BRUSH THE GRATES WITH AN OIL that can tolerate high temperatures. This prevents food from burning onto the grates.
● PREHEAT THE GRILL for around 10 minutes at full power before placing food on the grates. This gives a better result, and cuts grilling time.
● DO NOT GRILL FROZEN FOOD. The cold will extend grilling time and give a poorer result.
- DIVIDE THE GRILL INTO HOT AND COLD ZONES. When the food is half-ready, move it to the coldzone to finish grilling. This gives a better result and cooks the food through without it being burnt.
- ASSESS COOKING TIME FOR EACH PRODUCT to be grilled and put them on the grill in the order which will mean they are ready at the same time.
- BRUSH THE FOOD REGULARLY WHILE GRILLING with oil or other marinade. It makes the food stays juicy for longer.
● DO NOT OPEN THE LID IF NOT NECESSARY. When the lid is opened, a lot of the heat escapes.
WARNING!
- THIS GRILL IS NOT DESIGNED TO BE USED WITH MORE THAN 50% OF THE COOKING AREA AS A SOLID PLATE — THIS INCLUDES BAKING DISHES. - FULL COVERAGE WILL CAUSE EXCESSIVE BUILD-UP OF HEAT AND DAMAGE THE BARBECUE. THIS IS NOT COVERED BY WARRANTY.
WARNING!
Always keep an eye on the grill when in use. Never allow children or others who require supervision near the grill when in use.
This grill is only intended for outdoor use and must not be used under a roof. Do not use under normal ground level. Gas can accumulate and represent a danger of explosion. Gas accumulation can also cause oxygen deficiency.
This grill is only intended for use with gas. NEVER use lava stones, briquettes, charcoal, lighting fluid etc.
Never light the grill with the lid closed.
Perform the leak test regularly and always when changing the gas bottle after long storage. Always check the gas hose for damage and cracks each time you use the grill.
Disconnect the gas bottle when the grill is in use or before moving it.
If storing the grill in a garage or basement below ground level, do not store the gas bottle the same place, as it must be stored above normal ground level.
The vents in the grill must never be sealed or blocked.
Check that the venturi (ventilation) on burners and side burners are not sealed or blocked before use.
Wear gloves when assembling or lifting. Sharp edges can cause injury.
Do not place the grill cover or other flammable material in the compartment under the grill when it is in use or hot.
Clean the grill regularly and thoroughly.
FAT FIRE
Lack of maintenance can cause fat deposits to catch fire, causing a fat fire.
PREVENT FAT FIRE
- Keep the grill clean to prevent fires caused by fat.
- Fill the fat tray with a fat-absorbing material, such as cat litter or absorbent sand. This will absorb fat and food oils to prevent fat fires. Aluminiumfoil can be laid in the bottom of the tray first to make cleaning easier.
IN THE EVENT OF FAT FIRE
In the event of a fat fire, shut off the gas and disconnect the regulator. Leave the lid open and wait until the fire goes out.

Fires caused by fat damage the metal, paint and enamel. Damage to the grill caused by fat burning, is not covered by the guarantee as it is due to incorrect use.

NB: Do not use water to extinguish the fire! Clean the grill regularly to avoid fat fires.
MAINTENANCE

Check that the burners are burning correctly regularly.

Remove the grill grate and flame guards.

Light the grill normally.

Turn the controls from low to high, check there is a reference in flame strength that the flames are blue, orange. If the burners abnormally, refer to the overshooting chapter.

Remove any fat or deposits from previous use with a grill h.
text_image
MAX MININSECTS AND VERMIN
After long-term storage, insects and other vermin can be found in the grill. If you experience problems with lighting or irregular flames, it can be due to unwanted guests blocking the gas supply. In such instances, dismantle and clean the burners. Replace the burners when they are dry.
Check that the gas hose is not damaged by mice or rats.
CLEANING
- Use clean water only. A mild washing up liquid can be added for general cleaning. Do not use flammable cleaning agents.
- To clean the grates, burn the grill for around 10 minutes after use with the lid open, and brush the grates with a grill brush. When cleaning with water, use normal washing up liquid. Do not use scouring products. Do not wash the grates in washing up liquid, it damage the enamel. Dry the grates well after cleaning and leave to soak in food oil.
● To prevent attracting vermin and odours, clean the fat tray regularly. - Store the grill in a dry place or under a cover when not in use.
- Polish with car wax once a year to avoid rust on external parts. If living within 5 km of the sea, we recommend storing the grill indoors, as salt in the air can reduce its lifetime.
- Spread cat litter or the like in the bottom of the fat tray to absorb the fat dripping down and prevent fat fires. It also makes cleaning the tray easier.
- Rust can naturally occur on cast iron and steel parts, and will not affect the grill in the shortterm. Superficial rust can be washed/polished off.
- Keep the grill free of fat and grease to maintain performance.
● The fat cup should be emptied regularly to avoid it running over. - When using a grill cover, the grill must be clean and dry and sufficient ventilation must be ensured. If not, moisture will accumulate under the cover causing rust damage.
| PROBLEM POSSIBLE CAUSE SOLUTION | ||
| Burner will not light when using the ignition knob | Empty gas bottle Replace gas bottle | |
| Damaged regulator Check/replace the regulator | ||
| Burner is blocked Clean the burner | ||
| Gas supply is blocked Clean gas ventury or hose | ||
| Electrode is broken or dirty Clean the electrode | ||
| Ignition knob is broken Contact your dealer | ||
| Windy conditions | Place the grill in a less exposed position. | |
| Ignition wire is damaged or fitted incorrectly | Make sure wire is mounted correctly | |
| Burners will not light when lighting manually | Empty gas bottle Replace gas bottle | |
| Irregular gas supply Check/replace the regulator | ||
| The burner is blocked Clean the burner | ||
| Gas supply or hose is blocked | Clean gas ventury or hose | |
| Low flame or backfire | Gas bottle is too small | 10/11 kg or larger bottle is recommended |
| Burner is blocked Clean the burner | ||
| Gas supply or hose is blocked | Clean gas ventury or hose | |
| Windy conditions | Place the grill in a less exposed position | |
| Trouble turning the knobs | Gas valve jammed | Replace gas valve.WARNING! Knobs should be pressed in and turned |
| Heavy smoke Fatty foods on | the grill | Trim away excess fat from meat. Clean the fat tray. |
This product is covered by a warranty in accordance with consumer legislation. It has undergone strict quality controls and testing at the factory.
If there are any parts missing or the product has been damaged, please contact your dealer or the consumer contact below for help.
Faults due to misuse, lack of maintenance or modification of the product will invalidate the warranty.
Damaged parts not due to a fault with the product will be invoiced according to our price list + carriage and administration fee.
If new parts are needed or in the event of a warranty claim, please contact your dealer or consumer contact:

text_image
Nordic™ SeasonCONSUMER CONTACT
Nordic Season Products AS
Kjeller Vest 3, 2007 Kjeller
031 189095
+47 924 78600 (Mon-Fri 10:00-14:00)
support@nordicseason.no www.nordicseason.no
Always attach your receipt and product serial number when making a warranty claim.
Produced in China for Nordic Season Products AS.