GP-120QD - Uncategorized GVM - Free user manual and instructions
Find the device manual for free GP-120QD GVM in PDF.


| Product Type | LED Video Light |
| Brand | GVM |
| Model | GP-120QD |
| Power | 120W |
| Color Temperature | 5600K (Daylight) |
| CRI (Color Rendering Index) | 95+ |
| Luminous Flux | 12000 lm |
| Beam Angle | 120° |
| Dimmable | Yes, 0–100% |
| Power Supply | AC 100–240V, 50/60Hz |
| Dimensions (L x W x H) | 30 x 20 x 15 cm |
| Weight | 2.5 kg |
| Housing Material | Aluminum |
| Mounting | U-bracket with 5/8" baby pin |
| Cooling | Silent fan |
| Included Accessories | Remote control, diffusion filter, carrying case |
| Safety Features | Overheat protection |
| Maintenance | Clean with a dry soft cloth; avoid moisture |
| Certifications | CE, RoHS |
Frequently Asked Questions - GP-120QD GVM
User questions about GP-120QD GVM
0 question about this device. Answer the ones you know or ask your own.
Ask a new question about this device
Download the instructions for your Uncategorized in PDF format for free! Find your manual GP-120QD - GVM and take your electronic device back in hand. On this page are published all the documents necessary for the use of your device. GP-120QD by GVM.
USER MANUAL GP-120QD GVM
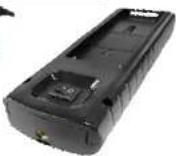
Installing the Battery
-
Locate the battery clip on the back of the remote.
-
Insert the battery.
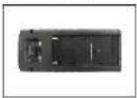
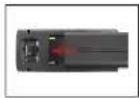
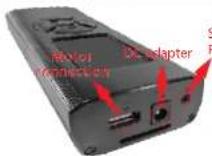
3 Connecting the remote and motor
Plug the remote cable into the remote and motor.

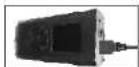
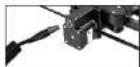
B
Shutter
Relusion
Release
Using the time-lapse function
- Locate the shutter release and extension cable.
- Plug the shutter release cable into the remote control and the camera's remote control terminal. Use the extension cable if more length is required.


Settings Menu :
1. Turn off power to reset the remote control.
2. Settings Menu
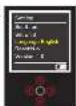
1/ Set the Language:
-
Press the up or down arrow and highlight the Language menu option (P1).
-
Press the right or left arrow button to change language between English and Chinese. Long press the middle button to save your settings.
Set the start point:2/
-
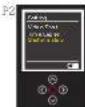
Press the up or down arrow and highlight the Settings menu option (P2).
-
Press the middle button.
-
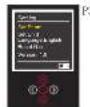
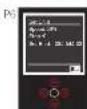
Highlight the Set Start option and press the middle button (P3).
-
Press the right or left arrow button to move the slider. Press the middle button to stop the motion.
-
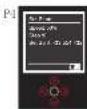
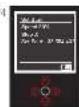
Press the middle button a second time to select the start point (P4)
-
Long press the middle button to save the start point.
Set the end point:3/
-
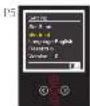
Highlight the Set End option and press the middle button (P5)
-
Press the right or left arrow button to move the slider. Press the middle button to stop the motion.
-
Press the middle button a second time to select the end point (P6)
-
Long press the middle button to save the end point.
4/ Set the speed:
- At any time while setting the start or end points, you can adjust the speed from [1-100%] by pressing the Up or Down arrows (P4), (P6).
Reset:5/
-
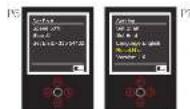
Highlight the Reset option(P7).
-
Press the right r left arrow button to choose "Yes" or "No". Press the middle button to reset the remote control or go back setting menu.
- Long press the middle button to save the setting.
3. Time lapse menu
1/ Set the start point:
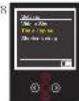
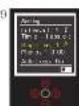
- Press the up or down arrow and highlight the Time Lapse menu option (P8).
- Press the middle button.
- Highlight the parameter you want to change and adjust its value by pressing the right or left arrow button (P9).
- Press the middle button when complete,
- Press the right or left arrow button to begin time lapse shooting.
- Press the middle button to pause any motion.
- The minimum Interval time is 0.1 second, the minimum Stop time is 1 second, and the Stop time needs longer than Time-lapse time at least 0.2 seconds.
4. Video shot menu
1/ Manual Mode:
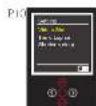
- Press the up or down arrow and highlight the Video Shot menu option (P10) and then press the middle button.
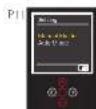
- Highlight Manual Mode and then press the middle button(P11).
- Press the left or right arrow button to begin motion (P12).
- You can adjust the speed at any time by pressing the Up or Down arrow buttons.
5. Auto Mode
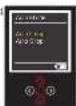
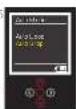
Auto Mode has two options: Auto Loop and Auto Stop. To use either one, you first must set the start and end points as described in the Settings section.
-
Press the up or down arrow and highlight the Video Shot menu option. Then press the middle button.
-
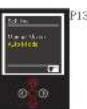
Press the up or down arrow buttons and highlight the Auto Mode menu option (P13).
1/ Auto Loop will provide motion between the start and end points indefinitely.
- Highlight the Auto Loop button and then press the middle button (P14).
-
Press the right or left arrow to start motion.
-
Press the middle button to pause the motion.
2/ Auto Stop will provide motion between the start and end points one time.
- Highlight the Auto Stop button and then press the middle button (P15).
- Press the right or left arrow to start motion.
- Press the middle button to pause the motion

Using the slider
There are three photography methods available with this slider. The Common Shot, the Following Shot and the Pan Shot.
Common Shot
The camera angle does not change.
- Loosen the adjusting rod brakes on both ends and center using the provided scales.
- Tighten the adjusting rod on both ends.
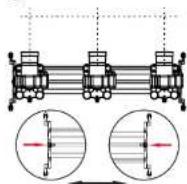
Common Shot
Following or Parallax Shot
The camera always points at the subject.
- Loosen both left and right side adjusting rod brakes.
- Move the camera base to the left side and adjust the rod so that the camera points
at the subject.
- Lock the left side rod brake.
- Move the camera base to the right side and adjust the rod so that the camera points at the subject.
- Lock the right side rod brake.
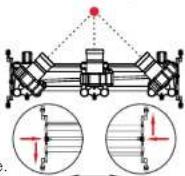
Following shoot
Pan Shot
The camera pans with a maximum angle of 120^ .
- Loosen both left and right side adjusting rod brakes.
- Move the camera base to the left side and adjust the rod so that the camera points to the left side of the subject.
- Lock the left side rod brake
- Move the camera base to the right side and adjust the rod so that the camera points at the right side of the subject
- Lock the right side rod brake.
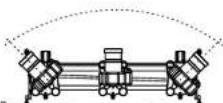
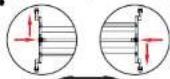
Pan-shot for Maximum angle 90°
TROUBLE SHOOTING
- Use a standard Sony NP-F550/F570/F770/F9XX series battery.
- Monitor the battery power level shown on the bottom of the remote controller.
- Make sure all cables are firmly inserted into all devices.
- If the slider is not horizontal, make sure to lock the center brake before turning off the power or disconnecting the cable. Under normal operations, the motor acts as a brake and any loss of power will permit the camera base to quickly fall to its lowest point potentially damaging your camera or slider.
GVM
GREAT VIDEO MAKER
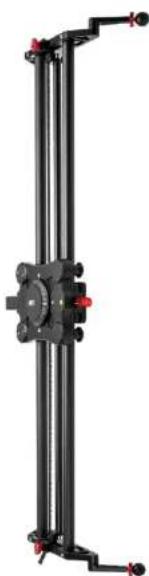
natural_image
Mechanical device with vertical frame and central hub, no visible text or symbolsGP-80QD
GP-120QD
MOTORIZED SLIDER
Add: 4301 N delaware ave unit D.Philadelphia, PA. 19137
Web: www.gvmled.com
- Installing the Battery
- Connecting the remote and motor
- Settings Menu :
- Turn off power to reset the remote control.
- Settings Menu
- Set the start point:2/
- Set the end point:3/
- 4/ Set the speed:
- Reset:5/
- Time lapse menu
- 1/ Set the start point:
- Video shot menu
- 1/ Manual Mode:
- Auto Mode
- Using the slider
- Common Shot
- Following or Parallax Shot
- Pan Shot
- TROUBLE SHOOTING
Brand : GVM
Model : GP-120QD
Category : Uncategorized