
NEXS1 - Dash cam Scosche - Free user manual and instructions
Find the device manual for free NEXS1 Scosche in PDF.


| Product Type | Dash Cam |
| Brand | Scosche |
| Model | NEXS1 |
| Video Resolution | 1080p Full HD |
| Lens | 140° Wide Angle |
| Power Source | 12V vehicle power socket (USB charger included) |
| Mounting | Adhesive windshield mount with cable routing hooks |
| Connectivity | Bluetooth/Wi-Fi (via Nexar app) |
| Storage | Micro SD memory card (included) |
| Indicator Lights | LED: solid red (on, not recording), flashing red (recording) |
| Operating Temperature | -4°F to 158°F (-20°C to 70°C) |
| Dimensions (approx.) | 2.5 x 3 x 1.5 in (6.4 x 7.6 x 3.8 cm) |
| Weight (approx.) | 3.5 oz (100 g) |
| Key Features | Automatic start/stop with vehicle, event capture button, sync button |
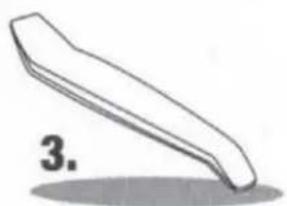
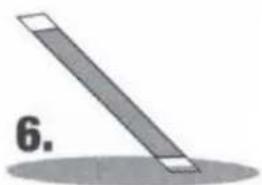
| Included Accessories | Dash cam, adhesive mount, power cable, 12V USB charger, panel removal tool, 5 zip-ties, 4 rubber straps, 4 adhesive cable clips, micro SD card, cleaning wipes |
| Compliance | FCC Part 15, Class B Digital Device |
| Cleaning | Damp paper towel or soft cloth; avoid chemical solvents |
| Safety Note | Do not mount obstructing driver's view; avoid interfering with curtain airbags |
| Support | (800) 363-4490 x1, www.scosche.com/contact, getnexar.com/faq |
Frequently Asked Questions - NEXS1 Scosche
User questions about NEXS1 Scosche
0 question about this device. Answer the ones you know or ask your own.
Ask a new question about this device
Download the instructions for your Dash cam in PDF format for free! Find your manual NEXS1 - Scosche and take your electronic device back in hand. On this page are published all the documents necessary for the use of your device. NEXS1 by Scosche.
USER MANUAL NEXS1 Scosche
Welcome to your new Scosche® Dash Camera Powered by Nexar!
Apple/iOS
nxr.cm/iOS
Start by downloading the Nexar app and follow the in-app instructions
For additional help visit getnexar.com
Android
nxr.cm/Android
Next, find your dash camera installation instructions inside.
NEXS1
Full HD Smart Dash Camera Adhesive Windshield Mount Quick Start Guide
Quick Start Guide
-
Download Nexar from your app store. For iPhone nxr.cm/ios For Android nxr.cm/android
-
Open the app and enable all necessary settings when prompted, be sure to enable Location Services to activate automatic recording when you're driving.
-
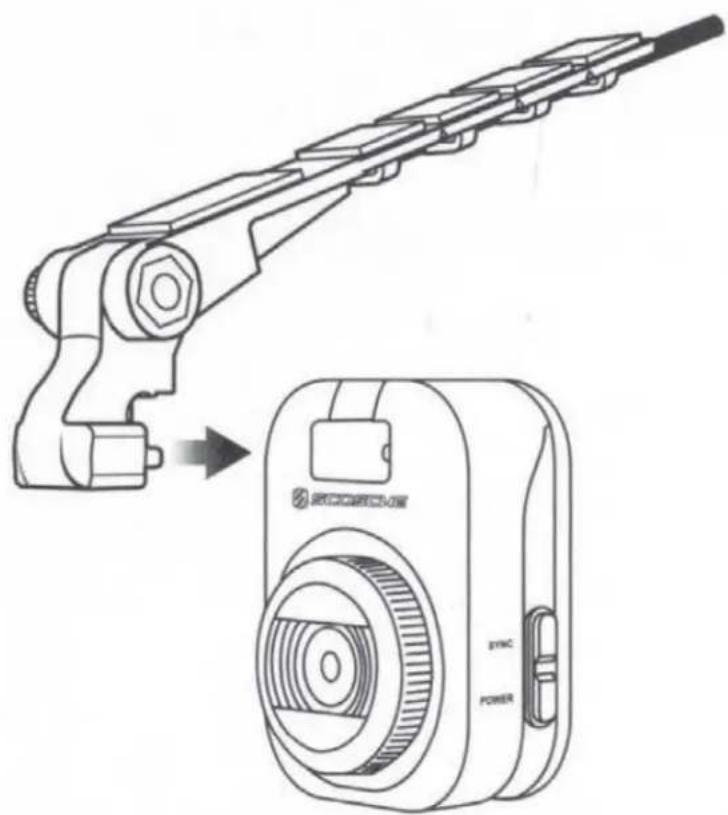
Insert the type-c charging mount into the matching slot on the dash cam's POWER port, see illustration below.
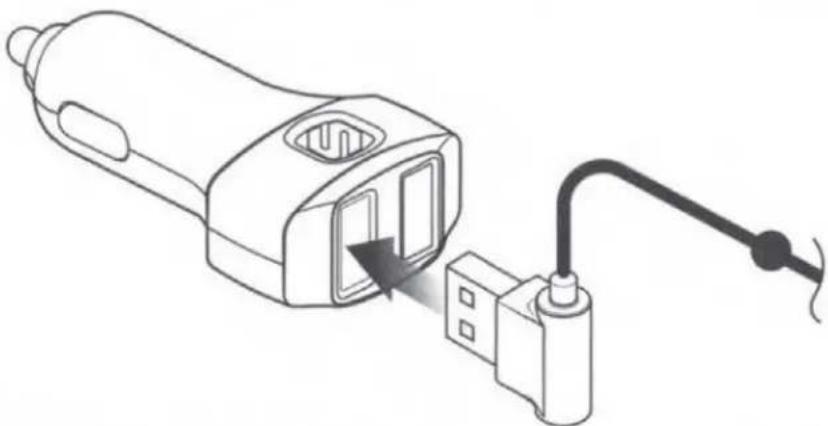
- Connect the other end of the charging cable to the USB charger and plug the charger into your car's power socket.
natural_image
Line drawing of a device with an open port and connected to a cable (no text or symbols)Note: If your dash camera came with a hard-wiring kit, or you have purchased one separately, please refer to the instructions that came with the hard-wiring kit.
Note: Mount and position camera onto windshield before connecting and routing to power source, see instruction for more information.
-
Start the car to power on the camera. The camera will power on when the vehicle is on, and power off when the vehicle is off.
-
Follow the instructions in the app to pair your phone with the dash-cam.
Tip: Shared car?
Make sure all drivers download the Nexar app and pair it with the dash cam.
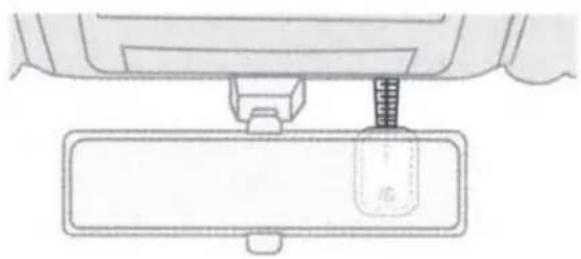
- Pick an installation area on your windshield. We recommend placing the dash cam behind the rear-view mirror and checking the camera view in the Nexar app.
natural_image
Diagram of a car rearview mirror with a sensor mounted on the intake tray (no text or symbols)DO NOT MOUNT CAMERA in a location that will obstruct the driver's view. It is the user's responsibility to mount the device in compliance will all applicable laws and ordinances.
Thoroughly clean windshield where the unit will be mounted.
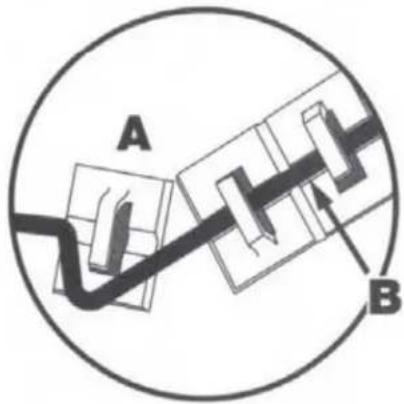
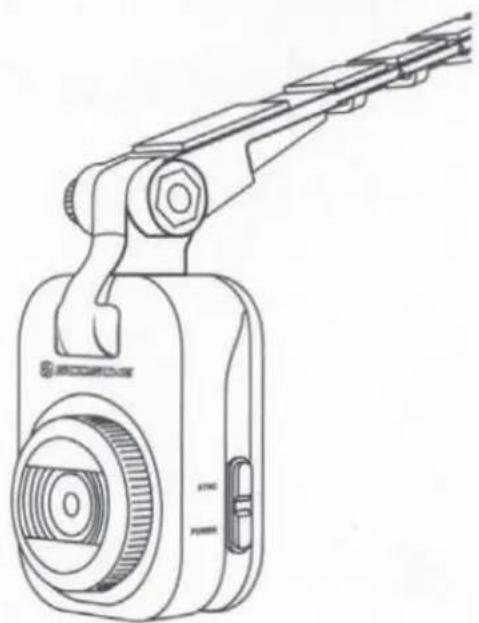
Detach as many adhesive hooks as necessary for your mounting preference (A). Next, route the power cable through the used hooks leading to the camera for a clean guided cable route (B). The detached cable hooks can also be reused for routing cable elsewhere in the vehicle.
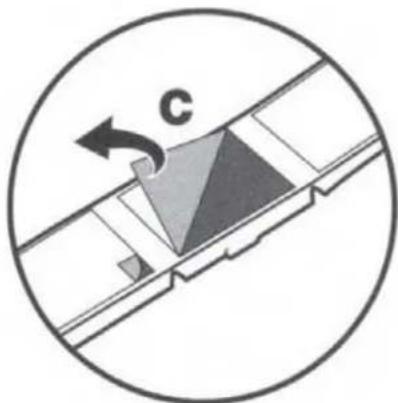
Remove adhesive protection film, then firmly apply the mount to the windshield (C) and press on adhesive mount to secure the camera assembly onto location.
natural_image
Diagram showing a curved arrow labeled 'c' pointing to a geometric shape within a circular boundary (no text or symbols beyond the label)
SCOSCHE®

Powered by
nexar
NEXS1
Full HD Smart Dash Camera Adhesive Windshield Mount Cable Routing
Cable Routing
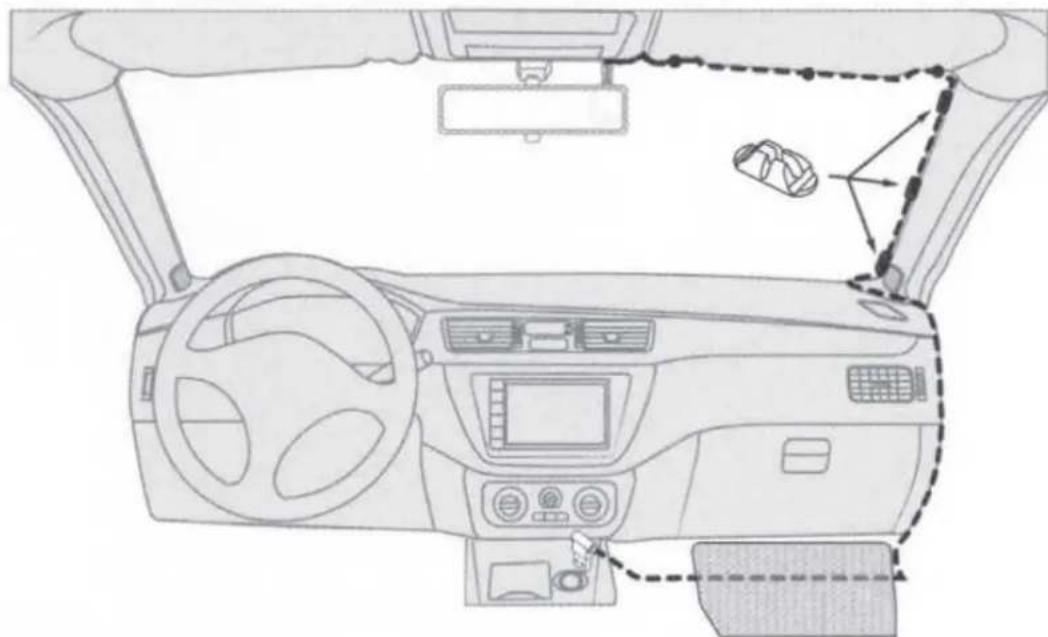
- Sit in passenger seat.
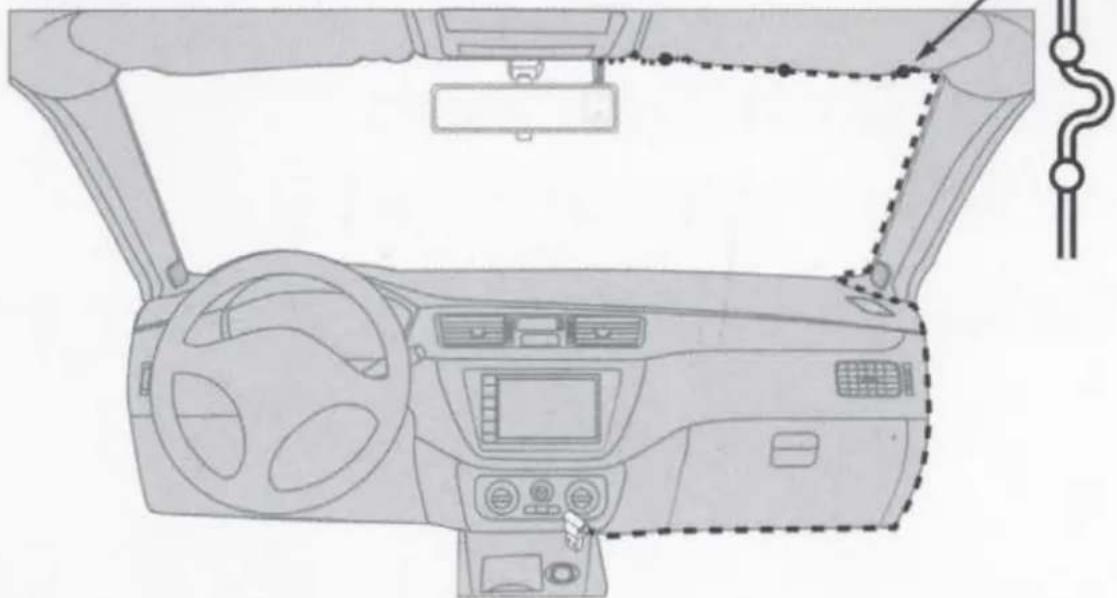
- Gently pull down the edge of the fabric along the top edge of the windshield just wide enough to hide the power cable behind. If needed, use the provided pane/trim tool.
- Push the cable behind the headliner towards the door opening.
Note: The power cable is designed with over-molded headliner retention balls to help secure the cable in place.
natural_image
Top-down technical line drawing of a car dashboard and steering wheel (no text or symbols)This installation method is meant only for vehicles in which curtain airbags are NOT installed in the window frame. This method CANNOT be used in vehicles equipped with curtain airbags. Hiding, tucking or installing the wiring of your dash cam by this method could interfere with your vehicle's curtain airbags and can be extremely dangerous. If you are unsure about the location of your vehicle's airbags, DO NOT use this method for the aforementioned reasons.
- Open passenger door and conceal the cable behind or between the trim and the door opening.
*IMPORTANT*: Use caution to ensure the cable won't be pinched, crushed or placed near any sharp surfaces.
-
Route the cable down to the passenger footwell.
-
Conceal the remaining cable under the carpet toward the location of the USB power socket.
Easy Install: For vehicles with curtain airbags. Use the provided adhesive cable guides to route cable along the edge of windshield.
natural_image
Top-down line drawing of a car dashboard and steering wheel (no text or symbols)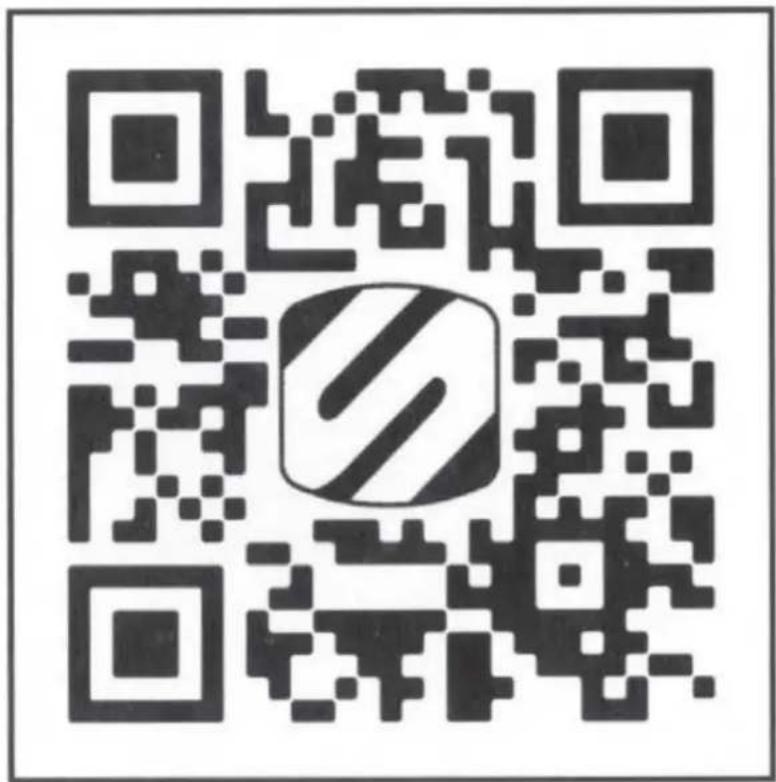
Scan the QR code to watch a video on how to hide the cable.
https://youtu.be/rv1aq0oEOrU

SCOSCHE

Powered by
nexar
NEXS1
Full HD Smart Dash Camera Adhesive Windshield Mount Features
Features
Light Indicators
- LED OFF = Camera OFF
● Solid Red LED = Camera ON, but NOT recording
● Flashing Red LED = Camera ON and recording
Safety tips and care
● The dash cam turns on/off automatically whenever you start/stop your car.
● The dash cam functions between -4^ to 158^ F ( -20^ to 70^ C).
- Improper battery charging may lead to explosion of the device.
- When cleaning, avoid irritating chemical solvents, use a damp paper towel or soft cloth. Keep away from fire.
natural_image
Line drawing of a mechanical device with lever and base (no text or symbols)If your dash cam isn't working, don't try to repair it yourself. Please contact us at: (800) 363-4490 x1 | www.scosche.com/contact or visit, getnexar.com/faq
Parts Included
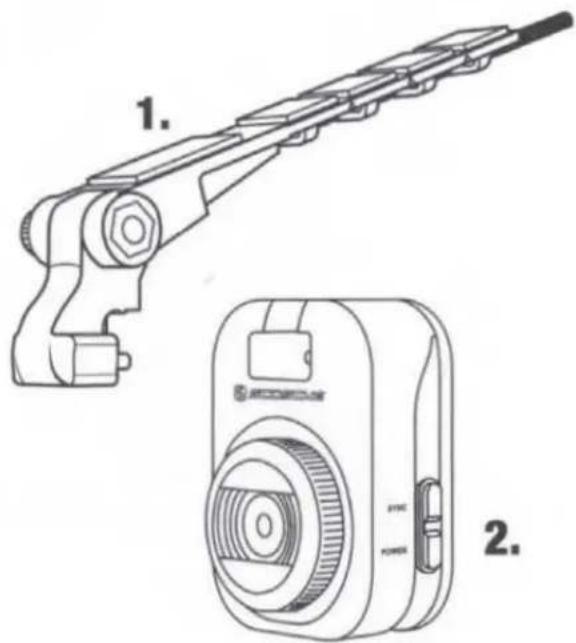
- Adhesive Windshield Mount
- NEXS11 Dash Cam
- Panel Removal Tool
- 12-Volt Power Socket Connector
- (5) Zip-Ties
- (4) Rubber Straps
- (4) Adhesive Rubber Cable Clips
- (1) Micro SD Memory Card
- Cleaning Wipes (1) Wet, (1) Dry
natural_image
Simple line drawing of a curved object with the number 3 labeled below (no text or symbols on the object itself)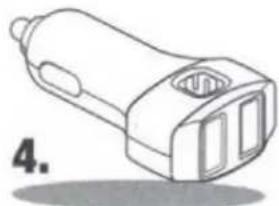
natural_image
Line drawing of a handheld electronic device with ports and a label '4.' (no text or symbols on the device itself)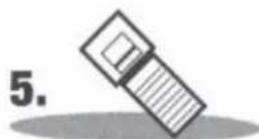
natural_image
Simple illustration of a tilted rectangular object with a label '6.' (no text or symbols on the object itself)

natural_image
Simple line drawing of a folded folder with shadow (no text or symbols)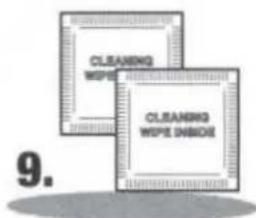
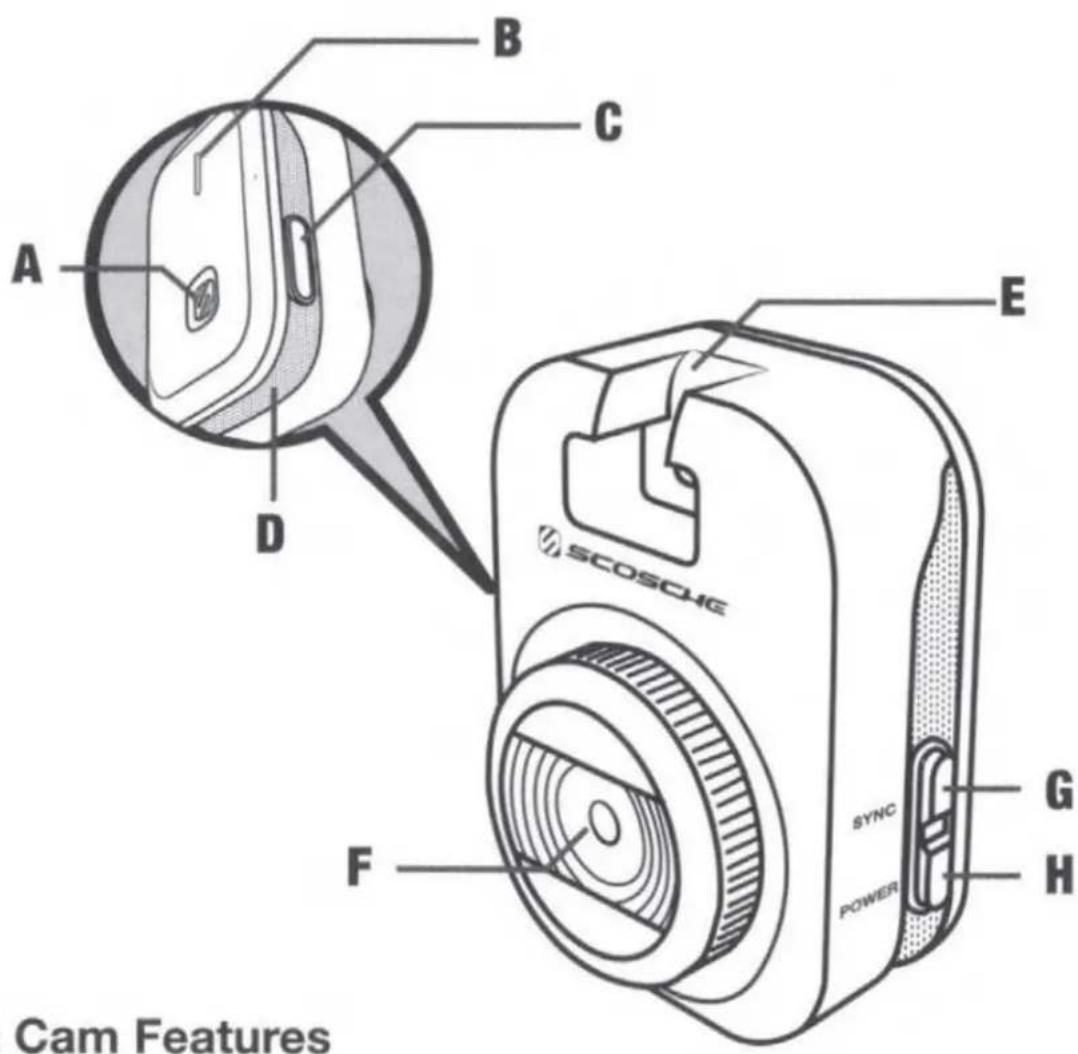
Dash Cam Features
A Event Capture Button
B LED Status Indicator Light
C Micro SD Memory Card Slot
D Speaker/Mic
E Power Docking Slot
F 1080P Wide Angle Lens 140°
G Sync Button
H Force Power On/Off Button

SCOSCHE®

Powered by
nexar
NEXS1
This device complies with part 15 of the FCC Rules. Operation is subject to the following two conditions: (1) This device may not cause harmful interference, and (2) this device must accept any interference received, including interference that may cause undesired operation.
This equipment has been tested and found to comply with the limits for a Class B digital device, pursuant to part 15 of the FCC Rules. These limits are designed to provide reasonable protection against harmful interference in a residential installation. This equipment generates, uses and can radiate radio frequency energy and, if not installed and used in accordance with the instructions, may cause harmful interference to radio communications. However, there is no guarantee that interference will not occur in a particular installation. If this equipment does cause harmful interference to radio or television reception, which can be determined by turning the equipment off and on, the user is encouraged to try to correct the interference by one or more of the following measures:
- Reorient or relocate the receiving antenna.
- Increase the separation between the equipment and receiver.
- Connect the equipment into an outlet on a circuit different from that to which the receiver is connected.
- Consult the dealer or an experienced radio/TV technician for help.
Radiation Exposure Statement: The product complies with the FCC/IC RF Exposure for Low Power Consumer Wireless Power Transfer. RF exposure limit set forth for an uncontrolled environment and are safe for intended operation as described in this manual. The RF exposure that compliance was demonstrated at 10cm and greater separation from the user body or set the device to lower output power if such function is available.
- Welcome to your new Scosche® Dash Camera Powered by Nexar!
- NEXS1
- Full HD Smart Dash Camera Adhesive Windshield Mount Quick Start Guide
- Quick Start Guide
- Tip: Shared car?
- SCOSCHE®
- Full HD Smart Dash Camera Adhesive Windshield Mount Cable Routing
- Cable Routing
- SCOSCHE
- Full HD Smart Dash Camera Adhesive Windshield Mount Features
- Features
- Light Indicators
- Safety tips and care
- Parts Included
- Dash Cam Features
Brand : Scosche
Model : NEXS1
Category : Dash cam