
GDDEKD9 - Dehumidifier DIMPLEX - Free user manual and instructions
Find the device manual for free GDDEKD9 DIMPLEX in PDF.


| Product Type | Dehumidifier |
| Brand | Dimplex |
| Model | GDDEKD9 |
| Dehumidification Capacity | 9 liters per day (at 30°C, 80% RH) |
| Water Tank Capacity | 2 liters |
| Air Flow | 80 m³/h |
| Noise Level | 42 dB(A) |
| Power Consumption | 180 W |
| Power Supply | 220-240 V ~ 50 Hz |
| Dimensions (W x H x D) | 250 x 480 x 250 mm |
| Weight | 8.5 kg |
| Refrigerant | R290 (flammable) |
| Humidity Set Range | 40% - 80% RH |
| Timer | 1-24 hours |
| Auto Defrost | Yes |
| Auto Shut-off | When tank full or target humidity reached |
| Continuous Drainage | Yes (with hose, not included) |
| Filter Type | Washable pre-filter |
| Castors | Yes, 4 castors |
| Handle | Built-in handle |
| Energy Efficiency Class | A |
Frequently Asked Questions - GDDEKD9 DIMPLEX
User questions about GDDEKD9 DIMPLEX
0 question about this device. Answer the ones you know or ask your own.
Ask a new question about this device
Download the instructions for your Dehumidifier in PDF format for free! Find your manual GDDEKD9 - DIMPLEX and take your electronic device back in hand. On this page are published all the documents necessary for the use of your device. GDDEKD9 by DIMPLEX.
USER MANUAL GDDEKD9 DIMPLEX
natural_image
Exterior view of a white Dimplex® air purifier device with control panel and display (no visible text or symbols beyond branding)CONTENTS
| Specifications | 2 |
| Where to position 3 | |
| Before use 3 | |
| Parts | 6 |
| Programming Feature 7 | |
| Operation | 10 |
| Drainage | 11 |
| Maintenance | 12 |
| Trouble shooting 14 |
SPECIFICATIONS
| Model no. GDDEKD9 | |
| Power supply 220~240V, 50Hz | |
| Humidity Removal capacity 9 L/day | |
| Power consumption | TURBO (high) – 730WSLEEP (low) – 385WElectric heating element (max) – 650W |
| Air volume (max.) 200 m3/h | |
| Fan (Ventilation) Speed 3 | |
| Water tank volume 5L | |
| Working temperature range 1 ~ 32°C | |
| Timer 1 ~ 24 hours | |
| Continuous Drainage Yes | |
| Safety Device | Tip-over switch |
| Size (WxDxH) | 340 x 232 x 511 mm |
| N.W. | 7.5 Kg |
- Above is measured under RT 30°C, RH 80%.
- Current & Fuse: F2L250V or T2L250V
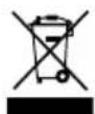
Disposal
This product should be taken to our local recycling centre for safety treatment. Waste electrical and electronic products must not be disposed of with household waste.
WHERE TO POSITION
The dehumidifier should be positioned so that it can draw moisture from all areas of your home.
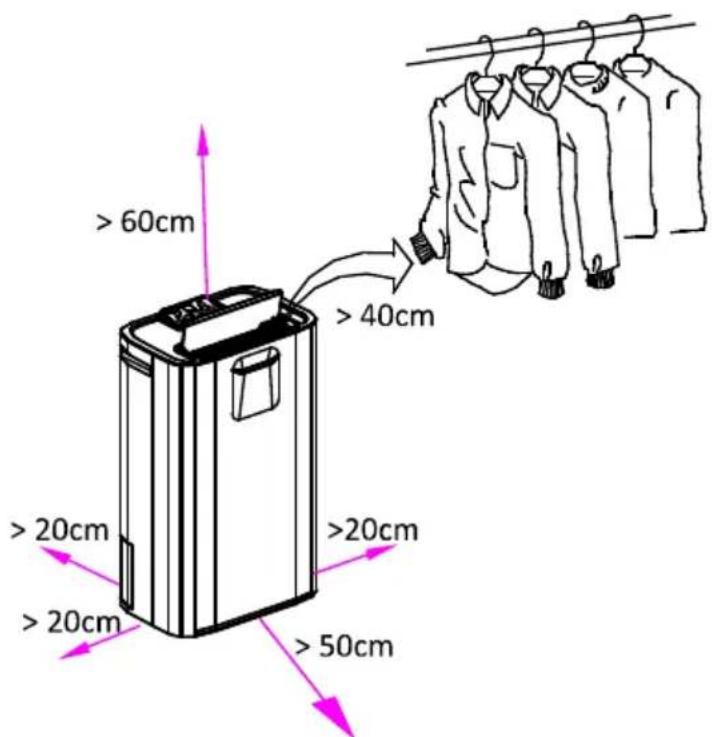
When positioning the dehumidifier, ensure that it is placed on a level surface and that there is a minimum of 20 cm (8") of space on either side of the unit to allow for efficient airflow.
Heater advice for DRY CLOTHES function, the distance between the air vent & the clothes must be kept at least 40cm apart to avoid having water drip into machine and cause damage.
Suitable to use in basement, kitchen, living room etc.
BEFORE USE

CAUTION!
- Operate this unit on a firm, flat surface to avoid water leakage. Ensure that it is kept upright at all times (including transport and storage).
- Do not place on soft surfaces.
- Ensure that there is at least 300mm between the sides of the appliance and any flammable materials.
- Ensure that there is at least 900mm from the top of the appliance and any flammable materials.
- The unit contains a chemical substance. The unit will emit a chemical smell during the 1st hour of operation without any dangerous consequences.
- The unit features an anti-tip safety device that will switch the unit off if it is tipped during operation.
- Only connect the unit to a properly installed and easily accessible socket so that you can quickly pull the plug in an emergency.
- Do not obstruct the air intakes and exhausts.
- For indoor use only.
- Do not expose the unit to direct sunlight.
- Do not use in cabinet, closet, boats, caravans or similar locations.
- Do not use the unit in bathrooms, swimming pools, washrooms or similar wet areas.
- Do not use the unit close to a bathtub, shower, sink etc.
- Do not use the appliance in locations where paint, petrol or other flammable liquids are used or stored.
- Do not allow the appliance to tip over when there is water in the tank.
- Avoid getting the unit wet. Do not let any liquid enter the unit.
- Do not place a container with liquid on top of the unit.
- The condensed water is not for drinking; either for humans or animals.
- Do not use bug sprays or flammable cleansers on the unit.
- Do not lay the cord under carpets/rugs so that you can regularly check its condition.
- Do not touch the plug of the unit with wet hands.
- Never use the cord of the unit as a carrying strap.
- Before moving the unit, first switch off, then unplug and empty the water tank. It takes around 2 minutes for the unit to stop. This allows the heater to cool down.
- Always unplug the unit from the mains power source and wait for at least one hour before carrying out any maintenance, transport or cleaning of the unit.
- Always switch the unit off and pull the plug out of the socket:
- If you are not using the unit.
– Before you clean the unit.
– Before you assemble the accessories.
- If a fault occurs.
- In the event of a storm.
- Avoid over-twisting, coiling or pulling the power cord. Never use nylon or iron wire to tie the power cord.
- Do not use extension cords.
- If the power cord is damaged, it must be replaced by an electrician or similarly qualified person, to avoid a hazard.
- The power supply must conform to the specification shown on the rating plate at the back of the unit.
- The appliance shall be installed in accordance with national wiring regulations.
- Never reach to retrieve the unit if it has fallen in water. In such case, immediately pull the plug. Have the unit checked before using it again.
- This appliance can be used by children aged from 8 years and above and persons with reduced physical, sensory or mental capabilities or lack of experience and knowledge if they have been given supervision or instruction concerning use of the appliance in a safe way and understand the hazards involved. Children should not play with the appliance. Cleaning and user maintenance should not be done by children without supervision.
- Appliances intended for indoor use (excluding laundry room).
- While using DRY CLOTHES mode, please keep the unit AT LEAST 40CM away from the objects (ex. the clothes) and ensure no water drips into the air vent of the unit.
• We suggest sending the unit for professional maintenance periodically.
- Only a licensed professional is allowed to dismantle or modify the appliance.
- The machine is to be used only for its prescribed purpose. Any other use is deemed to be a case of misuse. The user/operator, not the manufacturer will be liable for any damage or injuries of any kind caused as a result of this.
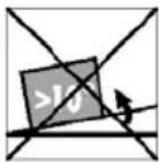
DO NOT USE YOUR DESICCANT UNDER THE FOLLOWING
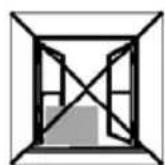
weather ourdoors
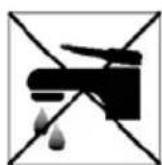
Near waterExposed to the power cable wires are frayed or cut

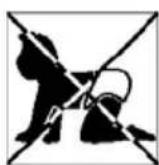
Where small children may be left unattended
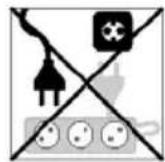
If an extension lead may become overloaded
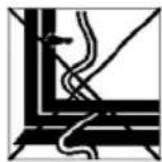
Where the power cable may be damaged
On a slope or uneven surface

Where there is risk of fire or close to a naked flame
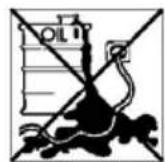
Where it may be damaged by chemicals
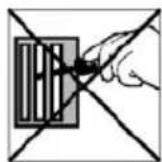
Where there is a risk of interference by foreign objects
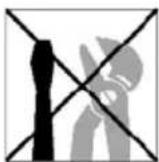
This product is not made for DIY repair
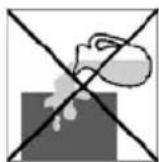
If there is a risk of water falling on the unit
PARTS
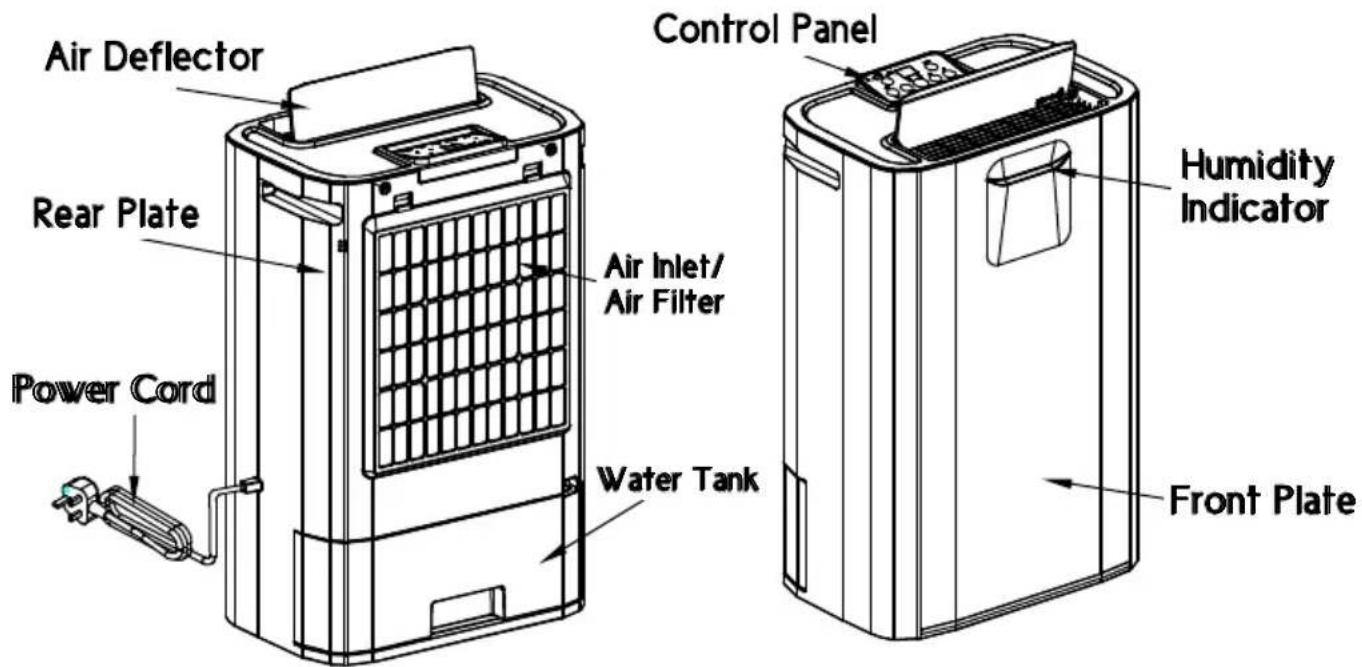
PROGRAMMING FEATURE
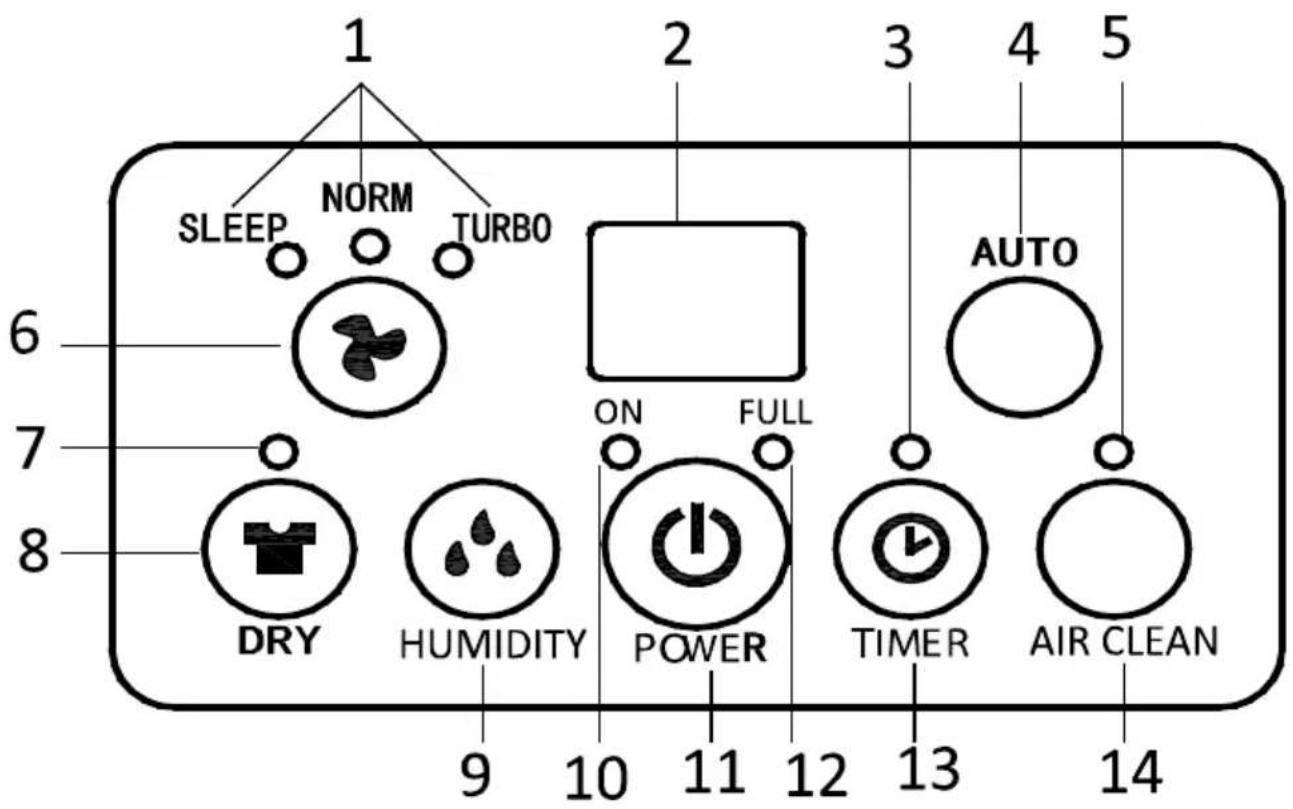
- FAN SPEED Indicator (Sleep, NORM, TURBO)
- Humidity/Timer Display Window
- TIMER Indicator
- AUTO button
- AIR CLEAN Indicator
- FAN SPEED Button
-
DRY CLOTHES Indicator
-
DRY CLOTHES (TURBO) Button
- Humidity Button
- ON indicator (heat element operation indicator)
- Power (ON/OFF) Button
- "Full Tank" indicator
- TIMER button
- AIR CLEAN Button
- POWER BUTTON: Press this button to start or turn off the machine.
• FAN SPEED BUTTON: There are 3 selections under this button:
- SLEEP (MUTE): the unit will run in low ventilation/low heat, thus, the unit is quieter. And, if the ambient humidity is less than set humidity, it will run with fan (ventilation) only, no heat. Note! In sleep mode, the humidity indicator in the front plate will not light up.
- NORMAL: the unit will run in Medium ventilation/HIGH Heat. And, if the ambient humidity is less than the set humidity, the unit will run in Medium fan speed only, no Heat.
- TURBO: the unit will run in HIGH ventilation/HIGH Heat. And, when the ambient humidity is less than the set humidity, the unit will run in HIGH fan speed only, no Heat.
-
AUTO BUTTON: By pressing this button, the unit will work automatically as below:
-
Ambient humidity ≥ 70% .... unit works in HIGH speed dehumidify.
- 70% >ambient humidity ≥ 55% .... unit works in LOW speed dehumidify
-
Ambient humidity < 55% , .... unit stops for 30mins -> fan resumes to work, to detect the ambient humidity. If higher than 55% , the unit resumes to work.
-
OPERATION MODES: As an additional safety procedure, the dehumidifier rests for at least 30 minutes every 8 hours of operation. Every 30 minutes of rest, the fan mode turns on to check the ambient humidity and if needed (depending on the set mode), the dehumidifier will resume operation.
- DRY CLOTHES (LAUNDRY) BUTTON: This mode is designed to really dry out a room to allow clothes to dry faster. The dehumidifier will work continuously at a target humidity level of 40% humidity / high fan/high heat. The DRY CLOTHES indicator will light up. The dehumidify will also rest every 8 hours of operation.
- Under this mode, the fan speed is always fixed at HIGH speed and is not adjustable.
- HUMIDITY BUTTON: Set the humidity level you need: CNT (continuous dehumidify), 40%, 50%, 60% or 70%. The set HUMIDIFY level will show on the LED display.
If the HUMIDITY button is not set, the unit will work in the default setting: 50% humidity / low fan / low heat.
- CONTINUOUS DEHUMIDIFY MODE: The dehumidifier rests for 30 minutes between every 8 hours of dehumidification (at the set humidity level).
- Continuous dehumidify mode + Ambient humidity less than 35%
The heater works for 15 minutes, then rests for a few minutes and repeats this cycle, unless the humidity level rises.
• Usage when ambient temperature is higher than 36°C
The heater stops, but the fan keeps running to check humidity, then follows the general logic of stopping for 30 minutes if the desired humidity is reached.
• Working with humidity setting: 40%, 50%, 60% or 70%
The dehumidifier rests for 30 minutes between every 8 hours of dehumidification (at the set humidity level).
TIMER BUTTON
- IN OPERATION TIMER: while the dehumidifier is operating, press TIMER button to set the number of hours you want the dehumidifier to continue operation. While pressing the button, the LED display will show the number of hours you set (between 0 and 24 in a cycle). The TIMER Indicator will light up at the same time.
When the set time has been reached, the machine will turn off automatically.
- DELAYED START TIMER: while the dehumidifier is turned off/in standby mode, press the TIMER button to select the number of hours you want the dehumidify to countdown until it turns on. For example, if you select the timer to '2', the unit will turn on automatically after 2 hours and enter into the last used mode.
- AIR CLEAN BUTTON: By pressing this button, the unit will work in FAN (ventilation) only, no heat. AIR CLEAN indicator light will turn on at the same time. The fan speed is adjustable in this mode.
- DISPLAY WINDOW
This can display the:
- room temperature (0\~50°C).
– room humidity (35\~95% humidity).
- set humidity, while pressing the HUMIDITY button.
- set time while pressing the TIMER. After 8 seconds, the display returns to room humidity.
• ON INDICATOR (heat operation indicator)
- lights up in GREEN as the heat element is working.
- lights up in RED and blinks if the unit is tipped over.
- WATER FULL INDICATOR: The light turns red and blinks when the water tank is full or if the tank is not in the correct position.
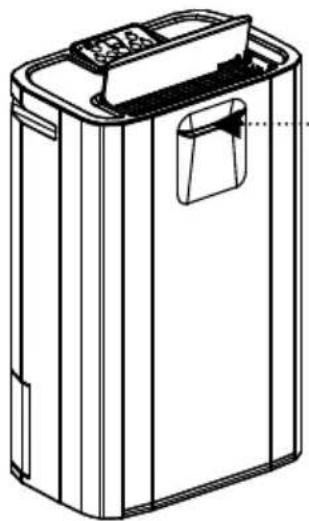
- HUMIDITY INDICATOR IN THE FRONT: This unit has a special HUMIDITY INDICATOR in the front, enabling the user to tell the ambient humidity level immediately. It will light up in 3 different colors:
natural_image
Line drawing of a rectangular electronic device with a lid and handle (no text or symbols)• In SLEEP mode, this indicator will not work.
OPERATION
- Plug the unit into the correct mains socket.
- OPEN THE AIR DEFLECTOR at the top.
- Press the POWER button to turn on the unit. The unit will start to work in LOW FAN/LOW HEAT/LOW DEHUMIDIFY (humidity setting: 50%)
- Press the HUMIDITY button to set the room humidity you need: continuous dehumidifying, 40%, 50%, 60% or 70% (the set level will appear on the LED display)
- Press the FAN SPEED to choose the ventilation speed, SLEEP, NORMAL (normal/standard) or TURBO.
- Press the TIMER button to set the working hours you need (1\~24 hours).
- To turn off the unit, press the POWER button again.
- You may also set the unit in AUTO mode or DRY CLOTHES mode, please refer to the description in the previous page.
IMPORTANT!
-
After switching off the unit, it takes at least 2 minutes for the unit to shut off completely, this allows the heater to cool down. DO NOT DISCONNECT THE PLUG DIRECTLY FOR A QUICK SHUT OFF.
-
Do not operate the unit without the AIR FILTER.
-
While using the DRY CLOTHES mode, please keep the air vent (air outlet) of the unit AT LEAST 40CM away from the objects (eg. the clothes) and ensure no water drips into the air vent of unit.
* ATTENTION! DO NOT use the unit in the closet or wardrobe.
- Tip Over protection: This unit is equipped with a tilt switch for overheat protection. If the unit is tipped, the unit will stop automatically. The ON indicator will turn RED and blink as a warning, also the display window will show E5.
After repositioning the unit upright, press the POWER button to re-start.
- Self-Diagnosis: This machine is equipped with a self-diagnosis function. If something is wrong with the machine, the LED will display Error E1 to E7 (each represents a different situation).
E5 means the unit is tipped over. Please reposition the unit upright, press POWER button to re-start.
For other errors, please call Glen Dimplex or your service centre. DO NOT dismantle the machine by yourselves in any case.
DRAINAGE
While the water tank is full, the unit will stop working for self-protection. The water full indicator will blink in red and the unit will buzz a warning.
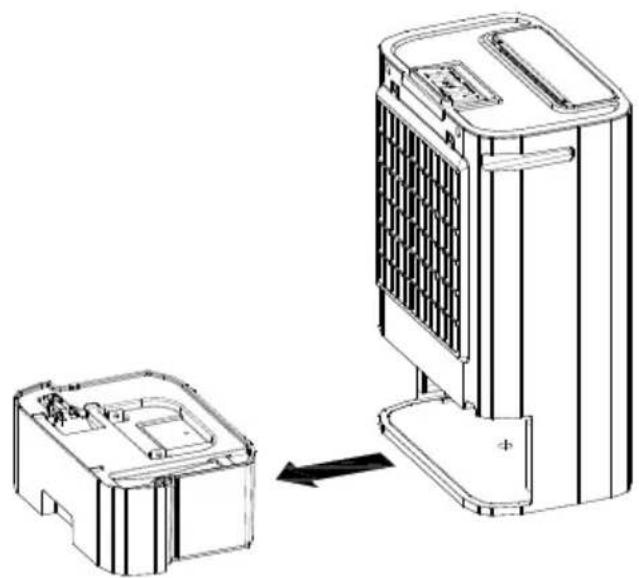
To empty the tank, please follow these steps:
-
Hold the unit with one hand to steady it.
-
Pull out the tank squarely from the unit.
-
Remove the cover of the tank and carry it by its handle to empty the water.
-
After the tank is emptied, replace the tank cover and reinsert the water tank to the dehumidifier. Make sure it is properly positioned, so the 'water full' indicator light goes out and your dehumidifier is operating as normal again.
natural_image
Technical line drawing of a device with two views: one showing internal components and the other showing a mounted device (no text or symbols present)Please note, if the water tank has not been positioned correctly, the water full indicator will stay red and the unit will keep buzzing.
CONTINUOUS DRAINAGE
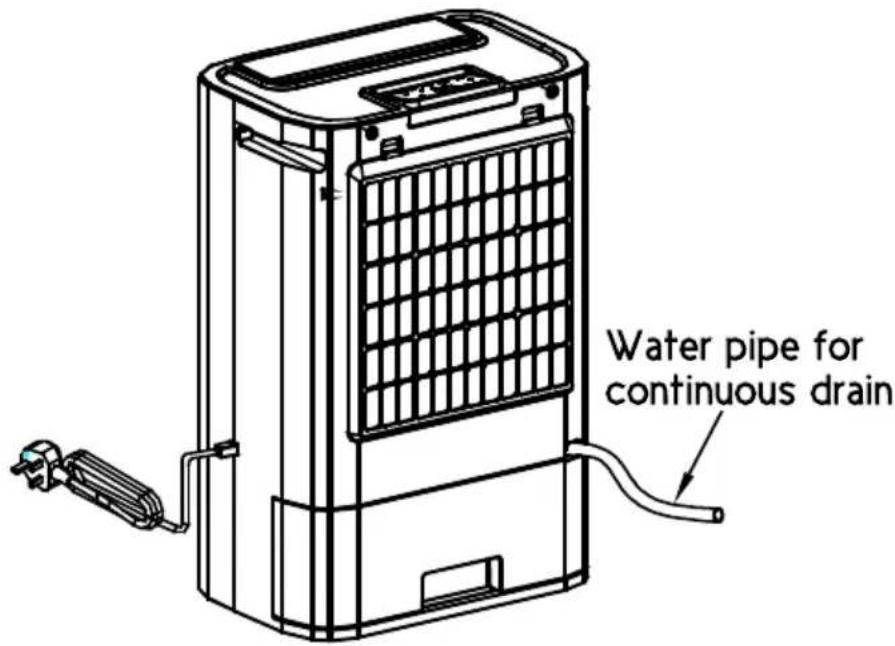
When the dehumidifier is operated in very high humidity, the water tank will require more frequent drainage. In this situation, it may be more convenient to set the unit up for continuous drainage with the following procedures:
- Cut off the cover of the continuous drain at the back of the unit.
- Unplug the water plug.
- Connect the drain hole with a water tube of inner diameter 11mm.
* Please note, the water tube is not supplied with the unit.
-
Pull out the water tank, plug the dropping gate inside the unit with the water plug taken from the continuous drain.
-
Return the water tank to the correct position.
MAINTENANCE
Always unplug the unit from the mains and wait for at least one hour before carrying out any maintenance or cleaning of the unit.
CLEANING THE BODY
Use a soft cloth to wipe the unit clean.
Don't use volatile chemicals, gasoline, detergents, chemically treated clothes, or other cleaning solutions. These all could possibly damage the dehumidifier.
CLEANING THE FILTER
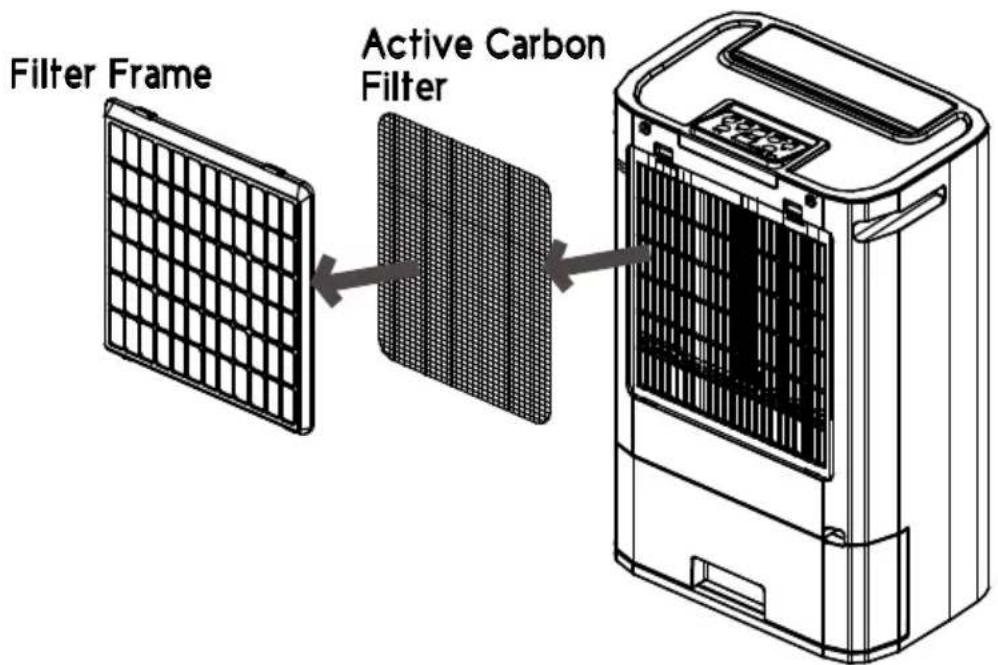
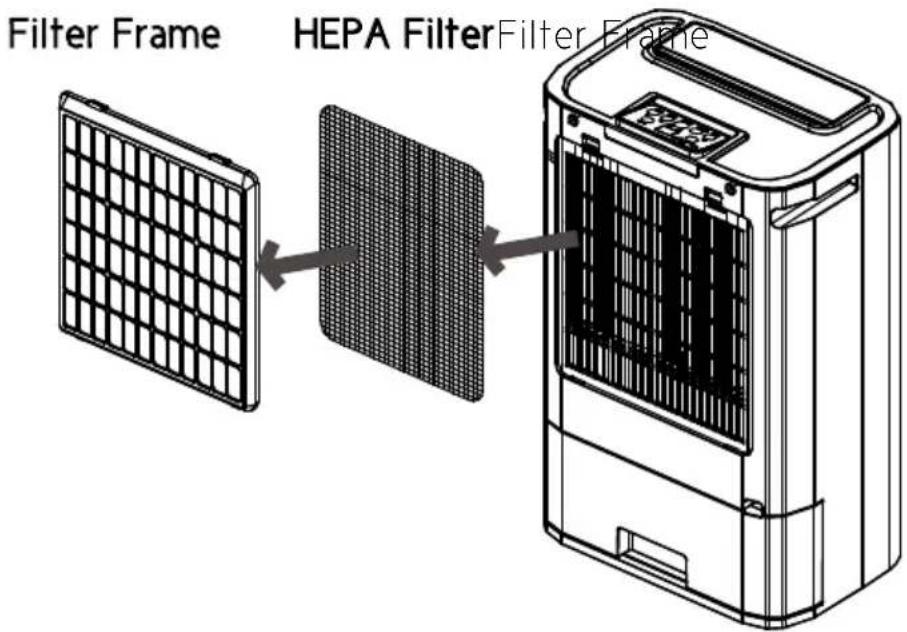
Draw out the air filter from the rear of the unit.
For dust filter and filter frame:
- Use a vacuum cleaner or tap the filter lightly for easy cleaning. If the filter is particularly dirty, use warm water.
- Make sure the filter is completely dry before replacing.
- Do not expose the filter to sunlight.
For HEPA filter:
This filter is not washable. Its life span is variable and depends on the ambient conditions where the appliance is used. The filter should be checked periodically (about every 6 months) and replaced if necessary. See the retailer where you purchased this product for spare filters.
STORAGE:
If the unit is not used for an extended period of time. Please:
- Turn the unit off, unplug and tidy the power cord.
• Completely empty the water tank and wipe it clean. - Cover the unit and store it where it will not be in direct sunlight.
TROUBLE SHOOTING
| PROBLEM POSSIBLE REASON | |
| The unit doesn’t work at all. 1. Bad connection of the power cord2. Water tank not positioned correctly or has a full tank.3. The unit is not standing upright or is not level. | |
| The unit is not dehumidifying 1. Too much dust on air filter.2. Objects may be blocking the intake or air vent.3. Room humidity is already low. | |
| Dehumidifying efficiency is not good 1. Too many doors and windows open.2. Other appliances increasing the rooms humidity. | |
| Abnormal noises from the motor 1. Check and clean the air filter2. The unit is not standing upright or is not level. | |
| The unit leaks water 1. The float of the water tank is blocked by foreign material.2. The unit is not standing upright or is not level. | |
| After the unit has been switched off, the fan motor is still running | 1. After the unit stops, about 2 minutes is needed to cool down the electric heater by running the internal fan. |
Please TURN off the power immediately when the unit emits strange noises, odors, etc.
DCDimplex®
Glen Dimplex New Zealand Ltd
38 Harris Road, East Tamaki
Auckland, New Zealand
P.O. Box 58473, Botany
Manukau 2163, New Zealand
Phone: 09 274 8265
Fax: 09 274 8472
Email: sales@glendimplex.co.nz
Web: www.dimplex.co.nz
- CONTENTS
- SPECIFICATIONS
- Disposal
- WHERE TO POSITION
- BEFORE USE
- CAUTION!
- DO NOT USE YOUR DESICCANT UNDER THE FOLLOWING
- PARTS
- PROGRAMMING FEATURE
- TIMER BUTTON
- OPERATION
- IMPORTANT!
- DRAINAGE
- CONTINUOUS DRAINAGE
- MAINTENANCE
- CLEANING THE BODY
- CLEANING THE FILTER
- For dust filter and filter frame:
- For HEPA filter:
- STORAGE:
- TROUBLE SHOOTING
- DCDimplex®
- Glen Dimplex New Zealand Ltd
Brand : DIMPLEX
Model : GDDEKD9
Category : Dehumidifier