
Maxsound SSB-1 - Loudspeaker MAXELL - Free user manual and instructions
Find the device manual for free Maxsound SSB-1 MAXELL in PDF.


User questions about Maxsound SSB-1 MAXELL
0 question about this device. Answer the ones you know or ask your own.
Ask a new question about this device
Download the instructions for your Loudspeaker in PDF format for free! Find your manual Maxsound SSB-1 - MAXELL and take your electronic device back in hand. On this page are published all the documents necessary for the use of your device. Maxsound SSB-1 by MAXELL.
USER MANUAL Maxsound SSB-1 MAXELL
natural_image
Exterior view of a modern black electronic device with curved screen and side panel (no visible text or symbols)user manual mode d'emploi manual de instrucciones manual do usuário
Introduction
Thank you for purchasing the Maxell SSB-1 Soundbar. Please read the following instructions thoroughly and enjoy your product.
natural_image
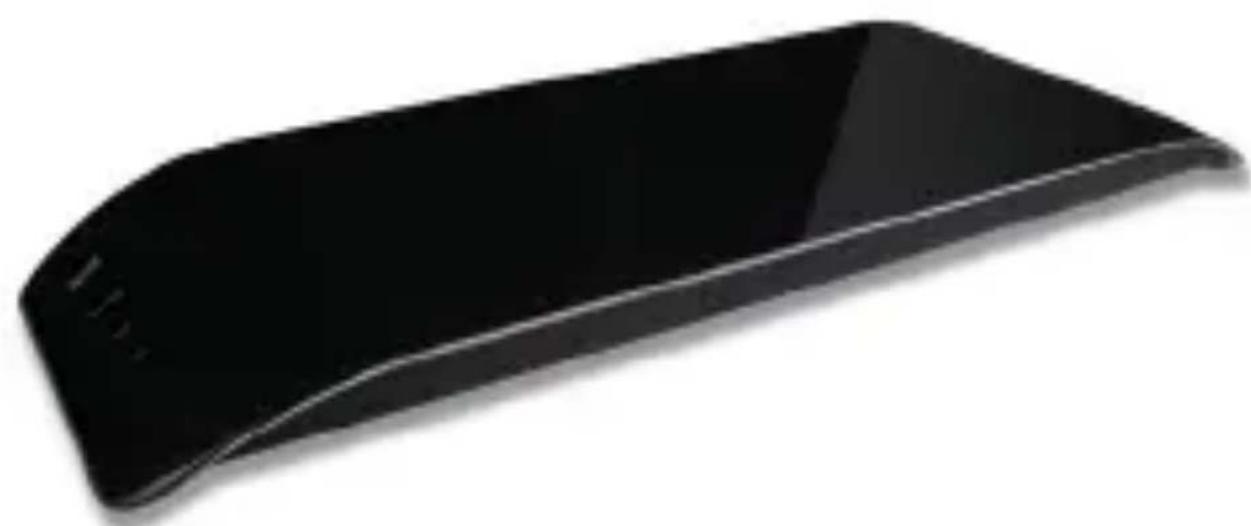
Black flexible electronic device with smooth curved surface and visible screen (no text or symbols)What's in the box

Main Unit

User Manual
natural_image
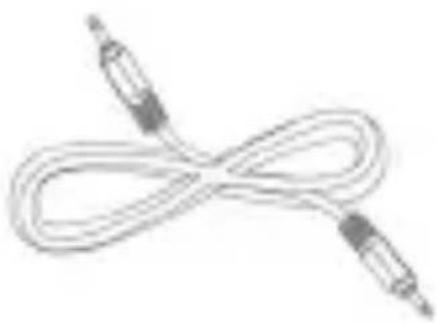
Simple line drawing of a cord with two connectors (no text or symbols)3.5mm to 3.5mm Cable (For TV Headphone Output)

natural_image
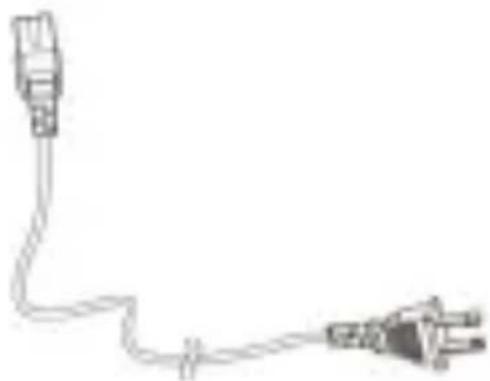
Simple line drawing of a plug and plug with a terminal connector (no text or symbols)AC Power Cable

natural_image
Coiled audio cable with two connectors (no text or symbols visible)3.5mm to RCA plug Cable (For Audio Outputs of Source Device)
natural_image
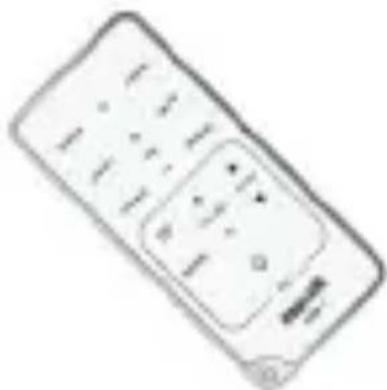
Illustration of a remote control device with buttons and display (no text or symbols visible)Remote Control
Important Safety Instructions
Safety
1 Read and follow all instructions.
2 Do not use this product near water.
3 Clean only with a dry cloth.
4 Do not block any ventilation openings. Install in accordance with the manufacturer's instructions.
5 Do not install near any heat sources such as radiators, heat registers, stoves, or other devices(including amplifiers) that produce heat.
6 Protect the power cord from being squeezed or pinched, particularly at the plugs, the AC outlet, and the point where it exits from the product.
7 Unplug this product during electrical storms or when unused for long periods of time.
8 Refer all technical questions to Maxell Technical Support at 1-800-377-5887. If the product has been damaged in any way, such as power-supply cord or plug is damaged, liquid has been spilled or objects have fallen into the product, the product has been exposed to rain or moisture, does not operate normally, or has been dropped, please contact Maxell Technical Support.
9 Do not expose this product to any type of liquid.
10 Do not place any hazardous material on the product (e.g. liquid filled objects, lighted candles, etc...).
11 The main AC cord is used to disconnect the device and should remain readily accessible.
Warning
1 Do not place a TV or a monitor that weighs more than 55 lbs. on top of this unit.
2 Before operating this product, check that the voltage rating of this product corresponds with the voltage supplied at your AC outlet.
3 Should any solid object or liquid fall into the product, unplug the product and contact Maxell Technical Support before operating the unit.
4 Do not attempt to clean the unit with chemical solvents as this might damage the finish. Use a clean, dry or slightly damp cloth. When removing the power plug from the wall outlet, always pull directly on the plug, never pull on the cord.
Identifying the Parts
Main Unit: Top View
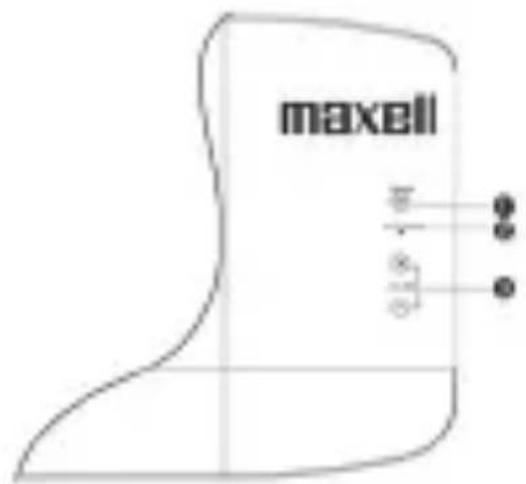
1 ☐/SOURCE Selects LINE IN 1 or LINE IN 2. 2 AUTO POWER Light Indicates mode. Red light: Standby mode. Green light: play through LINE IN 1. Yellow light: play through LINE IN 2. 3 + VOLUME - Increases or decreases the volume level.
Main Unit: Side View

natural_image
Pure curved line diagram without any text, numbers, or symbols4 REMOTE CONTROL SENSOR
Main Unit: Rear View

5 LINE IN Terminal Connect to an external audio device. 6 AC\~ Connect to AC outlet. Identifying the Parts
Connections
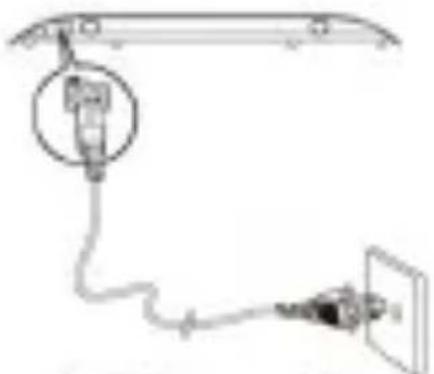
Connect power
Caution:
Ensure that the AC outlet voltage corresponds to the voltage rating on the back or the underside of the unit.
natural_image
Pure electrical circuit lines without any symbolsConnect the AC power cord to:
• the AC \~ socket on this unit.
• the wall socket.
Turning On / Off
Note: AG power must be connected before the unit will turn on. When you connect a TV or an external device to the unit (the sound on the TV or external device must be ON) the unit will turn on automatically. The Auto Power indicator light turns green (connected to LINE IN 1) or yellow (connected to LINE IN 2), and will turn red when disconnected or when you turn the TV / external device off.
NOTE:
If the volume of the TV or an external device is too low, the unit will also turn off automatically.
Adjust Volume Level
During play press the VOLUME+i-buttons to increase/decrease the volume level. If the unit is connected to a TV with a headphone jack, you can also directly control the Volume Level by using theTV's remote control set.
Connect to TV
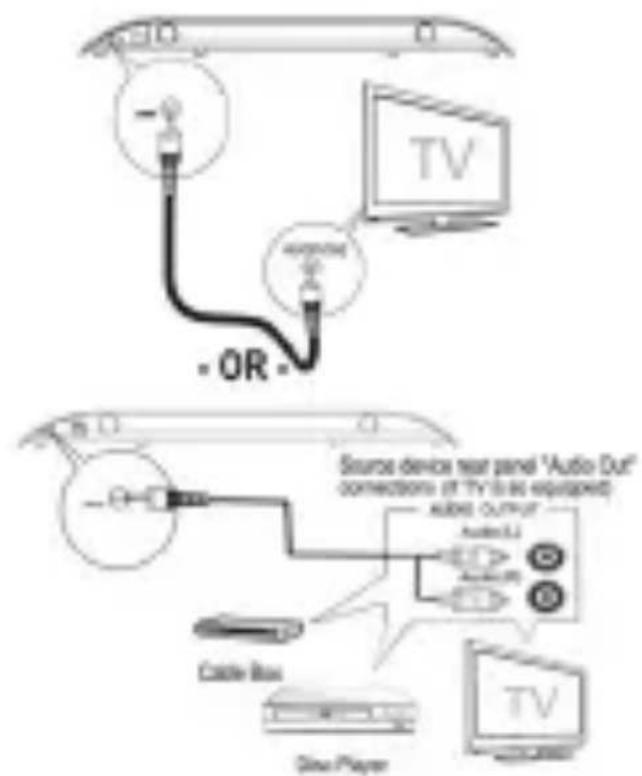
*Note: AC power must be connected first or the unit will not power up.
Connect using the 3.5mm to 3.5mm cable
- Connect one end of the input cable to the LINE IN socket on this unit, and the other end to the HEADPHONE socket on the TV (if the TV is so equipped).
Connect using the 3.5mm to RCA cable
- Connect the 3.5mm end of the input cable to the LINE IN socket on this unit, and connect the RED and WHITE RCA plugs on the input cable to the RED and WHITE AUDIO OUT connectors on the source device (Cable Box, DVD / Blu-ray Player, or TV, if TV is so equipped.) - Turn on the TV or external device. - Press the ☑ SOURCE button to select the input source, LINE IN 1 (Green light) or LINE IN 2 (Yellow Light), whichever one has been connected to the TV or other external device. The unit will turn on automatically, as long as the sound from the source device is turned ON.
Note:
Connecting with the 3.5mm to RCA cable will not allow the user to control the volume of the soundbar using the TV remote control.
Smart Remote Control Operation
Identifying Smart Remote Control

1 ON/OFF
Turns the unit on or off.
2LINE IN 1LINE IN 2
Selects LINE IN 1 or LINE IN 2 as the input.
3 Learning indicator light.
4 LEARN
Activates "learning" mode to accept commands from the TV's remote control, to enable basic TV functions using the smart remote control.
5 MUTE
Mutes or resumes the sound of the unit.
€ VOL+/VOL-
Increases or decreases the volume level.
7 RIS-BASS
Boots low and bass.
8 TV Section
You can store some functions of your TV remote control in the TV section of the smart remote control.
NOTE: The TV remote control functions must be programmed into the smart remote control before these keys will operate with your TV. Perform the following programming steps to program your smart remote control to work with your TV.
Program Smart Remote Control to Control TV
You can store a total of 7 of the most frequently used functions of your TV in the TV section of the of smart remote control. This feature allows you to use one remote control to operate both the speaker and the TV. The available preset buttons are:

- ON/OFF.

FUNCTION
ENTER, TV VOL+/VOL-, TV CH+/CH-
NOTE:
During the learning process, the normal remote control functions are disabled.

natural_image
Illustration of a remote control device with a black handle and labeled parts (no text or symbols on the device itself)1 Aim the smart remote control (A) at the TV remote control (B), keeping them about 1 - 2 inches apart.
2 Press and hold the LEARN key on the smart remote control for 2 seconds to activate the learning mode. A red indicator on the smart remote control (A) lights up.
3 Press one of the TV keys on the smart remote control [A], the red indicator flashes.
4 Press the corresponding key on the TV remote to be stored on the smart remote control (A). When the code is received successfully, the red indicator flashes 3 times, then turns red again. If the red indicator flashes but does not turn red, the code was not received successfully.
5 Repeat steps 3-4 to program additional keys on the smart remote control (A).
6 Press the LEARN key to save the learned codes and exit the learning mode.
Troubleshooting
To keep the warranty valid, never try to repair the system yourself. If you encounter problems when using this unit, check the following points before contacting Maxell Technical Support.
No power
- Ensure that the AC cord is connected properly.
- Ensure that there is power at the AC outlet.
- Press standby button to turn the unit on.
No Response From the Unit
- Disconnect and reconnect the AC power plug, then turn on the unit again.
Specifications
General
Power Requirements...AC 120V - 60Hz Power Consumption.....6.5W Output Power.....7.5W x 2 + 15W Total Harmonic Distortion..... .....1%(1kHz, 1W)
Audio Input Sensitivity/Impedance LINE: 500mV/47kΩ FrequencyResponse. 40Hz - 20kHz(+0 / -3dB) Unit Dimensions (W x H x D)... 23 x 2 x 8.5 inches
Speaker
Front
Impedance....3Ω Rated Power....10W
Subwoofer
Impedance....6Ω Rated Power....30W
Maximum Weight Supported...55 lbs. Do not place a TV or monitor in excess of 55 lbs. on top of this unit.
Technical Support
For help or technical assistance, please contact Maxell Technical Support at: 1-800-377-5887 techsupp@maxell.com

www.maxell.com/support
MAXELL WARRANTY
Maxell warrants this product to be free from all defects for a period of 1 year from the date of original purchase. This Warranty does not apply to normal wear or damage due to accident, abnormal use, misuse or neglect. This Warranty only applies to personal and individual use of the product and not for commercial, institutional or any other use. Any defective item will be replaced, at no charge, upon the reasonable confirmation by Maxell of its defective condition, if returned with proof of purchase to an authorized Maxell dealer or Maxell Corporation of America or directly to Maxell Warranty Replacement, 3 Garret Mountain Plaza, Suite 300, Woodland Park, New Jersey, 07424. Neither Maxell nor any authorized Maxell dealer shall be liable for consequential damages arising from this Warranty, unless otherwise provided by law.
Introduction
natural_image
Black flexible electronic device with curved surface and flat edges (no text or symbols visible)natural_image
Line drawing of a double-squinsed audio jack (no text or symbols)natural_image
Pure electrical circuit lines without any symbolsnatural_image
Illustration of a coiled audio cable with two connectors (no text or symbols)natural_image
Illustration of a remote control device with buttons and display (no text or symbols visible)Télécommande
natural_image
Pure curved line diagram without any text, numbers, or symbols4 CAPTEUR DE TÉLÉCOMMANDE
natural_image
Pure electrical circuit lines without any symbols1 ON/OFF
- ON/OFF, - FUNCTION, ENTER, TV VOL+VOL-, TV CH+CH-
REMARQUE:
natural_image
Black flexible electronic device with curved screen and flat body (no visible text or symbols)natural_image
Simple line drawing of a pair of audio/video cables (no text or symbols)natural_image
Simple line drawing of a plug and plug with a cable, no text or symbols presentnatural_image
Line drawing of a USB cable with two connectors (no text or symbols)natural_image
Simple line drawing of a remote control device (no text or symbols)Control remoto
natural_image
Pure diagram of a curved line with circular markers and a small circle at the end, no text or symbols present.4 RECEPTOR DEL MANDO A DISTANCIA
Vista posterior

natural_image
Pure electrical circuit lines without any symbolsnatural_image
Illustration of a remote control device with a black handle and labeled parts A and B (no text or symbols on the device itself)Nasseri Corporation of America 31 Carm-American Place, Suite 100 Woodford Rd, N107624
Narcell Canada 2137 Hominal Dolor, Suite 206, Concord, 384 Canada 1.80-0.95
Nasell Latin America PlayWest 50th St, Panama City, Rep. of Panama
www.noxxell.com
Nate in China/Sabriqat an China/Marche an Elvina/Sabriqat na Elvina

tech support
service technique
saporte técnico
suporte técnico
1,000,371,5887
techsuppemaxall.com
www.maxell.com/support
GARANTÍA DE MAXELL
natural_image
Black flexible electronic device with smooth curved surface and white highlights (no text or symbols visible)natural_image
Simple line drawing of a ribbon connecting two cables (no text or symbols)Cabo 3,5 mm a 3,5 mm
(Para saída do fone de ouvido da TV)
natural_image
Simple line drawing of a plug and plug with a cable, no text or symbols presentCabo de energía CA

natural_image
Coiled audio jack with two leads (no text or symbols visible)Cabo com plugue RCA de 3,5 mm
(Para saídas de áudio do dispositivo de origem)

natural_image
Illustration of a remote control device with buttons and display (no text or symbols visible)Controle remoto
natural_image
Pure curved line diagram without any text, numbers, or symbols4 RECEPTOR DE REMOTO CONTROLE
Visão traseira

natural_image
Simple line drawing of a cable or wire connection with a magnified inset showing a connector (no text or symbols)Conectar o cabo de energia CA:

natural_image
Illustration of a handheld device with a black handle and a grid of small rectangular elements, labeled A (no text or symbols on the device itself)- Introduction
- What's in the box
- Important Safety Instructions
- Safety
- Warning
- Identifying the Parts
- Main Unit: Top View
- Main Unit: Side View
- Main Unit: Rear View
- Connections
- Connect power
- Caution:
- Turning On / Off
- NOTE:
- Adjust Volume Level
- Connect to TV
- Connect using the 3.5mm to 3.5mm cable
- Connect using the 3.5mm to RCA cable
- Smart Remote Control Operation
- Identifying Smart Remote Control
- Program Smart Remote Control to Control TV
- Troubleshooting
- No power
- No Response From the Unit
- Specifications
- General
- Speaker
- Front
- Subwoofer
- Technical Support
- MAXELL WARRANTY
- REMARQUE:
- Vista posterior
- tech support
- GARANTÍA DE MAXELL
- Visão traseira
Brand : MAXELL
Model : Maxsound SSB-1
Category : Loudspeaker