E 260 - Coffee maker BRAUN - Free user manual and instructions
Find the device manual for free E 260 BRAUN in PDF.

User questions about E 260 BRAUN
0 question about this device. Answer the ones you know or ask your own.
Ask a new question about this device
Download the instructions for your Coffee maker in PDF format for free! Find your manual E 260 - BRAUN and take your electronic device back in hand. On this page are published all the documents necessary for the use of your device. E 260 by BRAUN.
USER MANUAL E 260 BRAUN
ESPRESSO MASTER E250T/E260T TYPE 3062
ESPRESSO AND CAPPUCCINO MACHINE USE INSTRUCTIONS
FOR HOUSEHOLD USE
BRAUN
natural_image
Black-and-white photo of a vintage mechanical device with no visible text or symbolsIMPORTANT SAFEGUARDS
When using electrical appliances, basic safety precautions should always be followed including the following:
-
Read all instructions.
-
Do not touch hot surfaces (i.e. steam tube, filter holder).
-
To protect against electric shock, do not place cord, plugs or appliance in water or other liquid.
-
This appliance must be kept out of the reach of children.
-
Unplug from outlet when not in use and before cleaning. Allow to cool before putting on or taking off parts, and before cleaning the appliance.
-
DO NOT ATTEMPT to unscrew or remove boiler cap while machine is in operation. Wait until brewing cycle is completed and all water and steam have been used up. DO NOT remove the filter holder while you are making espresso.
-
The use of an accessory not evaluated for use with this appliance may cause injuries.
-
Do not use outdoors.
-
Do not let cord hang over edge of table or counter, or touch hot surfaces.
-
Do not place on or near a hot gas or electric burner, or in a heated oven.
-
This machine was designed to process normal household quantities only. Not suitable for continuous operation.
-
The carafe is designed for use with this appliance. It must never be used on a range top.
-
Do not set a hot carafe on a wet or cold surface.
-
Do not use a cracked carafe or a carafe having a loose or weakened handle.
-
Do not clean carafe with cleansers, steel wool pads, or other abrasive material.
-
Do not operate any appliance with a damaged cord or plug or after the appliance malfunctions, or has been damaged in any manner. Return appliance to an authorized service facility for examination, repair or adjustment.
-
Do not use if the water tank is not filled.
-
Do not leave water remaining in the tank after use.
-
ALWAYS use cold water. Warm water or other liquids could cause damage to the Espresso Master.
-
Please note the Warning on the bottom of the appliance.
"To reduce the risk of fire or electrical shock, do not remove this cover. No user serviceable parts inside. Repair should be done by authorized service personnel only".
"Do not immerse in water".
SAVE THESE INSTRUCTIONS
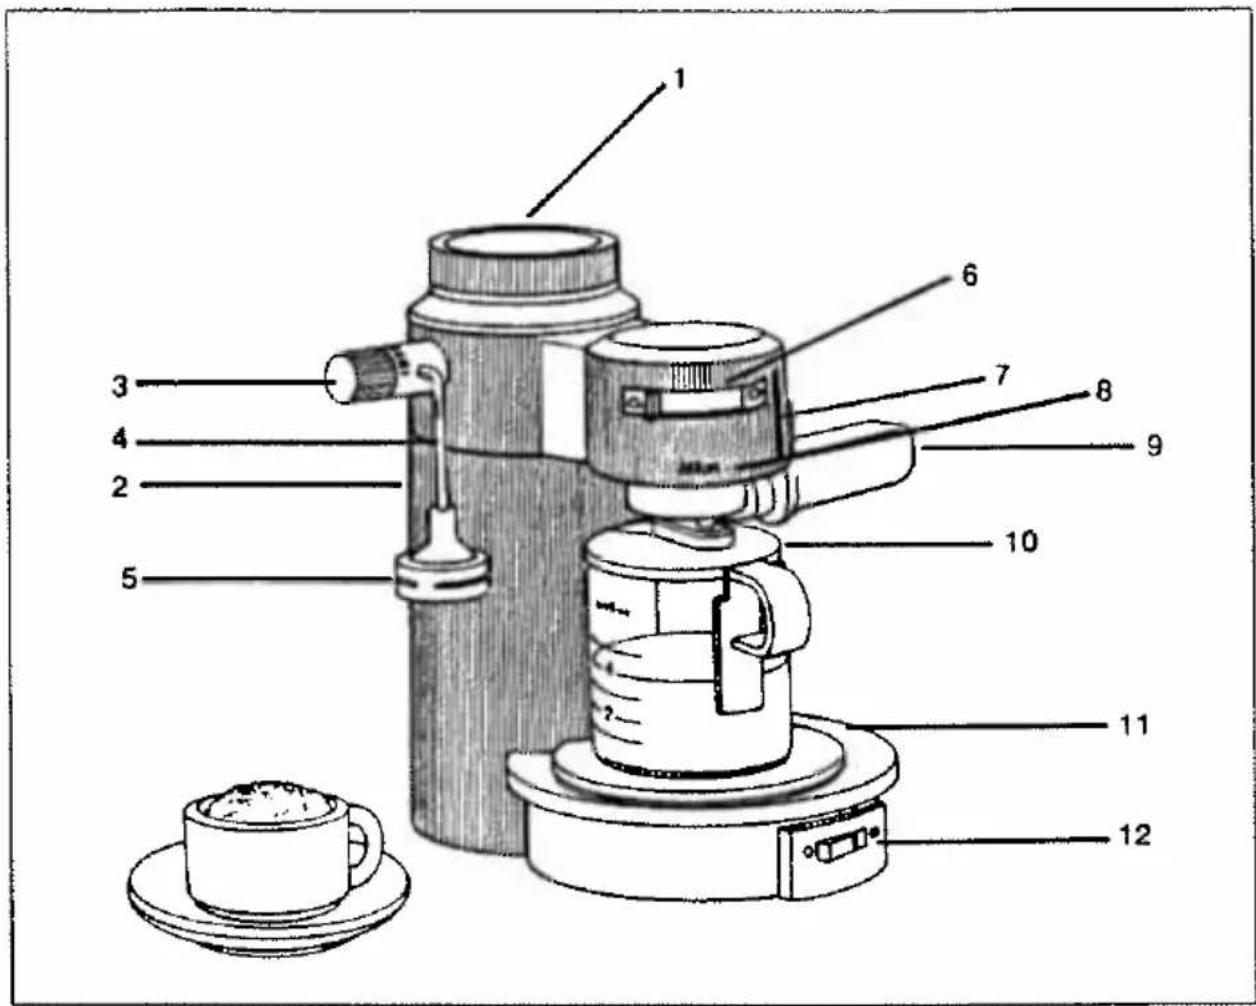
text_image
Labeled diagram of a coffee maker with numbered parts for identification- Boiler lid
- Boiler
- Steam knob
- Steam tube
- Turbo cappuccino attachment
- Slide switch
-
Marking for fastening filter holder
-
Filter head
-
Filter holder
-
Carafe and lid
-
Drip tray
-
On/Off switch
13.
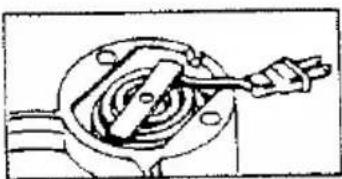
natural_image
Mechanical assembly diagram showing a rotating component with a handle and shaft (no text or labels)Cord compartment
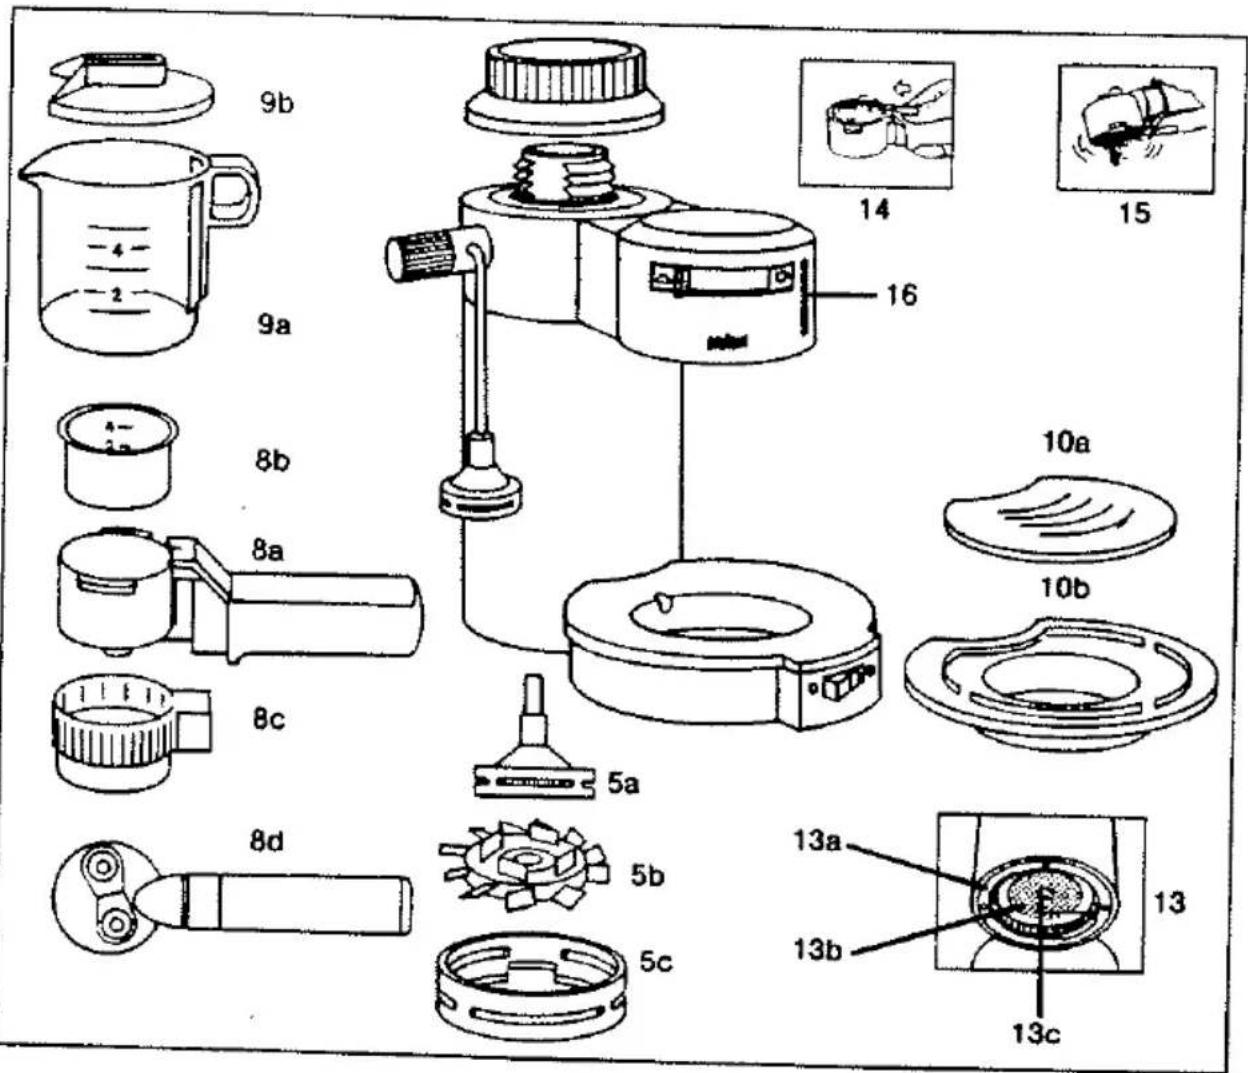
text_image
9b 9a 8b 8a 8c 8d 5a 5b 5c 14 15 16 10a 10b 13a 13b 13c9a. Carafe
9b. Detachable carafe lid
8a. Filter holder
8b. Filter basket
8c. 2 cup adapter
8d. Underview of filter holder showing drip spouts
5a. Turbo housing
5b. Mini turbine blades
5c. Air vent openings
10a. Drip tray grid
10b. Drip tray base
13. Underview of filter head
13a. Gasket
13b. Water disperser screen
13c. Water disperser screw
14. Filter lock holding filter basket in place
15. Filter lock in place allowing removal of spent grounds
16. Marking for fastening the filter holder.
BEFORE YOU START...
Making espresso or cappuccino is different from brewing regular drip coffee. The major difference is that water, heated to steam inside the boiler, is forced BY PRESSURE through the ground coffee. This is why it is important, BEFORE YOU START, to read through all the instructions, including the Basic Safeguards on page 2, cautions and notes.
We suggest that you familiarize yourself with the machine itself, and all its working parts. Insert the filter holder and feel how it fits into place; remove and replace the reservoir lid; turn the steam knob on and off; get the feeling of the control lever. Wash all loose parts in warm soapy water, rinse thoroughly and dry.
CAUTION - PRESSURE!
NEVER open the boiler lid (1), or remove the filter holder (8) while your Espresso Master is turned on, or as long as there is any steam remaining in the boiler.
To check whether any steam pressure remains in the boiler:
a) Switch machine off (11).
b) Unplug machine.
c) Open the steam knob (3) by turning it slowly to the left (counter-clockwise). If steam still escapes from the turbo attachment (5), then there is still water under pressure inside the boiler.
d) Hold a pitcher with some water under the turbo attachment (5), immerse the attachment, and allow the steam to escape into the water.
e) You can now remove the boiler lid (1) and the filter holder (8).
f) Close the steam knob (3) again by turning it to the right (clockwise).
CAUTION
a) A short power cord is provided to reduce the risks resulting from becoming entangled in or tripping over a longer cord.
b) Longer detachable cords or extension cords may be used if care is exercised.
c) If a long extension cord is used, the marked electrical rating of this cord should be at least twice as great as the rating of the appliance and the extension cord should be arranged so that it will not drape over the counter top where it can be pulled by a child or tripped over.
MAKING ESPRESSO
-
Start by ensuring the machine is unplugged and turned off.
-
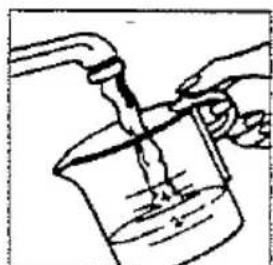
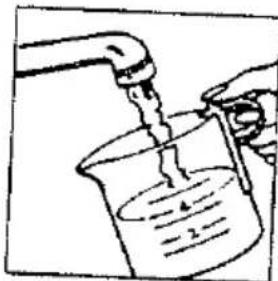
Measure cold water into the carafe (9). The carafe has markings for 2 or 4 cups. When brewing directly into cups, ensure the quantity of cold water does not exceed the capacity of the cups.
natural_image
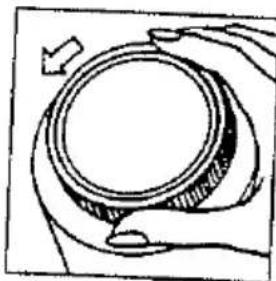
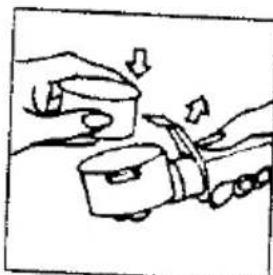
Simple line drawing of a hand pouring liquid into a beaker (no text or symbols)- Unscrew the boiler lid (1).
natural_image
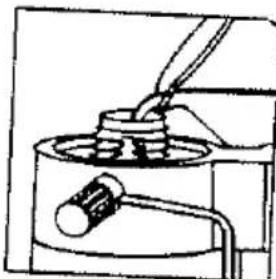
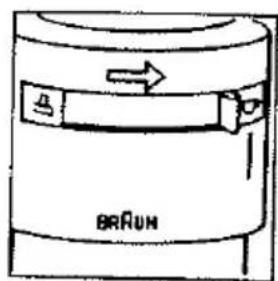
Hand holding a circular mechanical component with a directional arrow (no text or symbols)- Pour the cold water from the carafe into the boiler.
natural_image
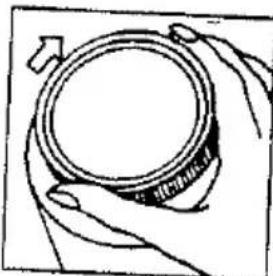
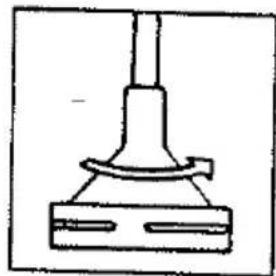
Mechanical diagram showing a piston-cylinder assembly with a connecting rod (no text or labels)- Screw the lid down tightly.
- Before using the Espresso Master for the first time, or when you have not used it for some time, let 3 or 4 tanks of water run through without making espresso (that is, use water only to "flush out" the machine).
natural_image
Hand holding a circular object with a label, no visible text or symbols- Place filter basket (8b) into the filter holder (8a). Ensure the filter lock (14) is on top of the filter basket.
natural_image
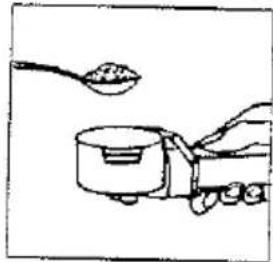
Illustration of hands using a tool to interact with a mechanical component (no text or symbols)- Fill with finely ground espresso coffee. The filter basket is marked on the inside with 2 and 4 cup levels. Be sure that the rim is clear of any excess coffee.
NOTE: Do not pack the coffee down.
Do not fill with more coffee than indicated by the 4-cup level.
-
Place the filter holder (8a) into the filter head (7) by aligning the straight line on the filter lock (14) with the Braun logo on the machine.
-
Turn the handle firmly to the right past the straight line. You will feel it fit snugly into place. If the handle is not turned past the straight line, espresso will not pour out during brewing.
-
Place the lid (9b) on the carafe, snapping it firmly into place.
-
Slide the carafe under the filter holder by aligning the opening in the lid with the two spouts overhead.
-
To make the espresso directly into cups, go back to step 7, then snap on the 2-cup adapter (8c) . . . proceed with step 8, 9 and then 10.
-
Place 2 espresso cups side-by-side under the filter holder (8), ensuring the cups are beneath the 2 spouts.
natural_image
Simple line drawing of a spoon lifting a bowl with a spoon above it, no text or symbols present.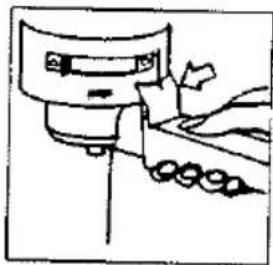
natural_image
Line drawing of a mechanical device with gears and a handle (no text or symbols)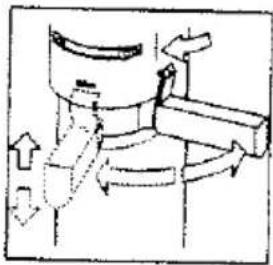
natural_image
Diagram of a mechanical or fluidic system with directional arrows indicating flow or movement (no text or symbols)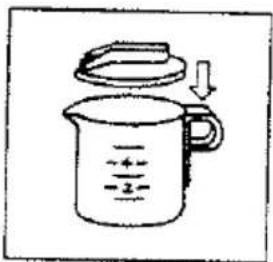
text_image
Diagram of a measuring cup with liquid level markings and an arrow indicating downward motion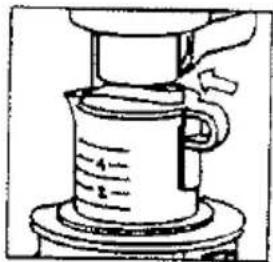
text_image
Diagram of a laboratory setup with a beaker and a funnel, showing a measuring scale from 1 to 2.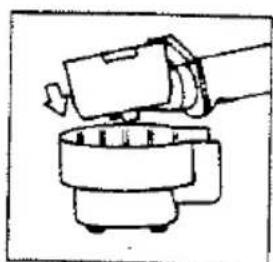
natural_image
Simple line drawing of a hand pouring liquid into a cylindrical container (no text or symbols)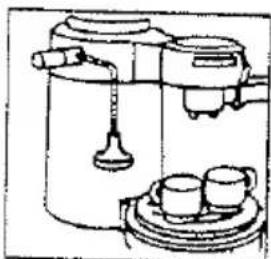
natural_image
Line drawing of a coffee maker with two cups on a tray (no text or symbols)-
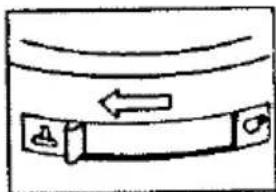
Move the slide switch (6) to the "cup" symbol; all the way to the right.
-
Ensure the steam knob (3) is turned OFF - all the way to the right (clockwise).
-
Plug in the machine.
-
Turn the machine ON. The red light will go on and the machine will start to heat the water. After about 3½ minutes, the water will boil, creating pressure, and will be forced through the ground coffee, into either the carafe or the cups.
NOTE: To prolong the life of the gasket, remove the filter holder when your espresso machine is not in use.
text_image
BRUN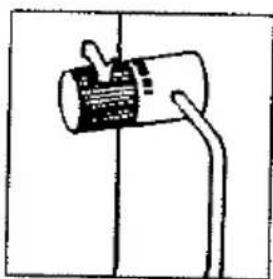
natural_image
Simple line drawing of a cylindrical object with a handle and a label, no text or symbols present.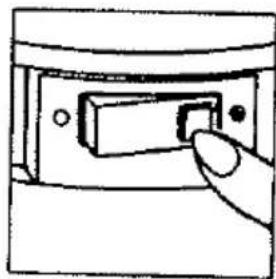
natural_image
Simple line drawing of a hand pressing a button on a rectangular device (no text or symbols)MAKING CAPPUCCINO
(Cappuccino is 13 part espresso coffee, 13 part hot milk and 13 part foamed milk.)
-
Ensure that the turbo cappuccino attachment (5) has been installed on the espresso machine. If installation is required, screw the attachment onto the base of the metal steam tube (4) by turning it to the right until the attachment fits snugly. Do not overtighten.
-
Follow instructions 1 through 17 of "Making Espresso", adding one extra measure of water: to the 3 cup level on the carafe for 2 cups of cappuccino or, to the 5 cup level for 4 cups of cappuccino.
natural_image
Simple line drawing of a mechanical component or tool (no text or symbols)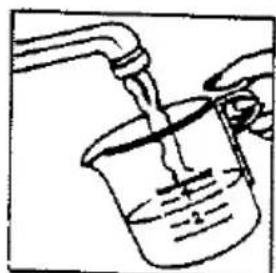
natural_image
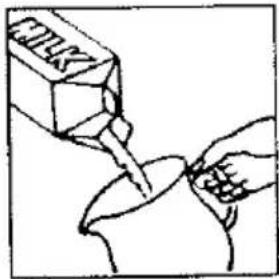
Simple line drawing of a beaker with liquid being poured into a pipe (no text or symbols)- Pour 125-200 ml (4-6 ounces) of cold milk (for 2 cups) or 225-350 ml (8-12 ounces) of cold milk (for 4 cups) into a small container with a handle; one that can fit beneath the turbo attachment (5).
text_image
FILK- When MOST the espresso has flowed into the carafe or cups, MOVE THE SLIDE SWITCH (6) to the "steam" setting, all the way to the left. This diverts steam to the steam tube for frothing the milk.
natural_image
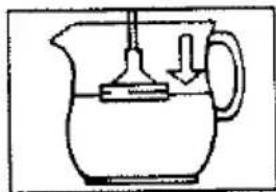
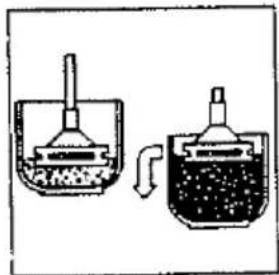
Simple line drawing of a mechanical component with an arrow indicating direction (no text or symbols)- Place the milk container beneath the turbo attachment (5), ensuring that the air vent openings (5c) in the attachment are just at the surface of the milk.
natural_image
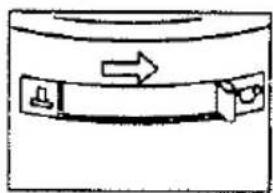
Simple line drawing of a pitcher with a handle and arrow indicating direction (no text or symbols)- Turn the steam knob (3) ON (to the left, counterclockwise).
natural_image
Simple line drawing of a cylindrical object with a curved tube inserted, no text or symbols present.- As steam is injected into the cold milk, the milk will begin to foam. As this occurs, move the milk container downward so that the air vents of turbo attachment are always at the surface of the milk.
natural_image
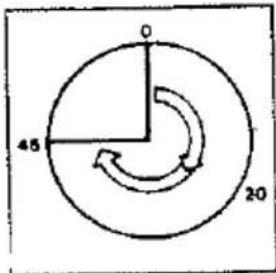
Two laboratory glassware setups: a beaker with liquid and a dropping funnel, both without any text or labels.- The entire frothing process should take no more than 20-45 seconds. If the turbo is immersed longer than this, the milk will begin to scald which hinders the frothing process.
text_image
0 45 20- Turn the steam knob (3) OFF (full right, clockwise).
natural_image
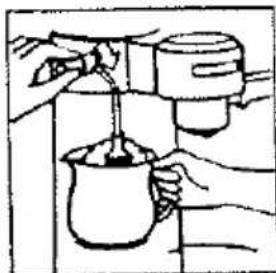
Illustration of hands using a lathe machine to lift a cup (no text or symbols present)-
Move the slide switch (6) back to the "cup" symbol, and the machine will brew the remaining espresso.
-
Pour espresso into cups, filling each 13 full. Holding back the froth with a spoon, pour the hot milk equally into the cups so they will now be 23 full.
-
Spoon the froth equally into the cups and sprinkle cinnamon or cocoa on top of the frothed milk.
-
SPECIAL NOTE: The extra cup measurement of water also gives you sufficient steam to clean the turbo attachment (5). Immerse it in a small container of clear water, turn the steam knob (3) ON, and allow steam to drive the turbo, cleaning it. You will exhaust your remaining steam pressure using this procedure.
natural_image
Simple line drawing of a cylindrical object with an arrow indicating direction, no text or symbols present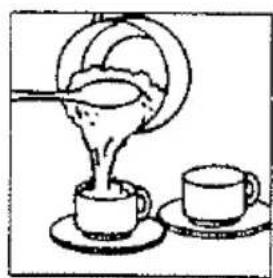
natural_image
Simple line drawing of a coffee cup pouring liquid from a glass bowl into another cup on a saucer (no text or symbols)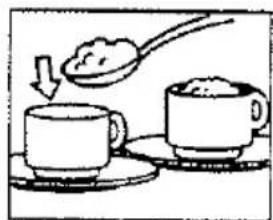
natural_image
Illustration of two cups on saucers with a spoon lifting a cup (no text or symbols)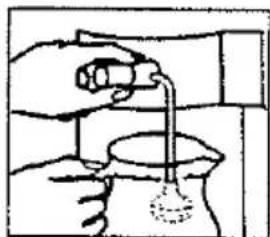
natural_image
Illustration of a hand pouring liquid from a bottle into a container (no text or symbols)STEAMING WITHOUT MAKING ESPRESSO
-
Follow steps 1 to 3 of "Making Espresso".
-
Fill the reservoir (2) with 1 to 2 cups of cold water.
-
Follow steps 9 and 10 of "Making Espresso".
-
Have your container ready, with milk or any other beverage you wish to heat.
-
Move the slide switch to the "steam" setting, all the way to the left.
-
Plug in the machine and turn it on.