
JL1850S-RO - Water filter MIDEA - Free user manual and instructions
Find the device manual for free JL1850S-RO MIDEA in PDF.


| Product Type | Water filter dispenser (Hot, Warm, Cold) |
| Brand | Midea |
| Model | JL1850S-RO |
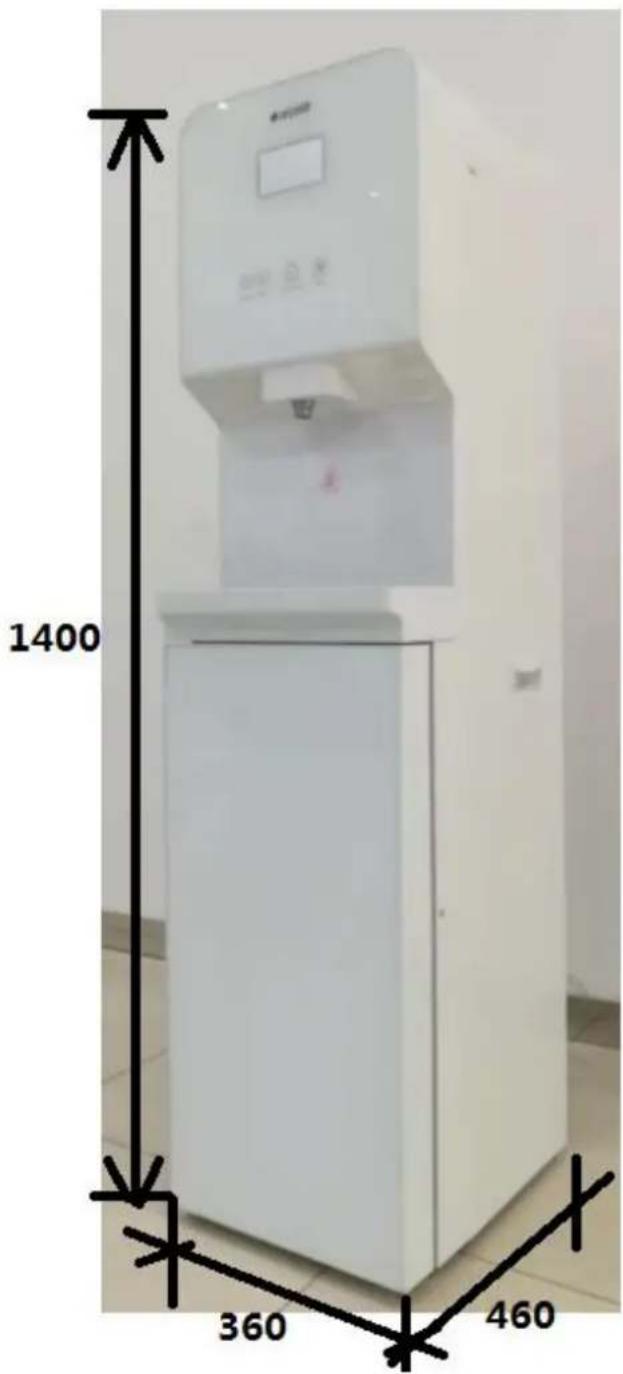
| Product Dimensions (W x D x H) | 360 x 460 x 1400 mm |
| Packing Dimensions (W x D x H) | 480 x 505 x 1490 mm |
| Rated Voltage | 220-240V~, 50/60Hz |
| Rated Power | 994W (Heating: 874W, Cooling: 1.0A) |
| Pure Water Flow Rate | 1.2 L/min (at 0.3MPa) |
| Hot Water Capacity | 7.5 L/h (≥85°C) |
| Cold Water Capacity | 4 L/h (≤10°C) |
| Applicable Water Pressure | 0.1-0.4 MPa |
| Applicable Water Source | Tap water (TDS ≤350ppm) |
| Operating Environment Temperature | 4-43°C (humidity ≤85%) |
| Water Temperature Range | 5-38°C |
| Filtration Stages | 4 stages: PP sediment, C1 active carbon, RO reverse osmosis, C2 active carbon |
| Filter Replacement Cycles | PP: 3-6 months, C1: 6-12 months, RO: 12-24 months, C2: 6-12 months |
| Key Features | Hot/Warm/Cold water, UV-LED bacteriostatic, leakage protection, booster pump, tempered glass design, large display |
| Safety Features | Child lock, UV-C safety warnings, overheat protection, leak detection |
| Installation Requirements | Indoor use only, rear clearance ≥25 cm, avoid direct sunlight, grounded outlet with GFCI |
| Warranty | 12 months on electrical components and water system |
Frequently Asked Questions - JL1850S-RO MIDEA
User questions about JL1850S-RO MIDEA
0 question about this device. Answer the ones you know or ask your own.
Ask a new question about this device
Download the instructions for your Water filter in PDF format for free! Find your manual JL1850S-RO - MIDEA and take your electronic device back in hand. On this page are published all the documents necessary for the use of your device. JL1850S-RO by MIDEA.
USER MANUAL JL1850S-RO MIDEA
natural_image
Exterior view of a modern water purification system (no visible text or symbols on the device body)When replacing parts, be sure to use specified parts at parts list for safety and performance maintenance
CONTENTS
Safety instructure and accessories 3
Product Specification....5
Principle of operation 7
System Diagram 8
Construction Views....9\~9
Product feature .... 10
Electrical schematics and wiring diagrams....11
Preparation before operation of the water purifier....12\~15
The display panel is shown as below: 16
DISPENSING WATER.... 16
Operational precautions.... 17
Maintenance 18
Trouble shooting....19\~30
Dismantling/Assembling....31\~35
Introduction of Key electrical components Parts ....35\~36
Product Exploded views and Part List....36\~39
Safety instruction and accessories
(1) Safety instruction
1. Precaution
1-1 Safety Issues
Please note the following brief icons and rules for safe use of this product
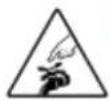
Troubleshooting
When the machine fails, please disconnect the power and water source immediately

Accessories and filters
To maintain the normal operation of the machine, be sure to use accessories and filters supplied by original company
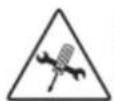
Maintenance
Never remove the parts on the machine to avoid leakage or damage

Emergency call
For any help, please call the local sale service center or the national service hotline
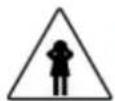
Avoid contact with children
Never have the machine operated by a child
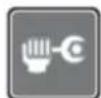
Correct repair service
This machine can only be repaired by qualified personnel designated by this company
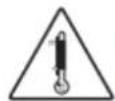
Temperature
Please use the product in a dry place with the temperature of 4-43°C
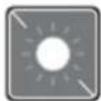
Avoid direct sunshine
Do not install the machine in a place exposed to direct sunshine
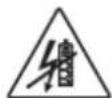
Electricity prevention
To avoid leakage of electricity.
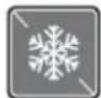
Anti-freeze
Never store or expose the product duct in an environment less than 0°C
-
This appliance can be used by children aged from 8 years and above and persons with reduced physical, sensory or mental capabilities or lack of experience and knowledge if they have been given supervision or instruction concerning use of the appliance in a safe way and understand the hazards involved. Children shall not play with the appliance. Cleaning and user maintenance shall not be made by children without supervision.
-
Children should be supervised to ensure that they do not play with the appliance.
-
If the supply cord is damaged, it must be replaced by the manufacturer, its service agent or similarly qualified persons in order to avoid a hazard.
-
Do not store explosive substances such as aerosol cans with a flammable propellant in this appliance.
-
This appliance is intended to be used in household and similar applications such as staff kitchen areas in shops, offices and other working environments; farm houses and by clients in hotels, motels and other residential type environments; bed and breakfast type environments; catering and similar non-retail applications.
-
The appliance is suitable for indoor use only.
-
WARNING: Keep ventilation openings, in the appliance enclosure or in the built-in structure, clear of obstruction.
-
WARNING: Do not use mechanical devices or other means to accelerate the defrosting process, other than those recommended by the manufacturer.
-
The appliance must not be immersed.
10.WARNING: To avoid a hazard due to instability of the appliance, it must be fixed in accordance with the instructions.
-
This product is not recommended to use in areas above 2,000m altitude.
-
WARNING: UV radiation is dangerous for eyes and skin. Do not operate the UV-C emitter outside the appliance.
-
WARNING: Do not operate the UV-C emitter when it is removed from the appliance enclosure;
-
WARNING: This appliance contains a UV emitter. Do not stare at the light source.
-
Unintended use of the appliance or damage to the housing may result in the escape of dangerous UV-C radiation. UV-C radiation may, even in little doses, cause harm to the eyes and skin.
-
Appliance the are obviously damaged must not operate.
-
If the replacement of the UV-C emitter by the user is not allowed, this must be clearly stated.
- WARNING: When positioning the appliance, ensure the supply cord is not trapped or damaged.
- WARNING: Do not locate multiple portable socket-outlets or portable power supplies at the rear of the appliance.
- To ensure the product using well, please make sure the product installation, testing and filter exchange are made by aftersales service person.
(2) Supplied items
| Instruction Manual(1 copy) | Bracket(1PC) | Screws(2PC) | Crossover sub (1PC) | 1/4 "PE pipe(White)(2m)1/4 "PE pipe(Blue)(2m)3/8"PE pipe(1m) | |
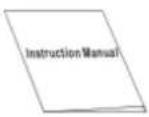 | 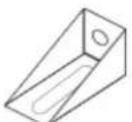 | 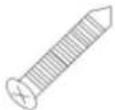 | 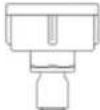 | 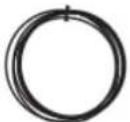 | |
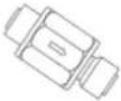
| Snap ring(4PC) | Sealing ring (1PC) | Small sealing plug(1PC) | Large sealing plug(1PC) | Pipe clamp (1PC) | reducing valve(1PC) |
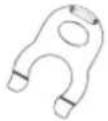 | 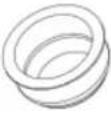 |  |  | 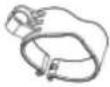 |  |
Product Specification
| Model | JL1850S-RO |
| Rated voltage | 220-240V~ |
| Rated frequency | 50/60Hz |
| Rated power | 994W |
| Heating power | 874W |
| Cooling current | 1.0A |
| Rated pure water flow | 1.2L/min(0.3MPa) |
| Hot water capacity | 7.5L/h(≥85°C) |
| Cold water capacity | 4L/h(≤10°C) |
| Applicable environment | 4-43°C humidity ≤85% |
| Applicable water pressure | 0.1-0.4MPa |
| Applicable water | Tap water |
| TDS≤350ppm | |
| Applicable water temperature | 5-38°C |
| Stage 1 | PP sediment filter-F1 |
| Stage 2 | C1 active carbon filter-F1 |
| Stage 3 | RO reverse osmosis filter-F1 |
| Stage 4 | C2 active carbon filter-F1 |
| Product size | 360(W)*460(D)*1400(H) mm |
| Packing size | 480(W)*505(D)*1490(H) mm |
Principle of operation
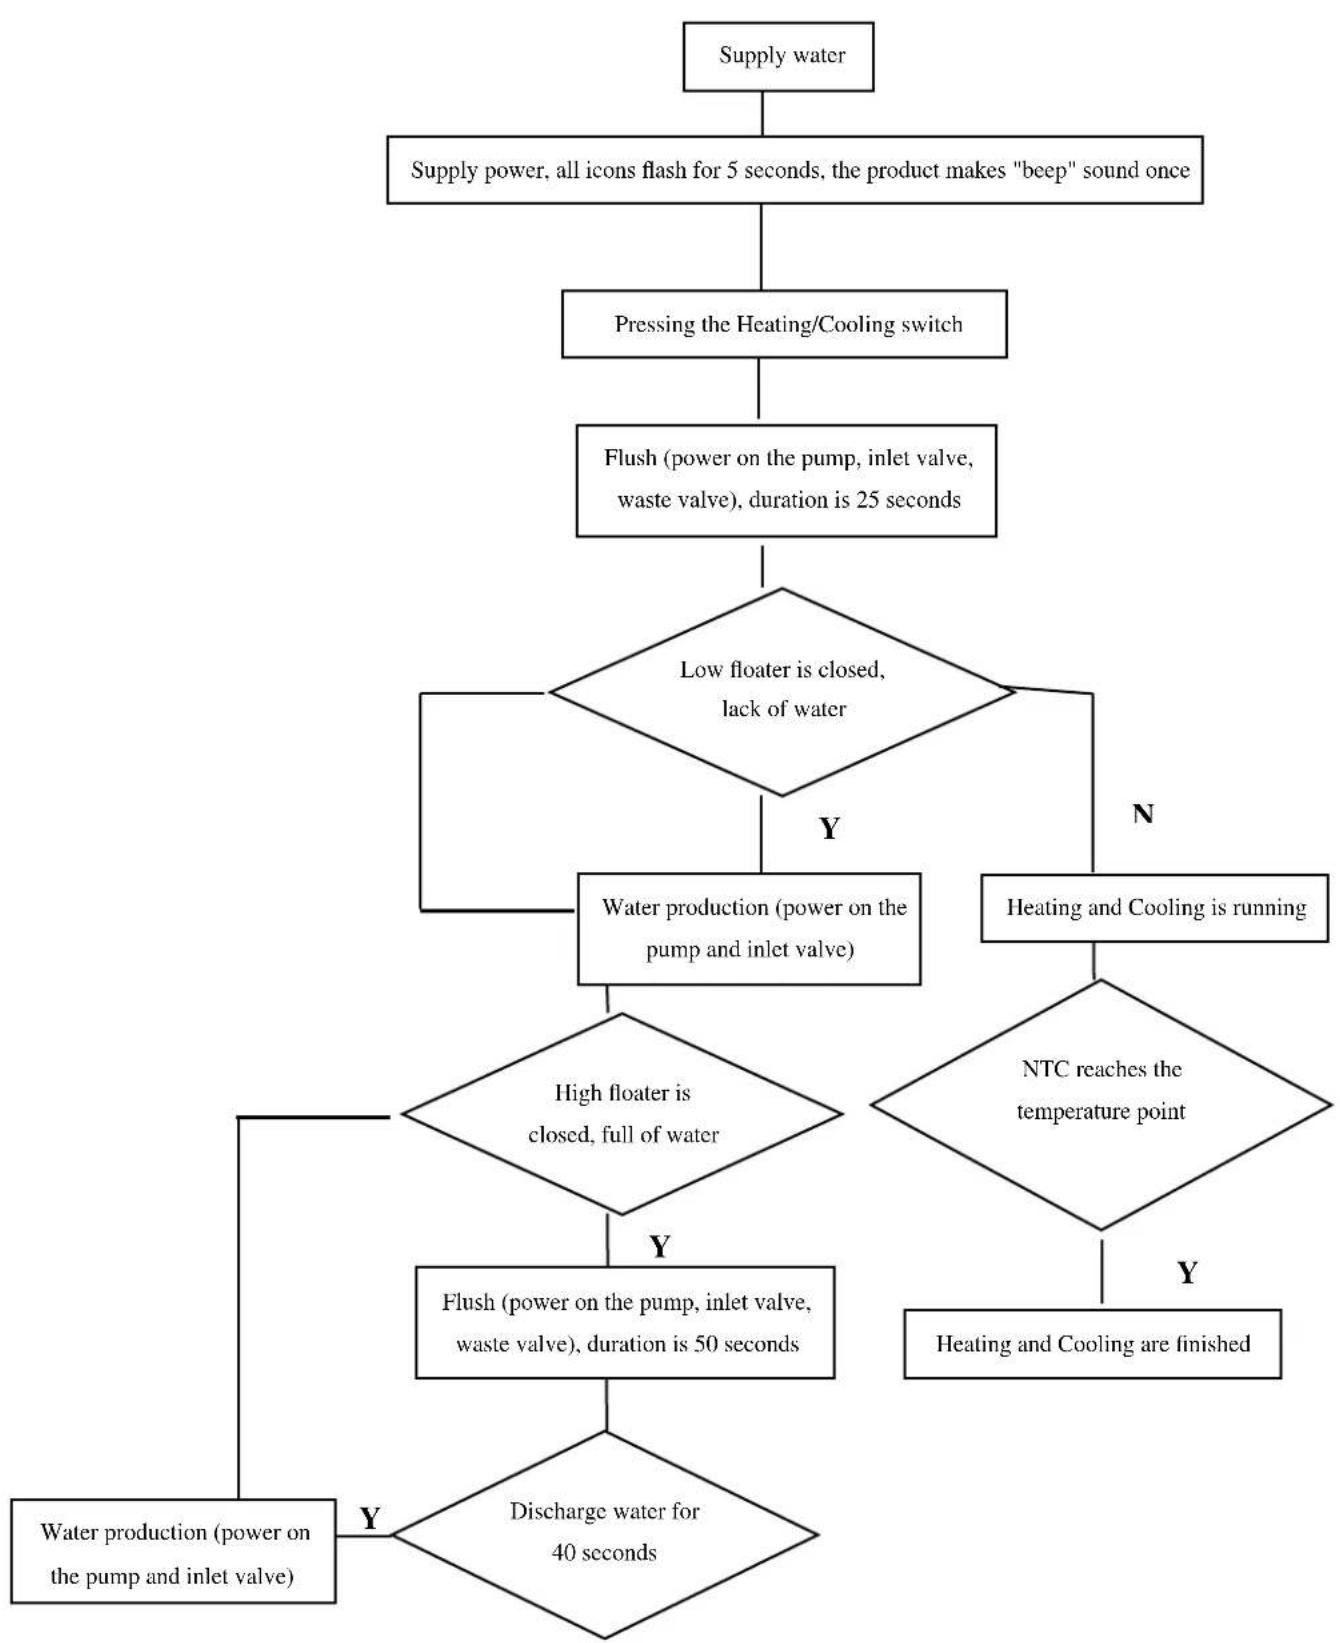
flowchart
graph TD
    A["Supply water"] --> B["Supply power, all icons flash for 5 seconds, the product makes "beep" sound once"]
    B --> C["Pressing the Heating/Cooling switch"]
    C --> D["Flush (power on the pump, inlet valve, waste valve), duration is 25 seconds"]
    D --> E{Low floater is closed, lack of water}
    E -->|Y| F["Water production (power on the pump and inlet valve)"]
    E -->|N| G["Heating and Cooling is running"]
    F --> H{High floater is closed, full of water}
    H -->|Y| I["Flush (power on the pump, inlet valve, waste valve), duration is 50 seconds"]
    H -->|N| J{NTC reaches the temperature point}
    J -->|Y| K["Heating and Cooling are finished"]
    J -->|N| L["Water production (power on the pump and inlet valve)"]
    I --> M{Discharge water for 40 seconds}
    M -->|Y| L
Filter function
| Stage | Filter | Function | Replacement Cycle |
| Stage 1 | PP sediment filter-F1 | Carry out coarse filtration of original water, and filter out mud, sand, impurity, iron rust and suspension, etc. | 3-6 months |
| Stage 2 | C1 active carbon filter-F1 | Absorb unusual colors and odors, Remove residual chlorine and organic substances in water. | 6-12 months |
| Stage 3 | RO reverse osmosis filter-F1 | Nonionic Absorbing: Organics, alcohol, ketone, aldehyde, phenol.Particulate retention: Solid suspended solids, Colloids. | 12-24 months |
| Stage 4 | C2 active carbon filter-F1 | Further absorb micro-molecules and organic substances in water. Make water taste better. | 6-12 months |
System Diagram
1、the water flow inside of water purifier:
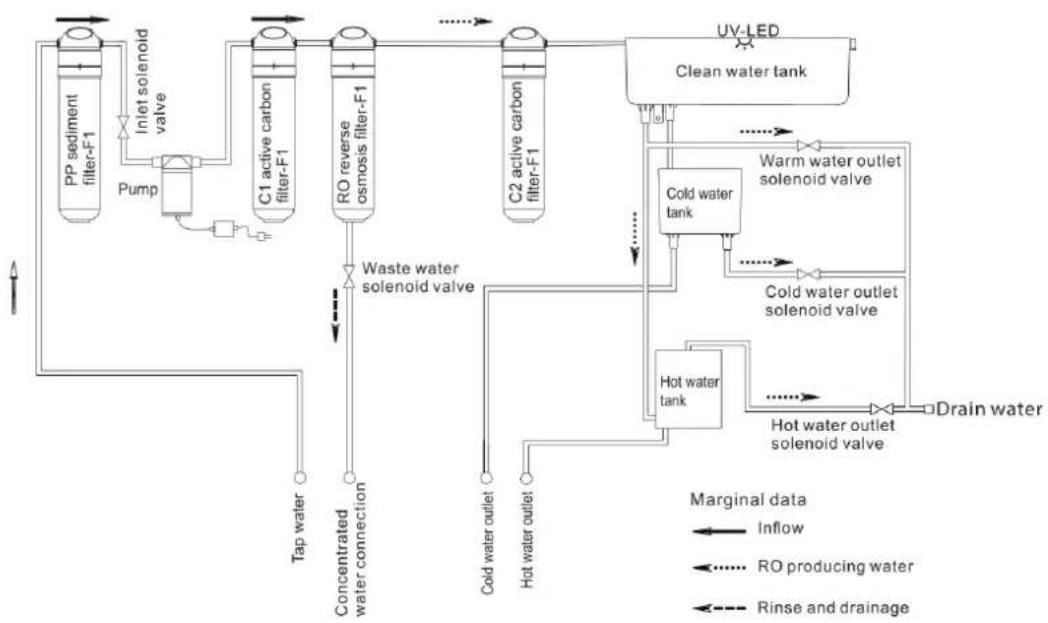
flowchart
graph TD
    A["PP sediment filter-F1"] --> B["Pump"]
    B --> C["Inlet solenoid valve"]
    C --> D["C1 active carbon filter-F1"]
    D --> E["RO reverse osmosis filter-F1"]
    E --> F["C2 active carbon filter-F1"]
    F --> G["UV-LED Clean water tank"]
    G --> H["Cold water tank"]
    H --> I["Warm water outlet solenoid valve"]
    I --> J["Cold water outlet solenoid valve"]
    J --> K["Hot water tank"]
    K --> L["Drain water"]
    M["Tap water"] --> N["Concentrated water connection"]
    N --> O["Waste water solenoid valve"]
    O --> P["Cold water outlet"]
    Q["Hot water outlet"] --> R["Cold water outlet solenoid valve"]
    S["Rinse and drainage"] -.-> T["..."]
    U["Inflow"] -.-> V["RO producing water"]
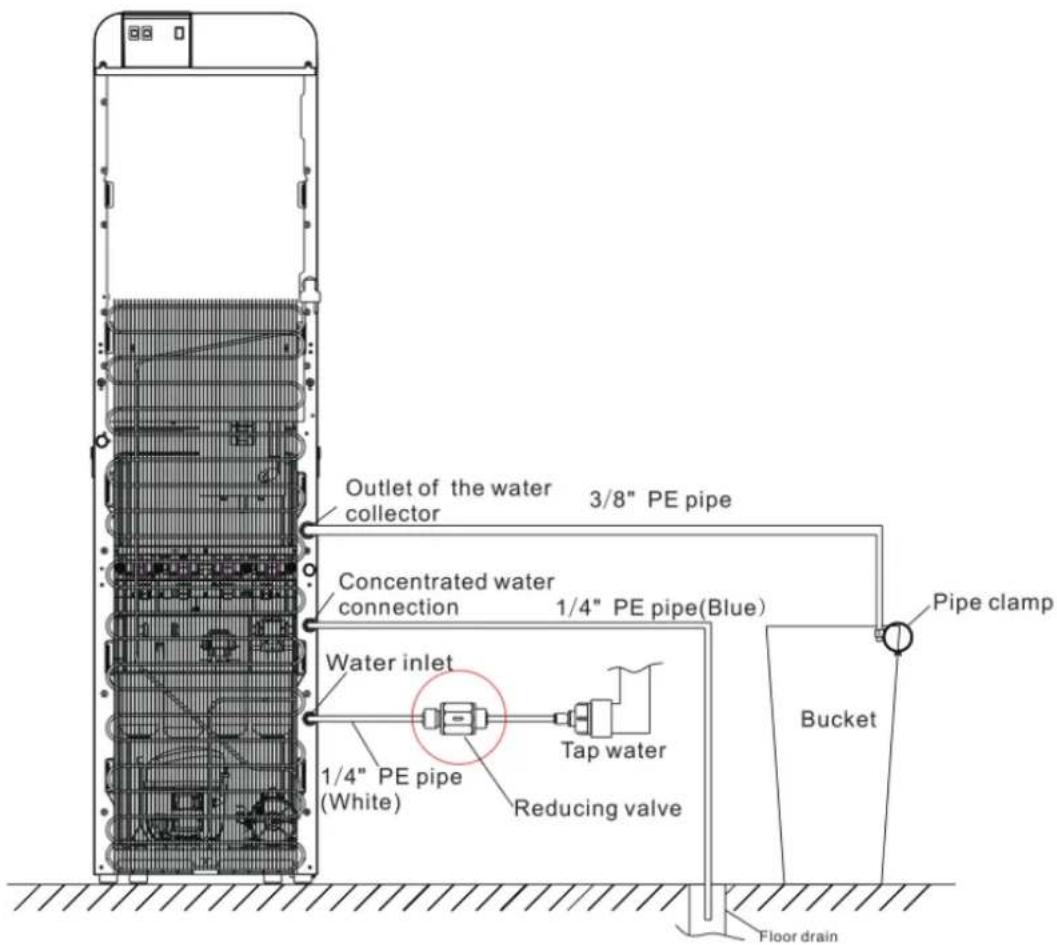
2、the water flow outside of water purifier:
Construction Views
1、Front
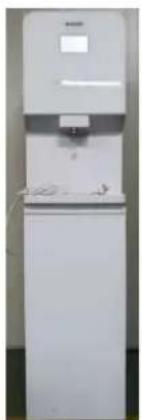
natural_image
White water dispenser with control panel and side arm (no visible text or symbols)2、Back
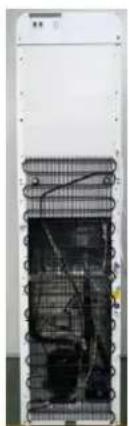
natural_image
Interior view of a server rack unit with visible internal components and ventilation grilles (no text or labels)3、Left
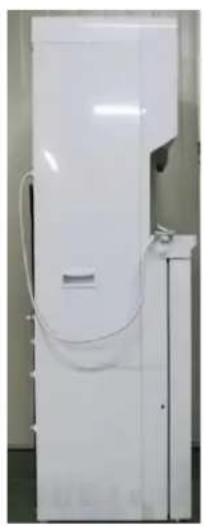
natural_image
Exterior view of a white appliance with attached cable and control panel (no visible text or symbols)4、right
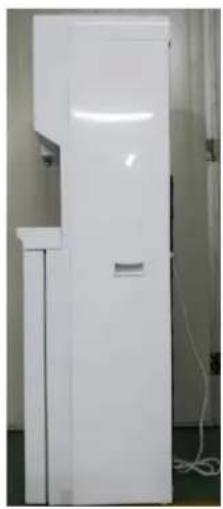
natural_image
White refrigerator with closed lid and side arm, no visible text or symbols4、Top
natural_image
Plain white rectangular object with no visible text, symbols, or markings5、bottom
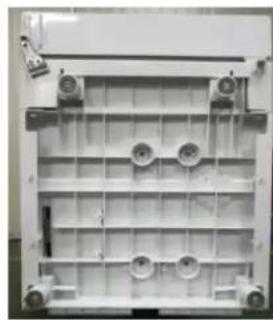
natural_image
Interior view of a mechanical enclosure or enclosure with internal structural framework and mounting holes (no visible text or symbols)Product feature
- Hot & Warm & Cold water, three types of water temperature.
- Full plate quality toughened glass design, elegant and beautiful.
- The latest leakage protection device, to ensure the safety of Public environmental.
- Water tank built-in UV-LED bacteriostatic, to ensure the safety and health of water.
- Large screen display, working status at a glance.(heating /cooling /filtrating /filter lifetime/UV).
Product strong point
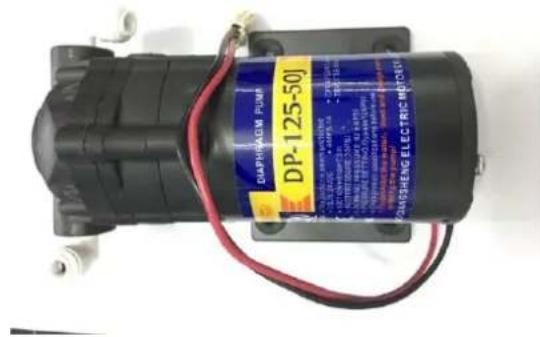
Booster pump
- Increase the pressure on the front end of the RO filter element; ensure the system works properly to produce purified water.
- Rated voltage: 24V.
- Rated current: ≤ 1A.
- Rated flow: ≥slant 0.55L/min
Electrical schematics and wiring diagrams
WARNING: Disconnect electrical power before servicing.
Caution: Label all wires prior to disconnection .Wiring errors can cause improper.
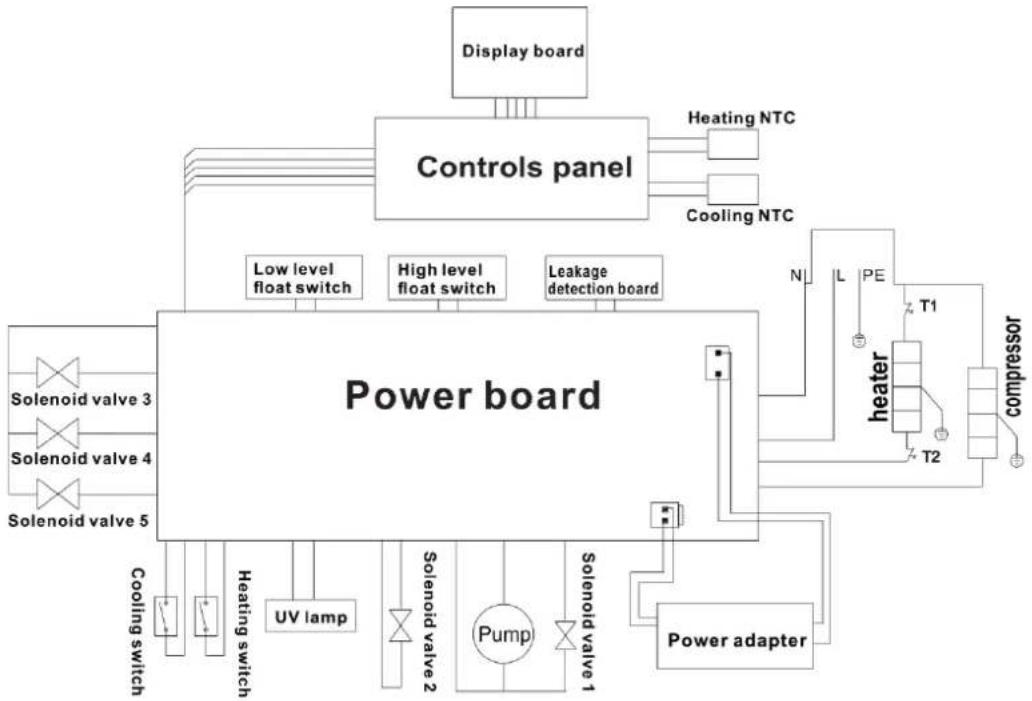
flowchart
graph TD
    A["Power board"] --> B["Controls panel"]
    B --> C["Display board"]
    B --> D["Heating NTC"]
    B --> E["Cooling NTC"]
    B --> F["Low level float switch"]
    B --> G["High level float switch"]
    B --> H["Leakage detection board"]
    B --> I["Solenoid valve 3"]
    B --> J["Solenoid valve 4"]
    B --> K["Solenoid valve 5"]
    B --> L["Cooling switch"]
    B --> M["Heating switch"]
    B --> N["UV lamp"]
    B --> O["Solenoid valve 2"]
    B --> P["Pump"]
    B --> Q["Solenoid valve 1"]
    B --> R["Power adapter"]
    R --> S["heater"]
    R --> T["T1"]
    R --> U["T2"]
    R --> V["compressor"]
Preparation before operation of the water purifier
Installation procedure
o Setting the installation location
② Disassemble the package

③ Take out water purifier and accessories
④ Connection of water supply tube

⑤ Connection of drain tube

⑥ Open the water inlet valve.

⑦ Turn on electricity

⑧ Water leakage check

⑨ Instruction for use

⑩ Final inspection

⑪ Finish

Setting the installation location
Install it in the room close to the power source, water source and floor drain, install in a dry place without direct sunlight, and keep away from flammable and explosive materials.
Keep this machine in a dry and cool place and avoid direct sunshine. Rearward of the machine shall be at least 25 cm away from the wall. Never put the machine on paper or foam, which may store water and then cause creepage. Never put anything flammable beside this machine.
Do not use the machine outdoors or in a place that can be splashed by water.
Fixing guide
WARNING: Please cut off water source before replacing filters. Never plug filters in water running state.
- Unpack the product.
- Put the accessories aside.
- Take out the quick joint, and install it on the water pipe. Clamps should not be missed.
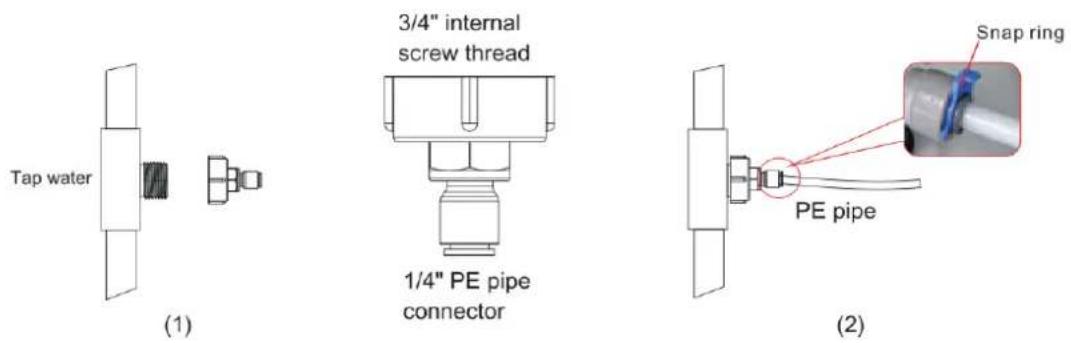
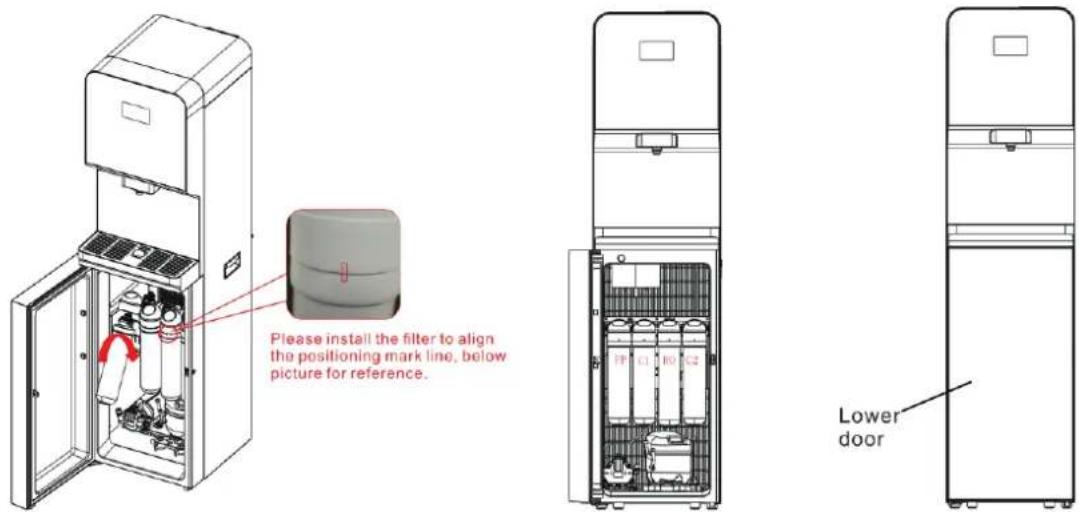
- Open the lower door.
- Use the after sale accessory—filter flushing tip, the arrow direction is the water flow direction, insert the PE pipe in the quick joint.
- Insert the C1 active carbon filter into the filter flushing tip, tighten it by turning anticlockwise, and open the water tap to flush the filter till it doesn't discharge black water, for about 10min; Take the same step to flush the C2 active carbon filter-F1. Take the same step to flush the PP filter for 5min.
- Install the clean filter in the product, hold the filter with the left hand and enclosure of filter with the right hand, and insert it upwards in the filter, tighten it by turning anticlockwise, the installation order is: PP sediment filter-F1→C1 active carbon
filter-F1→RO reverse osmosis filter-F1→C2 active carbon filter-F1. After washing and installation of filters, the lower door must be fixed with original screws.
- Take out the pin of the quick joint at the rear of the products side plate's, and then take out the white plug.
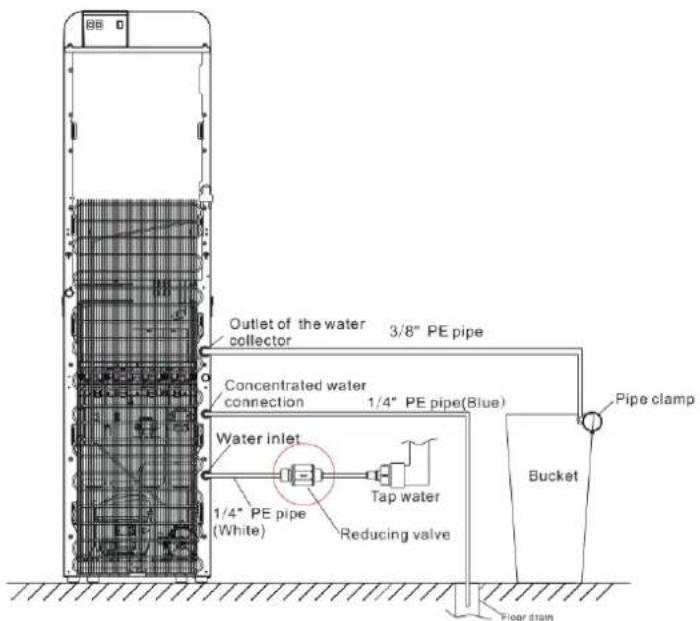
Note: When the lap water pressure exceeds 0.4MPa, it requires installing the pressure relief valve. Keep the water flowing arrow towards the water inlet interface of the machine.
- Insert the water inlet PE pipe in the quick joint, and tighten the pin. The new hose-sets supplied with the appliance are to be used and that old hose-sets should not be reused.
- The water cooler plug cord into a ground fault interrupter receptacle.
- After installation, supply water and power. Discharge the first 3 tanks of purified water by pressing the button, press the Heating and Cooling buttons on the rear panel to purify water again, then the water output is drinkable.
- When installing filter and replace filter please turn off the water and power supply before installation and replacement.
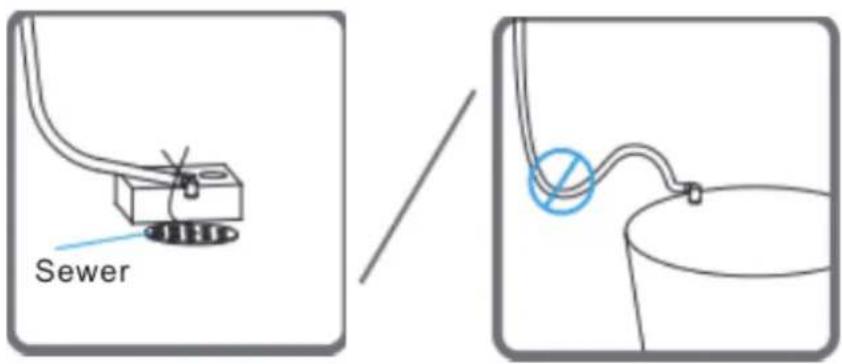
- Concentrated water and the water drained from the water tray can be directly discharged into the sewer or the water drained from the water box can also be discharged to the bucket. (Note: Drainage pipe must be vertical and shall not be "U" or twisted at any section)
14: Water tray discharge treatment
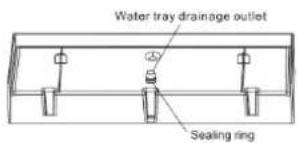
When the water can't be smoothly discharged from the water tray, please install the sealing ring on the drainage outlet slot of the water tray.
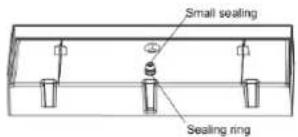
If the remaining water in the water tray won't be received with water tank, the big and small sealing plugs shall be adopted. Step 1, install the small sealing plug in the drainage outlet of the water tray, and ensure installing in place.
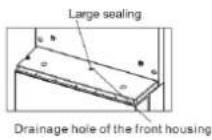
Step 2, install the big sealing plug in the drainage hole of the front housing, and then press it in place with the water tray.
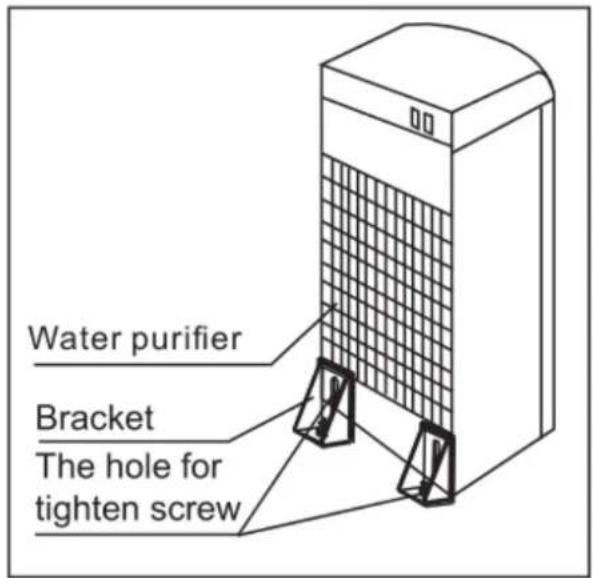
15. Machine Installation
1-2. Loosen the screw of the left or right bottom angle just as the picture shown.
3. Use the screw to fix the bracket on the left or right bottom angle of the water purifier.
4. Make a hole on the floor's or the desk's surface where the water dispenser will be installed.
5. Fix the bracket on the floor by screw tightly.
6. Tighten the screw.

flowchart
graph LR
    A["Step ①: Initial pie chart"] --> B["Step ②: Pie slice with internal components"]
    B --> C["Step ③: Internal part with triangular cutout"]
    C --> D["Step ④: Shipped part with base"]
    D --> E["Step ⑤: Internal part with triangular cutout"]
    E --> F["Step ⑥: Final assembled part with internal components"]
Inspection and confirmation
- Confirm there is no water leakage from the branch faucet connected to pure water, the tube /filter inside the main body, and the connecting part.
- Make sure that the drain tube does not move due to the force of drainage.
- Confirm that sound and vibration during pump operation resonate on the installation surface and abnormal sound does not appear.
The display panel is shown as below:
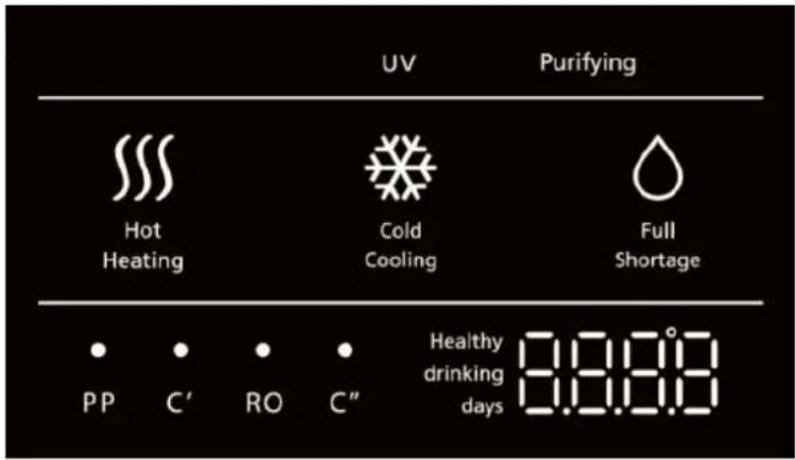
- “” When displays as this, it indicates that water heating is completed.
- “When displays as this, it indicates that water is heating.”
- “When displays as this, it indicates that water cooling is completed.”
- “Cooling” when displays as this, it indicates that water is cooling.
- “A” indicates that there's insufficient water in the machine.
- “” indicates that there's sufficient water in the machine.
- “Purifying” When it is on, it indicates that the machine is purifying water.
- “””””””””””””””””””””””””””””””””””””””””””””””””””””””””””””””””””””””””””””””””””””””””””””””””””””
DISPENSING WATER
-
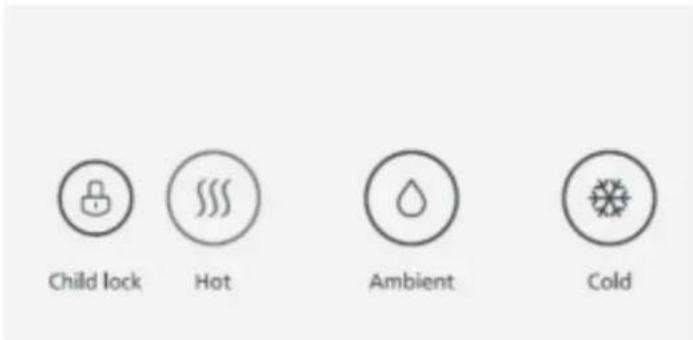
Touch the cold water button “ ⓧ ”, the device starts discharging cold water; Touch the cold water button “ ⓧ ” again, the device stops discharging water, finish getting water.
-
Touch the normal water button “☐”, the device starts discharging normal water; Touch the normal water button “☐” again, the device stops discharging water, finish getting water.
-
Touch the child lock button “💡”, then touch the hot water button “###”, the indicator turns on and the device starts discharging hot water. Touch the anyone button, the device stops discharging water, finish getting water.
-
Long press the cold water button “※” + warm water button “◇” for 3 seconds to enter the filter reset mode. The indicator light and name of the first filter flash, and the remaining percentage of filter life displays in the bottom right corner of the screen.
Long press the cold water button “※” for 3 seconds to reset the filter, and the life of the filter is restored to 100%. Press the cold water button “※” to switch to the next filter display, and operate the same to reset and switch to the next filter. When it comes to the last filter, press the cold water button “※” to exit the filter reset mode.
5. Additional remarks
Non-filter reset mode, the button functions are as follows:
| Button | Operation | Function |
| Hot water + warm water | Hold for 3 seconds | Reset the expired filter |
| Warm water + cold water | Hold for 3 seconds | Enter single filter reset mode |
| Child lock + cold water | Completed within 20 seconds after power-on Hold for 10 seconds | Restore factory settings |
Single filter reset mode, the button functions are as follows:
| Button | Operation | Function |
| Cold water | Touch | Select the next filter |
| Cold water | Hold for 3 seconds | Reset the current filter |
Operational precautions
Changing Filters
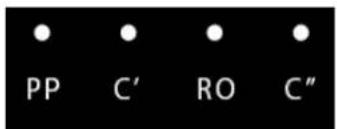
- The name of the filter keeps on during operation. When the filter life reaches 0, the corresponding filter indicator flashes, otherwise it is always on.
- The filter life data is as follows. The filter life is continuously decreasing when it is powered on (no matter whether it is producing water):
| PP | C' | RO | C'' |
| 3~6 months | 6~12 months | 12~24 months | 6~12 months |
Note: 30 days for 1 month.
- Please cut off the power supply and water supply before replacing the filter.
- Flush the new filter according to the filter flushing requirements in the installation
instructions (except for the RO membrane filter). The RO membrane filter shall be flushed through the mode that repeatedly supply and cut off power of the whole machine for 10 times, and hold for 25 seconds each time.
- Open the lower door, remove the old filter to be replaced, and replace it with a new filter. Note that the filter must be installed in place.
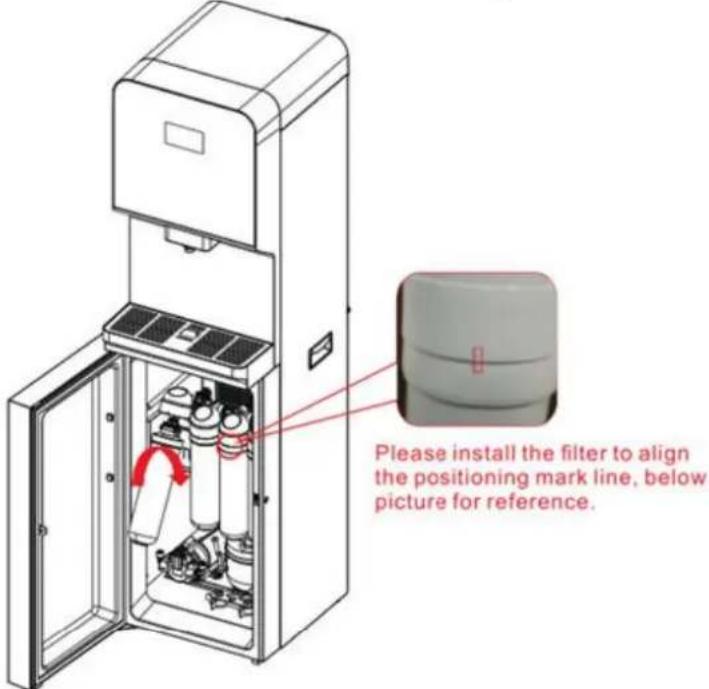
-
Lock the lower door with the original screws.
-
Filter forced reset setting
Hold the cold water button + warm water button for 3 seconds to enter the filter reset mode. The first filter indicator and name begin to flash, the digital tube does not flash to display the remaining percentage of life, hold the cold water button for 3 seconds to reset the filter, and the filter life recovers to 100% , press the cold water button to display the next filter, operate to reset and switch to the next filter with the same step, at the last filter, press the cold water button to exit the filter reset setting. The water output buttons are used as normal. During the filter reset process, if no button is pressed for 30 seconds, the filter reset mode is automatically exited. The filter life is accumulated in hours according to the power-on time, and is saved after power-off.
Note: In the filter reset mode, press the water output button, the system will not output water, after exiting the filter reset mode, the water output control function is restored.
Maintenance
-
Keep this machine in a dry and cool place and avoid direct sunshine. Rearward of the machine shall be at least 25 cm away from the wall. Never put the machine on paper or foam, which may store water and then cause creepage. Never put anything flammable beside this machine. Do not use the machine outdoors or in a place that can be splashed by water.
-
For the water purifier, the installation and replacement of filters must be carried out by qualified personnel.
-
In case the machine is not in use for a long time, turn off the heating switch or the refrigerating switch to save power.
- In case the machine is not needed for a long time, please take off the plug, turn off the copper chrome-plated ball valve and drain off the remaining water through the outlet. For another use, discharge water for 10 min. In the event that the machine is blocked by ice due to the environment below ice point, keep the refrigerating switch closed for 4 hours and then turn it on to continue the operation.
- In case the water supply is cut off, please close the feed water ball valve and cut off the power, after water re-supply, please open the other faucets to discharge sediment and then turn on the feed water ball valve.
- The machine must use an earthed three-pin socket and a reliable creepage protection switch.
- Never use organic solvents such as gasoline to clean the machine: strictly prohibit washing the machine with water or splashing water to the machine.
- Never turn on (off) the machine by inserting the plug into (pulling the plug out from) the socket. Never increase the length of the supply cord to avoid fire.
- If the supply cord is damaged, it must be replaced by the manufacturer or qualified person so as to avoid a hazard.
- The water source for the water purifier is civil tap water.
- Never dismantle spare parts of the machine to avoid water leakage or damage.
- Never turn the machine upside down or lean it more than 45^ when moving it so as to avoid any damage to it or any accident.
- Limited warranty: electrical components and water system are warranted for 12 months from date of purchasing.
Trouble shooting
In case of failure, please carry out inspection according to the requirements below. If unresolved, please contact the local service agency.
| Failure | Cause(s) | Solution |
| Amount of produced water is reduced seriously | Filter is blocked or not replaced in time | Please contact the local service office to replace the filter in time. |
| Water inlet ball valve is not fully opened | Fully open the water inlet ball valve | |
| Water pressure is too low | Take measures for pressure boosting | |
| Output water quality is low | Filter failure | Please contact the local service office to replace the filter in time. |
| Long-term shutdown (over 3 days) | Continuously start and stop the product for 5 times at 40 seconds intervals to automatically flush the filtration system, and feed and discharge the water from the water storage system according to the first step of the Clean Maintenance; after that, the output water can be used normally | |
| Source water quality is low | Use municipal tap water | |
| Screen displays E0 | Water leakage | See the fault code troubleshooting method for details |
| Screen displays Ec | High floater is closed, low floater is closed | See the fault code troubleshooting method for details |
| Screen displays Ed | The high floater is closed, and the high floater is still closed after 90 seconds of accumulated water output | See the fault code troubleshooting method for details |
| Screen displays Fc | Below 85°C, it still fails to reach the target temperature if no hot water is taken and the system continuously heats for 2 hours | See the fault code troubleshooting method for details |
| Screen displays E5 | Communication failure between power board and display board | See the fault code troubleshooting method for details |
| Screen displays E6 | Water is not taken, the water purification tank keeps producing water for 3 hours | See the fault code troubleshooting method for details |
| See the fault code troubleshooting method for details | ||
| See the fault code troubleshooting method for details | ||
| Screen displays F1 | Hot water sensor temperature is over 120°C or short circuit | See the fault code troubleshooting method for details |
| Screen displays F2 | Hot water sensor temperature is below -11°C or open circuit | See the fault code troubleshooting method for details |
| Screen displays F3 | Cold water sensor temperature is over 120°C or short circuit | See the fault code troubleshooting method for details |
| Screen displays F4 | Cold water sensor temperature is below -35°C or open circuit | See the fault code troubleshooting method for details |
Fault code troubleshooting method
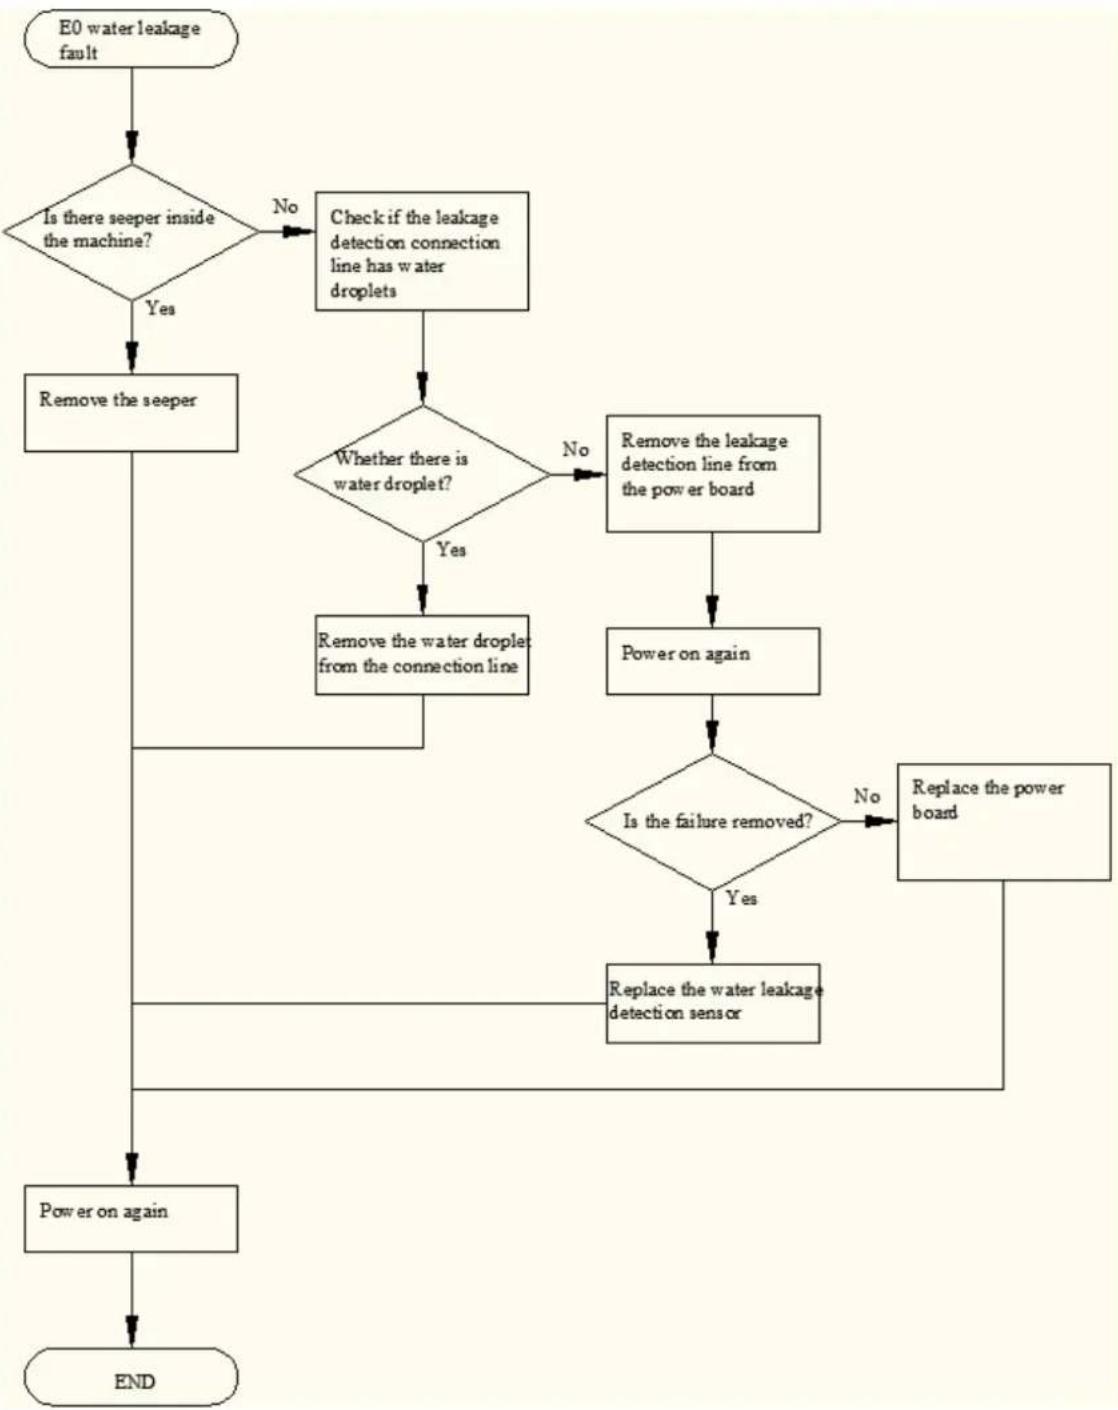
flowchart
graph TD
    A["E0 water leakage fault"] --> B{Is there seeper inside the machine?}
    B -->|No| C["Check if the leakage detection connection line has water droplets"]
    B -->|Yes| D["Remove the seeper"]
    C --> E{Whether there is water droplet?}
    E -->|No| F["Remove the leakage detection line from the power board"]
    E -->|Yes| G["Remove the water droplet from the connection line"]
    F --> H["Power on again"]
    G --> I{Is the failure removed?}
    H --> I
    I -->|No| J["Replace the power board"]
    I -->|Yes| K["Replace the water leakage detection sensor"]
    J --> L["Power on again"]
    K --> M["End"]
    L --> N["Power on again"]
    M --> N
    N --> O["END"]
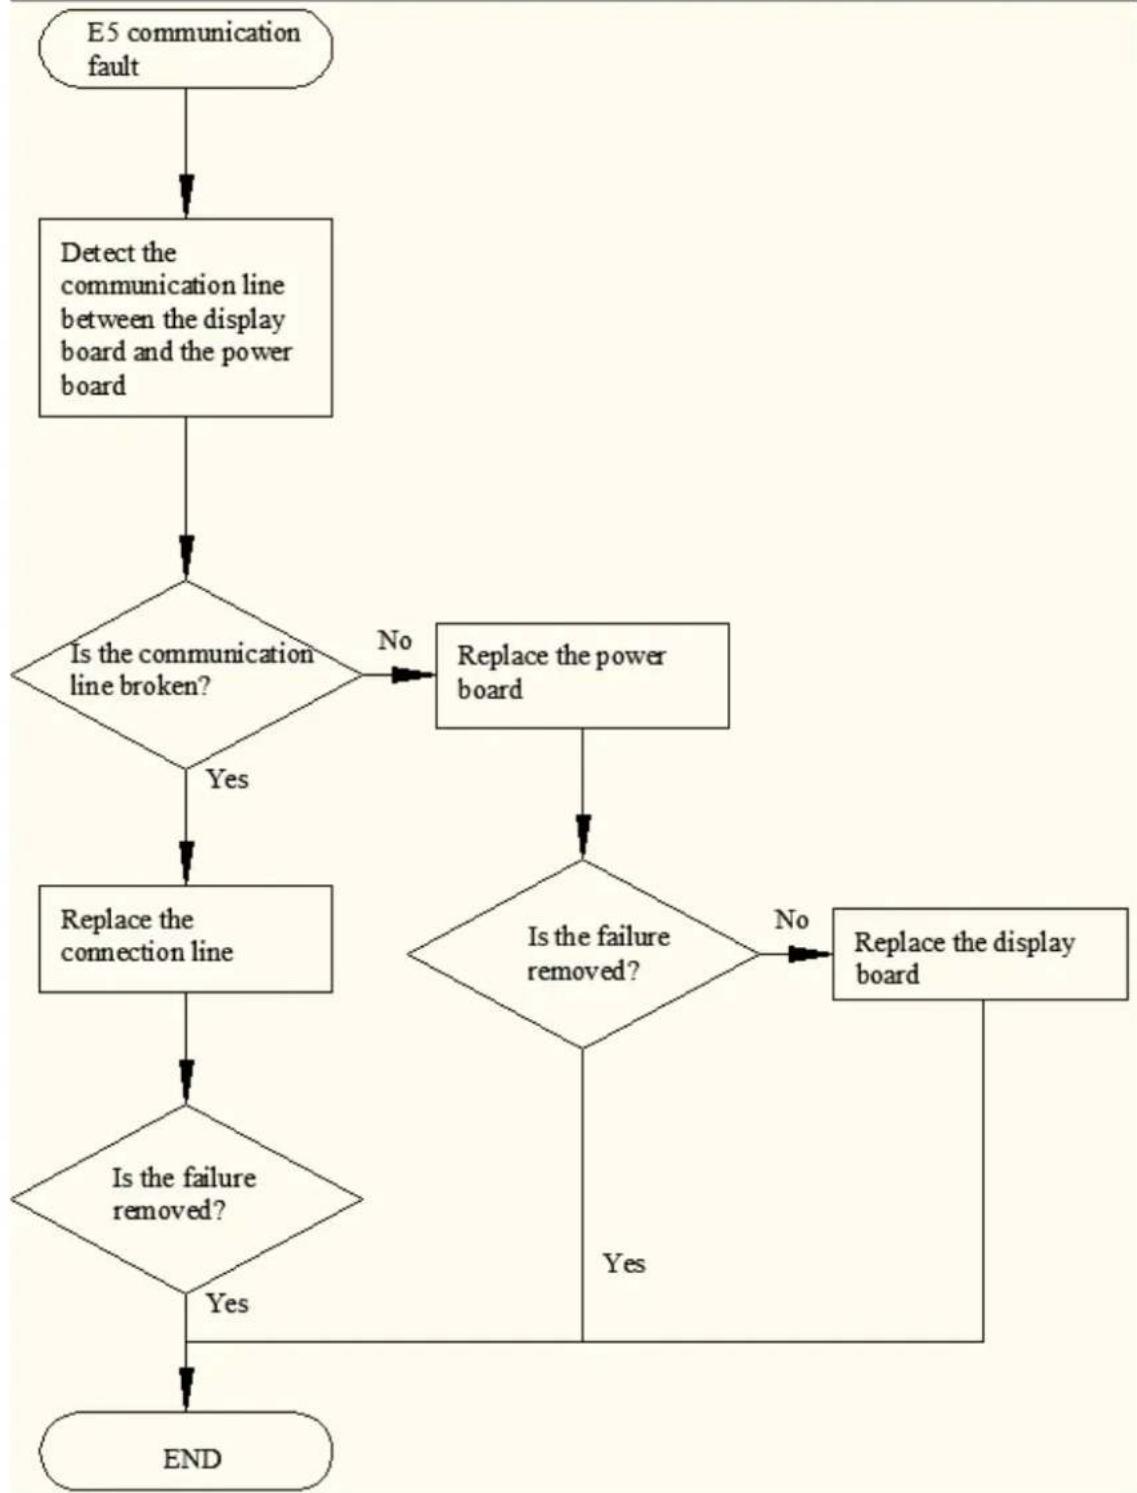
flowchart
graph TD
    A["E5 communication fault"] --> B["Detect the communication line between the display board and the power board"]
    B --> C{Is the communication line broken?}
    C -->|No| D["Replace the power board"]
    C -->|Yes| E["Replace the connection line"]
    D --> F{Is the failure removed?}
    E --> F
    F -->|No| G["Replace the display board"]
    F -->|Yes| H{Is the failure removed?}
    H -->|No| G
    H -->|Yes| I["END"]
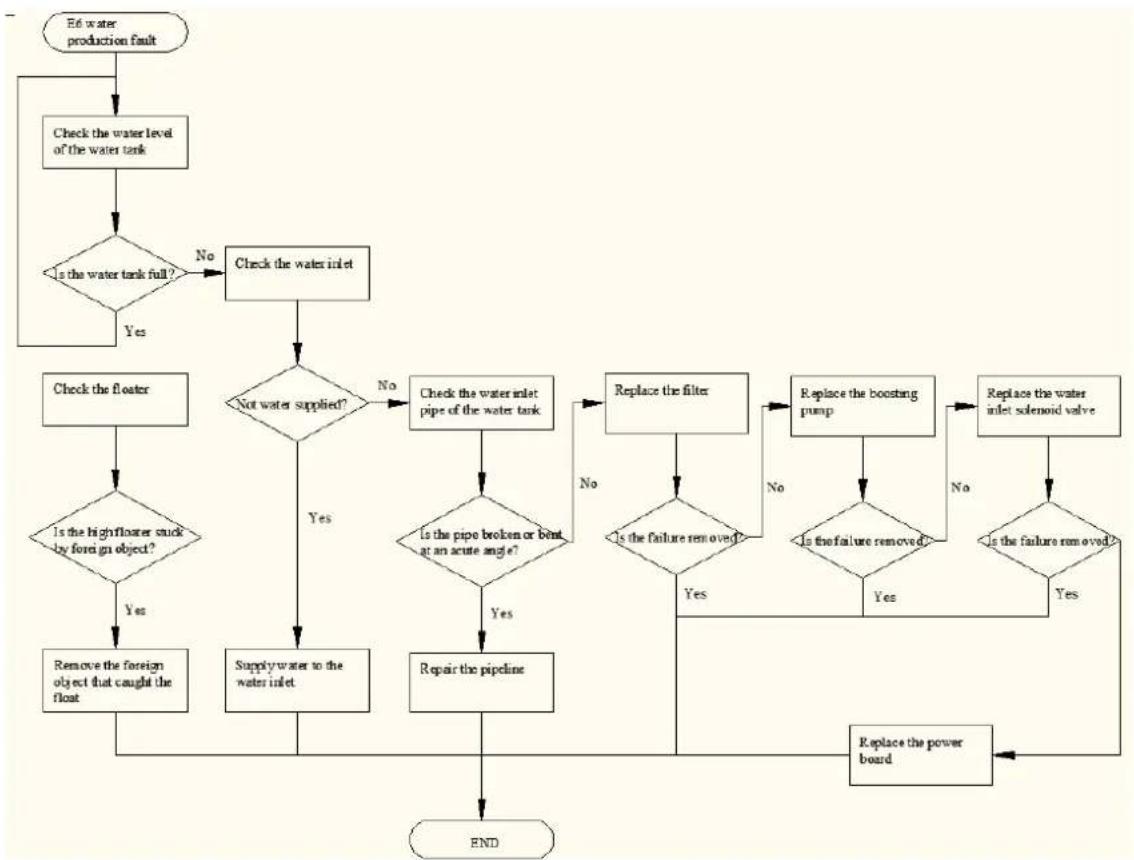
flowchart
graph TD
    A["66 water production fault"] --> B["Check the water level of the water tank"]
    B --> C{Is the water tank full?}
    C -->|No| D["Check the water inlet"]
    C -->|Yes| E["Check the floater"]
    D --> F{Not water supplied?}
    F -->|No| G["Check the water inlet pipe of the water tank"]
    F -->|Yes| H["Remove the foreign object that caught the float"]
    G --> I{Is the pipe broken or bent at an acute angle?}
    I -->|Yes| J["Repair the pipeline"]
    I -->|No| K["Replace the filter"]
    K --> L{Is the failure removed?}
    L -->|No| M["Replace the boosting pump"]
    L -->|Yes| N["Replace the water inlet solenoid valve"]
    M --> O{Is the failure removed?}
    O -->|No| N
    O -->|Yes| P["Replace the power board"]
    N --> Q{Is the failure removed?}
    Q -->|No| R["Replace the water inlet solenoid valve"]
    Q -->|Yes| S["End"]
    R --> T["END"]
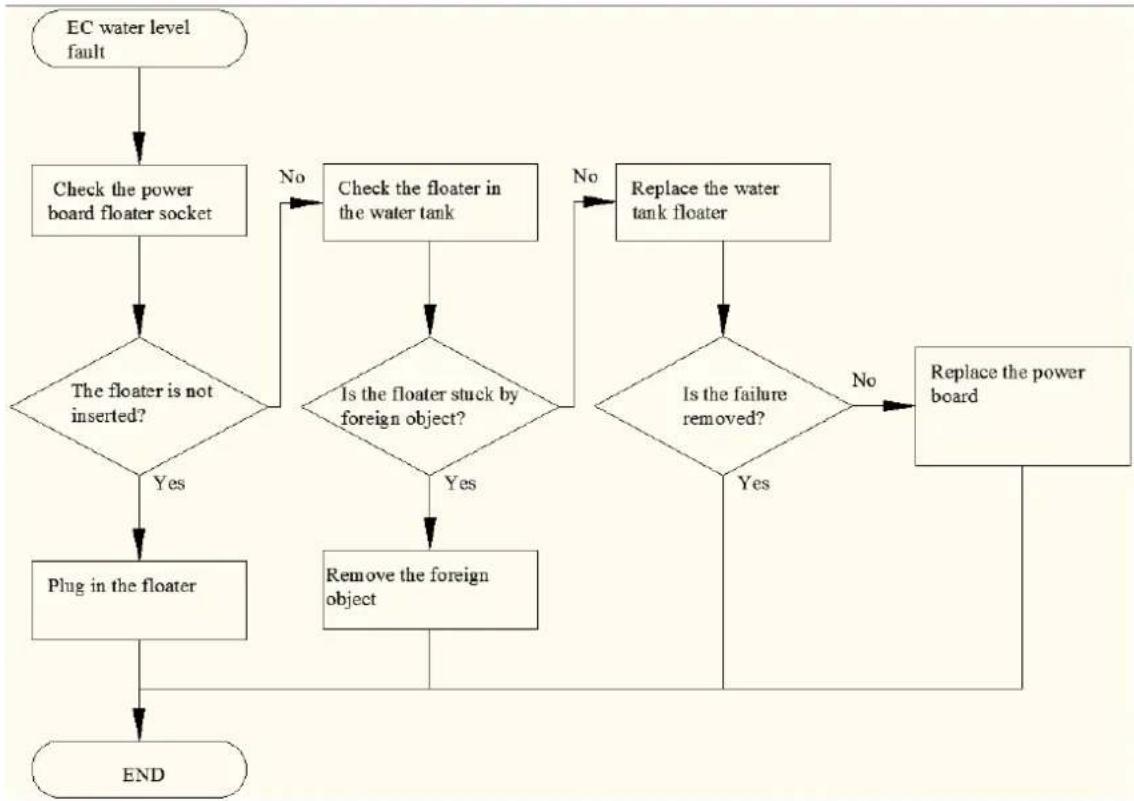
flowchart
graph TD
    A["EC water level fault"] --> B["Check the power board floater socket"]
    B --> C{The floater is not inserted?}
    C -->|No| D["Check the floater in the water tank"]
    C -->|Yes| E["Plug in the floater"]
    D --> F{Is the floater stuck by foreign object?}
    F -->|No| G["Replace the water tank floater"]
    F -->|Yes| H["Remove the foreign object"]
    G --> I{Is the failure removed?}
    I -->|No| J["Replace the power board"]
    I -->|Yes| K["End"]
    H --> K
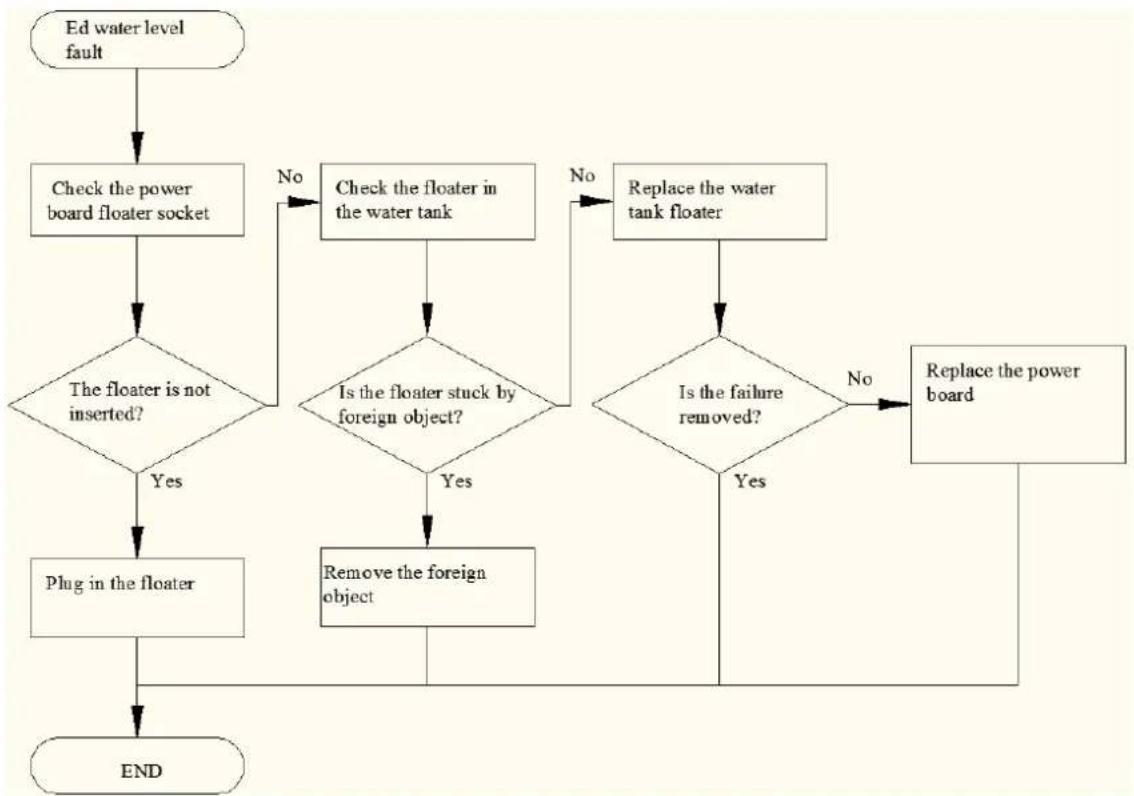
flowchart
graph TD
    A["Ed water level fault"] --> B["Check the power board floater socket"]
    B --> C{The floater is not inserted?}
    C -->|No| D["Check the floater in the water tank"]
    C -->|Yes| E["Plug in the floater"]
    D --> F{Is the floater stuck by foreign object?}
    F -->|No| G["Replace the water tank floater"]
    F -->|Yes| H["Remove the foreign object"]
    G --> I{Is the failure removed?}
    I -->|No| J["Replace the power board"]
    I -->|Yes| K["End"]
    H --> K
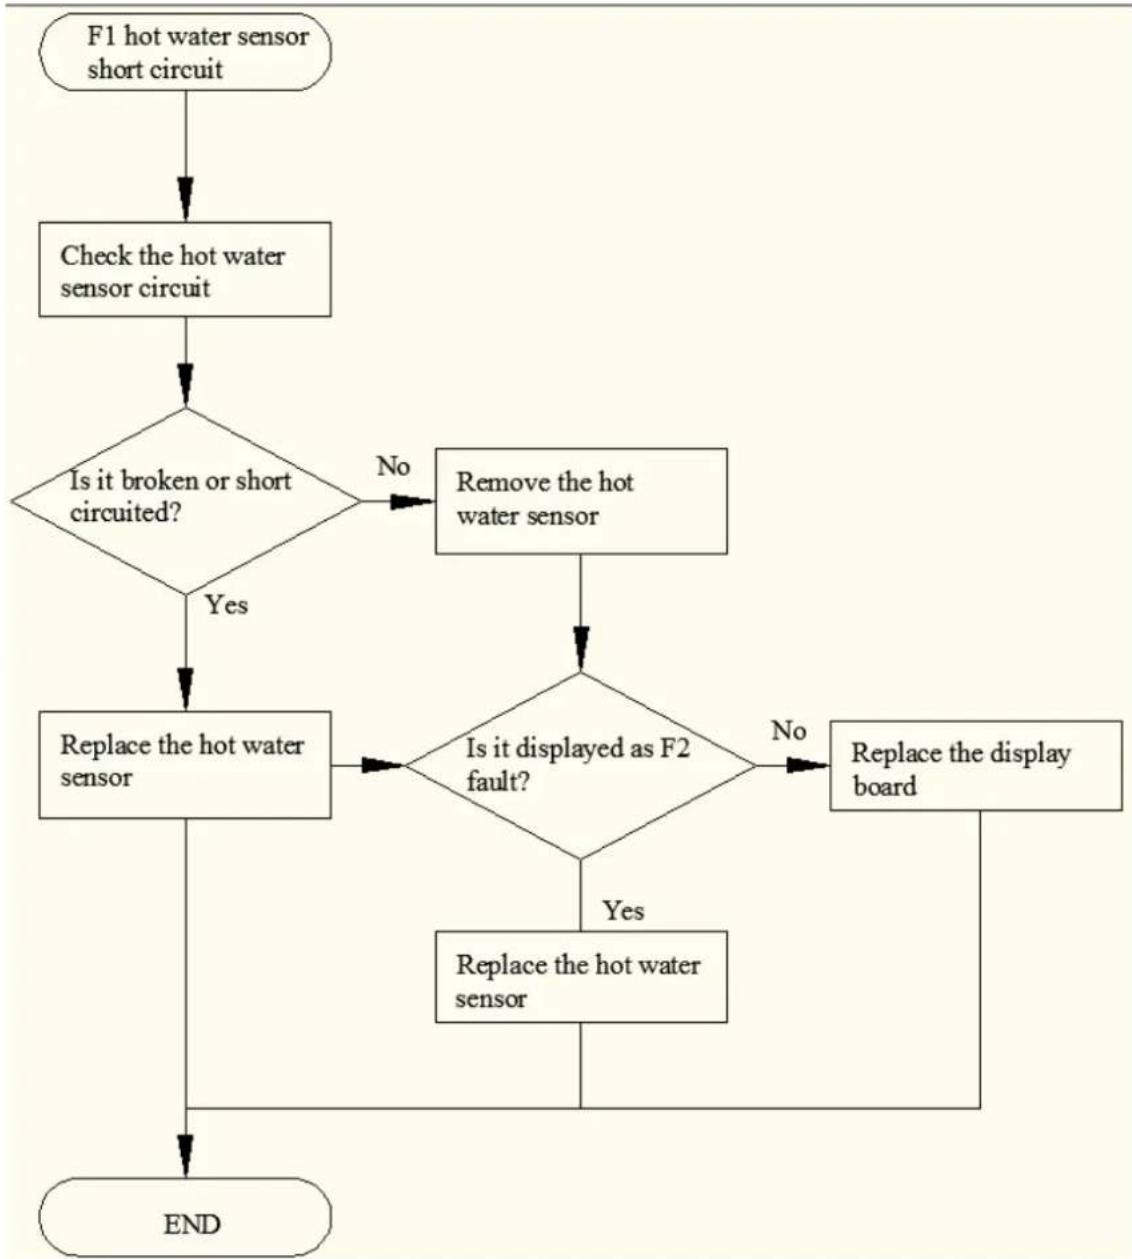
flowchart
graph TD
    A["F1 hot water sensor short circuit"] --> B["Check the hot water sensor circuit"]
    B --> C{Is it broken or short circuited?}
    C -->|No| D["Remove the hot water sensor"]
    C -->|Yes| E["Replace the hot water sensor"]
    D --> F{Is it displayed as F2 fault?}
    F -->|No| G["Replace the display board"]
    F -->|Yes| H["Replace the hot water sensor"]
    G --> I["END"]
    H --> I
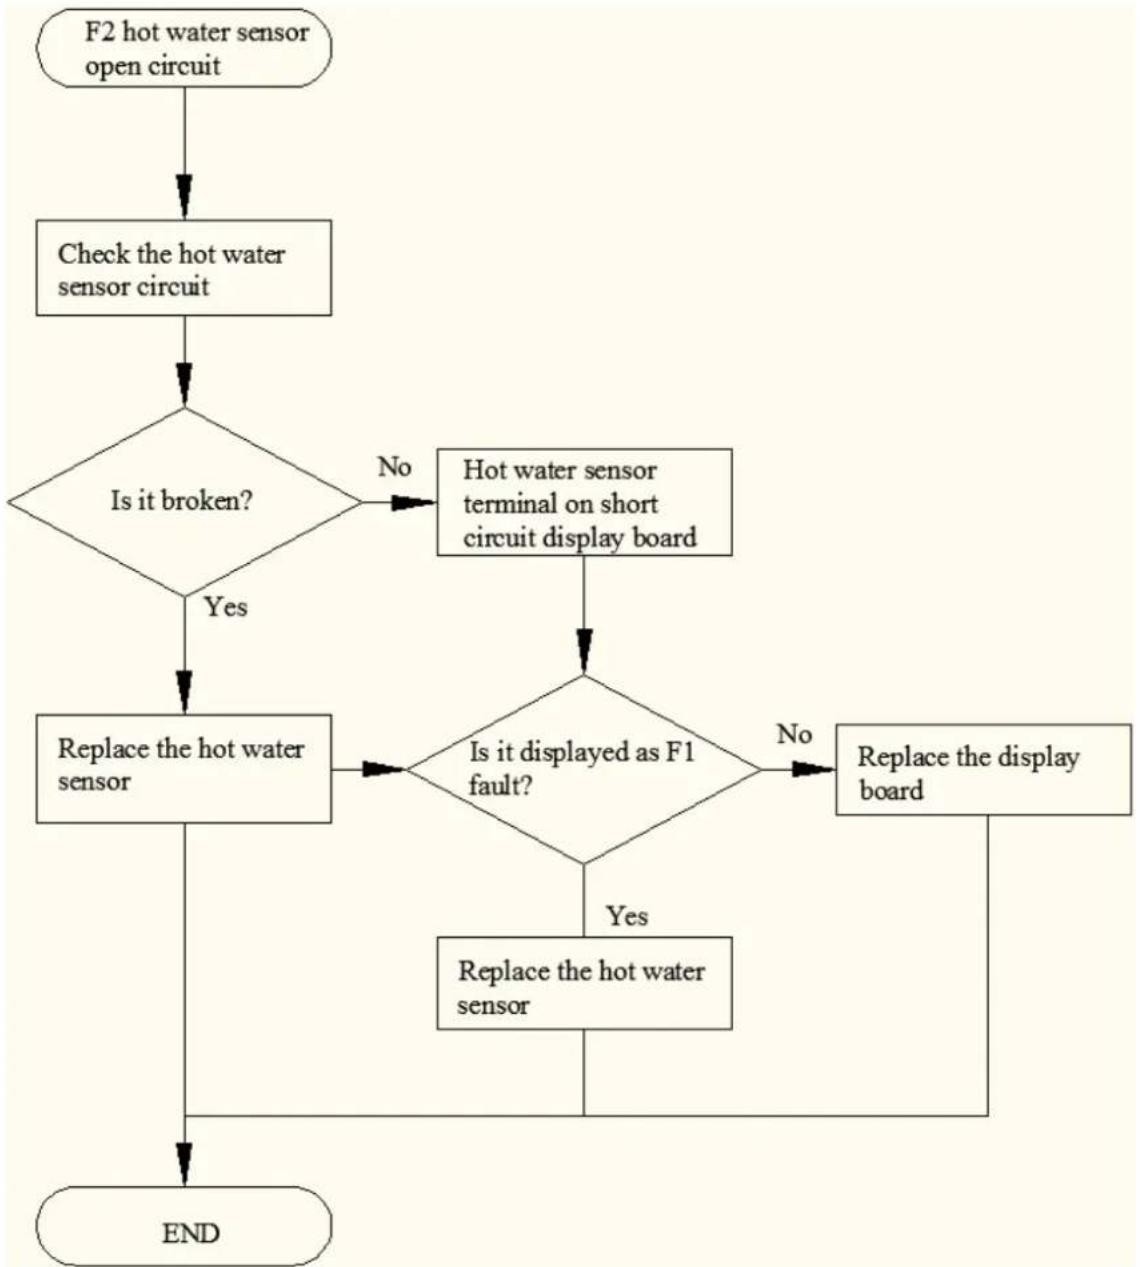
flowchart
graph TD
    A["F2 hot water sensor open circuit"] --> B["Check the hot water sensor circuit"]
    B --> C{Is it broken?}
    C -->|No| D["Hot water sensor terminal on short circuit display board"]
    C -->|Yes| E["Replace the hot water sensor"]
    D --> F{Is it displayed as F1 fault?}
    F -->|No| G["Replace the display board"]
    F -->|Yes| H["Replace the hot water sensor"]
    G --> I["END"]
    H --> I
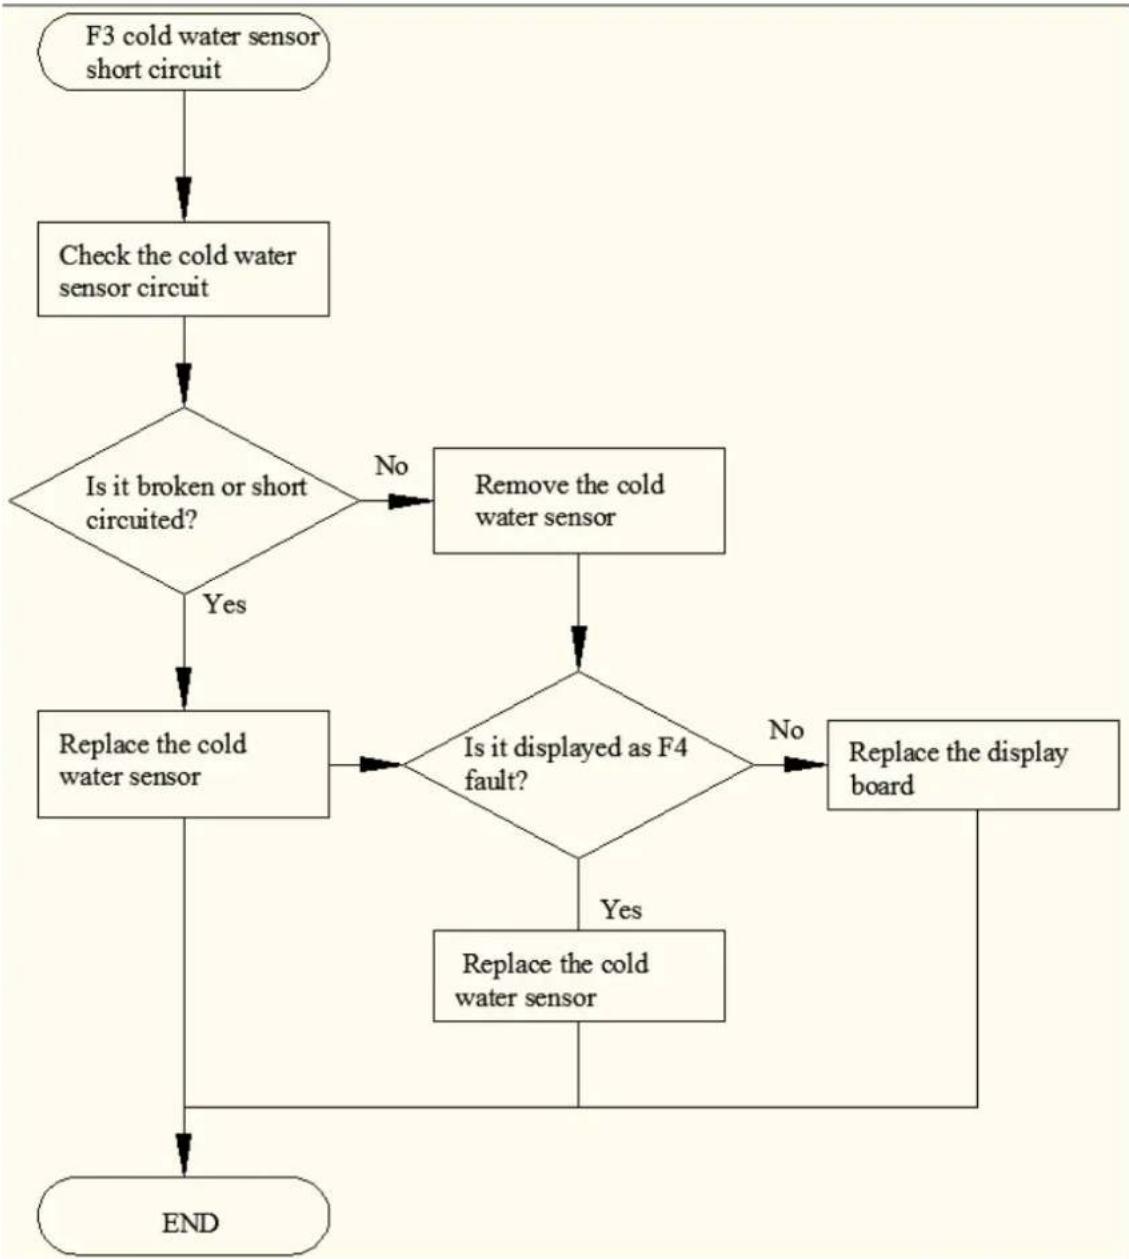
flowchart
graph TD
    A["F3 cold water sensor short circuit"] --> B["Check the cold water sensor circuit"]
    B --> C{Is it broken or short circuited?}
    C -->|No| D["Remove the cold water sensor"]
    C -->|Yes| E["Replace the cold water sensor"]
    D --> F{Is it displayed as F4 fault?}
    F -->|No| G["Replace the display board"]
    F -->|Yes| H["Replace the cold water sensor"]
    G --> I["END"]
    H --> I
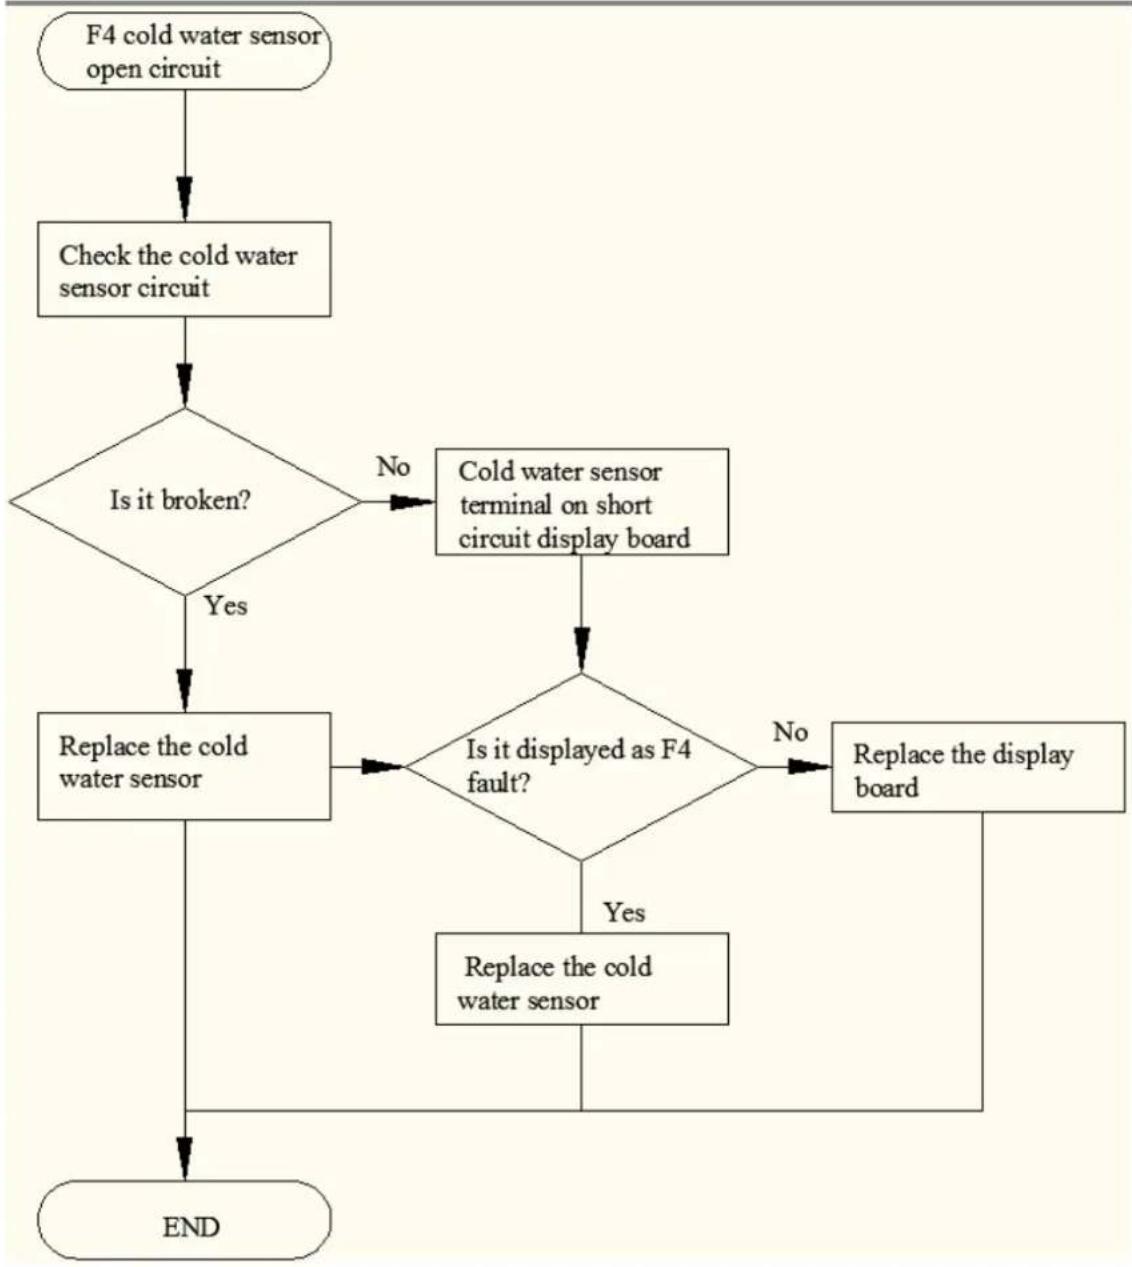
flowchart
graph TD
    A["F4 cold water sensor open circuit"] --> B["Check the cold water sensor circuit"]
    B --> C{Is it broken?}
    C -->|No| D["Cold water sensor terminal on short circuit display board"]
    C -->|Yes| E["Replace the cold water sensor"]
    D --> F{Is it displayed as F4 fault?}
    E --> F
    F -->|No| G["Replace the display board"]
    F -->|Yes| H["Replace the cold water sensor"]
    G --> I["END"]
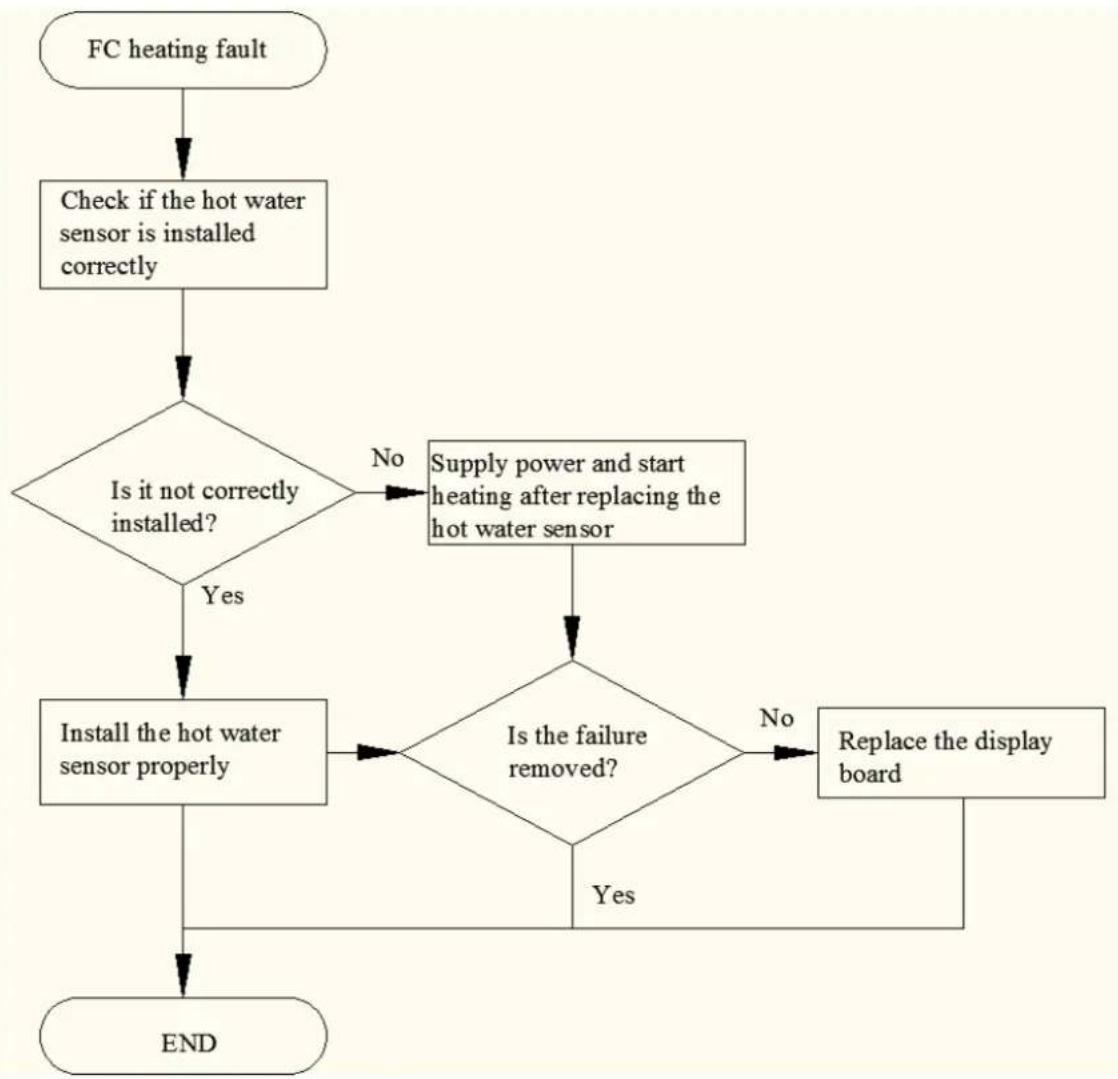
flowchart
graph TD
    A["FC heating fault"] --> B["Check if the hot water sensor is installed correctly"]
    B --> C{Is it not correctly installed?}
    C -->|No| D["Supply power and start heating after replacing the hot water sensor"]
    C -->|Yes| E["Install the hot water sensor properly"]
    D --> F{Is the failure removed?}
    F -->|No| G["Replace the display board"]
    F -->|Yes| E
    E --> H["END"]
Dismantling/Assembling
This instruction is for demonstration only; the actual operation can be adjusted accordingly
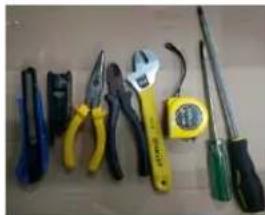
natural_image
Collection of pliers, screwdrivers, and a yellow measuring tape on a surface (no text or symbols visible)Tools for disassembling
The disassembly steps are as follows:
| Remove the rear cover plate | 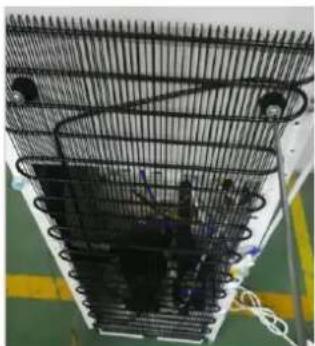 | 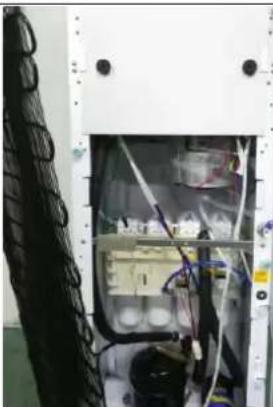 | 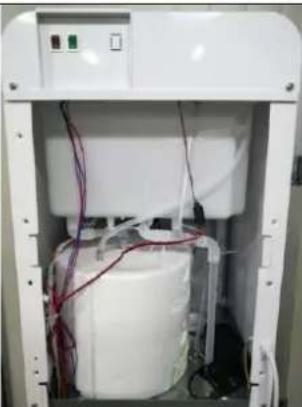 |
| Remove the 4 screws of the condenser | Remove the condenser (do not bend the pipe) | Remove the rear cover plate |
| Replace the power board | 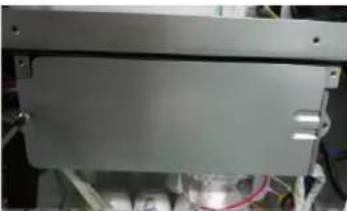 | 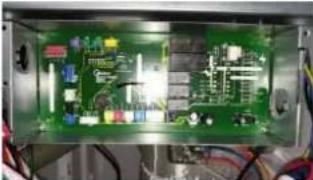 | 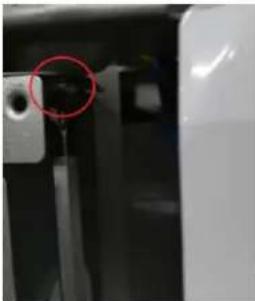 |
| Remove the screws from the electric box cover | Remove the wires | Unscrew the fastening screws on both sides | |
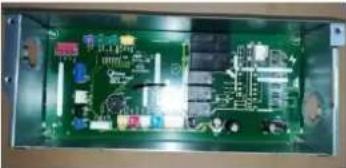 | |||
| Remove the electric box to replace the internal power board | |||
| Remove and replace the top cover | 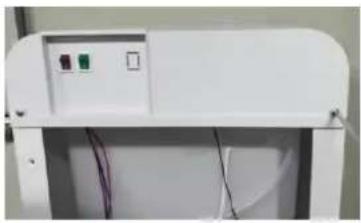 | 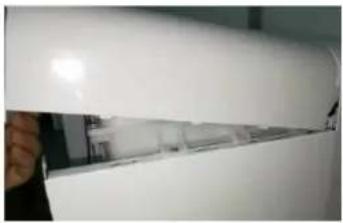 | 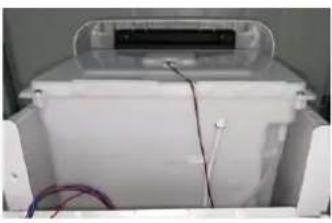 |
| Remove the 2 screws of the top cover | Lift the edge of the top cover slightly to remove it from the front housing | State of top cover after opening |
| Remove and replace the UV | 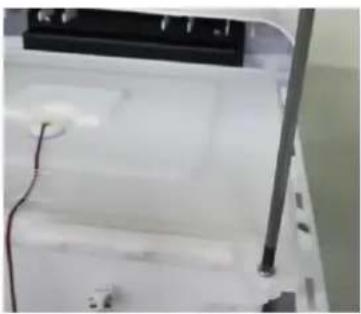 | 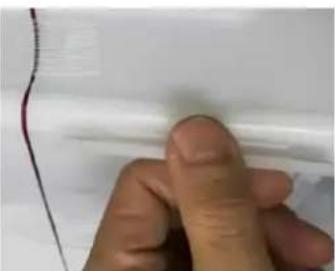 | 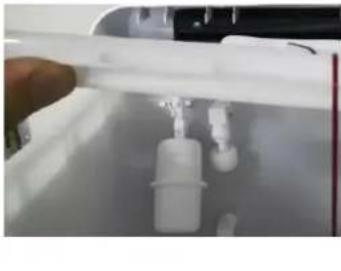 |
| Remove the 2 screws of the water tank cover | Open the 2 buckles of the water tank | Open the water tank cover | |
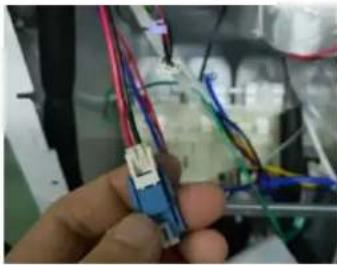 | 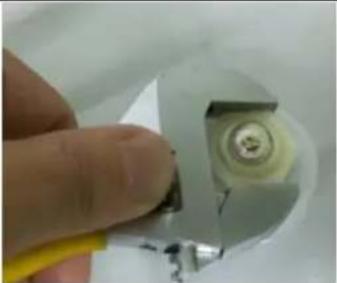 | 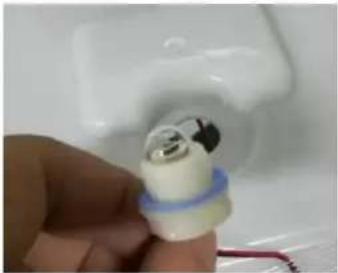 | |
| Find the UV-pair terminal to separate it | Use a wrench to unscrew the UV nut inside the tank cover | Replace it |
| Replace the water tank | 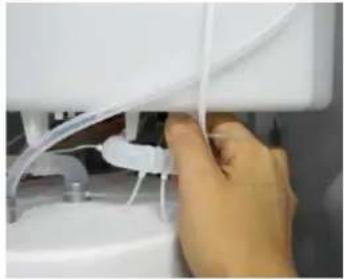 | 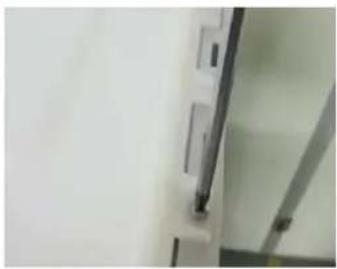 | 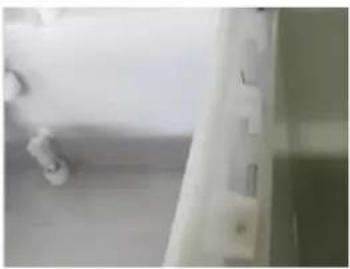 |
| Unplug the connecting pipes and wires | Remove 2 screws | Push the water tank forward and lift it off the side board | |
| Remove and replace the hot tank | 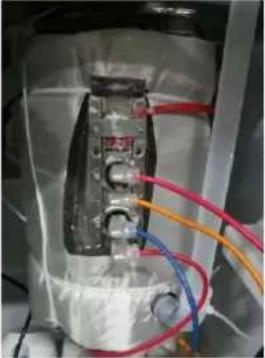 | 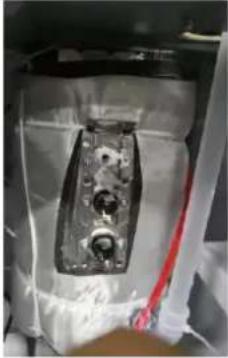 | 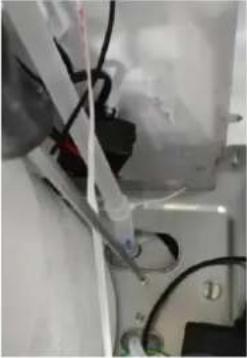 |
| Loosen the electric box, then you can see the whole hot tank | Remove the wires | Remove the 2 screws from the top bracket of the hot tank | |
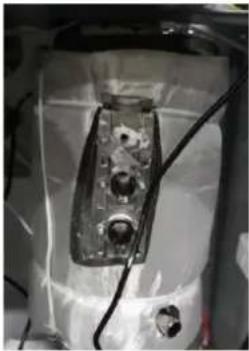 | 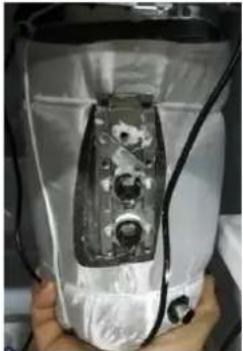 | ||
| Unplug the pipes | Hold the bottom of the hot tank and remove the hot tank to right for replacing it |
| Remove and replace the display board and button board | 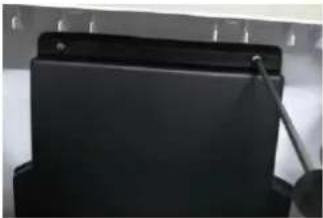 | 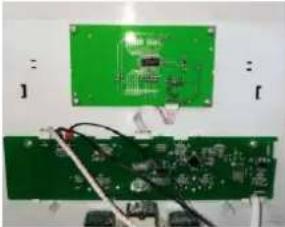 | 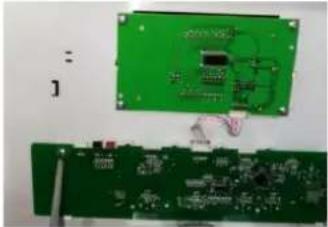 |
| Remove 4 screws | Remove the steam shield | Unplug the wires and remove the screws for replacing it |
| Replace the cold tank | 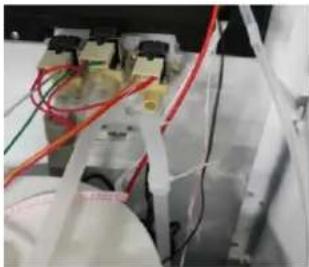 | 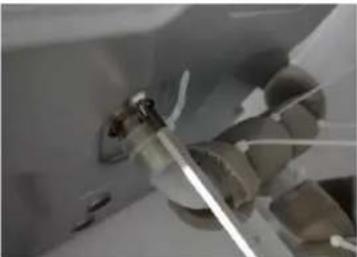 | |
| Unplug the pipes | Remove the 2 screws fromthe bottom of the middle support for replacing it |
| Remove and replace the filter | 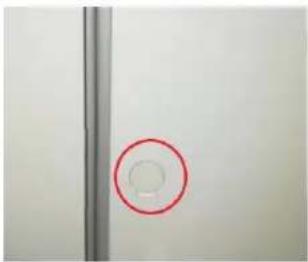 | 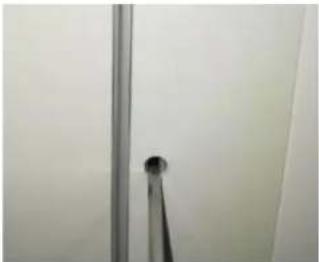 | 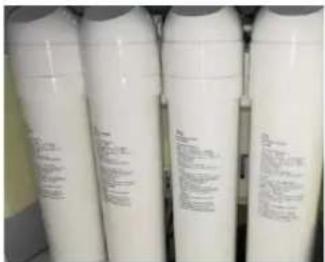 |
| Remove the right screw cover | Remove the screw with magnetic cross-headed screwdriver | Open the lower door | |
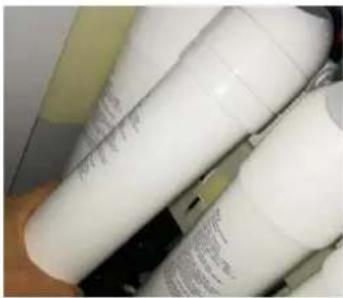 | |||
| Lift the filter and turn the filter to the left to replace it (The new filter should be flushed with a special filter holder before installation the new filter) |
| Remove and replace the door frame |  | 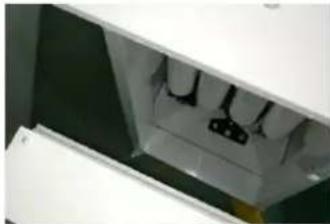 | 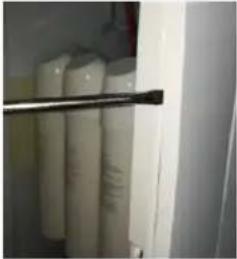 |
| Remove the water tray and remove the lower door screws | Remove the lower door | Use flat-headed screw to open the side decorative boards | |
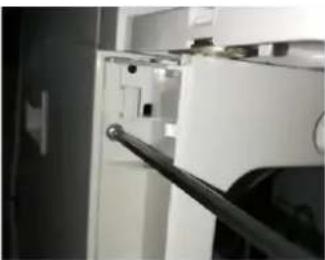 | 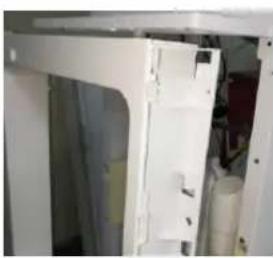 | ||
| Remove the 6 screws on both sides | Pull out the door frame |
| Remove and replace the front housing | 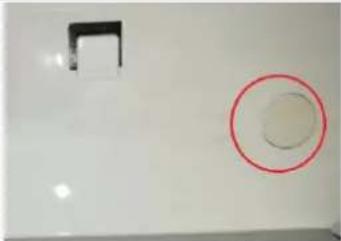 | 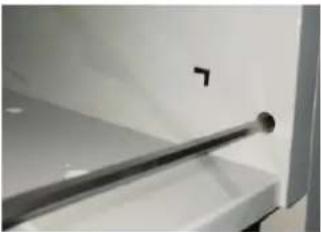 |  |
| Remove the water tray, remove the 2 screw covers of the front housing | Remove the front 2 screws and the inner 5 screws | Press the front housing down with both hands to remove it from the side board for replacing |
Introduction of key electrical components Parts
| Introduction of Key electrical components Part | |
Display board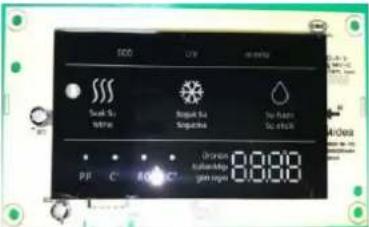 | Power board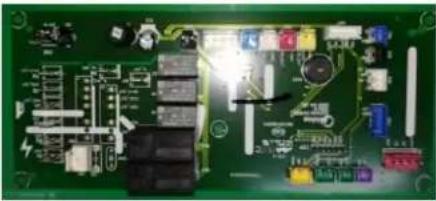 |
Key board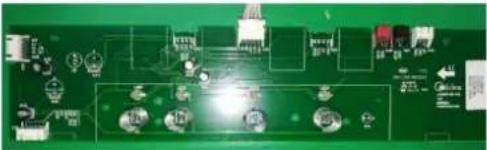 | Power Adapter[WTIT] |
Booster pump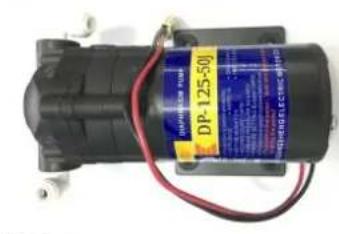 | UV lamp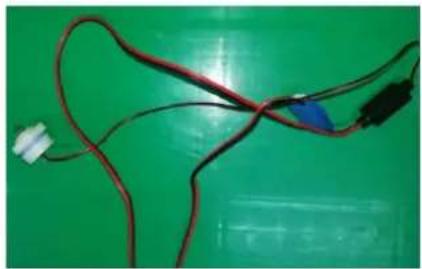 |
Hot tank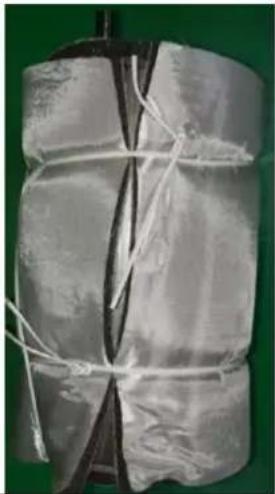 | Temperature limiter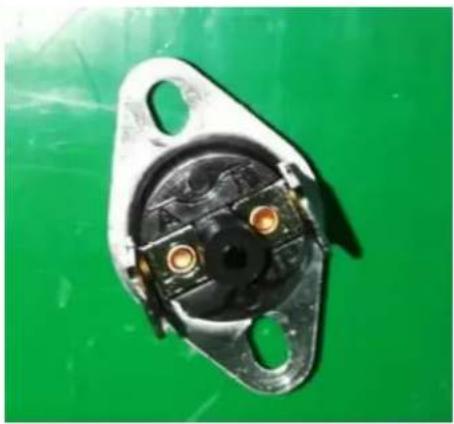 |
Float switch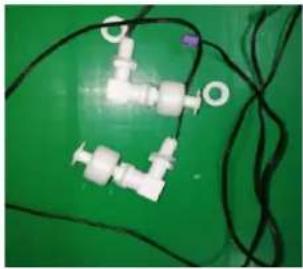 | Drainage solenoid valve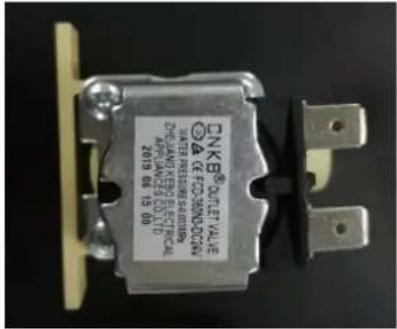 |
Pressure reducing valve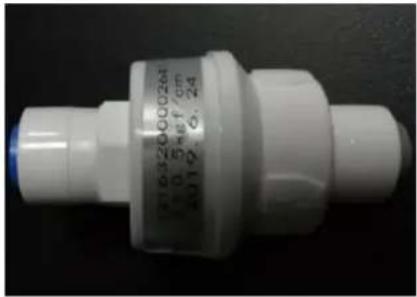 | Inlet solenoid valve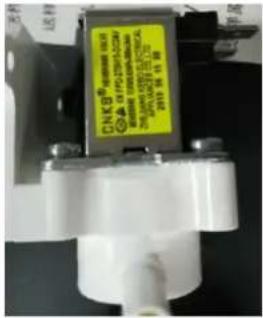 |
Flushing valve
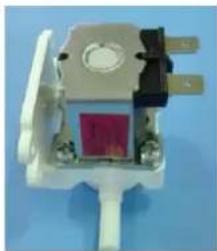
natural_image
Close-up of a small electronic component with metallic contacts and a red square patch, mounted on a white base against a blue background (no visible text or symbols)Product Exploded views and Part List
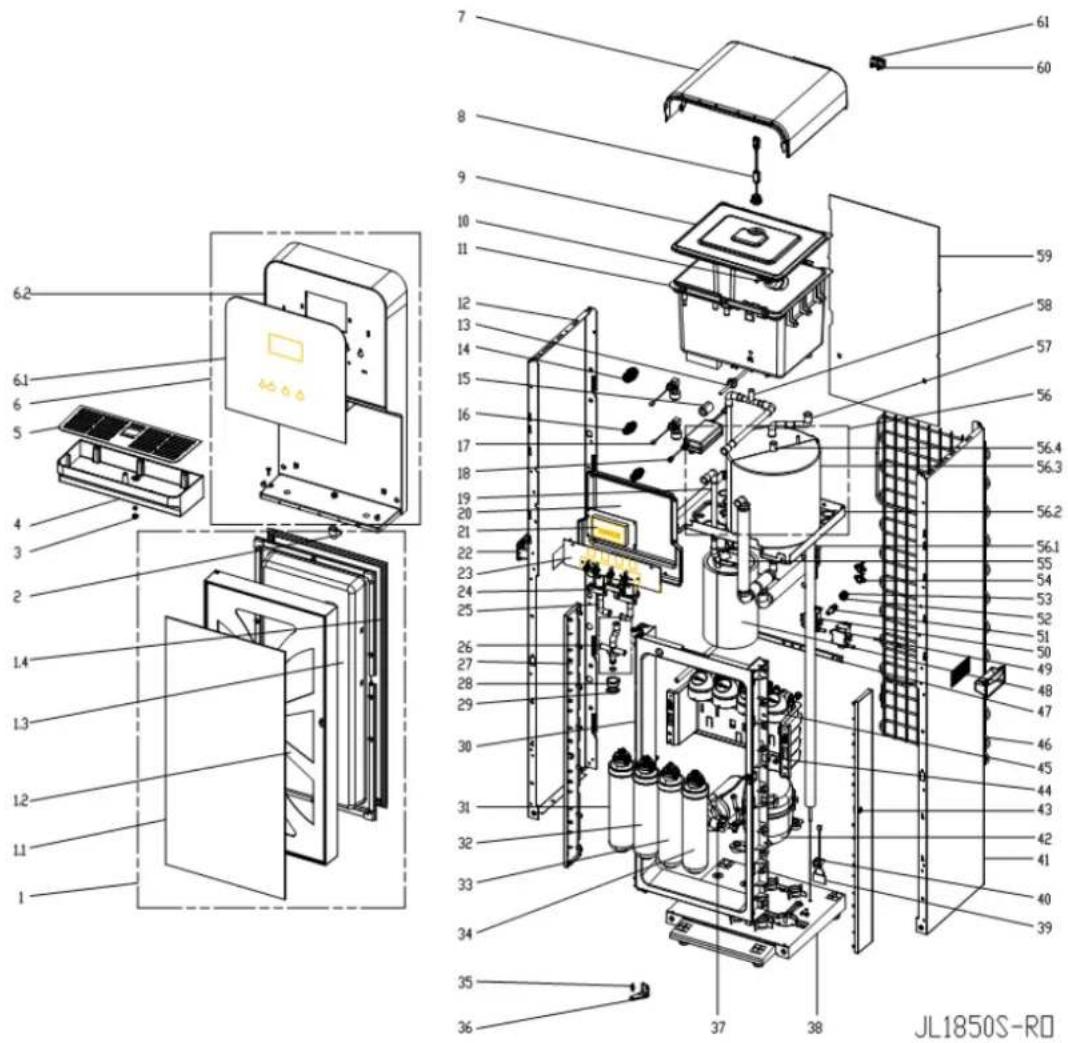
| S/N | Part Name | Quantity | BOM Code | |
| No. | English Name | Part Name | Quantity | BOM Code |
| 1 | Lower door assembly | Lower door assembly | 1.0 | 12163100003082 |
| 1.1 | Tempered glass panel | Tempered glass panel | 1.0 | 12563100000542 |
| 1.2 | Lower door | Lower door | 1.0 | 12163100002966 |
| 1.3 | Lower door lining | Lower door lining | 1.0 | 12163100003121 |
| 1.4 | Doorseal | Doorseal | 1.0 | 12163100000521 |
| 2 | Silicone Tube | Silicone Tube | 1.0 | 12663100000301 |
| 3 | Seal ring | Seal ring | 2.0 | 12663100000361 |
| 4 | Drip tray | Drip tray | 1.0 | 12163100002967 |
| 5 | Drip tray cover | Drip tray cover | 1.0 | 12263100000581 |
| 6 | Front housing assembly | front housing assembly | 1.0 | 12163100003061 |
| 6.1 | Tempered glass panel | Tempered glass panel | 1.0 | 12563100000581 |
| 6.2 | Front housing | Front housing | 1.0 | 12163100003062 |
| 7 | Top cover | Top cover | 1.0 | 12163100002968 |
| 8 | Small plastic parts | Small plastic parts | 1.0 | 17463100000701 |
| 9 | Plastic cover | Plastic cover | 1.0 | 12163200004642 |
| 10 | Floater | floater | 1.0 | 12163000009217 |
| 11 | Water tank | water tank | 1.0 | 12163200A03363 |
| 12 | Left side panel | Left side panel | 1.0 | 12263100000624 |
| 13 | Power Cord | Power Cord | 1.0 | 17463000A01682 |
| 14 | Quick connector | quick connector | 1.0 | 12163200000354 |
| 15 | Magnetic Ring | Magnetic Ring | 3.0 | 10505701000048 |
| 16 | Quick connector | quick connector | 2.0 | 12163200000366 |
| 17 | Liquid level switch | Liquid level switch | 1.0 | 17463200004993 |
| 18 | AC adapter | AC adapter | 1.0 | 17163200000423 |
| 19 | Assembled tube | Assembled tube | 1.0 | 12663100001221 |
| 20 | Anti-steam jacket | anti-steam jacket | 1.0 | 12163100001201 |
| 21 | Display panel | Display panel | 1.0 | 17163100001985 |
| 22 | Side handle | side handle | 2.0 | 12163000001804 |
| 23 | Button board | Button board | 1.0 | 17163100001986 |
| 24 | Solenoid valve | solenoid valve | 3.0 | 17463000A01762 |
| 25 | Silicone Tube | Silicone Tube | 2.0 | 12663000000072 |
| 26 | Assembled tube | Assembled tube | 1.0 | 12663100001224 |
| 27 | plastic decorative part | plastic decorative part | 2.0 | 12163100003066 |
| 28 | Small plastic parts | small plastic parts | 1.0 | 12163100003064 |
| 29 | Sealing Gasket | Sealing Gasket | 1.0 | 12663200000621 |
| 30 | Lower door | Lower door | 1.0 | 12163100003063 |
| 31 | Filter | filter | 1.0 | 15663200A03723 |
| 32 | Filter | filter | 1.0 | 15663200A03724 |
| 33 | Filter | filter | 1.0 | 15663200A03725 |
| 34 | Filter | filter | 1.0 | 15663200A03726 |
| 35 | Shaft | Shaft | 1.0 | 12963000000038 |
| 36 | Hinge | hinge | 1.0 | 12963100000008 |
| 37 | Water pump | water pump | 1.0 | 17463200000406 |
| 38 | Base | Base | 1.0 | 12163100003068 |
| 39 | Control panel | Control panel | 1.0 | 17163200002704 |
| 40 | Small plastic parts | small plastic parts | 1.0 | 12163200000447 |
| 41 | Right side panel | Right side panel | 1.0 | 12263100000621 |
| 42 | Fixed speed reciprocating compressor | Fixed speed reciprocating compressor | 1.0 | 11101010000085 |
| 43 | Plug | plug | 4.0 | 12163000002138 |
| 44 | Supporter | supporter | 1.0 | 12163200002621 |
| 45 | Filter joint assembly | filter joint assembly | 1.0 | 15663200001704 |
| 46 | Condenser | Condenser | 1.0 | 12963100000661 |
| 47 | Support bar | Support bar | 1.0 | 12963000000099 |
| 48 | Hot tank | Hot tank | 1.0 | 17463100001885 |
| 49 | Solenoid valve | solenoid valve | 1.0 | 17463200A01143 |
| 50 | Solenoid valve | solenoid valve | 1.0 | 17463200A00803 |
| 51 | Small plastic parts | small plastic parts | 1.0 | 12163000001978 |
| 52 | Nut | nut | 2.0 | 12163000002137 |
| 53 | Cover type | cover type | 2.0 | 12163000001632 |
| 54 | Temperature limiter | temperature limiter | 2.0 | 17463000000155 |
| 55 | Assembled tube | Assembled tube | 1.0 | 12663100001223 |
| 56 | Cold tank assembly | Cold tank assembly | 1.0 | 12263100000641 |
| 56.1 | Evaporator | Evaporator | 1.0 | 12963100000662 |
| 56.2 | Middle supporting plate | Middle supporting plate | 1.0 | 12263100000622 |
| 56.3 | Insulation foam | Insulation foam | 1.0 | 16363100000543 |
| 56.4 | Cold tank | Cold tank | 1.0 | 12263100000623 |
| 57 | Assembled tube | Assembled tube | 1.0 | 12663100001225 |
| 58 | Assembled tube | Assembled tube | 1.0 | 12663100001222 |
| 59 | Cover plate | Cover plate | 1.0 | 12163100003065 |
| 60 | Rocker Switch | Rocker Switch | 1.0 | 17463000000076 |
| 61 | Rocker Switch | Rocker Switch | 1.0 | 17463000000094 |
- CONTENTS
- Safety instruction and accessories
- Safety instruction
- Precaution
- 1-1 Safety Issues
- Supplied items
- System Diagram
- 2、the water flow outside of water purifier:
- Construction Views
- 1、Front
- 2、Back
- Product feature
- Product strong point
- Booster pump
- Electrical schematics and wiring diagrams
- Preparation before operation of the water purifier
- Installation procedure
- Setting the installation location
- Fixing guide
- 14: Water tray discharge treatment
- Machine Installation
- Inspection and confirmation
- The display panel is shown as below:
- DISPENSING WATER
- Additional remarks
- Operational precautions
- Changing Filters
- Maintenance
- Trouble shooting
- Dismantling/Assembling
- Introduction of key electrical components Parts
Brand : MIDEA
Model : JL1850S-RO
Category : Water filter