
Liam CF1123 - Furniture Crosley - Free user manual and instructions
Find the device manual for free Liam CF1123 Crosley in PDF.


User questions about Liam CF1123 Crosley
0 question about this device. Answer the ones you know or ask your own.
Ask a new question about this device
Download the instructions for your Furniture in PDF format for free! Find your manual Liam CF1123 - Crosley and take your electronic device back in hand. On this page are published all the documents necessary for the use of your device. Liam CF1123 by Crosley.
USER MANUAL Liam CF1123 Crosley
natural_image
Line drawing of a three-tiered shelf cabinet or storage unit (no text or symbols)PART LIST
A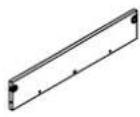 | B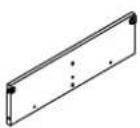 | C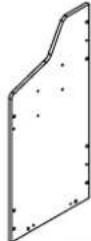 | D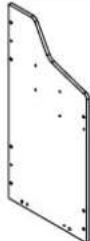 | E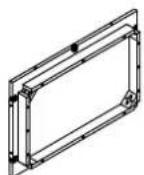 |
| Front Top Panel1 PC | Front Lower Panel1 PC | Left Panel1 PC | Right Panel1 PC | Bottom Panel1 PC |
F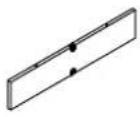 | G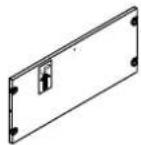 | H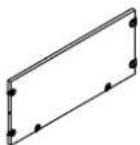 | I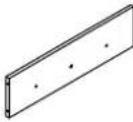 | J |
| Fixed Shelf3 PCS | Upper Back Panel1 PC | Lower Back Panel1 PC | Partition Panel2 PCS | Lower Partition Panel1 PC |
| K[SHO] | ||||
| Leg4 PCS | ||||
HARDWARE LIST
| #1 | #2 | #3 | #4 | #5 | |||||
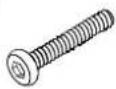 ∅1/4"*1-1/2" ∅1/4"*1-1/2" |  ∅1/4" ∅1/4" |  ∅1/4" ∅1/4" | [DC14]∅8*30mm | 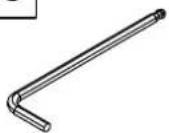 4mm 4mm | |||||
| Bolt8 PCS (Extra 1) | Flat Washer8 PCS (Extra 1) | Spring Washer8 PCS (Extra 1) | Wood Dowel36 PCS (Extra 4) | Allen Wrench1 PC | |||||
| #6 | |||||||||
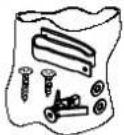 | |||||||||
| Safety Strap Kit1 SET | |||||||||
ADDITIONAL TOOLS (Not Provided)
Note: It is not recommended to use power tools during assembly.
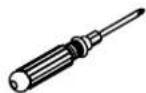
Phillips Head Screwdriver
Note: Wood dowels are intended for alignment. Additional clearance between wood dowel and pre-drilled hole is intentional for ease of assembly.
Please do not use tools to assemble this unit unless specifically indicated.
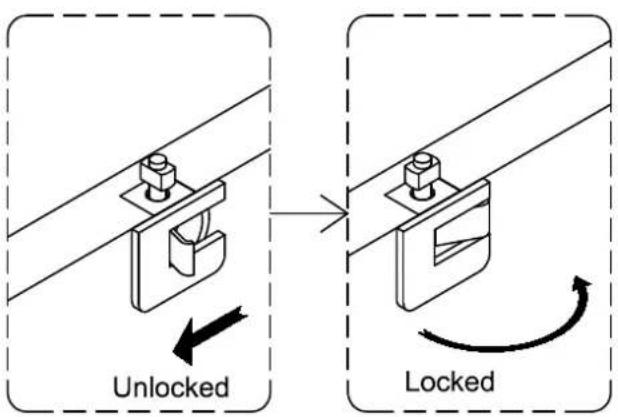
Reference the images above any time the instructions state "lock the hardware". Be sure to check all hardware is locked when complete.
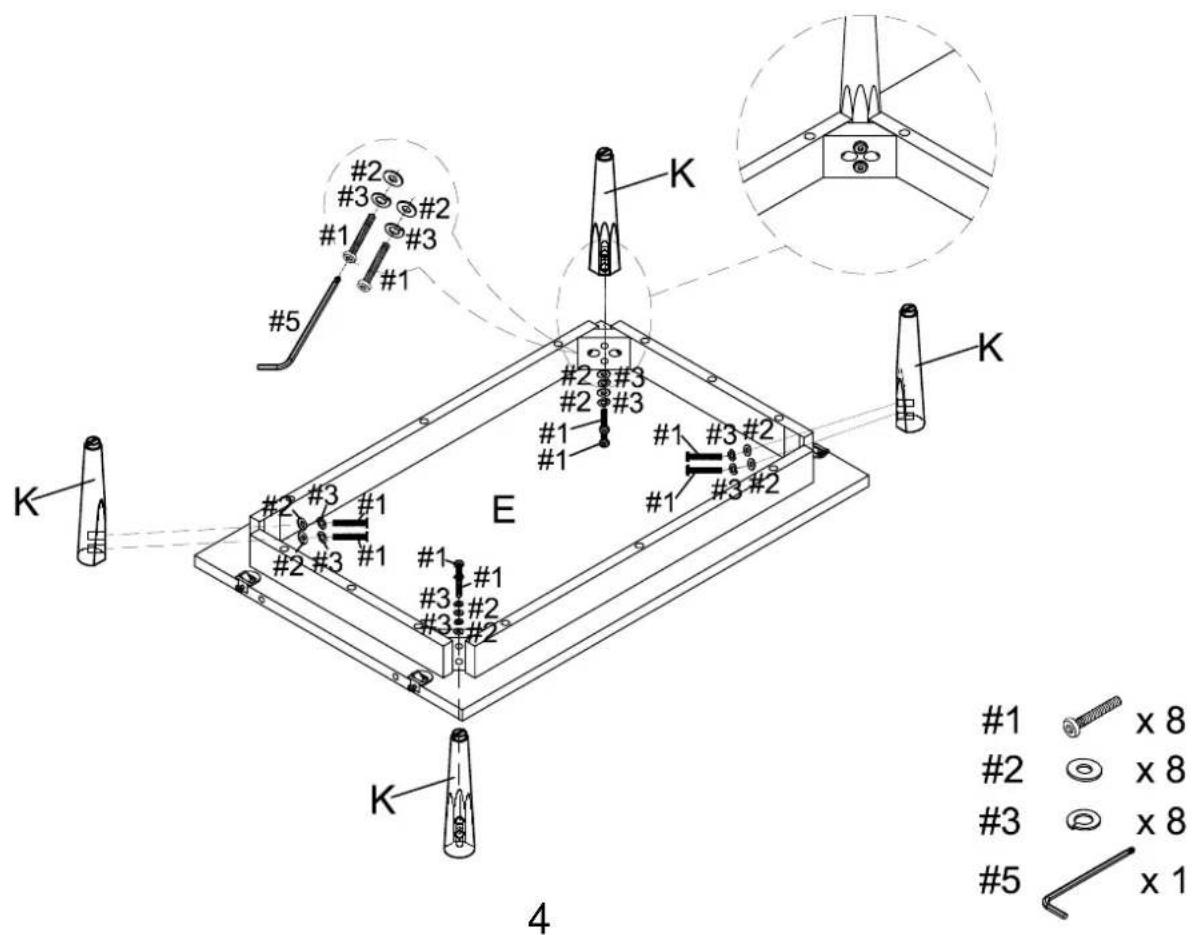
Step 1. Attach legs (part K) to bottom panel (part E) using spring washers (part #3), flat washers (part #2), bolts (part #1) and allen wrench (part #5).
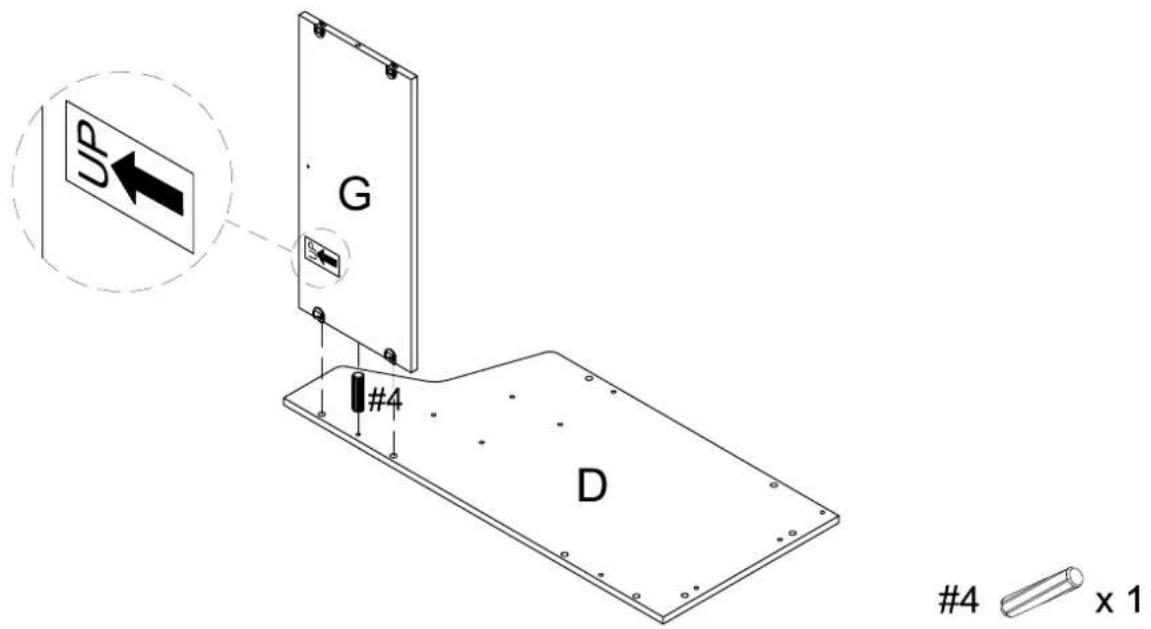
Step 2. Attach upper back panel (part G) to right panel (part D) using wood dowel (part #4) and lock the hardware.
Step 3. Attach fixed shelf (part F) to upper back panel (part G) using wood dowels (part #4) and lock the hardware.
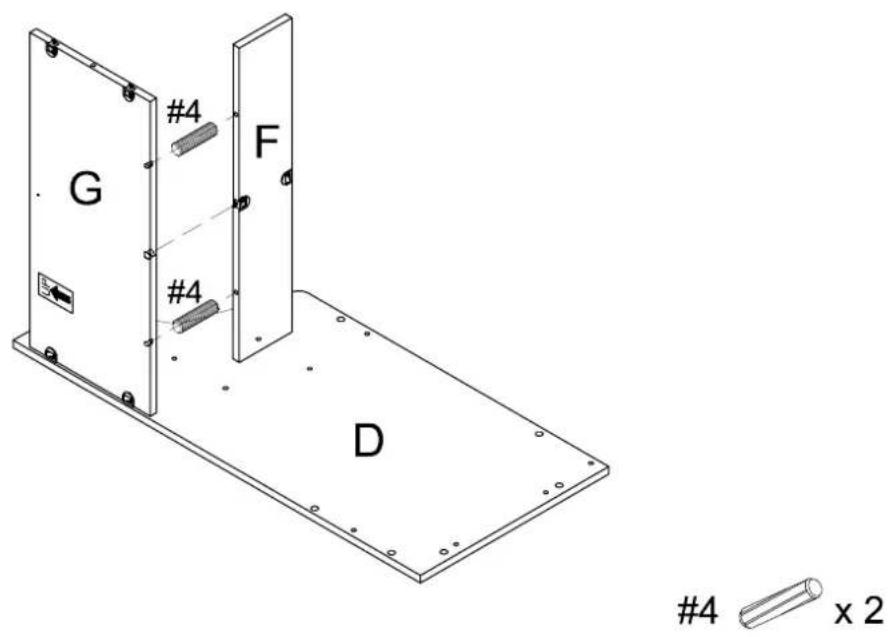
Step 4. Attach partition panel (part I) to assembled unit (parts D & F) using wood dowels (part #4) and lock the hardware.
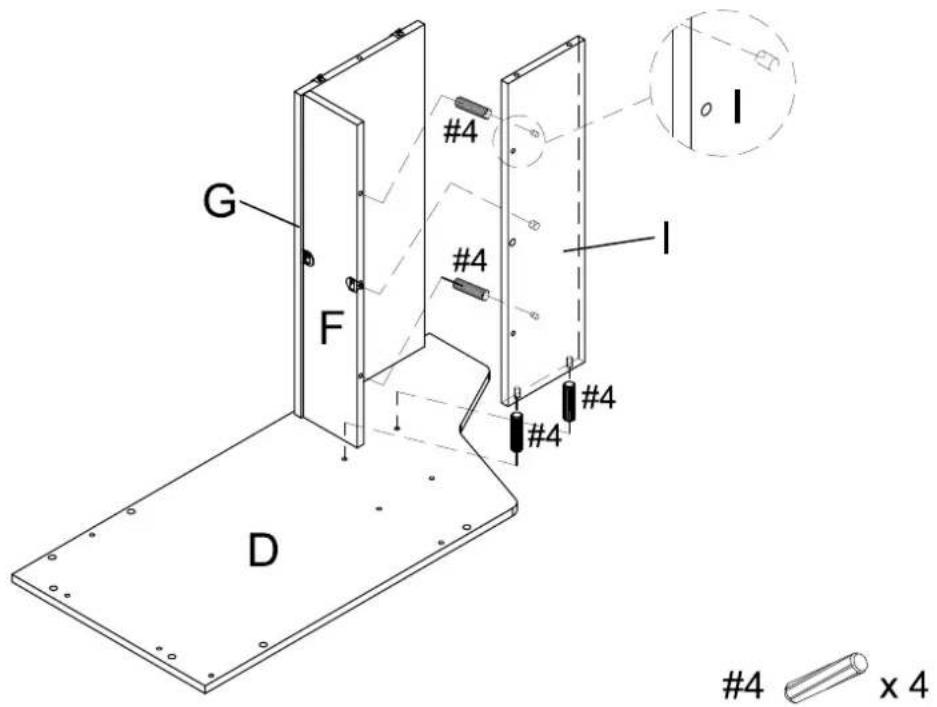
Step 5. Attach fixed shelf (part F) to partition panel (part I) using wood dowels (part #4) and lock the hardware.
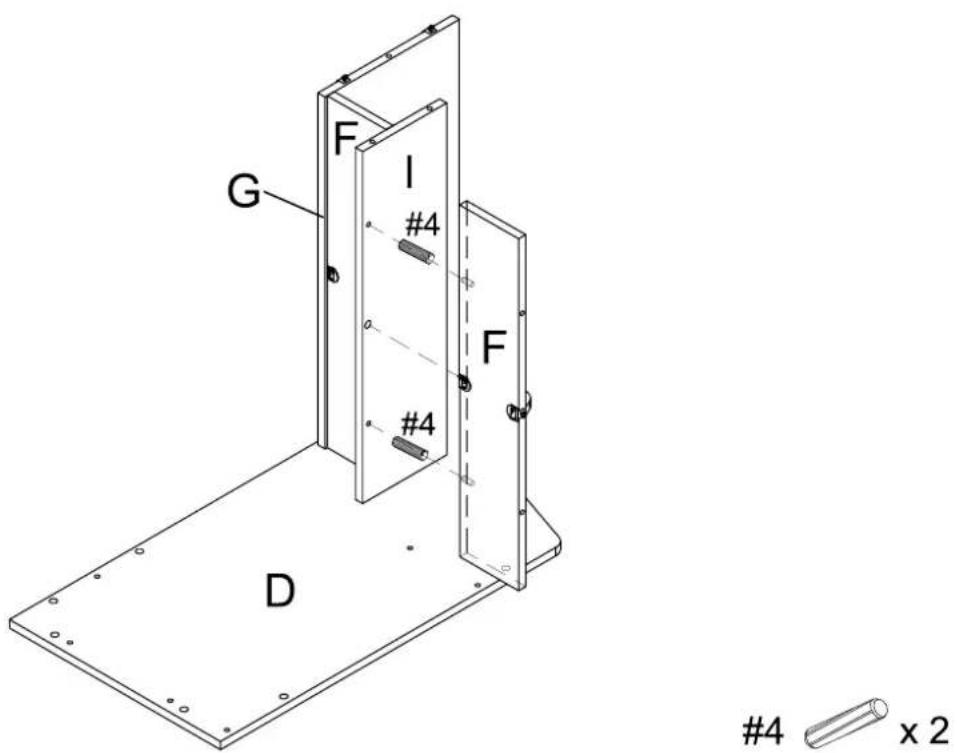
Step 6. Attach partition panel (part I) to assembled unit (parts D & F) using wood dowels (part #4) and lock the hardware.
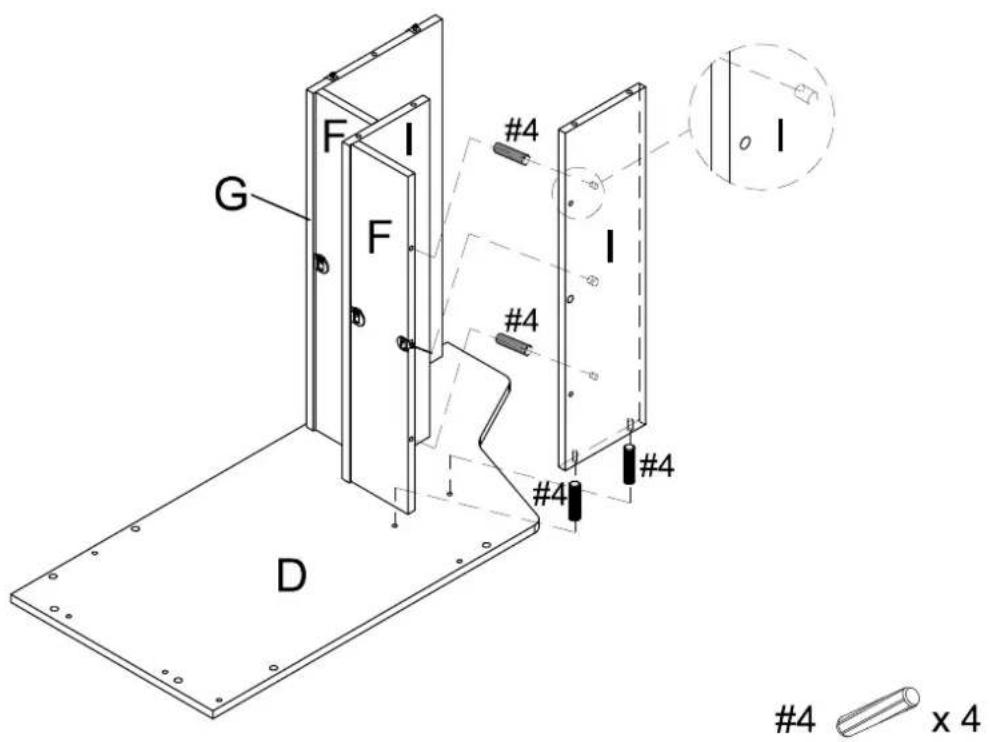
Step 7. Attach fixed shelf (part F) to partition panel (part I) using wood dowels (part #4) and lock the hardware.
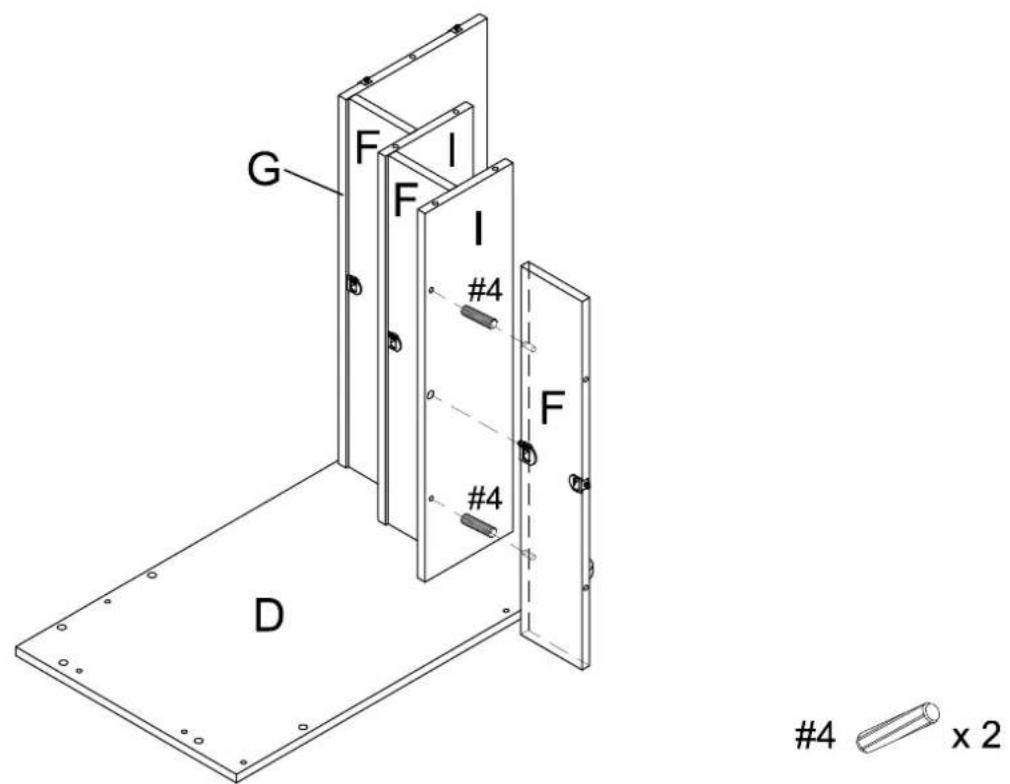
Step 8. Attach front top panel (part A) to fixed shelf (part F) and right panel (part D) using wood dowels (part #4) and lock the hardware.
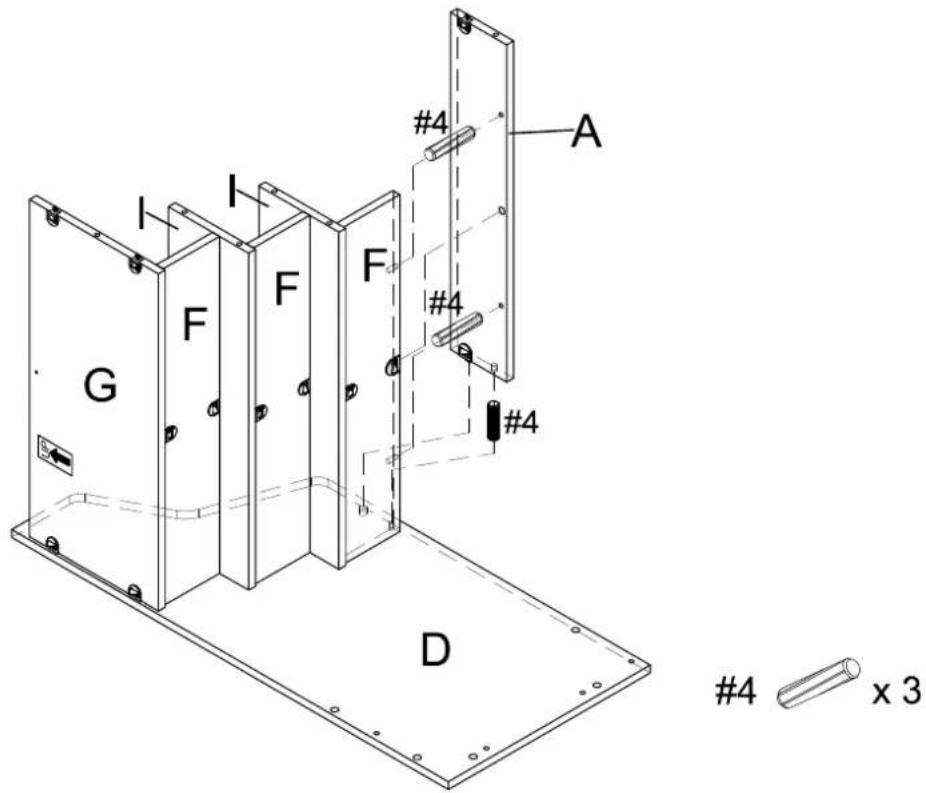
Step 9. Attach lower partition panel (part J) to lower back panel (part H) using wood dowel (part #4) and lock the hardware.
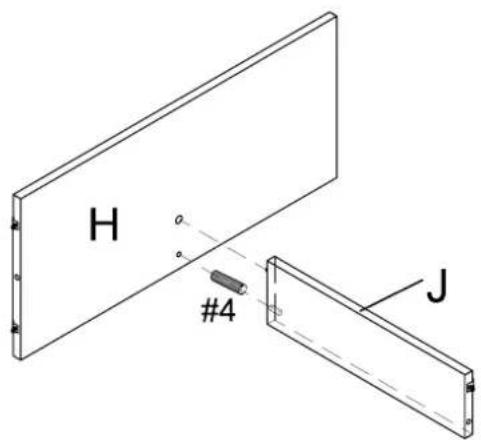
4 x 1
Step 10. Attach assembled unit (parts H & J) to bottom panel (part E) and lock the hardware.
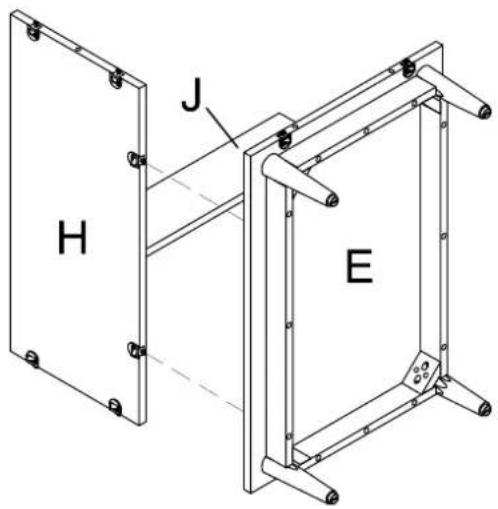
Step 11. Attach front lower panel (part B) to assembled unit (parts E & J) using wood dowels (part #4) and lock the hardware.
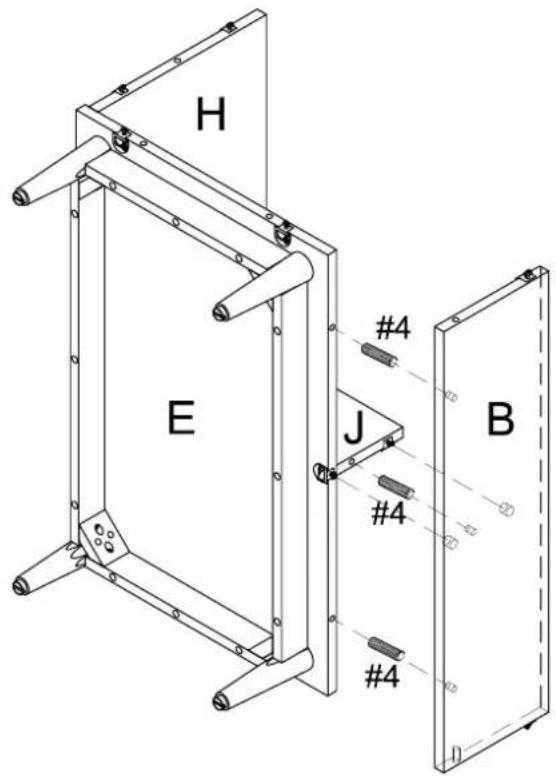
4 x 3
Step 12. Attach assembled unit (parts B, E & H) to right panel (part D) using wood dowels (part #4) and lock the hardware.
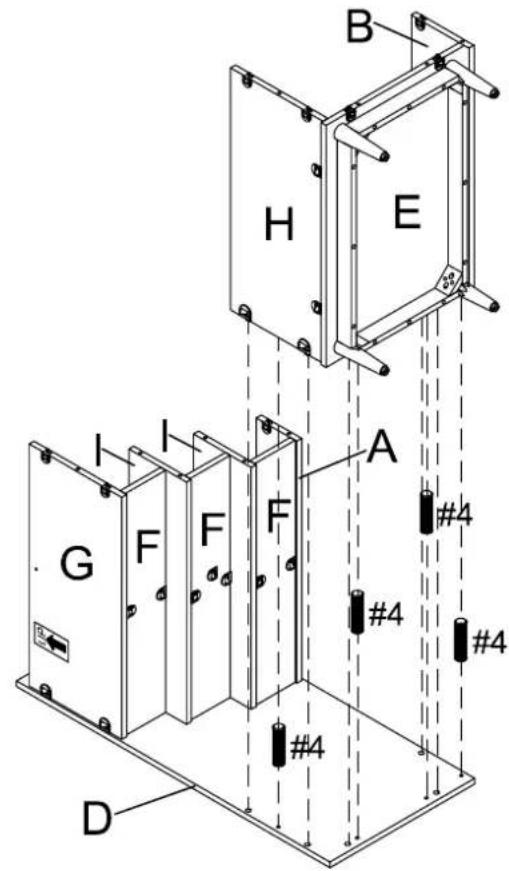
4 x 4
Step 13. Attach left panel (part C) to assembled unit (parts A, B, E, G, H & I) using wood dowels (part #4) and lock the hardware.
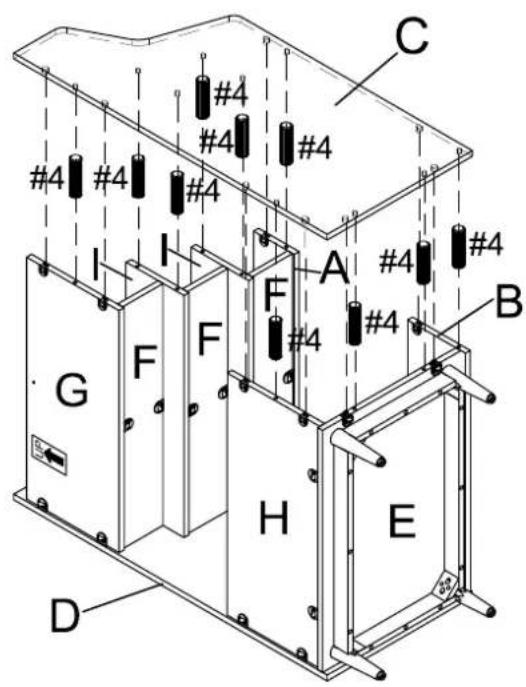
4 × 10
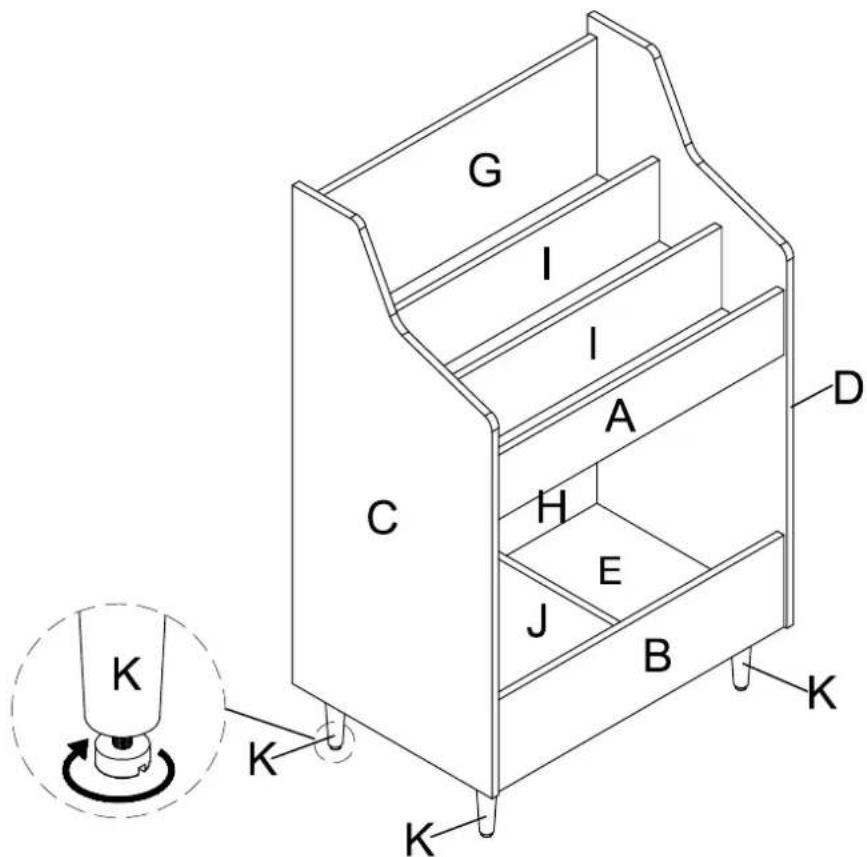
Step 14. Carefully turn unit upright.
Note: It is important to adjust levelers once fully assembled and upright. Extend adjustable leveler until it's firmly in contact with the floor. If relocating, adjust leveler as needed until it's firmly in contact with the floor in new location.
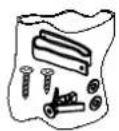
Important: Safety strap kit (part #6) must be installed to prevent tipping, damage and /or injury.
| #6 | A | B | C | D | E |
 |  |  |  D8*3/4" D8*3/4" | 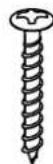 D8*1-1/2" D8*1-1/2" | 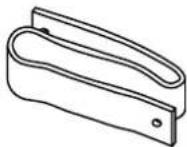 |
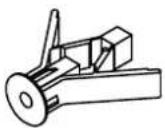
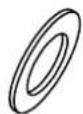
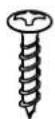
| Safety Strap Kit1 SET | Wall Anchor1 PC | 2 PCS | Short ScrewWasher1 PC | Long Screw1 PC | Safety Wall Strap1 PC |
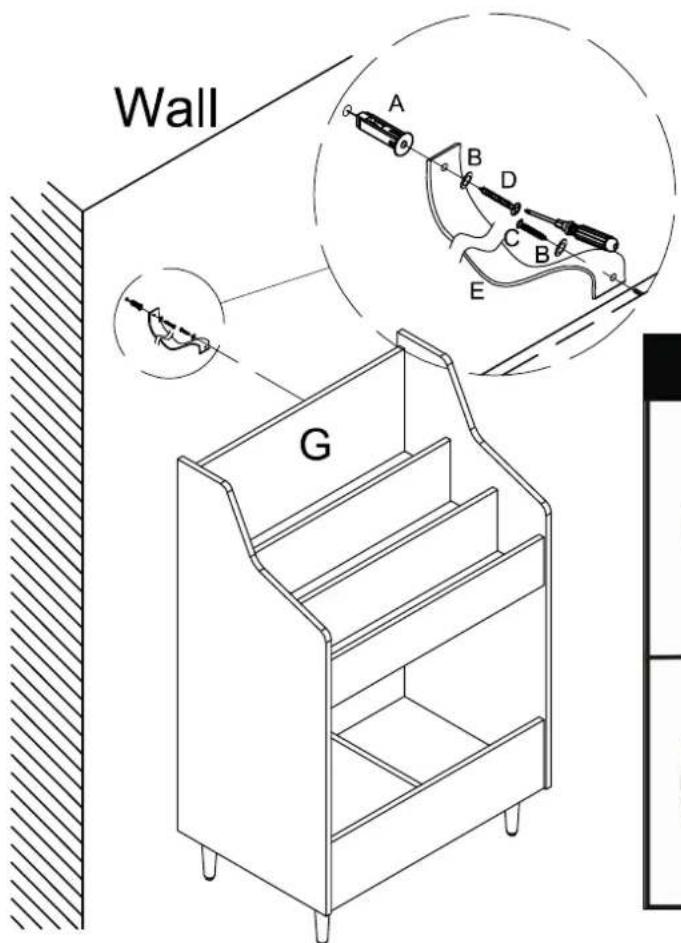
SAFETY WALL STRAP INSTALLATION
Note: It is highly recommended to install this safety strap kit to prevent tipping, damage and/or injury.
- Insert short screw (C) through washer (B) and safety wall strap (E) and attach to upper back panel (part G) using phillips head screwdriver.
- Drill a 11/32" hole where you want to secure the unit. The drilled hole will be at the same height as the hole in upper back panel (part G) where the safety wall strap (E) is attached. Tap wall anchor (A) into the hole.
- Insert long screw (D) through washer (B) and safety wall strap (E) into wall anchor (A) using phillips head screwdriver.
Note: This item is not intended for clothing storage use.
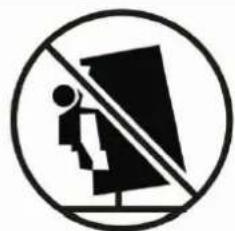
⚠ WARNING
natural_image
Symbol of a person standing on a chair facing a large screen, crossed out by a diagonal line (no text or numbers present)Children have died from
furniture tipover. To reduce the
risk of furniture tipover:
- ALWAYS install tipover restraint Provided.
• NEVER put a TV on this product. - NEVER allow children to stand, climb or hang on drawers, doors, or shelves.
- NEVER open more than one drawer at a time.
- Place heaviest items in the lowest drawers.
This is a permanent label.
Do not remove!
Brand : Crosley
Model : Liam CF1123
Category : Furniture