EFS-24 - Uncategorized Raya - Free user manual and instructions
Find the device manual for free EFS-24 Raya in PDF.


| Product Type | Portable Electronic Appliance |
| Brand | Raya |
| Model | EFS-24 |
| Dimensions (L x W x H) | 20 cm x 15 cm x 10 cm |
| Weight | 1.0 kg |
| Power Supply | AC 220-240V, 50/60Hz |
| Power Consumption | 100 W |
| Main Functions | On/Off, Timer, Speed Settings |
| Control Type | Manual Buttons |
| Material | ABS Plastic |
| Color | White |
| Noise Level | < 50 dB |
| Safety Features | Overheat Protection, Tip-Over Switch |
| Cleaning and Maintenance | Wipe with dry cloth; do not use water |
| Spare Parts Availability | Contact Raya customer service |
| Repairability Index | 5.0 / 10 |
| Warranty | 2 years |
| Manual Languages | English (EN) |
| Manual Format | PDF, 16 pages |
Frequently Asked Questions - EFS-24 Raya
User questions about EFS-24 Raya
0 question about this device. Answer the ones you know or ask your own.
Ask a new question about this device
Download the instructions for your Uncategorized in PDF format for free! Find your manual EFS-24 - Raya and take your electronic device back in hand. On this page are published all the documents necessary for the use of your device. EFS-24 by Raya.
USER MANUAL EFS-24 Raya
natural_image
Black and white studio photo lamp with 'Rraya' logo on front panel, set against solid red background (no text or symbols on device)INTRODUCTION
Thank you for choosing the Raya Easy Fold Softbox Set. This set enables you to securely mount flashes of all sizes to a softbox using its adjustable shoe mount, even with a wireless remote trigger attached. The all-metal construction of the flash bracket has a 5.1" (13 cm) riser to accommodate the extra height from large lighting units, like bare-bulb flash devices.
Additionally, the rubber-rimmed softbox mounting ring provides a sturdy and simple to install
housing, so that you can attach your equipment with confidence.
The high-quality Easy Fold Softbox comes with an inner baffle and front diffuser, providing the flexibility for using multiple light-softening and spreading techniques to customize the characteristically harsh light that modern flash units produce.
| Specifications Dimensions Weight (with | Flash Bracket) | |
| EFS-16 16" × 16" | × 11"(40.6 × 40.6 × 27.9 cm) | 2 lbs. (0.9 kg) |
| EFS-24 24" × 24" | × 16"(61 × 61 × 40.6 cm) | 2.5 lbs. (1.13 kg) |
| EFS-30 30" × 30" | × 18"(76.2 × 76.2 × 45.7 cm) | 3.25 lbs. (1.47 kg) |
FEATURES
- 5.1" (13 cm) riser accommodates large Speedlights including those with hot-shoe remotes
• All-metal flash bracket construction - Quick and easy setup and takedown
IN THE BOX
Softbox
- Front diffuser
- Inner baffle
- Flash bracket
- Carrying case
- Instruction manual
OVERVIEW
Flash Bracket:
- Softbox mounting ring
- Riser
- Riser mount tightening knob
- Adjustable shoe mount
- Riser safety screw
- Geared locking joint
- Stand adapter
Softbox:
- Inner baffle
- Front diffuser
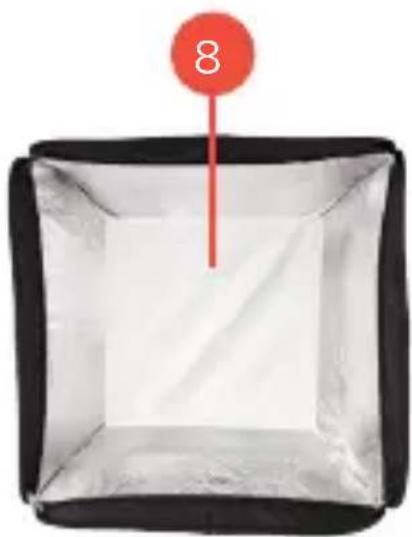
natural_image
Open square container with a red circular marker labeled '8' on top (no text or symbols on the container itself)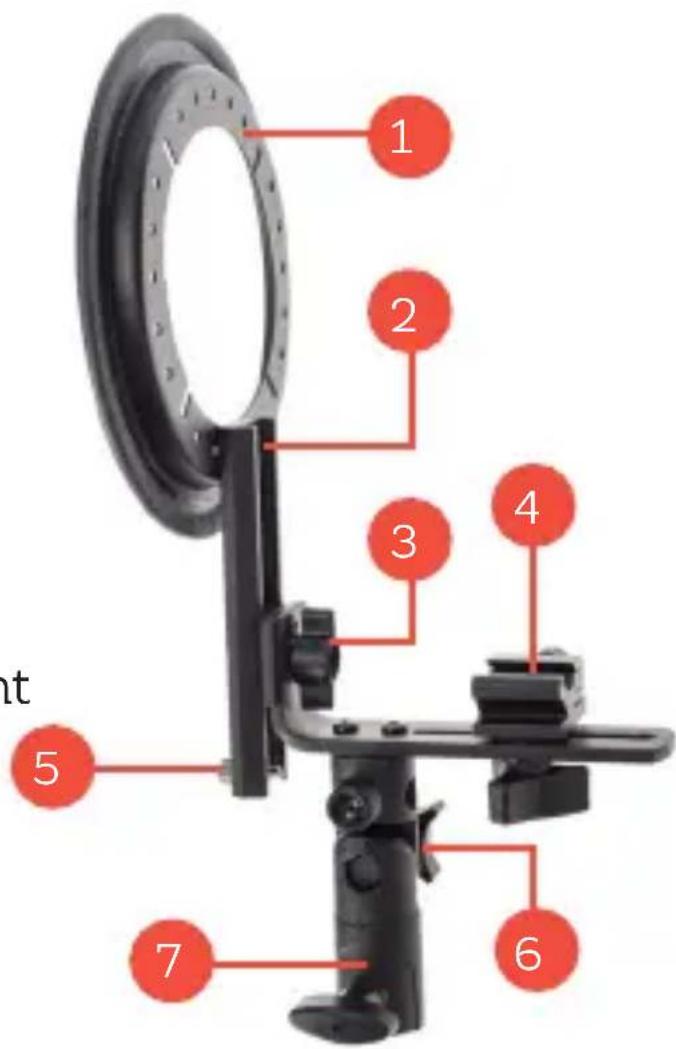

natural_image
Simple illustration of a white rectangular box with a red circular marker labeled '9' at the top (no text or symbols on the box itself)SETTING UP THE FLASH BRACKET
1 Remove the flash bracket parts from the carrying case.
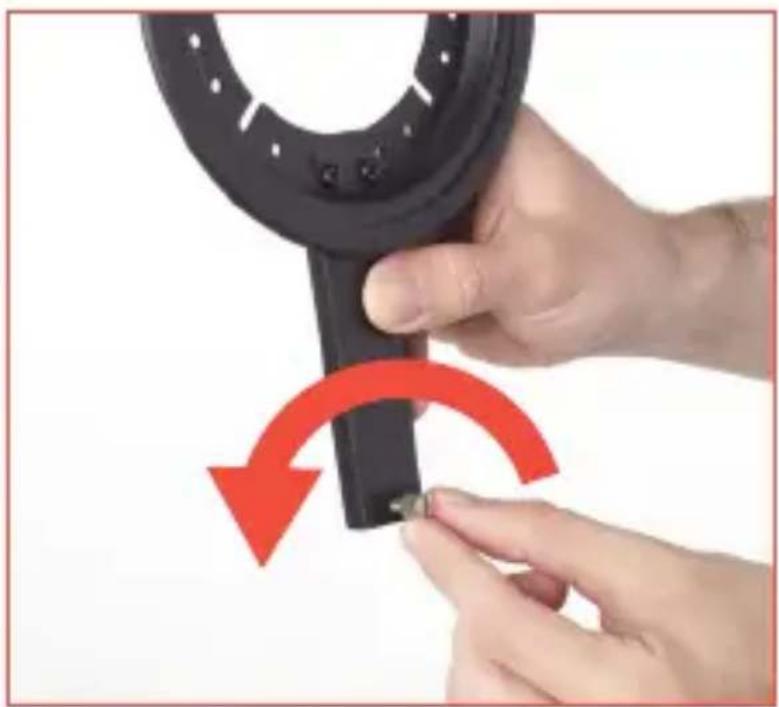
2 Loosen the riser's knurled safety screw at the bottom of the riser far enough to allow the riser to slide into the bracket. The screw does not need to be fully removed.
natural_image
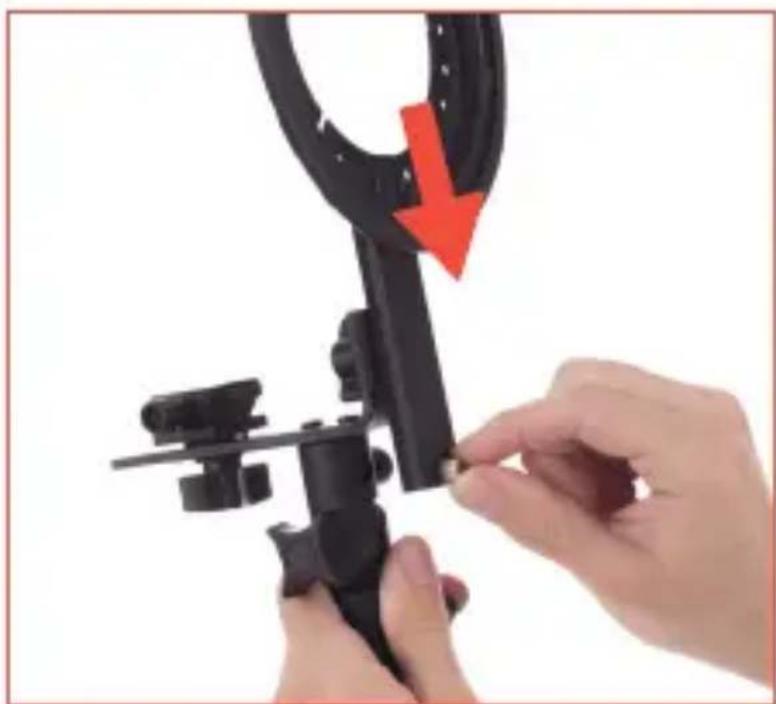
Close-up of hands holding a black ring-shaped device with a red curved arrow indicating rotation or change (no text or symbols)3 Slide the riser into the flash bracket's riser mount. Secure the riser by turning the tightening knob clockwise.
4 Securely tighten the knurled safety screw to prevent the riser from accidentally separating from the bracket.
natural_image
Close-up of hands using a black ring light fixture to adjust a small object, with a red downward arrow indicating the motion (no text or symbols visible)SETTING UP THE SOFTBOX
1 Remove the softbox from the softbox pouch.
2 Carefully unfold the softbox. Firmly hold the softbox in front of you away from your face.
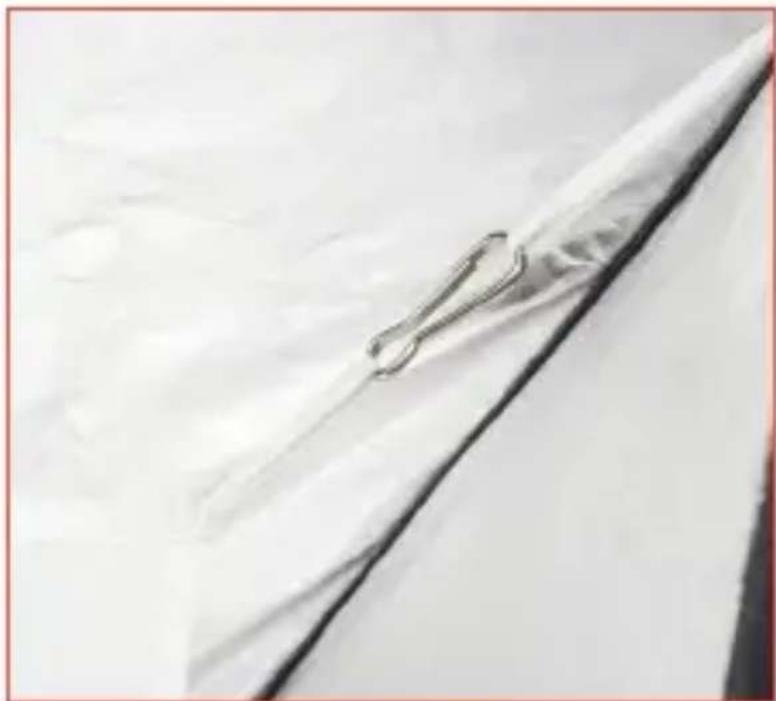
3 To install the inner baffle, attach the corner clips to the elastic
natural_image
Close-up of a metallic paperclip attached to a white sheet of paper (no text or symbols visible)loops on the inner seams of the softbox.
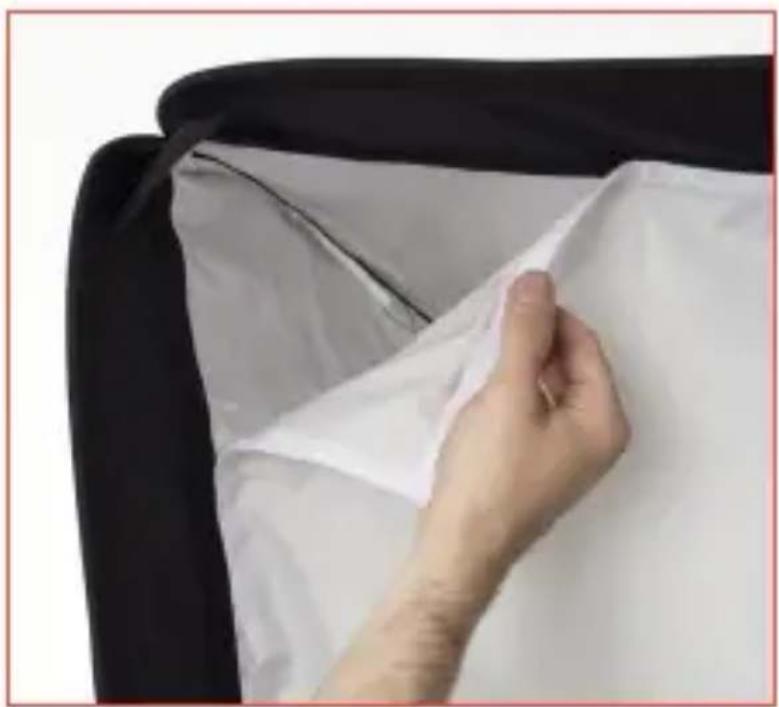
4 To install the front diffuser, attach it to the touch fastener seam lined within the front rim of the softbox.
natural_image
Close-up of a hand holding a white fabric piece, partially open to reveal or fold it (no text or symbols visible)CONNECTING THE SOFTBOX
MOUNTING RING TO THE SOFTBOX
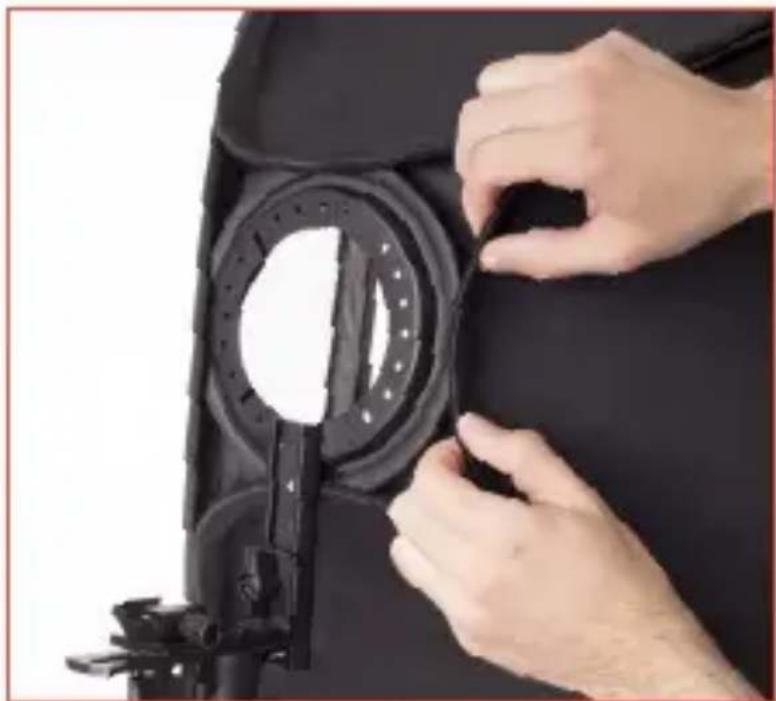
1 To attach the softbox to the softbox mounting ring, simply tuck the mounting ring under the corners of the side panels at the rear of the softbox.
natural_image
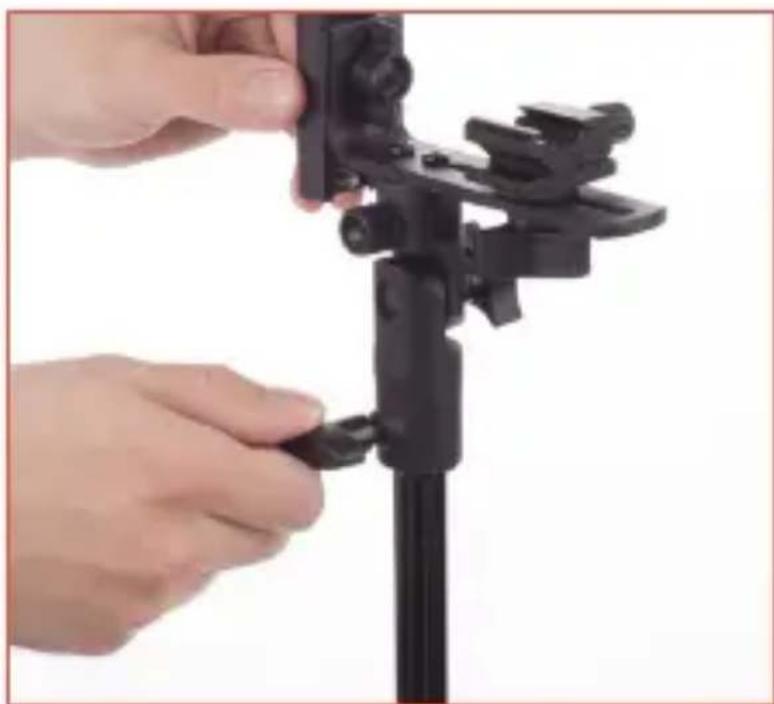
Close-up of hands adjusting a black circular object with a white circular hole, no visible text or symbols2 Install the flash bracket with mounting ring to a light stand using the reversible 1/4"-20, 5/8" female/female adapter on the stand mount (if required). The mount includes a geared locking joint for tilt adjustments.
natural_image
Close-up of hands adjusting a black tripod-mounted device with a clip, no visible text or symbolsINSTALLING ACCESSORIES TO
THE MOUNTING BRACKET
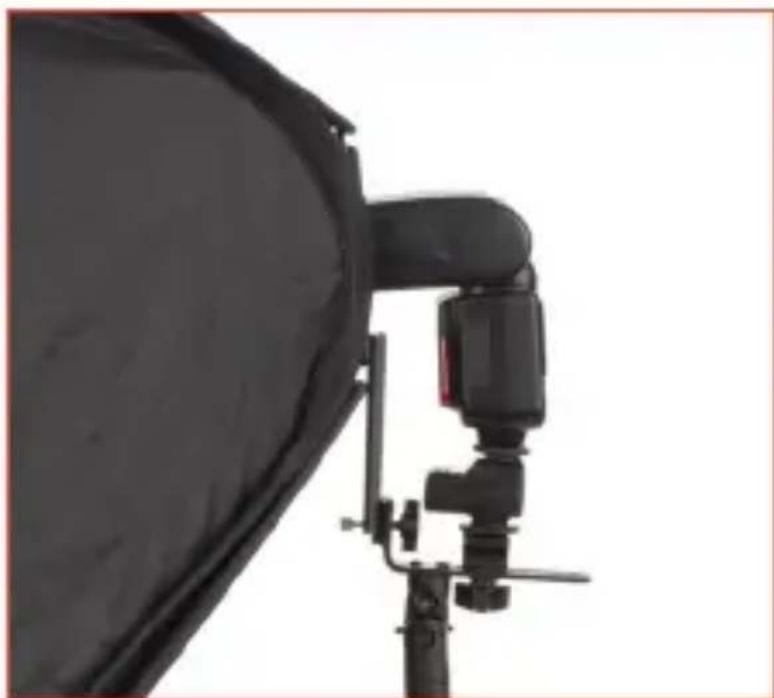
1 The mounting bracket has an adjustable shoe mount, capable of supporting larger flash units within softboxes. Additionally, flashes equipped with remote triggering devices are compatible.
2 To connect a shoe-mount foot onto the mounting bracket, simply slide the foot into the shoe mount and tighten the locking screw. Make sure your device is securely mounted before proceeding.
natural_image
Close-up of a black studio lighting setup with a stand and camera, no visible text or symbolsFOLDING FOR STORAGE
1 Remove the mounting ring and collapse the softbox back into its original triangle shape.
2 Grasp the flattened softbox as shown. Note that your thumbs should be on opposite sides of the triangle.

natural_image
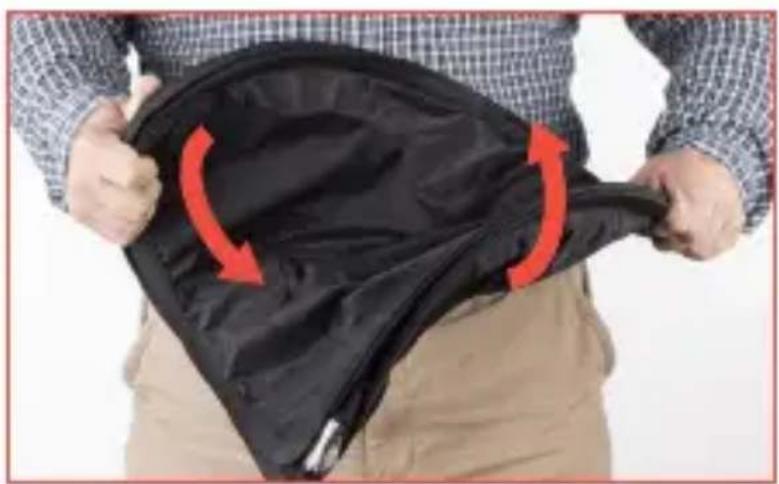
Person holding a large black fabric or cushion, no visible text or symbols3 Twist the softbox into a figure-eight shape.
4 Continue twisting and pull the two sides together as shown. The two sides will pass one in front of the other until they are stacked together.
5 Place the folded softbox into the softbox pouch. Zip the pouch closed to secure.
natural_image
Person holding a black fabric bag with red arrows indicating fold changes (no text or symbols visible)ONE-YEAR LIMITED WARRANTY
This RAYA product is warranted to the original purchaser to be free from defects in materials and workmanship under normal consumer use for a period of one (1) year from the original purchase date or thirty (30) days after replacement, whichever occurs later. The warranty provider's responsibility with respect to this limited warranty shall be limited solely to repair or replacement, at the provider's discretion, of any product that fails during normal use of this product in its intended manner and in its intended environment. Inoperability of the product or part(s) shall be determined by the warranty provider. If the product has been discontinued, the warranty provider reserves the right to replace it with a model of equivalent quality and function.
This warranty does not cover damage or defect caused by misuse, neglect, accident, alteration, abuse, improper installation or maintenance. EXCEPT AS PROVIDED HEREIN, THE WARRANTY PROVIDER MAKES NEITHER ANY EXPRESS WARRANTIES NOR ANY IMPLIED WARRANTIES, INCLUDING BUT NOT LIMITED TO ANY IMPLIED WARRANTY OF MERCHANTABILITY OR FITNESS FOR A PARTICULAR PURPOSE. This warranty provides you with specific legal rights, and you may also have additional rights that vary from state to state.
To obtain warranty coverage, contact the Raya Customer Service Department to obtain a return merchandise authorization ("RMA") number, and return the defective product to Raya along with the RMA number and proof of purchase. Shipment of the defective product is at the purchaser's own risk and expense.
For more information or to arrange service, visit rayalighting.com or call Customer Service at 212-594-2353.

RAYA
A Gradus Group Brand
Product warranty provided by the Gradus Group.
www.gradusgroup.com
RAYA is a registered trademark of the Gradus Group.
© 2014 Gradus Group LLC. All Rights Reserved.
Brand : Raya
Model : EFS-24
Category : Uncategorized