
VS-XHVR4S-160 - Voice recorder Mach Power - Free user manual and instructions
Find the device manual for free VS-XHVR4S-160 Mach Power in PDF.


| Product Type | Voice Recorder |
| Brand | Mach Power |
| Model | VS-XHVR4S-160 |
| Dimensions | Approx. 10.2 x 3.5 x 1.2 cm |
| Weight | Approx. 50 g |
| Power Supply | Built-in rechargeable lithium battery via USB |
| Recording Format | MP3/WAV |
| Storage Capacity | Internal memory (exact size not specified, supports microSD up to 32 GB) |
| Recording Modes | High quality, long play, voice activation |
| Playback | Built-in speaker and headphone jack |
| Connectivity | USB 2.0 for file transfer, microSD slot |
| Battery Life | Up to 20 hours of continuous recording |
| Display | OLED screen for status |
| Maintenance | Clean with a soft, dry cloth. Do not use liquids. |
| Safety | Keep away from water and extreme temperatures. |
| Spare Parts & Repairability | Not designed for user repair. Contact authorized service. |
Frequently Asked Questions - VS-XHVR4S-160 Mach Power
User questions about VS-XHVR4S-160 Mach Power
0 question about this device. Answer the ones you know or ask your own.
Ask a new question about this device
Download the instructions for your Voice recorder in PDF format for free! Find your manual VS-XHVR4S-160 - Mach Power and take your electronic device back in hand. On this page are published all the documents necessary for the use of your device. VS-XHVR4S-160 by Mach Power.
USER MANUAL VS-XHVR4S-160 Mach Power
for choose our product
INDEX
Chapter 1 Software Installation
1.1 Software Installation
1.2 Function Features
Chapter 2 VMS O95: Manfred
2.1 Legiu
2.2 Abl - 1-100000000
2.17.1.1 Scan the specified to address hardware
2.1.3.1.2 Scan the specified manufacturer hardware
2.1.2.1.3 Automatic configuration ventilation
2.1.2.1 A Scan out hardware
2.1.2.1.5 Manually verify hardware
2.1.2.1.5 Complete fixing Hardware
2.1.2 Somally Cold Hot:1804-
2.1.2.2.1A. Paribasare v.s. IP activities
2.1.2.2 A34 hardware a social number
2.1.23 Edit Hardware Properties
2.1.2.3.1 Modify the hardware device name
2.1.2.3.2 Modify the hardware device port number, user name and password
2.1.2.0.3 Modify the channel rate
2.3 Storage Configuration
21.3 For figure the x-axis path, x-axis path, retention time
2.13.2 Exchange the recording type: scale
2.1.3.1 template configuration
(一)本次股东大会的召集和召开程序
2.15704 8:00
2.5 User Management
2.1.5 Edit User Information
2.1.5.2 Edit User Permission
7.65400
2.2 Chemical Depletion Method
321 cm
2.2 103 Prowcw
3.2.7 Line process function
2.2.2 View Switches To Video
2.2.2. Select the Camera to Provin-Vice
2.2407 Capital
3.2.25 Wider Kinclera Tcellan Fomica Desviction
2.2.3 Els-bank
1231B
2.23.5.31 cup playbox scanning
2.2.3 a Export Recording
2.2. Management Function
2.2A. | Export List
2.2.4.2 View Setting
2.2.4.3 System Parameters Options
2.2.5 Exit
CHAPTER1
SOFTWARE INSTALLATION
1.1 Software Installation
VMS consists of ten parts, VSS server and VWS client, you can choose to install server or insert into an the same computer, it can
also be installed separately or different local computer, select the default full installation

CHAPTER2
VMS USER MANUAL
2.1 VMS server user manual
2.1.1 Login
Double click this logo or your desktop, 2015 Mallware server management program, start interface as the first use of VMS
Management program, you need to use a super user. As below, need to read a suppe User. The first use of VMS Management program

YMS Management landing successfully entered the end of the main management interface

9.1.2 Add hardware
Click gathering Stated then click addrances are
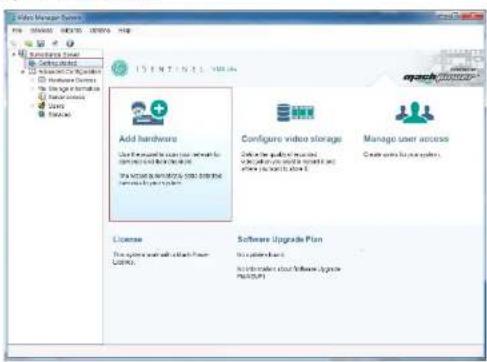
Pop-up dialog box to add card hardware, the hardware scan can scan directly insed on the LAN hardware device, you can also scan the specified network hardware, manually add the hardware is added directly to know the address or the serial number of hardware device.

9.1.2.1 Scan hardware

2.1.2.1.1 Scan the specified IP address hardware
IP range can be set to a user search equipment, if you do not specify IP range can click Next to skip
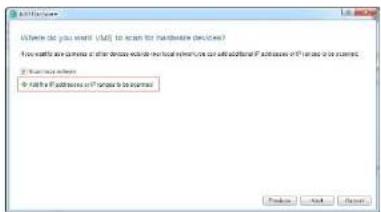
2.1.2.1.2 Scan the specified manufacturers hardware
Manufacturers can be set to file search equipment, if you do not specify manufacturers can click hex, to skip default all manu-
Architects
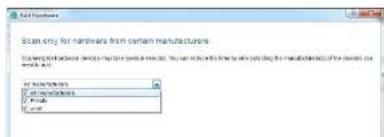
9.1.2.1.3 Automatic Configuration verification
Add default User name and password, animal code/voice scanned hardware devices, [no need to store your automatic verification directly to the next step]

Click out the Dialog which can add user name and secret

2.1.2.1.6 Start searching a device according to the setting mode

9.1.2.1.5 Manually verify hardwors
![Scoring completed The results to complete the following table are displayed in the case or more of the contents found. File Edit Options Name Description IP Post Import Date Pre]|Date Date □ Full Power 12.0k 100 172.14.16:57 80 On □ Full Power 12.0k 100 172.14.17:58 80 On □ Full Power 12.0k 100 172.14.18:59 80 On □ Full Power 12.0k 100 172.14.19:60 80 On □ Full Power 12.0k 100 172.14.20:61 80 On □ Full Power 12.0k 100 172.14.21:62 80 ### ###/##/###/###/###/###/###/###/###/###/###/###/###/###/###/###/###/###/###/###/###/###/###/###/###/###/###/###/###/###/###/###/###/###/###/###/###/###/###/###/###/###/###/###/###/###/###/###/###/###/###/###/######/ □ Select Options will be installed by our system.](/content/2026/05/925593/images/15b850c7952a55365f674fe29f969d2e59a55e593a7b9ebed534dd70976dcd85.jpg)
2.1.2.1.6 Complete adding hardware
Choose desired device and then click, next complete new adding device or search mode.

2.1.2.2 Manually add hardware

9.1.2.2.1 Add hardware via IP address
Enter the IP, part number, user name, password and the number of channels to choose the type of new equipment Driver

2.1.2.2.2 Add hardware via Serial number
Input Devices: SN code to add new P2P Device

Complete sliding rear device manually

9.1.2.3 Edit hardware properties
As a given set of click 1 double click 2
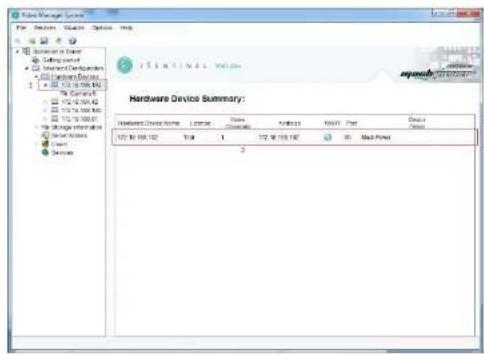
click out the dialog of Hardware Properties

9.1.2.3.1 Modify the hardware device name
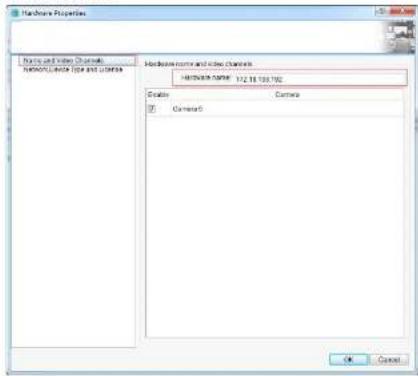
2.1.2.3.2 Modify the hardware device port number, user name and password

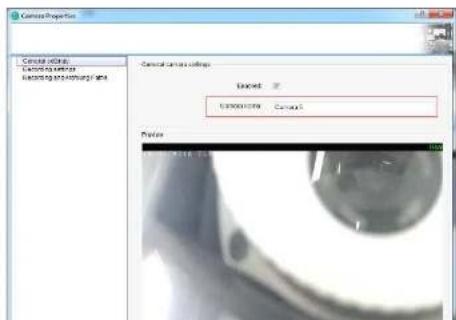
9.1.2.3.3 Modify Channel name
As a season else, click the "double" check the

Open camera propert co dialog box to modify
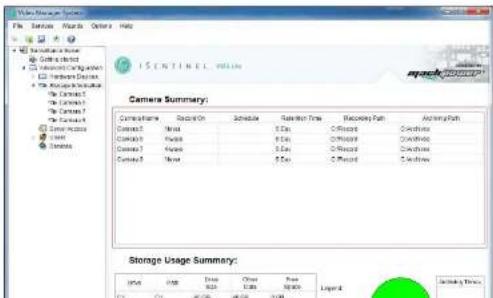
9.1.3 Storage configuration
Hisagena score configuration information at all the devices

Edit channel storage configuration, double stick the last box on the right into the record and storage properties, can only configure core camera, or use the template to configure multi cameras. Used template configuration see 2.1.3.31.
9.1.3.1 Configure the storage path, stream type, retention time

2.1.3.2 Configure the recording type, schedule

0123 Template continuation

2.1.4 S###
S= the total port number used for V&S Small Client lag ring part number


You can add new users, modify users and delete users in this window.
There are two types of users to选用 for new clients:
1. 2013 (Shao) is: 6-6 (any) Bill 7082 Management, SIC 2015/Sing 14, 2014
2. Basis users can find in VMs smart...net
2.1.5.2 Edit user permissions
You can restrict the permission and equipment channel of YMS Smartevent for the specified user.

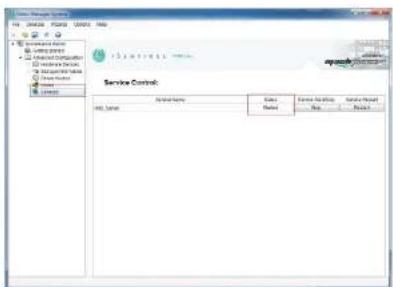
The usage status of VMS server can be controlled
Only when the status is started, the YM2 server can record and store recordings in the background, and YM2 Samriscient car work normally.
2.2 Client Operation Manual
After the completion of VMS management configuration, the VMS SmartClient can preview and playback video.
VMS Smart Client and VMS management can be installed either in one PC or separately in different ones.
2.2.1 Login
Input the IP and part of the PC (where VMS management is involved in VMS management and VMS smart class, are installed in one PC, IP > 127.0.0.1, port is 87 by default, when server-slice port in VMS management is changed, the ports needs to be resolved).

Use the user account created on VPS management to use in and authenticate

2.2.2 Live Preview
Live preview interface
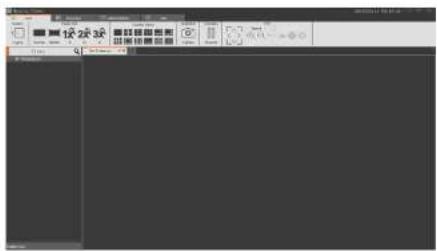
2.2.2.1 Live preview function
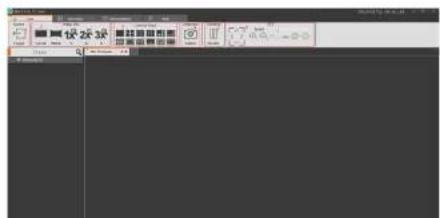
b. Stretch: Image by this layout in a 3D space
c. 1x: image is not scaled
d. 2x: image is magnified 2 times
e. 3x: mag is magned 3 times
Camera View: Select the layout type of the view window.
Snapshot: Capture the images of the current window
Close the current camera video
PTZ control [Only valid for the desires that suppress PTZ control]
2.2.2.2 View Switches To Video
Use the view layout that the user selects to last switch to view preview

2.2.2.3 Select the Camera to Preview Video
Select the camera to the designated windows in preview video

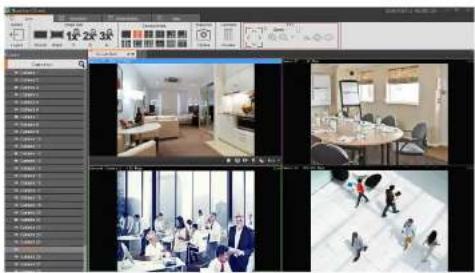
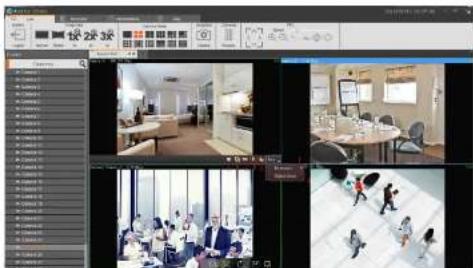
2.2.2.5 Video Window Toolbar Function Description
a. Current Window Video Stop and Start
b. Capture Images
c. local Recording
- Voice Interception Volume
L. Sham Scuiling
- Digital Zoon
12.3 Playback
Plushk can be operated under the VVS Server with configuration only
2.2.3.1 Playback Interlars Function Introduction

- Recording Location: according to the selected time & position to locate to the science place quickly.
- Image Size:
a. Regular image be displayed as actual proscrt en:
b. Stretch image be displayed as the window size.
c. 1 times: image be not scaled
d. 2 times in age be increased 2 times
c. 3 times: image 0 = magentaed 3 times
2.2.3.2 Switching View to Playback Recording
Using user edited view to switch recording Postback feet.

9.2.3.3 Select Camera recording Playback
Select the contents to be viewed and drawn in the treated window.

2.2.3.4 Search Recording
2.2.3.4.1 Auto Search Recording
Enter or order playback interface to switch view, it will search the recording time of all windows view automatically, and display them on time axis.

Line Axis Type
-
The top time axis shows the recording time line of current selected window:
-
The bottom Time Axa shows the set of all cameras' recording time lines in current view.

2.2.3.5 Playback recording
00851 Play back recording synchronously

Synchronous pyrock-based hunchen production

- Playback region: choose playback range, then top play back in this range

2.1 Multiply playback: rapidly switch to multiply playback.
3. Playback multileadjustment
4. Rsurely reticose azidec.
5.5 + 2 sinus and ulseh-1
6. Scale hises also back.
7. The first view segment in currency windows
8. The analyst's price is subject to currency volatility
9. The next video content in a recent window
10. The products segment is a product in part
11. 今夜看云不时看
2.2.3.6.2 Play back recording independently
If only play back the video in a certain window, this function can be used at this time. It will not be controlled by synchronously playback tools. There is easy control bar in the window.
To play seek window independently, please click out the plasbrack independently button in window 20.

2.2.3.5.3 Loop playback
The video can be loop playback continuously in a designated period of time.

2.2.3.6 Export Recording
The video in service side can be exported at client side according to request. It can export a video from a certain window, also the
videos from all wardes
Export recording restriction.
- To select three ranges

- Select to aspect video setup

- Click the Exser button

- Select the name or location of the respondent
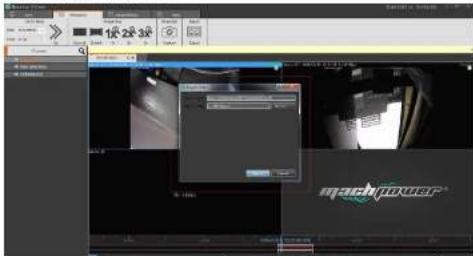
- After the export, a completed, in management functions you can view details in the export list

2.2.4 Management Function
2.2.4.1 Export LIs
See video of the export list information

2.2.4.2 View Setting

The rate of the series, but the more users will the layout and sides of the contents in advance quickly switch the video-sea. And that will be saved to the YKE platform for later use.
2.2.4.2.1 View Edition
2.2.4.2.1.1 Add View
Click "Add" Dotton to choose a type of view layout
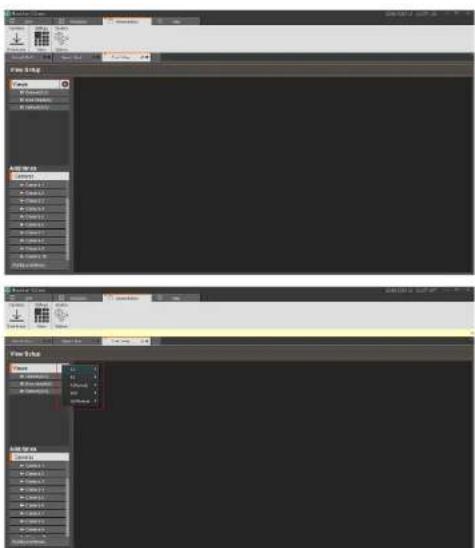
12.4.2.1.2 View Edition
a b p e c f v e r v i n
124186
2 phata
2.HIML enohatic
A. Video carepusc
Select the view for setting

- In the "View Setup", set items, select the camera crag to the targeted window and complete video addition

- Set the very smooth in solid shape
a. Select HTML Page
b. Drag to the specified syndes
c. not was adress

- see the electron close to add particle
a. ClickImage
b. Irag to the specified windows
c. Select picture

- Set the view window to add video tour
a. Select "Cerous"
b. Drag to the specified windows
c. Select channel of equipment to be round that
- Video: carpal bar, hit
c. The video stream is
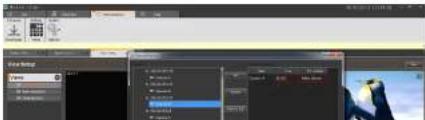
Complete the size of the 1 s is a "save" buffer to solve the 20% of the 20%

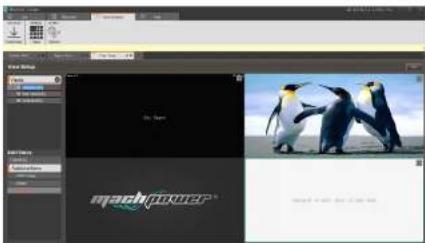
2.2.4.2.1.3 Modify the view name
Double click to modify click view into the state, to modify the view name and then click the "save" button.
2.6.2.4 Delete View
Select the right-link up-up event, as a debate the click

9.2.4.3 System parameter options
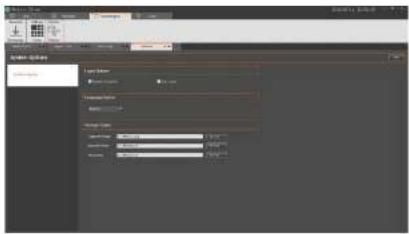
- General Options
Login options:
a. Reinster the passagand
b. Auto, car
Language option: choose the different language
Storage options:
a. Client local sides pass
b. Capture path
c. Video export
2.2.5 Exit


Brand : Mach Power
Model : VS-XHVR4S-160
Category : Voice recorder