
B68 - Range hood MIDEA - Free user manual and instructions
Find the device manual for free B68 MIDEA in PDF.


| Product Type | Range Hood |
| Brand | Midea |
| Model | B68 |
| Voltage | 220-240V~ / 50Hz |
| Rated Power | 1600W |
| Motor Power | 240W |
| Lighting Power | 2 x 1.5W (LED) |
| Noise Level | ≤70 dB(A) |
| Air Tube Diameter | 180mm (approx. 7 inches) |
| Dimensions (Height x Width x Depth) | 905-915 mm x 780-850 mm x 430 mm (approx.) |
| Installation Height (above gas hob) | Minimum 60 cm (may vary per hob instructions) |
| Control Type | Touch buttons, gesture control, remote (via app?) |
| Features | Gesture control, steam washing, turbo speed, delay shut-off, light dimming |
| Filter Type | Metal mesh (cleanable, not replaceable) |
| Cleaning Method | Manual surface cleaning, steam washing for internal |
| Safety Features | Self-inspection on power-up, anti-pinch protection, automatic shut-off |
| Accessories Included | Exhaust pipe, check valve, installation plate, screws, oil cup, water cup, chimney cover, decorative cover hanging plate |
| Weight | Approximately 15 kg (unconfirmed) |
| Warranty | Standard manufacturer warranty (check local dealer) |
Frequently Asked Questions - B68 MIDEA
User questions about B68 MIDEA
0 question about this device. Answer the ones you know or ask your own.
Ask a new question about this device
Download the instructions for your Range hood in PDF format for free! Find your manual B68 - MIDEA and take your electronic device back in hand. On this page are published all the documents necessary for the use of your device. B68 by MIDEA.
USER MANUAL B68 MIDEA
natural_image
Pure technical line drawing of a mechanical component or housing without any text, numbers, or symbols
Please read the Manual carefully before use.
The Manual shall be kept in good custody for later reference
01 Contents....2
02 Warnings.... 3
03 Safety Warning....5
04 Installation instruction 6
05 First using....10
06 Maintenance.... 11
07 Main Parameters.... 13
08 Trouble shooting.... 14
09 Disposal.... 14
- This appliance is not intended for use by persons (including children) with reduced physical, sensory or mental capabilities, or lack of experience and knowledge, unless they have been given supervision or instruction concerning use of the appliance by a person responsible for their safety. Children shall not play with the appliance. Cleaning and user maintenance shall not be made by children without supervision. If the supply cord is damaged, it must be replaced by the manufacturer, its service agent or similarly qualified persons in order to avoid a hazard.
- There shall be adequate ventilation of the room when the range hood is used at the same time as appliances burning gas or other fuels.
- Please do not use corrosive detergent for cleaning. The proper function of the unit is conditioned by the regularity of the maintenance.
- To protect the main body from corrosive of the long time accumulation of dirt, the cooker hood should be cleaned with hot water with non-corrosive detergent every two months.
- There is a fire risk if cleaning is not carried out in accordance with the instructions.
- Do not flame under the range hood.
- The air must not be discharged into a flue that is used for exhausting fumes from appliances burning gas or other fuels.
- The minimum distance between the supporting surface for the cooking vessels on the hob and the lowest part of the range hood. (When the range hood is located above a gas appliance, this distance shall be at least 60 cm. If the instructions for installation for the gas hob specify a greater distance, this has to be taken into account. The distance of 60 cm can be reduced for:
non-combustible parts of range hoods, and parts operating at safety extra low voltage,
Provided these parts do not give access to live parts if deformed;)
● Regulations concerning the discharge of air have to be fulfilled.
● The appliance uses 6 hob elements at most.
- CAUTION: Accessible parts may become hot when used with cooking appliances.
- The first time connecting the supply power or re-up electricity, the hood have self-inspection function, the top glass plate will open and close one time, so minds your hand to be pinched, not to handle your hand near the panel!"
- Range hoods and other cooking fume extractors may adversely affect the safe operation of appliances burning gas or other fuels (including those in other rooms) due to back flow of combustion gases. These gases can potentially result in carbon monoxide poisoning. After installation of a range hood or other cooking fume extractor, the operation of open flued gas appliances should be tested by a competent person to ensure that back flow of combustion gases does not occur.
- The appliance is not intended for use by young children or infirm persons without supervisions.
- Young children should be supervised to ensure they do not play with the appliance.
- Plug the power cord to socket outlet with earthing continuity terminal.
- The cooker hood is for home use only, not suitable for barbecue, roast shop and other commercial purposes.
- The cooker hood and its filter should be cleaned regularly according to the instruction.
- Do not use open flame, or allow oil to go beneath the appliance.
- If there is any fault occurred with the appliance, please call after-sale service department.
- Please keep the kitchen room ventilated.
- Prior to any maintenance, cleaning operation, ensure the power is cut off.
- If the supply cord is damaged, it must be replaced by the manufacturer, service agent or similarly qualified person in order to avoid a hazard. The replaced power cord should be provided by manufacturer or seller.
- If the plug or cord is damaged, please call after-sale service center.
- There is a fire risk if cleaning is not carried out in accordance with the instruction.
- In case of damaged connecting wire, please refer to the manufacturer, after-sale service personnel or other qualified technicians.
- Use the unit according to the instructions to avoid any fire hazard.
- The exhaust air must not be introduced into a smoke flue or chimney that is used for exhausting fumes from appliances burning gas.
- Follow the local laws applicable for external air evacuation.
- As the upper panel is closing, don't put your hands between the upper panel and the body in case of clamp your hand.
- As steam generator is working, be careful of hot steam out of the body.
Determine location
Range hood should be installed horizontally on the top of the stove, the installation diagram is as follows:
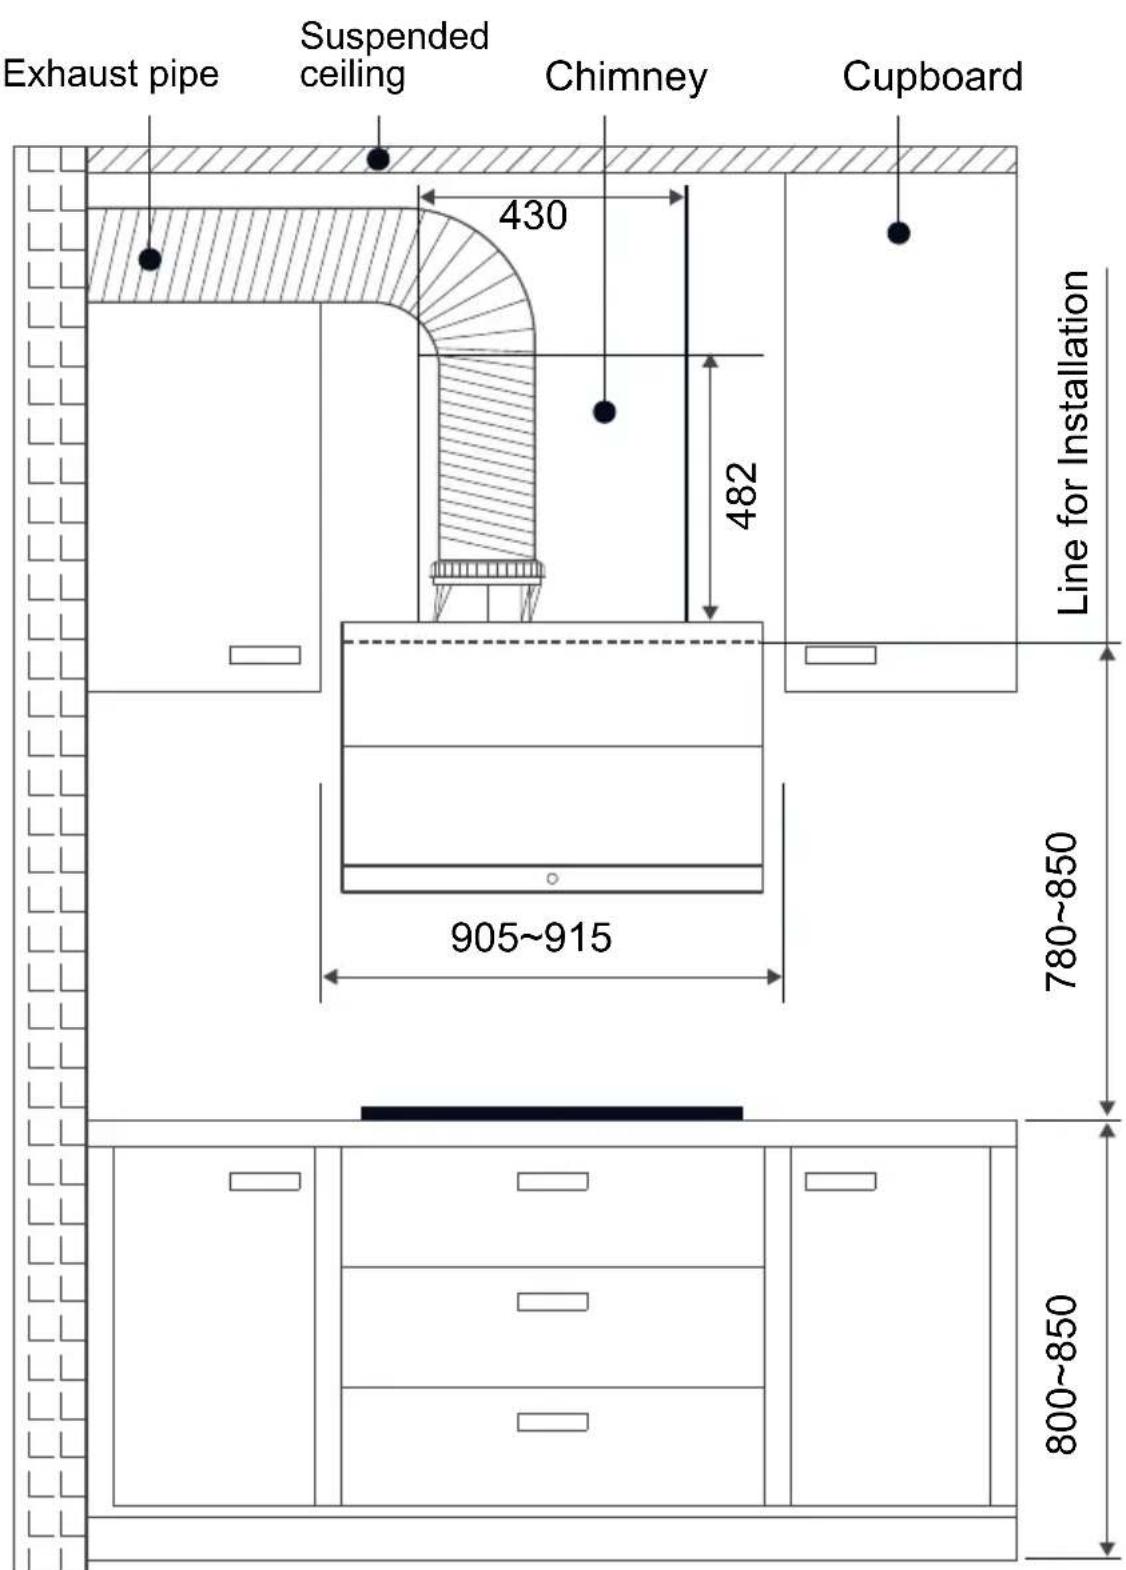
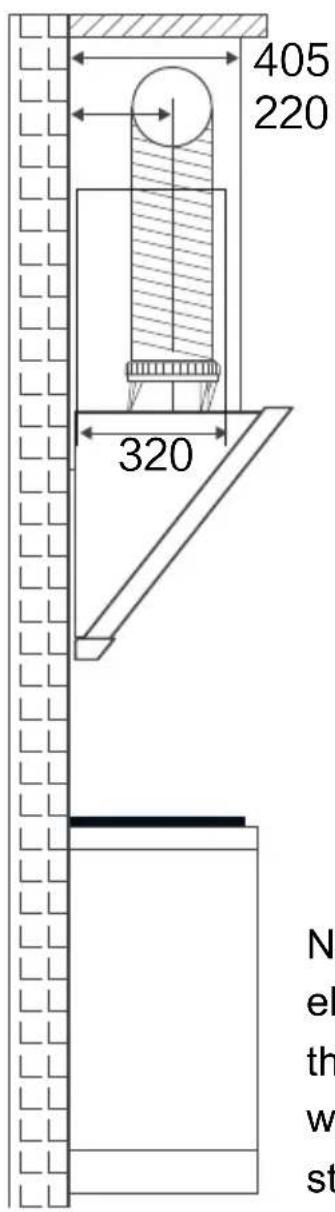
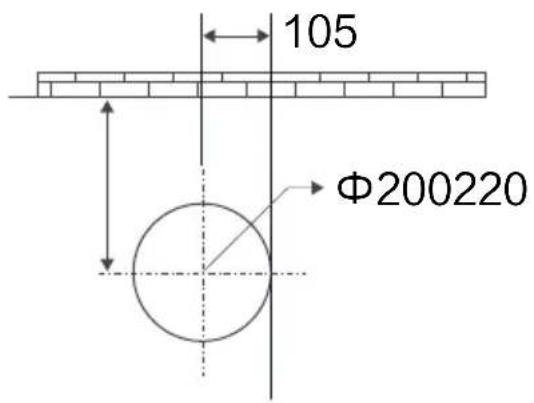
Schematic diagram of the hole size of the exhaust pipe at the ceiling
Note: This installation height is only applicable to electric stove, if installed above the gas stove, the installation height should be in accordance with the installation height requirements of gas stove.
Installation plate
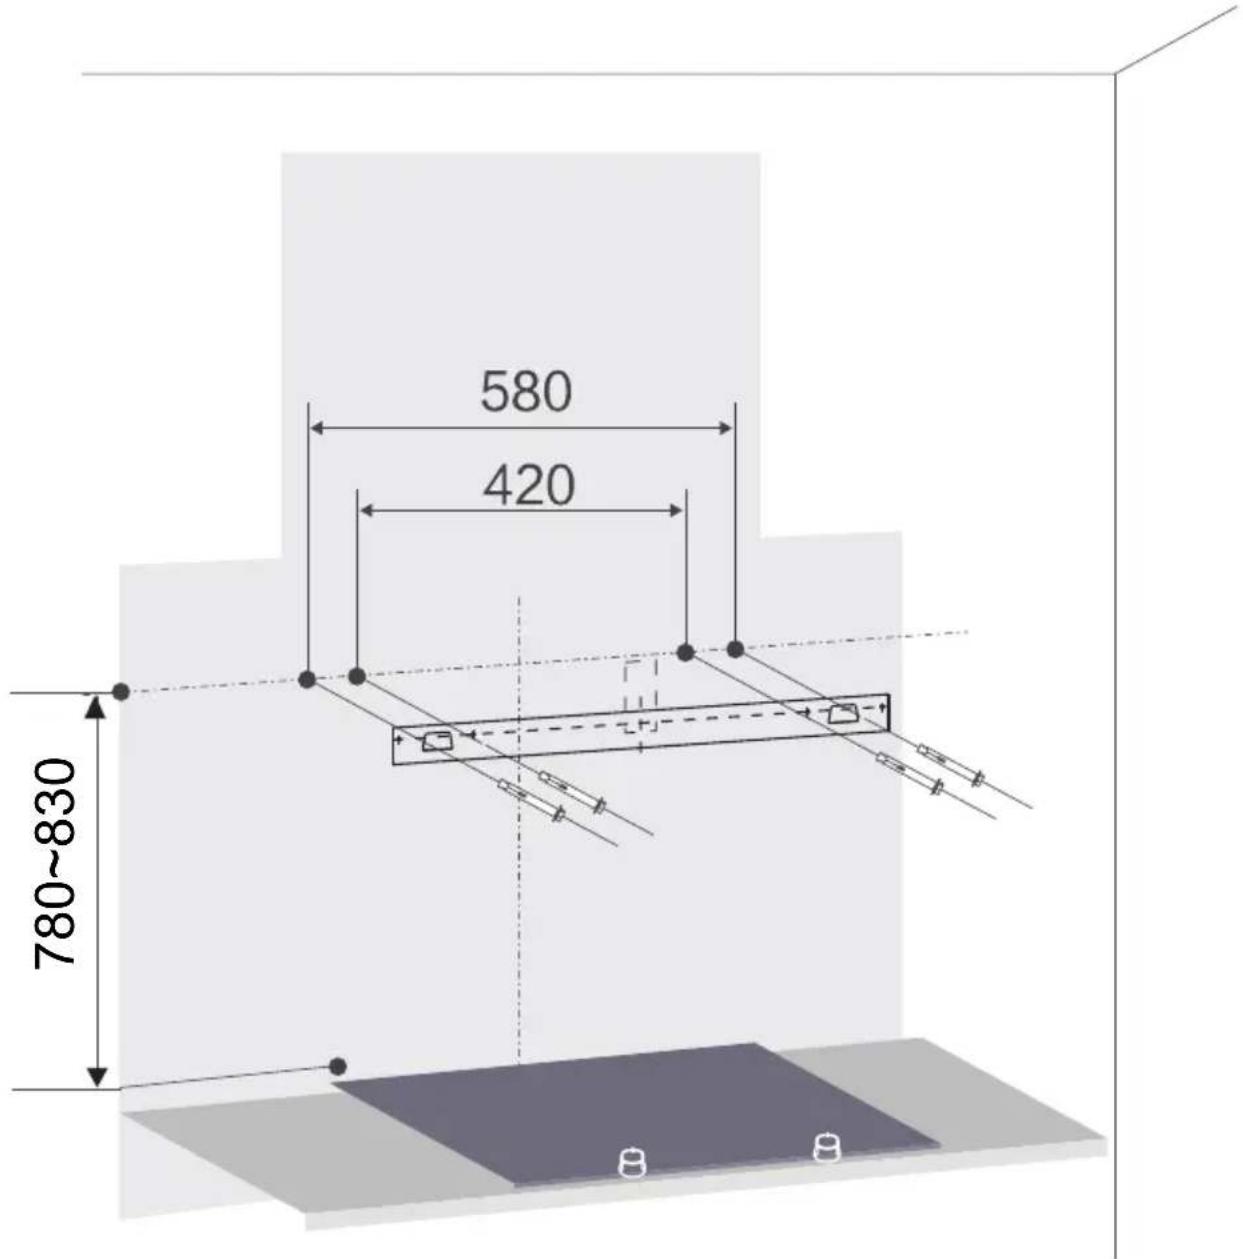
other
| Dimension | Value | | --------- | ----- | | Top Left | 580 | | Top Right | 420 | | Bottom Left| 780~830| | Bottom Right| (unlabeled) |After hang the hood on the installation plate, fasten two screws M5X50, avoid the hood slide off accidentally.
Accessories
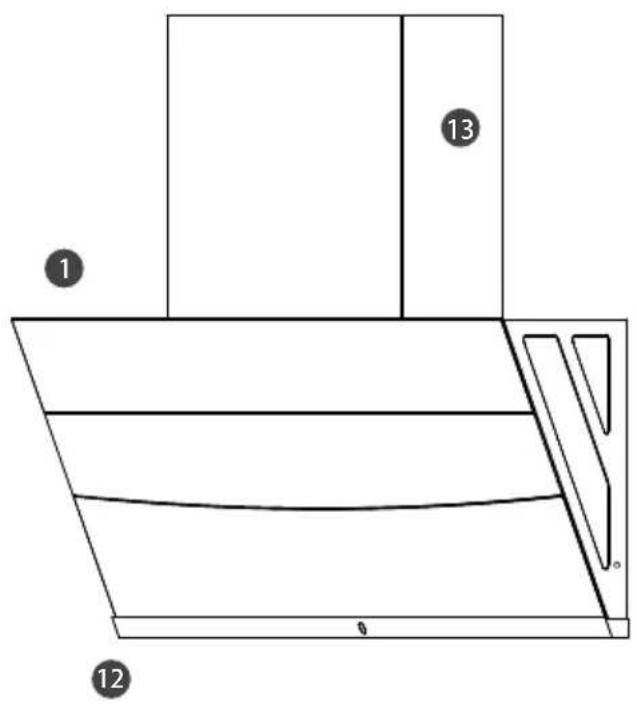
1 Range hood body 1
2 Exhaust pipe 1
3 Check valve 1
4 Check valve Sealing gasket 1
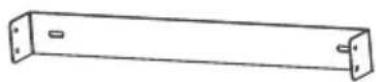
5 Installation plate 1
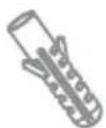
6 Expansion bolt (8 x 60) 5
7 Screws (ST2.9x2) 2
8 Screws (ST4.2x16) 8
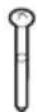
9 Screws (M5x50) 5
10 Screws (M5x16) 1
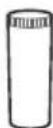
11 Water cup 1
12 Oil cup 1
13 Chimney Cover 1
14 Decorative Cover Hanging Plate 1
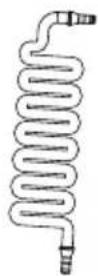
15 Water Pipe 1
2
3
4
5
6
7
8
9
10
11
14
15
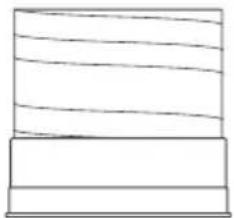
natural_image
Simple line drawing of stacked rectangular blocks with horizontal lines, no text or symbols present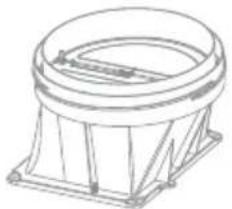
natural_image
Technical line drawing of a mechanical component with a circular top and rectangular base (no text or symbols)




Range hood can be used after power.
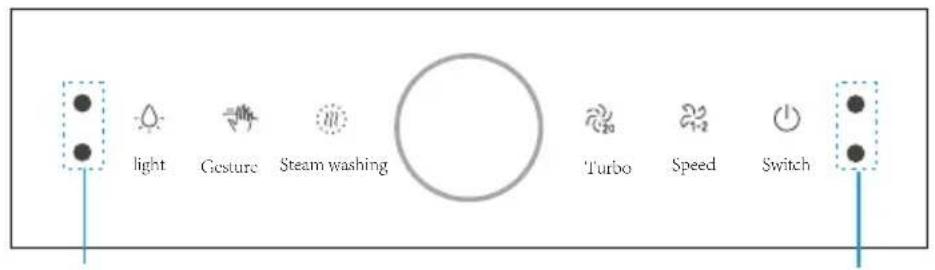
Gesture control left
Gesture control right
Short press: 0.5 second
Long press: 2\~3 seconds
 | Light | Short press: Turn on the light;Long press: Adjust the light. |
 | Gesture | Short press: Open the gesture;Short press: Close the gesture. |
 | Steam washing | Long press: Start;Twice short press: Cancel the indicator |
 | Turbo | Short press: Startup (09 speed), return to 02 speed after 3 min,please select manually if needs it to continue. |
 | Speed | Short press: Adjust speed . |
 | Switch | 1^st Short press: Startup (2 speed); 2^nd Short press: Delay 3 min; 3^rd Short press: OFF immediately. |
 | Palm from left to right or from right to left is to startthe range hood | |
Cleaning on the surface
- The surface of the range hood and filter should be clean regularly, do not use clean balls, brushes, coarse cloth, so as not to scratch the surface of the machine.
- As the oil is seen from the Oil Cup Window, please dumping in time, avoid the oil dripping to the stove.
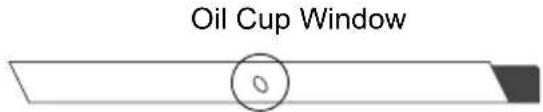
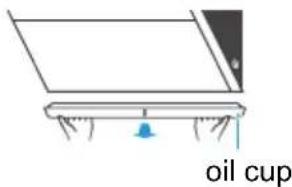
Cleaning mode (Cleaning the surface manually)

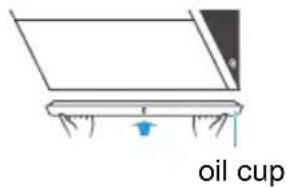
Draw out the oil cup with both bands horizontally and pour away the oil

Clean the oil cup and wipe it clean

Return your hands horizontally to the oil cup
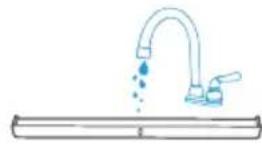
Filter cleaning
- Long press 🎨/ 🎨 to open the panel

- unplug
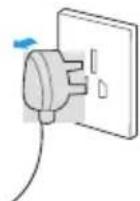
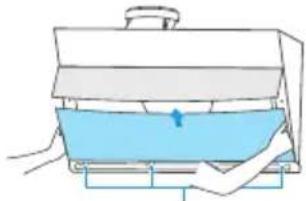
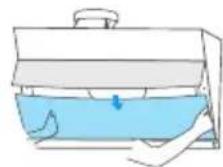
- Remove the oil cup, remove the glass fixing screw, and lifte up the lower glass panel
natural_image
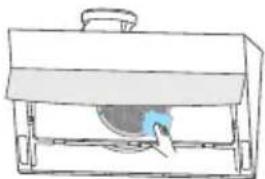
Diagram of a kitchen appliance with a blue interior and a white top, showing hands operating the pan (no text or symbols)- Clean the filter surface (do not remove)
natural_image
Simple line drawing of a mechanical device with a handle and base (no text or symbols)- Back up the glass panel .Back up
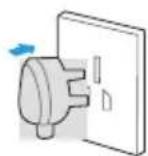
- After cleaning, insert the power plug
Steam Washing (Cleaning inner of the hood)
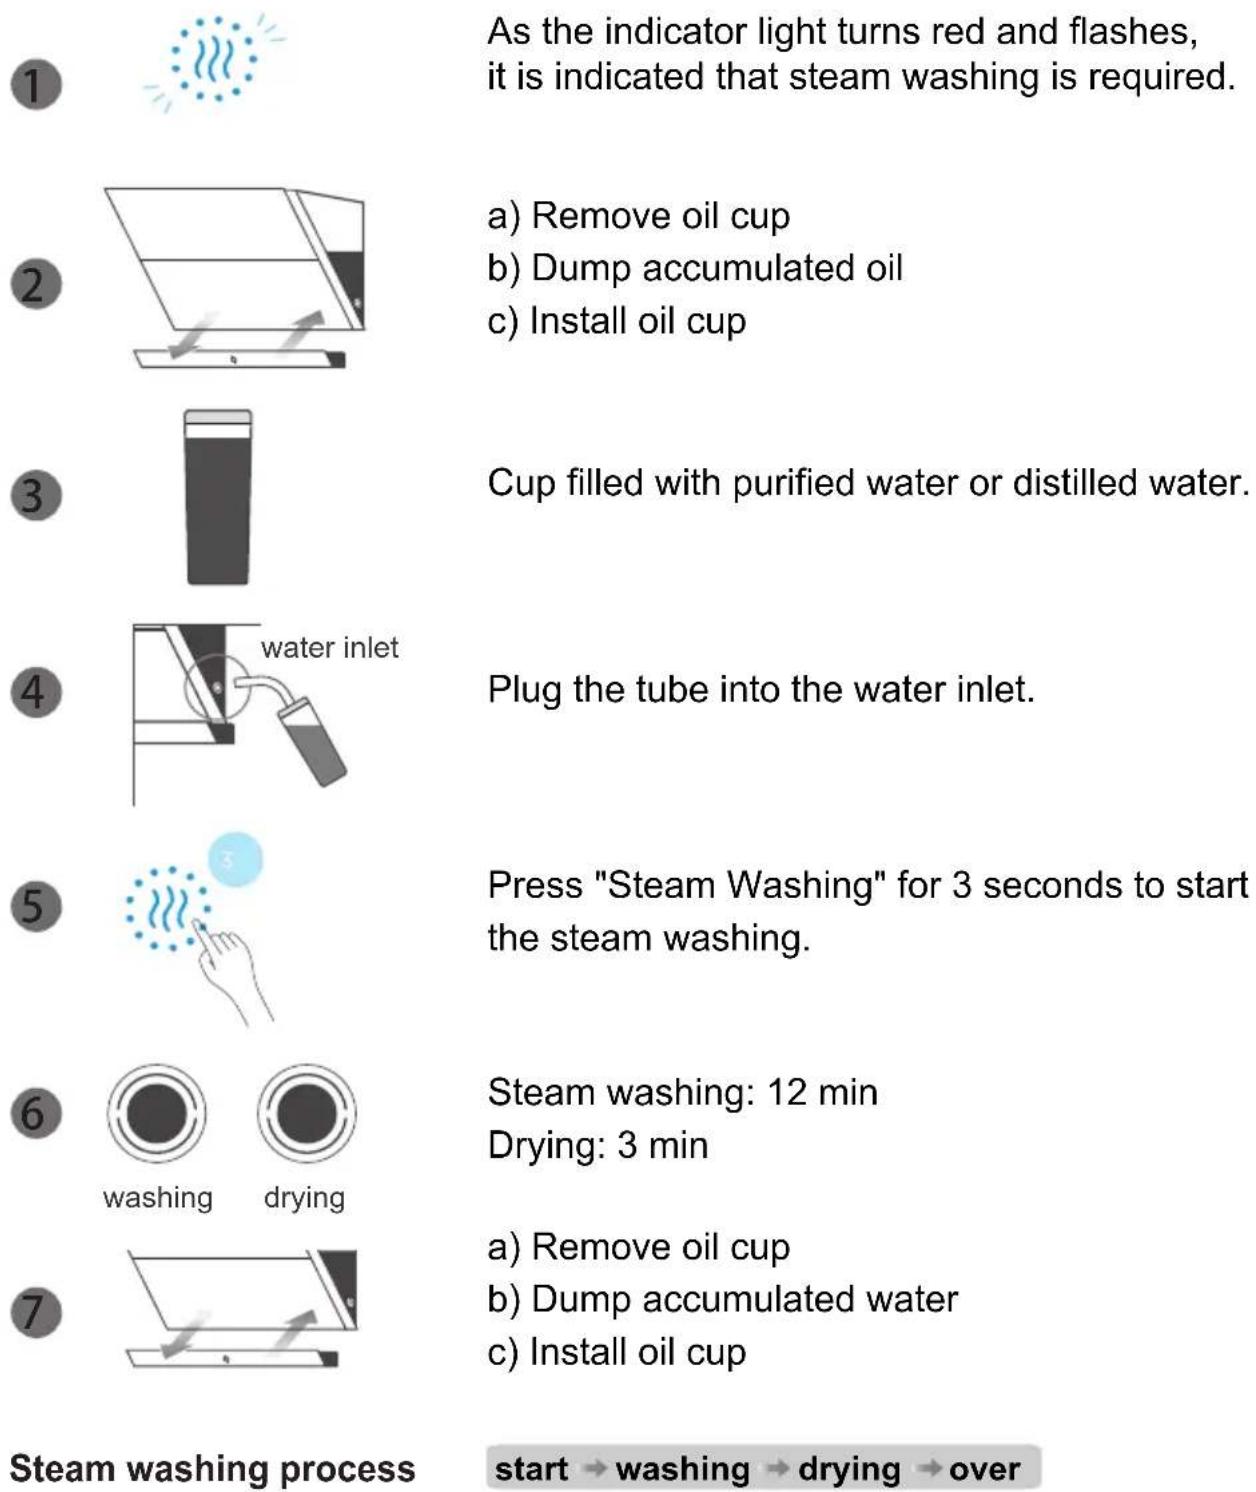
As the indicator light turns red and flashes, it is indicated that steam washing is required.
a) Remove oil cup
b) Dump accumulated oil
c) Install oil cup
Cup filled with purified water or distilled water.
Plug the tube into the water inlet.
Press "Steam Washing" for 3 seconds to start the steam washing.
Steam washing: 12 min
Drying: 3 min
a) Remove oil cup
b) Dump accumulated water
c) Install oil cup
Steam washing process
start → washing → drying → over
- Cancel the steam washing reminder (not washing):
Long press 2 seconds + short press twice 📄 to fast forward to the end. - Fast forward or end in advance (during washing):
Short press 📄 again to fast forward to the next step.

During steam washing, do not touch the surface of glass panels or deflector to avoid scalding.
| Voltage | 220-240V~/50Hz |
| Rated Power | 1600W |
| Lighting Power | 2 X 1.5W |
| Motor Power | 240W |
| Diameter of air tube | 180mm |
| Noise | ≤70dB(A) |
The air flow parameter is tested under conditions of 230V\~/50Hz when the voltage is 220-240V\~/50Hz.
LED light information
| Max Power | Voltage | Picture Lamp Cap | ||
| Square / Diameter:120mm x 33.2mm | 1.5W DC | 12 V | 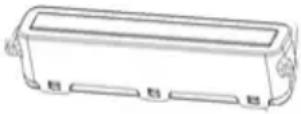 | -- |
| Fault | Solution |
| Both light and motor do not work | Unplug power plug and reconnect the power supply. |
| Oil leakage | Oil cup tilt, please reinstall. |
| Oil cup full filled with oil, please dump the oil. | |
| Oil-way blockage caused by long time uncleaned internal oil-way, needs professionals to wash the hood. | |
| Insufficient suction | Avoid opening window or door frequently. |
| Adjust to max. speed. | |
| Steam washing fault | Water cup lack of water, please fill with water. |
| Filter cotton blockage, please change the filter cotton. |
Disposal
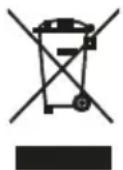
Please dispose of it at your local community waste collection / recycling center and ensure it presents no danger to children while being stored for disposal. The plug must be rendered useless and the cable cut off to prevent misuse.

make yourself at home
Brand : MIDEA
Model : B68
Category : Range hood