
ELPMB78 - Video projector EPSON - Free user manual and instructions
Find the device manual for free ELPMB78 EPSON in PDF.


| Product Type | Video Projector |
| Brand | Epson |
| Model | ELPMB78 |
| Display Technology | 3LCD |
| Native Resolution | WXGA (1280 x 800) |
| Brightness (Lumens) | 3000 ANSI Lumens |
| Contrast Ratio | 15000:1 |
| Lamp Life (Eco Mode) | 6000 hours |
| Lamp Type | UHE |
| Throw Ratio | 1.35 - 2.00:1 |
| Keystone Correction | Vertical: ±30° |
| Inputs | HDMI, VGA, Composite Video, USB-A, USB-B |
| Audio | Built-in 2W speaker |
| Dimensions (W x D x H) | 11.8 x 8.7 x 3.5 inches |
| Weight | 5.5 lbs (2.5 kg) |
| Power Consumption | 100-240V AC, 50/60Hz, 300W (max) |
| Noise Level (Eco Mode) | 29 dB |
| Operating Temperature | 41°F to 95°F (5°C to 35°C) |
| Accessories Included | Power cable, remote control, battery, user manual |
| Maintenance | Clean air filter every 500 hours; replace lamp at end of life |
| Safety Warnings | Do not look into the lens; ensure proper ventilation |
| Spare Parts Available | Replacement lamp (ELPLP96), air filter |
| General Information | Designed for home theater and business presentations |
Frequently Asked Questions - ELPMB78 EPSON
User questions about ELPMB78 EPSON
0 question about this device. Answer the ones you know or ask your own.
Ask a new question about this device
Download the instructions for your Video projector in PDF format for free! Find your manual ELPMB78 - EPSON and take your electronic device back in hand. On this page are published all the documents necessary for the use of your device. ELPMB78 by EPSON.
USER MANUAL ELPMB78 EPSON
Portrait Truss Bar Adapter
V12H006AQ0
natural_image
Technical line drawing of a mechanical clamp or bracket assembly (no text or symbols)Safety Precautions
DANGER
- Failure to comply with these safety precautions results in death or serious injury;
- ELECTRICAL SHOCK HAZARD! Always turn off, disconnect, and disengage all power sources to the projector before servicing;
WARNING
Failure to comply with these safety precautions may result in serious injury.
- At least two qualified people should perform the installation procedure. Personal injury and/or property damage can result from dropping or mishandling the projector;
- If mounting to ceiling studs, make sure that the mounting screws are anchored into the center of the ceiling studs. Use of an edge-to-edge stud finder is recommended;
- Be aware of the mounting environment. If drilling and/or cutting into the mounting surface, always make sure that there are no electrical wires in the wall;
- Do not install near sources of high heat. Do not install on a structure that is prone to vibration, movement or chance of impact.
Installation
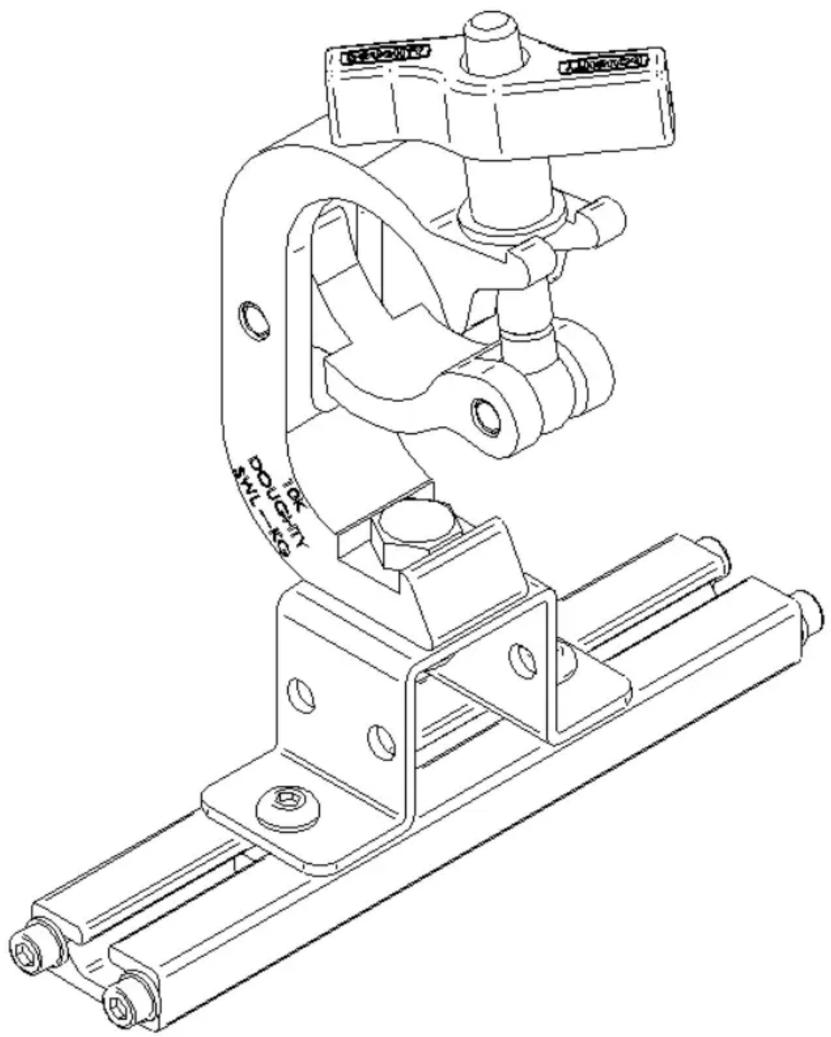
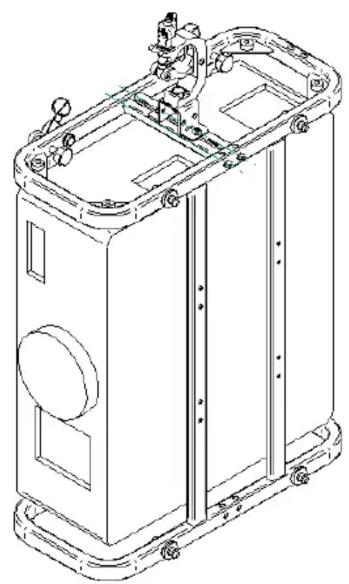
It is an option that is compatible with Matrix and is used to fasten the cage to a truss by hanging it from the lateral side (compatible with Matrix Alfa and Beta).
To fasten the bar:
6.1 – place the bar so that its thread is coaxial with the lateral side eyelets, located on the ring pipe;
6.2 – Then, tighten the 4 screws and washers (included in the optional set) until the bar is safely fastened.
The Clamp can slide on each other (by loosening the 2 lateral screws on each omega plate) and can also be rotated to adapt the coupling to any situation.
In this case, the only projection mode allowed is Portrait, hanging on a traditional horizontal truss.
natural_image
Technical line drawing of a mechanical enclosure or enclosure with mounting brackets and internal components (no text or symbols)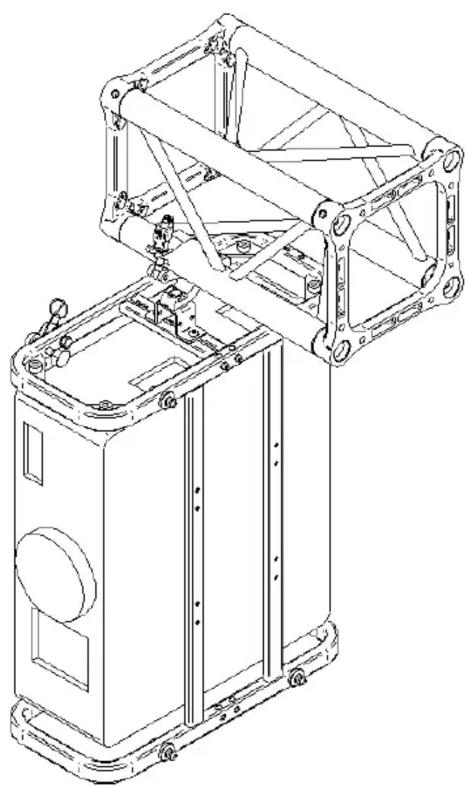
natural_image
Technical line drawing of a mechanical assembly with mounting brackets and structural supports (no text or symbols)Maintenance
Do not try to service this product yourself, except as specifically explained in this User's Guide. Refer all other servicing to qualified service personnel.
HARDWARE'S INSPECTION
The ELPMB79 arm adapter does not require special maintenance, but a visual inspection must be conducted before each installation involving the system.
Please conduct a visual inspection to ensure that all screws are in the correct positions and none are missing.
Tighten any loose hardware as needed to maintain stability and prevent the risk of the projector falling or becoming misaligned.
Ensure that screws, nuts and all components are not bent, damaged, or broken.
Please use the appropriate tool to check that all screws are securely tightened.
If any parts are broken or missing, please contact the seller to obtain the necessary spare parts.
CLEANING
Use a soft, dry cloth to gently wipe down the mount's surfaces, removing any dust or dirt.
For stubborn stains or dirt buildup, lightly dampen the cloth with water or a mild, non-abrasive cleaner.
Avoid using harsh chemicals that may damage the mount's finish. Ensure that the mount is completely dry before reattaching the projector to prevent any electrical issues.
LUBRICATION OF MOVING PARTS (IF APPLICABLE):
If the projector mount includes moving parts such as hinges or swivel mechanisms, apply a small amount of lubricant to ensure smooth operation.
Use a lubricant recommended by the manufacturer to prevent damage to the mount's components.
CONCLUSIONS
By following this maintenance plan, you can keep your mount adapter and in optimal condition, prolonging their lifespan and ensuring reliable performance for your presentations or entertainment needs.
Brand : EPSON
Model : ELPMB78
Category : Video projector