MI-706 - Flat Screen Mount Mount-It! - Free user manual and instructions
Find the device manual for free MI-706 Mount-It! in PDF.


| Product Type | Flat Panel Wall Mount |
| Brand | Mount-It! |
| Model | MI-706 |
| Compatible Screen Sizes | Most 17" to 42" flat panels |
| Maximum VESA Pattern | 100x100 mm to 200x200 mm |
| Weight Capacity | Up to 30 kg (66 lbs) |
| Material | Steel |
| Mount Type | Fixed or tilt (if applicable) |
| Tilt Range | 0° to 15° forward tilt (if applicable) |
| Distance from Wall | Approximately 1.2 inches (30 mm) in low profile |
| Installation | Wall mount with included hardware for wood stud or concrete |
| Color | Black |
| Included Accessories | Mounting brackets, screws, anchors, bubble level, user manual |
| Dimensions (Mount Plate) | Approximately 9.5" x 4.2" x 0.8" (242 x 107 x 20 mm) |
| Weight of Mount | Approximately 1.5 kg (3.3 lbs) |
| Certifications | ETL listed (typical) |
| Warranty | Limited lifetime warranty |
| Maintenance | Wipe with dry cloth; check tightness periodically |
| Safety | Do not exceed weight limit; ensure proper wall fastening |
| Spare Parts | Contact Mount-It! customer service for replacement hardware |
Frequently Asked Questions - MI-706 Mount-It!
User questions about MI-706 Mount-It!
0 question about this device. Answer the ones you know or ask your own.
Ask a new question about this device
Download the instructions for your Flat Screen Mount in PDF format for free! Find your manual MI-706 - Mount-It! and take your electronic device back in hand. On this page are published all the documents necessary for the use of your device. MI-706 by Mount-It!.
USER MANUAL MI-706 Mount-It!
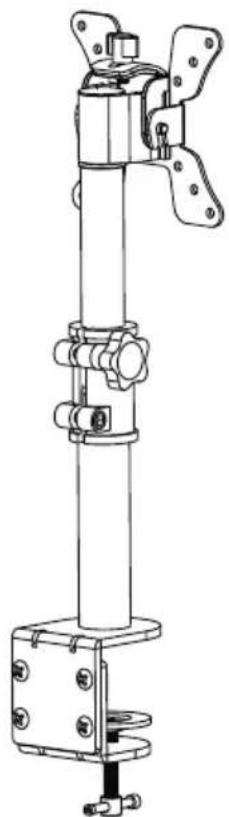
Installation Instruction
natural_image
Technical line drawing of a mechanical assembly with no visible text or symbolsUNPACKING INSTRUCTIONS
! Carefully open the carton, remove contents and lay out on cardboard or other protective surface to avoid damage.
! Check package contents against the Supplied Parts List in the next page to assure that all components were received undamaged. Do not use damaged or defective parts.
! Carefully read all instructions before attempting installation.
IMPORTANT SAFETY INFORMATION
Install and operate this device with care. Please read this instruction before beginning the installation, and carefully follow all instructions contained herein. Use proper safety equipment during installation.
!Please call a qualified installation contractor for help if you don't understand these directions or have any doubts about the safety of the installation.
Do not use this product for any purpose or in any configuration not explicitly specified in this instruction. We hereby disclaims any and all liability for injury or damage arising from incorrect assembly, incorrect mounting, or incorrect use of this product.
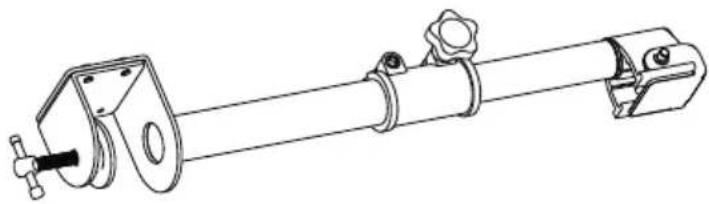
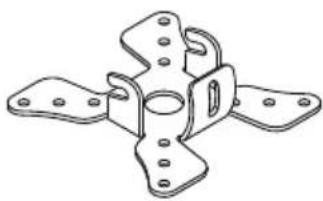
Supplied Parts List
natural_image
Technical line drawing of a mechanical assembly with clamping bracket and mounting bracket (no text or symbols)(1) Desk Bracket Assembled-a
natural_image
Technical line drawing of a four-pronged metal bracket with mounting holes (no text or symbols)(1)Mornitor Bracket-b
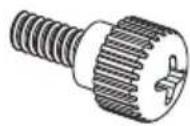
(4)M4x12 Thumb Bolt-c
natural_image
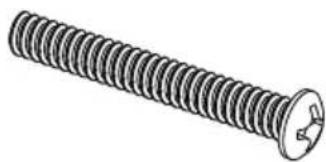
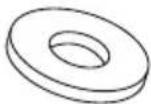
Illustration of a standard threaded screw with a circular head and central hole (no text or symbols)(4)M4x30 Bolt-d (8)M4 Washer-e
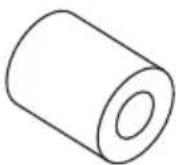
(4)M4 Space-f
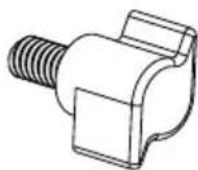
(1) Safety Knob-g
Tools Required
Phillips Screwdriver

WARNING
CAUTION!
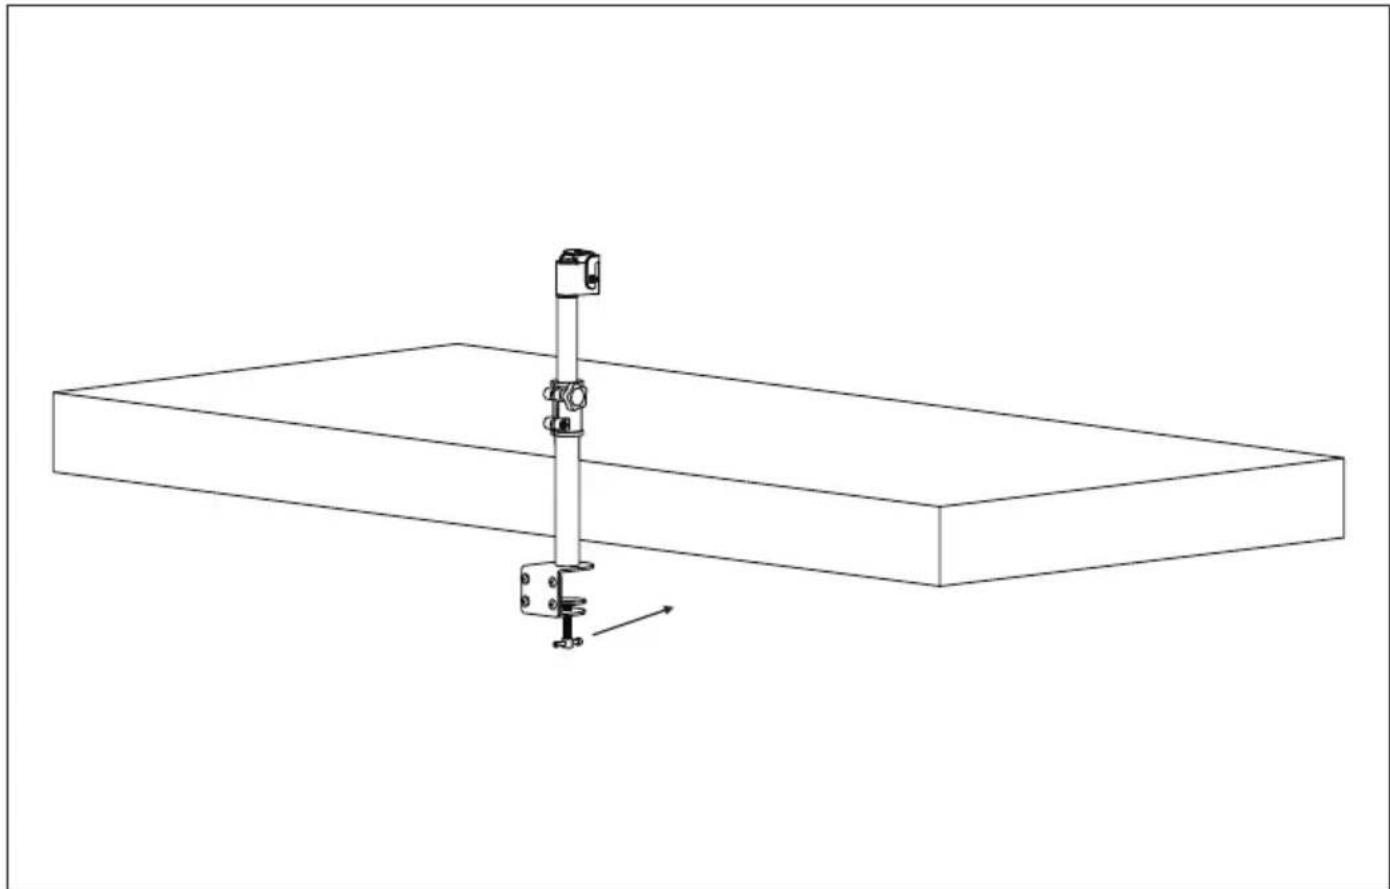
This TV Desk mount must be securely attached to the horizontal desk. If the mount is not properly installed it may fall, resulting in possible injury and/or damage.
Step 1
Mounting the Bracket to the Desk
natural_image
Technical line drawing of a mechanical assembly with a vertical rod and mounting bracket (no text or symbols)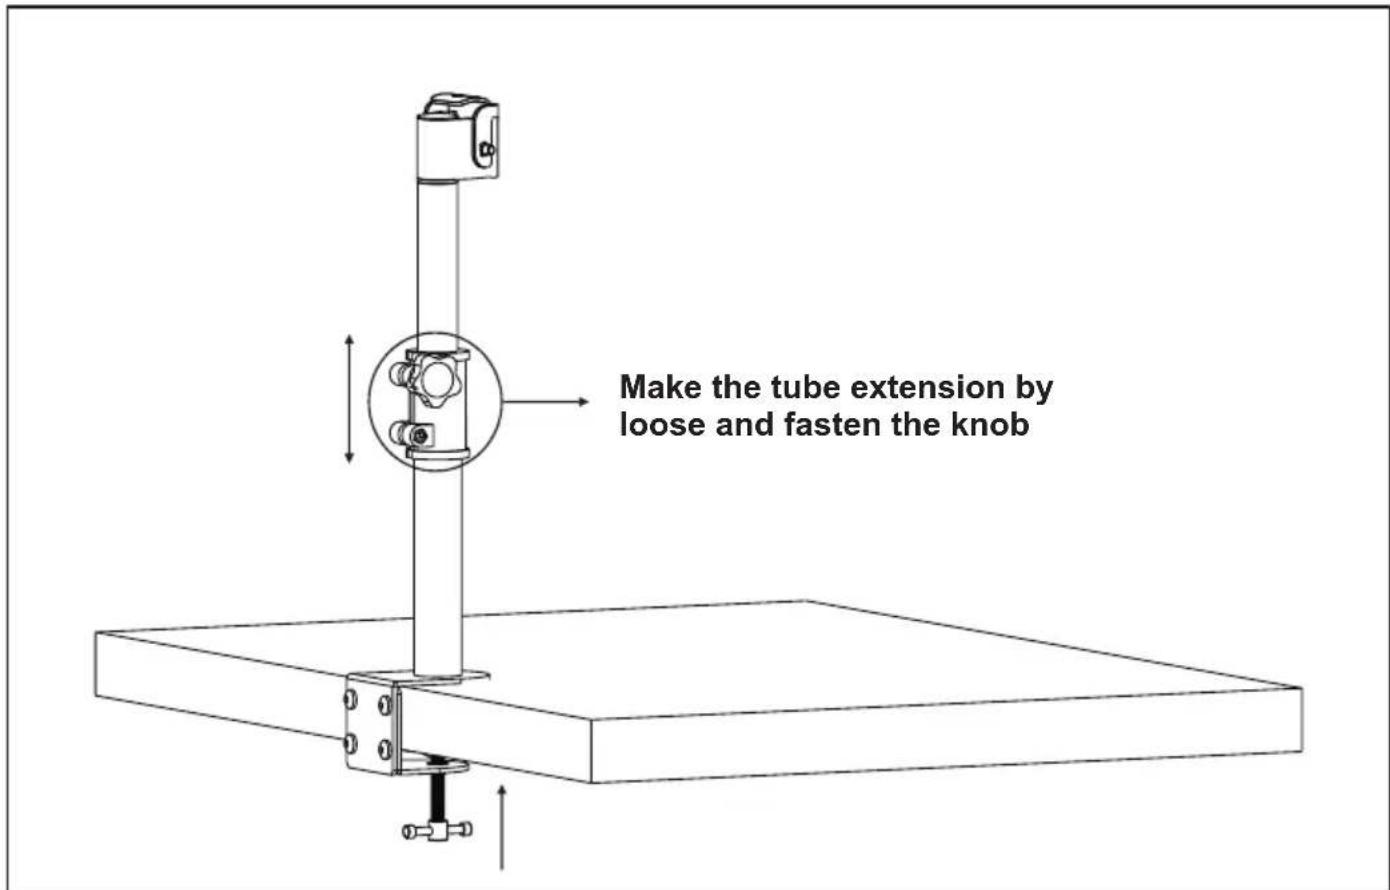
Step 2
Mounting the Monitor Bracket to a TV
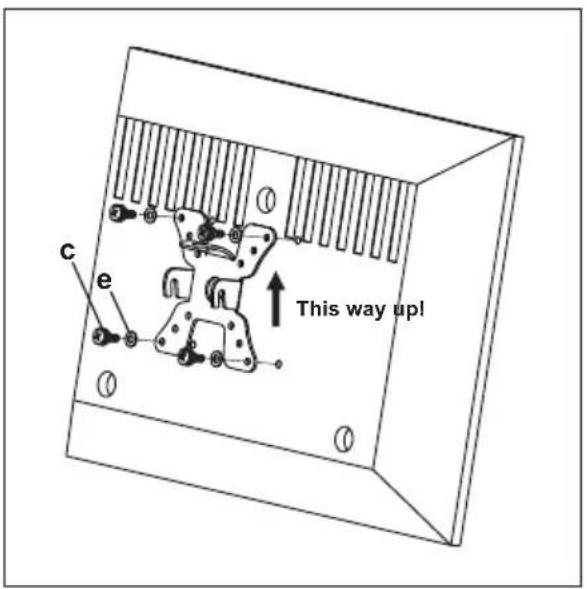
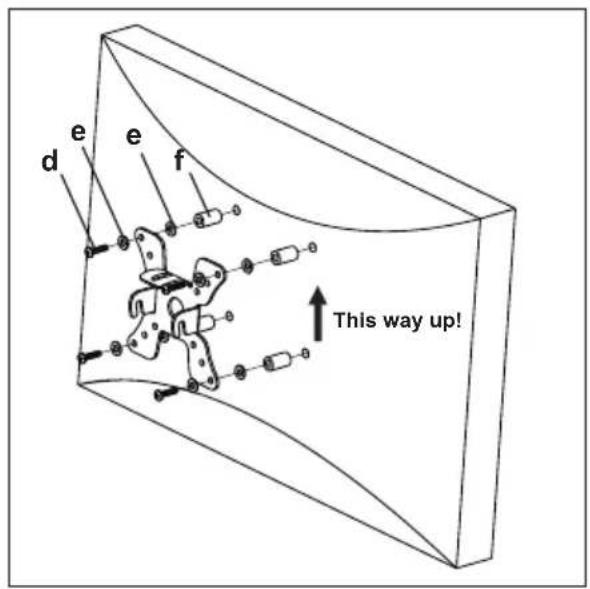
For Flat Back TV For Curved Back TV
Step 3
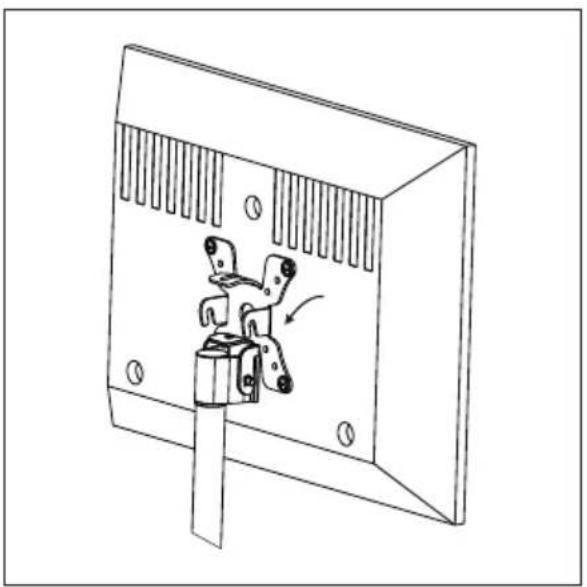
Attaching TV to Desk Bracket and Adding the Knob
natural_image
Technical line drawing of a mechanical component inside a rectangular frame (no text or symbols)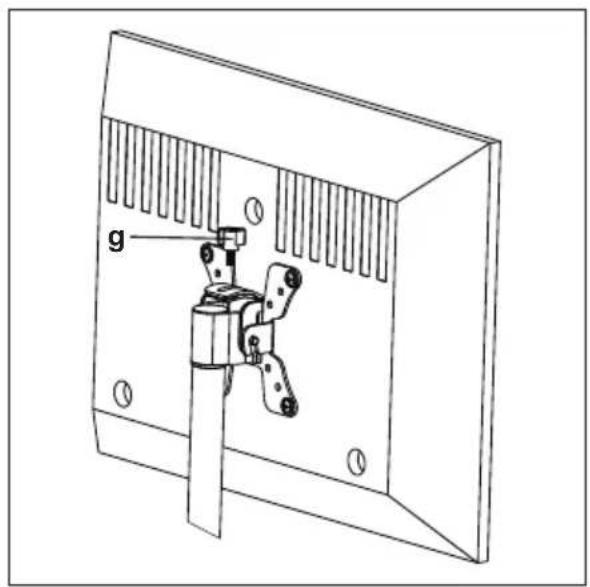
Thank you for choosing our products!
Brand : Mount-It!
Model : MI-706
Category : Flat Screen Mount