
55WF25E - Screen HISENSE - Free user manual and instructions
Find the device manual for free 55WF25E HISENSE in PDF.


| Product Type | Commercial Display |
| Model | 55WF25E |
| Brand | Hisense |
| Screen Size | 55 inches |
| Resolution | 3840 x 2160 (4K UHD) |
| Display Technology | LED-backlit LCD |
| Brightness | 500 cd/m² (typical) |
| Contrast Ratio | 5000:1 (typical) |
| Viewing Angle | 178° horizontal / 178° vertical |
| Response Time | 8 ms (typical) |
| Video Inputs | HDMI x2, VGA (optional), USB x2 |
| Audio Output | Built-in speakers 2x10W, 3.5mm jack |
| Network | Wi-Fi 802.11ac, Ethernet RJ45 |
| Operating System | Android-based (custom) |
| Storage | 16 GB internal flash |
| Power Supply | AC 100-240V, 50/60Hz |
| Power Consumption | Typical 150W, Standby <0.5W |
| Dimensions (W x H x D) | 1230 x 710 x 60 mm (without stand) |
| Weight | 18.5 kg (without stand) |
| VESA Mount | 400 x 400 mm |
| Key Features | Daisy chain support (2x2, 3x3), auto backlight adjustment, OTA update, failover, picture rotation, GPlayer media playback |
| Included Accessories | Remote control, power cord, user manual |
Frequently Asked Questions - 55WF25E HISENSE
User questions about 55WF25E HISENSE
0 question about this device. Answer the ones you know or ask your own.
Ask a new question about this device
Download the instructions for your Screen in PDF format for free! Find your manual 55WF25E - HISENSE and take your electronic device back in hand. On this page are published all the documents necessary for the use of your device. 55WF25E by HISENSE.
USER MANUAL 55WF25E HISENSE
Read the manual carefully and ensure you have fully understood its contents before operating this device for the first time.
TABLE OF CONTENTS
User Guide 01
Browser 02
File Management 03
GPlayer(Media Player) 04
GTest (Self Test) 06
Live TV 07
Setting 08
Network & Internet 08
App Management 12
Device Preferences ....13
Status 14
Date & Time ....15
Language 16
Keyboard Setting 17
CEC Setting 18
Picture Setting 19
Picture Rotation Setting 20
System Advanced Setting 21
Multiple Displays Setting 25
Backlight Auto Adjust 30
Volume setting 32
Storage Information 33
Location setting 34
Security & restrictions setting 35
Reset 36
Remotes & Accessories ....37
OTA 38
Software Upgrade Guide 39
User Guide
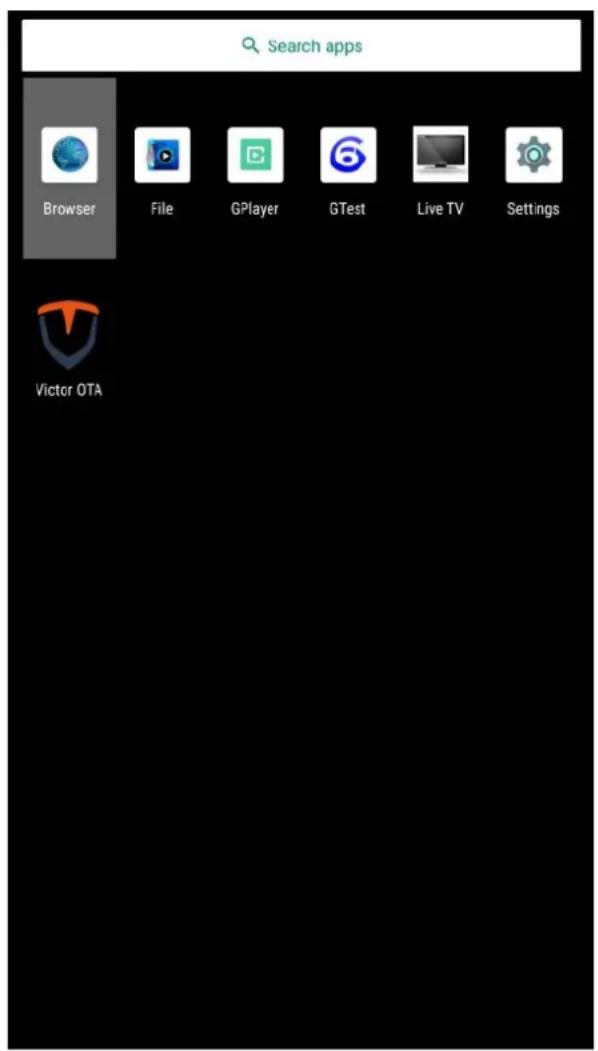
After the device is turned on, press the key OK on the remote control to enter the main page of the system(see next page).

natural_image
Pure black background with a small white circular icon at the bottom (no text or symbols)
Browser
> Browser
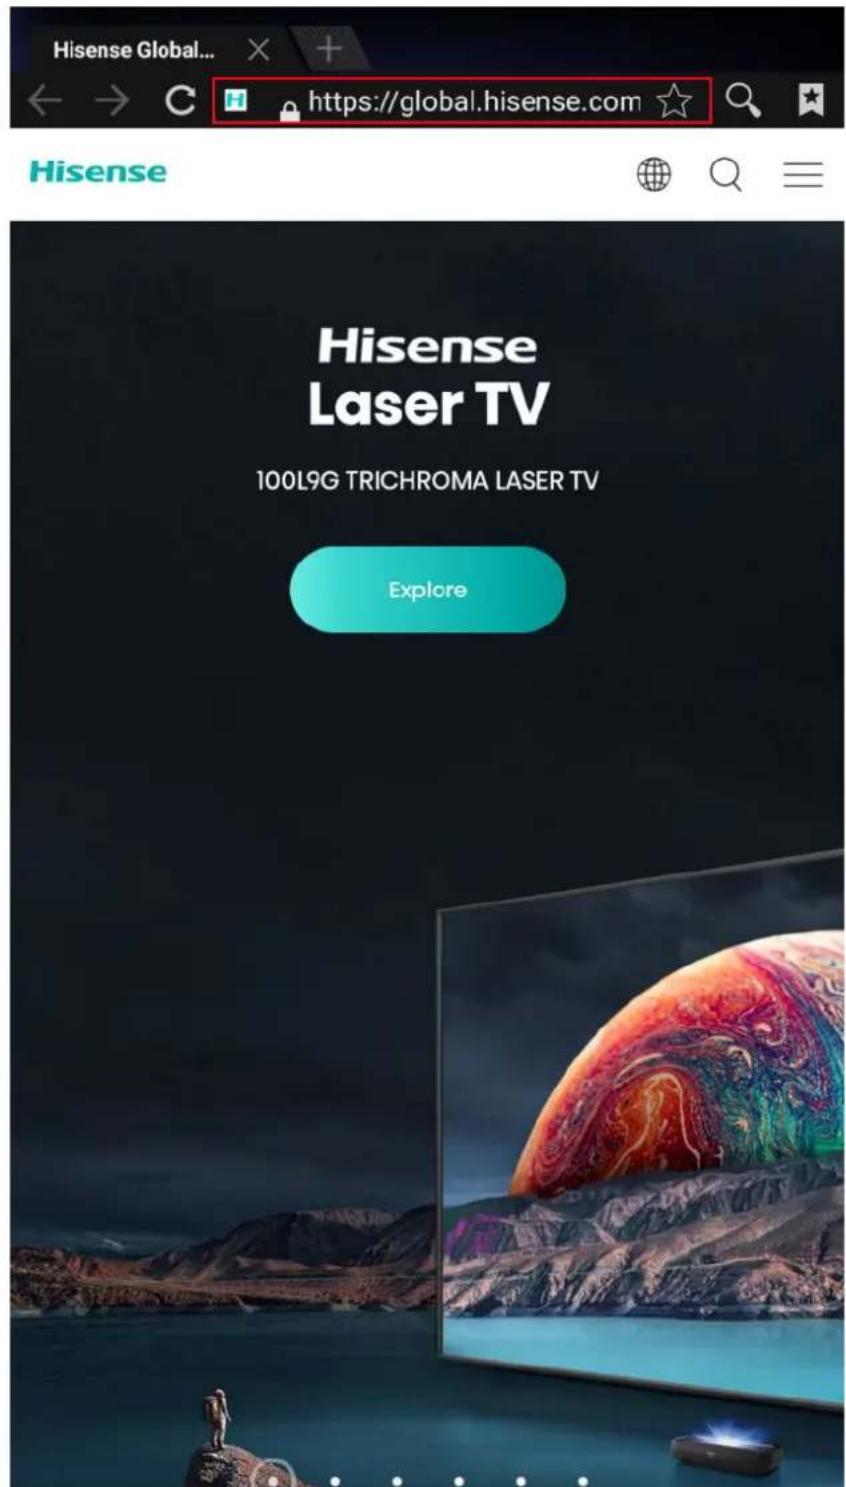
Use an external mouse to select the URL bar, and then use the input keyboard to enter the URL to open the web page.
File Management
> File
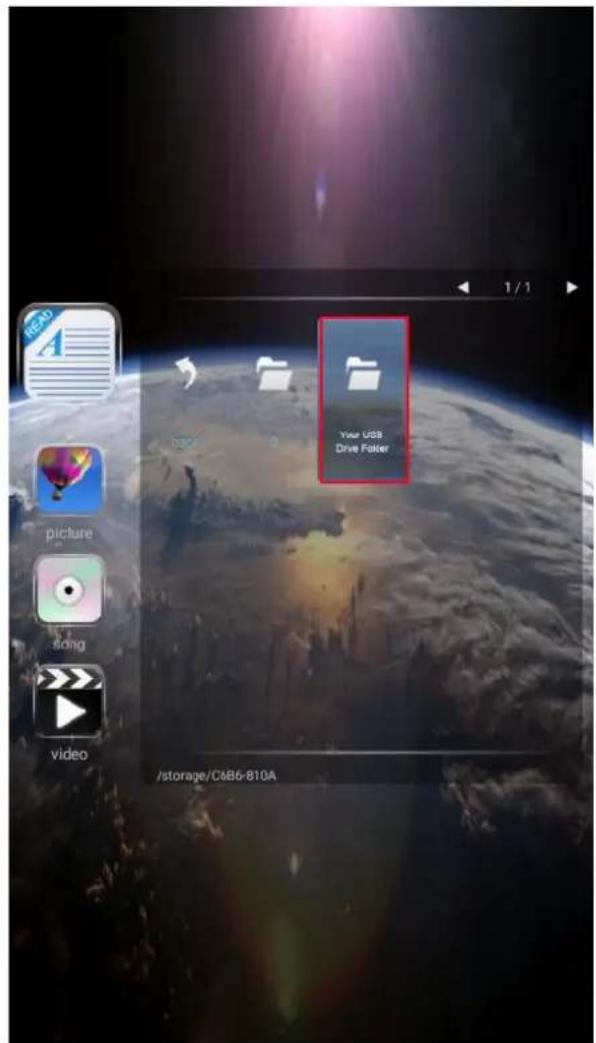
Use the key ▲ on the remote control to select a local file on the right, press OK to play, or select under the corresponding image/music/video file;


→
>GPlayer
-Create a folder named Hplayer in the root directory of the U disk and copy media contents into this folder;
-Play video:
Put one or more videos into the Hplayer folder, open Gplayer, insert a USB flash drive, and the device will automatically copy the files. After the copy is completed, the files will be automatically sorted and played in a loop according to the file name.
-Play pictures:
Put one or more pictures into the Hplayer folder, open Gplayer, insert a USB flash drive, and the device will automatically copy the files. After the copy is completed, the files will be automatically sorted and played in a loop according to the file name. Press Menu on the remote control to adjust the display time of each picture.
-Play videos and pictures:
Put one or more videos and pictures into the Hplayer folder, open Gplayer, and insert a USB flash drive, the device will automatically copy the files, and automatically play them in a loop according to the file names after copying. Videos will be played first and then the pictures. Press Menu on the remote control to adjust the display time of each picture.
-The device will start automatically playing, please remove the U disk at this time.
> GPlayer
Operating Instructions
1
Create a folder named Hplayer in the root directory of the U disk and copy media contents into this folder
2
PLAY VIDEO
Put one or more videos into the Hplayer folder, open Gplayer, insert a USB flash drive, and the device will automatically copy the files. After the copy is completed, the files will be automatically sorted and played in a loop according to the file name.
3
PLAY PICTURES
Put one or more pictures into the Hplayer folder, open Gplayer, insert a USB flash drive, and the device will automatically copy the files. After the copy is completed, the files will be automatically sorted and played in a loop according to the file name. Press Menu on the remote control to adjust the display time of each picture.
4
PLAY VIDEOS AND PICTURES
Put one or more videos and pictures into the Hplayer folder, open Gplayer, and insert a USB flash drive, the device will automatically copy the files, and automatically play them in a loop according to the file names after copying. Videos will be played first and then the pictures. Press Menu on the remote control to adjust the display time of each picture.
5
The device will start automatically playing, please remove the U disk at this time.
* Supports Mp4, M4V, 3GP, 3GPP, 3G2, 3GPP2, MOV, MKV, AVI, TS, WMV Video formats
GTest
> GTest
Here you could check the device version information and perform device test, mainboard test, LD test.

Live TV
> Live TV
Play the content of the HDMI input, if there is no HDMI input signal, it will return to the main page of the system.

Setting
Network& Internet
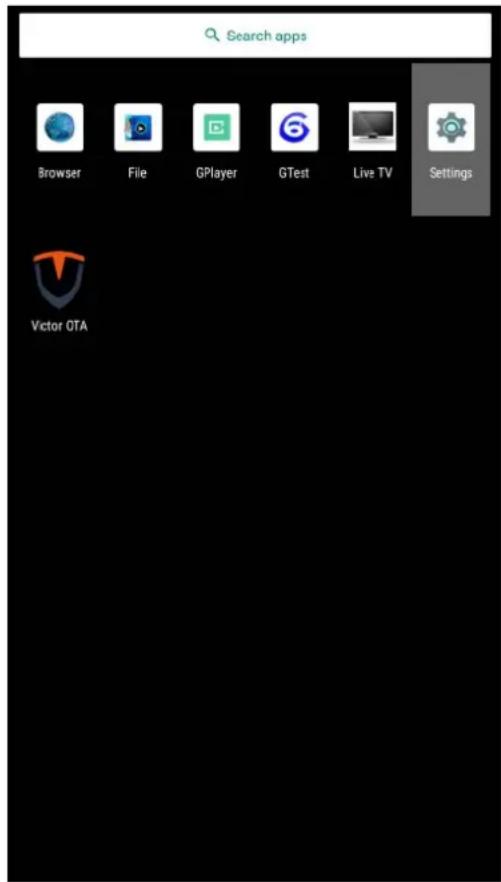
Setting > Network & Internet Network & Internet
Setting > Apps Apps Management
Setting > Device Preferences Device Preferences
Setting > Remotes & Accessories Remotes & Accessories

Setting
Network& Internet
Setting > Network & Internet
Network & Internet
- Wi-Fi
Wifi On/Off
- Add new network
Add new network
- Scanning always available
Let google Location service and other apps scan for networks, even when wifi is off
- Ethernet
Display whether the wired network is connected, if connected, it will display the IP.
- Proxy setting
Proxy server settings.
- IP setting
Device IP settings.

Setting
Network & Internet
Setting > Network & Internet Network & Internet
\* Network Connecting
WiFi network:
Select your WiFi and enter the password.

Click < Next > to connect

Connecting to Meeting Room
Setting
Network & Internet
Setting >
\* Network Connecting
Wired network:
Plug in the network cable, it will be automatically connected.
Click < settings > icon to check whether it is connected.

Setting
Apps
Setting > APP
Apps Management
- Recently opened apps
Show recently opened apps
- See all apps
Show all apps
- App Permissions
APP permission management
- Special app access
Special app access management

Setting
Device Preferences
Setting > Device Preferences
Device preferences setting

Setting
Device Preferences
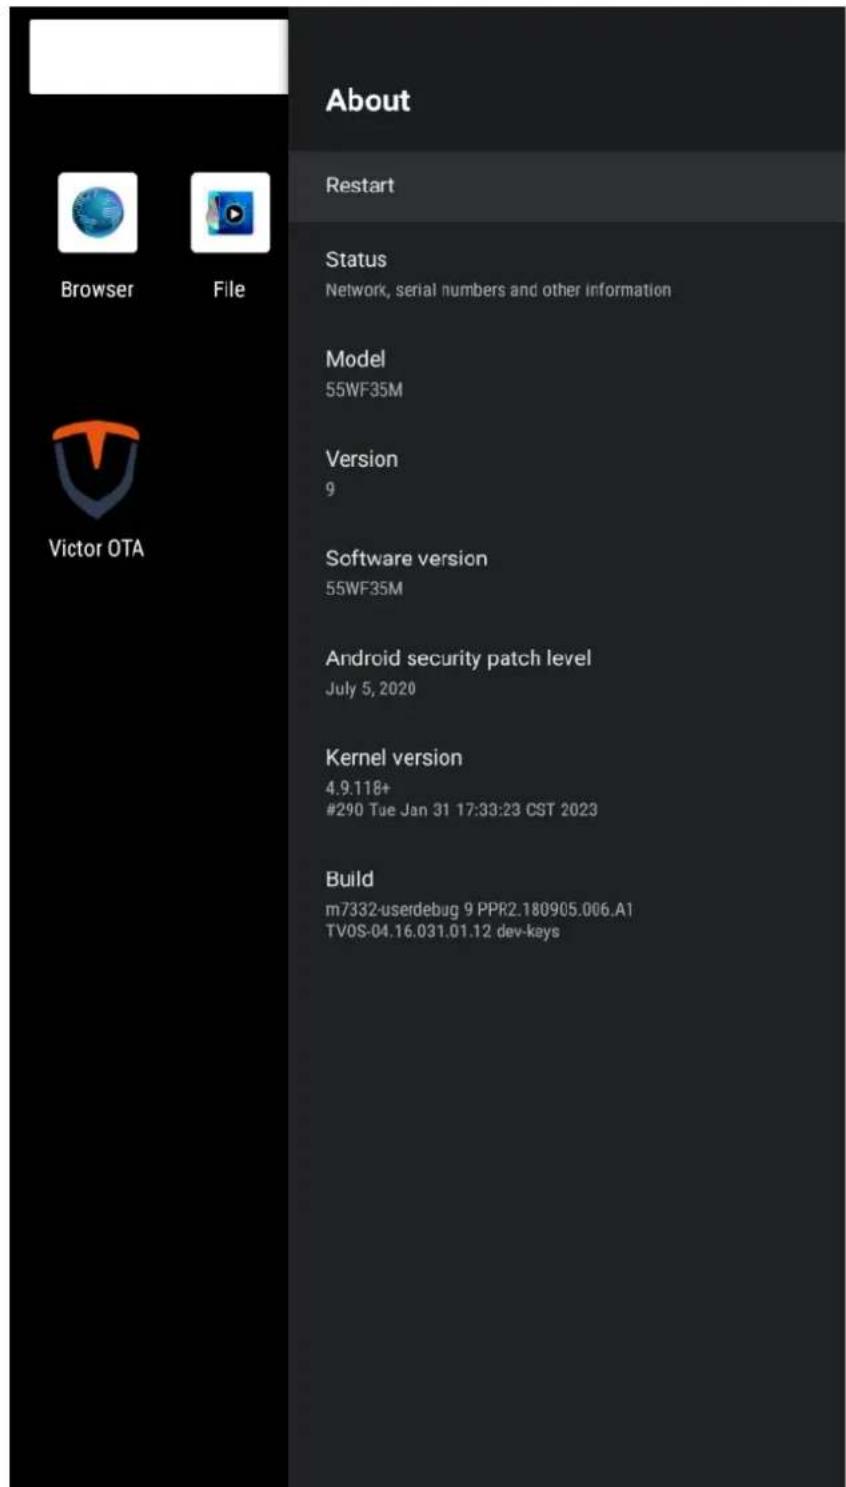
Setting > Device Preferences > About System status, model and software version information (including restart switch).
Setting
Device Preferences
Setting > Device Preferences > Date & time Date & Time setting.
- Automatics date & time Use network-provided time
- Set time zone Set time zone
- Use 24-hour format

Setting
Device Preferences
Setting > Device Preferences > Language
Language setting
Select one of the languages on the menu displayed on the screen.

Setting
Device Preferences
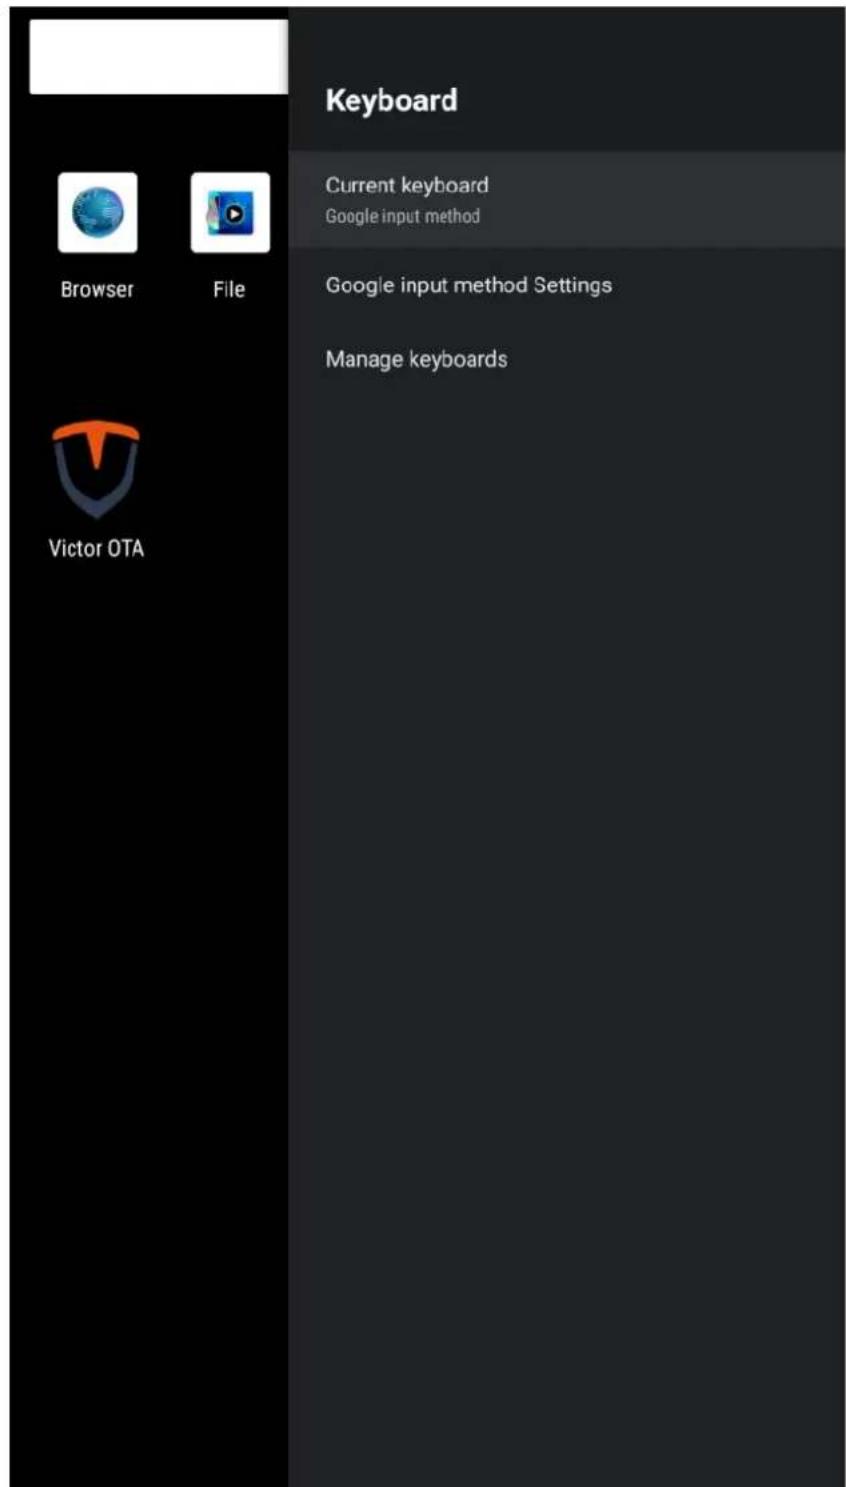
Setting > Device Preferences > Keyboard Keyboard setting
Setting
Device Preferences
Setting > Device Preferences > inputs Consumer Electronic Control(CEC)s setting
- HDMI Control Allow the TV to control HDMI Devices
- Device auto power off Power off HDMI devices with the TV
- TV auto power on Power on the TV with HDMI devices
- CEC Device List Consumer Electronic Control(CEC) device list

Setting
Device Preferences
Setting > Device Preferences > Picture
Picture setting

bar
| Category | Value | |---|---| | Brightness | - | | Contrast | - | | Saturation | - | | HUE | - | | Sharpness | - | | Color Temperature | + 50 | | Color Temperature | + 50 | | Color Temperature | + 50 | | Color Temperature | + 0 | | Color Temperature | + 12 |Setting
Device Preferences
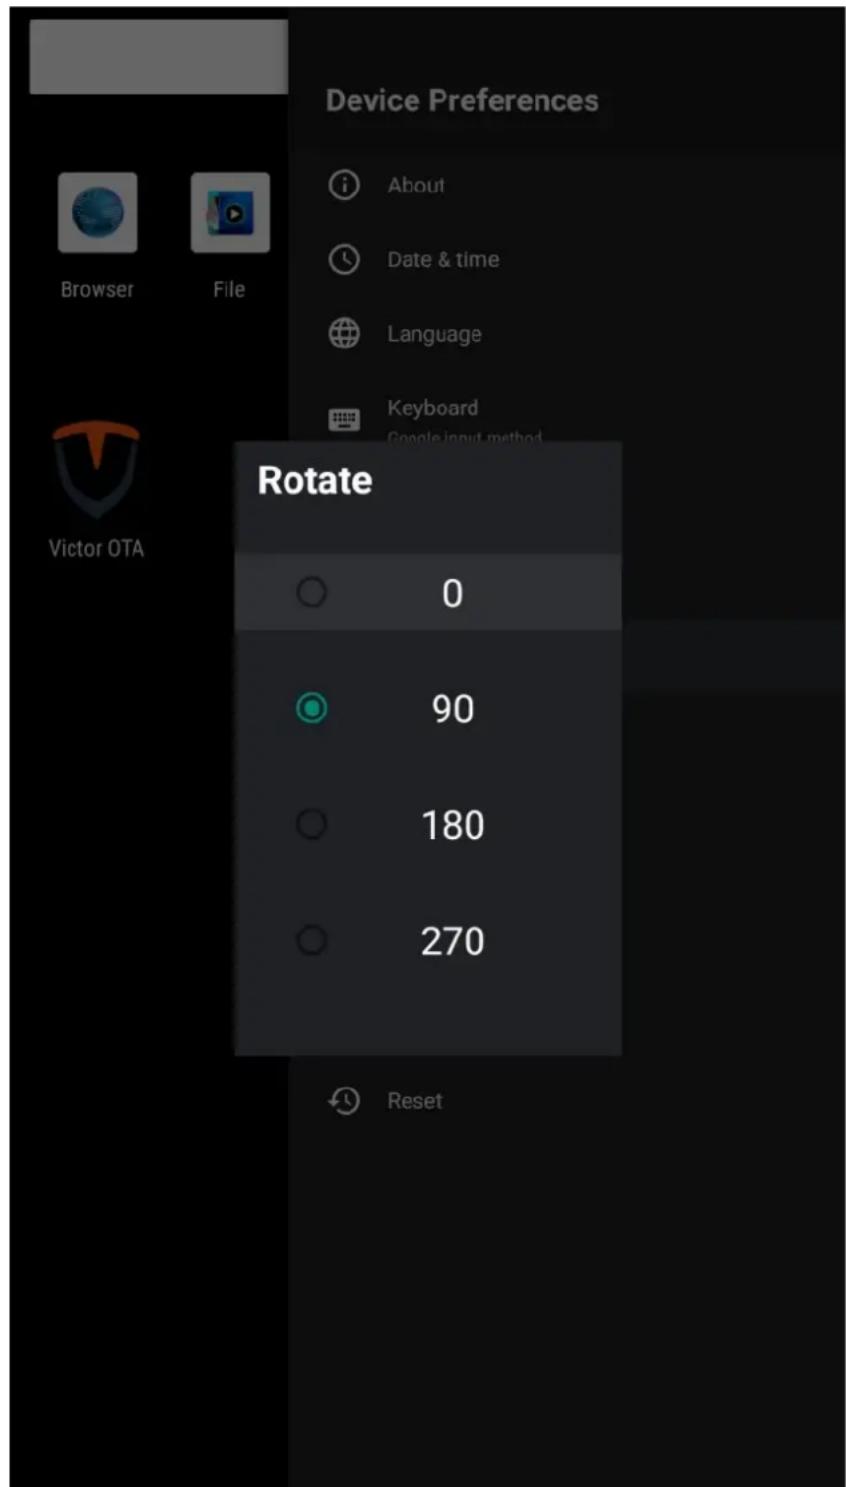
Setting > Device Preferences > Rotate
Picture rotation setting
Setting
Device Preferences
Setting > Device Preferences > Advances
System advanced setting
- MAC
Display the MAC address of the device
- Screen ID
The external 232 device distinguishes the control device by ID. For example, the current ID of the device is 01. The ID in the control command of the external 232 device is 01, and the current device receives and processes related commands.
- Failover
ON: Automatically switch to HDMI1 when HDMI1 has a signal, automatically switch to HDMI2 when HDMI1 has no signal and HDMI2 has a signal, and automatically switch to the Android main interface when both HDMI1 and 2 have no signal. HDMI1>HDMI2>Android Home.
OFF: Do not switch, keep user operation status.
- Split Screen Mode
Support Split-screen splicing mode, enter the corresponding split-screen splicing code.
| Advanced | |
| MAC | C8:E1:30:FF:FF:F0 |
| Screen ID | 00 |
| Failover | OFF |
| Split Screen Mode | 000 |
| OTA | ON |
| Video Rotate | 180 |
| OSD Rotate | 90 |
| Boot Source | Android |
| Boottime | 0:03 |
| MSC Ver | 222 116 55 |
| Monitoring Ver | 55 |
| System Ver | |
| Current Backlight | 5 |
| Environment Brightness | 236 |
| Backlight Control Mode | Auto |
| Backlight_Auto_L Environment Brightness | 2000 |
| Backlight_Auto_H Environment | 30000 |
-OTA
ON: OTA upgrade takes effect, OFF: OTA upgrade is disabled.
- Video Rotate
Video playback display angle adjustment (0,90,180,270)
- OSD Rotate:
Menu display angle adjustment (0,90,180,270)
Setting
Device Preferences
Setting > Device Preferences > Advances
System advanced setting
- Boot Source
When Failover is off, the device will automatically enter the selected APP after booting.
- Boot time
How long the device has been booted this time.
- MSC Ver
Display the version number of MSC messaging system.
- Moniting Ver
Display the monitoring system version number.
- System Ver
Display system version number.
- Current Backlight
The brightness value set by the current device.
- Environment Brightness
Current external environment brightness.
- Backlight Control Mode
Device brightness control mode,
Auto: automatically adjust according to ambient light brightness,
Manual: adjust according to Backlight Adjust setting value.
| Advanced | |
| MAC | C8:E1:30:FF:FF:F0 |
| Screen ID | 00 |
| Failover | OFF |
| Split Screen Mode | 000 |
| OTA | ON |
| Video Rotate | 180 |
| OSD Rotate | 90 |
| Boot Source | Android |
| Boottime | 0:03 |
| MSC Ver | 222 116 55 |
| Monitoring Ver | 55 |
| System Ver | |
| Current Backlight | 5 |
| Environment Brightness | 236 |
| Backlight Control Mode | Auto |
| Backlight_Auto_L Environment Brightness | 2000 |
| Backlight_Auto_H Environment | 30000 |
- Backlight\_Auto\_L Environment Brightness
Automatic brightness control, the lower limit of the external environment, such as setting the value to 2000: when the external environment brightness is 0-2000, the brightness of the device is automatically adjusted from 0% to 40%.
Setting
Device Preferences
Setting > Device Preferences > Advances
System advanced setting.
- Backlight\_Auto\_H Environment Brightness
Automatic brightness control, the upper limit of the external environment, such as setting the value to 60000: when the external environment brightness is 2000-60000, the brightness of the device is automatically adjusted by 40%-100%.
- Backlight Adjust
When the brightness control is manual, the brightness control value.
- Current Volume
The current volume of the device.
- Volume Adjust
Adjust the volume of the device.
- Reboot Time
The daily scheduled restart time of the device.
- Power On Time Set
The daily power-on time of the device.
- Power Off Time Set
The daily shutdown time of the device.
- Monitoring Connection Status
Display the monitoring system connection status.
- Alert Temperature
Temperature alarm upper limit value, when the temperature exceeds the set value, the device will force the machine brightness to drop to 50%, when the temperature drops below the upper limit value by 10^ , the original brightness control will be restored.
| Backlight_Auto_H Environment Brightness | 60000 |
| Backlight Adjust | 50 |
| Current Volume | 30 |
| Volume Adjust | 30 |
| Reboot Time | -- |
| Power On Time Set | -- |
| Power Off Time Set | -- |
| Moniting Connection Status | Connect |
| Temperature | |
| Alert Temperature | 45°C |
| GPTE-01 | 25.1°C |
| Fan Speed | |
| FAN-D0-1 | 0 |
| FAN-D0-2 | 0 |
| Alert Fan | 20% |
| Auto Fan Tem | 45 |
| Fan Control Mode | Auto |
| Fan Manual Control | 100% |
Setting
Device Preferences
Setting > Device Preferences > Advances
System advanced setting.
- Alert Fan
The fan alarm threshold is 20%. If the current fan rated speed is 1000 rpm, when the speed is >12000 rpm or <800 rpm, the fan speed rate will turn red as warning.
- Auto Fan Tem
Fan start temperature value, when the temperature > set value, the fan will automatically turn on.
- Fan Control Mode
Fan adjustment mode :
Auto: automatically adjusts the speed according to the temperature;
Manual: the constant fan speed is the value set by Fan Manual Control.
- Fan Manual Control
Fan speed percentage manual control (0-100).
| Backlight_Auto_H Environment Brightness | 60000 |
| Backlight Adjust | 50 |
| Current Volume | 30 |
| Volume Adjust | 30 |
| Reboot Time | -- |
| Power On Time Set | -- |
| Power Off Time Set | -- |
| Moniting Connection Status | Connect |
| Temperature | |
| Alert Temperature | 45°C |
| GPTE-01 | 25.1°C |
| Fan Speed | |
| FAN-D0-1 | 0 |
| FAN-D0-2 | 0 |
| Alert Fan | 20% |
| Auto Fan Tem | 45 |
| Fan Control Mode | Auto |
| Fan Manual Control | 100% |
Setting
Device Preferences
Setting > Device Preferences > Advances
System advanced setting.
\* Daisy chain multiple displays setting
Daisy chain has the following two connection methods
- Network port connection (RJ45):
When the device has 2 RJ45 ports, the device supports wired network ring string, so as to achieve the network daisy chain (customer needs to develop own software).

Connection method

flowchart
graph TD
    A["Signal Source"] --> B["Display 1 Display 2"]
    B --> C["RJ45 RJ45 RJ45 RJ45"]
    C --> D["Display 2"]
    D --> E["RJ45 RJ45 RJ45 RJ45"]
    E --> F["Display 3 Display 4"]
    F --> G["RJ45 RJ45 RJ45 RJ45"]
    G --> H["Display 3"]
Setting
Device Preferences
Setting > Device Preferences > Advances
System advanced setting
\* Daisy chain multiple displays setting
HDMI connection:
When there is a Split Screen Mode option in the Advanced option of the device, the device supports Daisy Chain splicing function, The wiring method is as follows:

flowchart
graph TD
    A["Signal Source"] --> B["Display 1 Display 2"]
    B --> C1["HDMI IN 2"]
    B --> C2["HDMI IN 1"]
    B --> C3["HDMI OUT"]
    C1 --> D1["HDMI IN 2"]
    C2 --> D2["HDMI IN 1"]
    C3 --> D3["HDMI OUT"]
    D1 --> E1["HDMI IN 2"]
    D2 --> E2["HDMI IN 1"]
    D3 --> E3["HDMI OUT"]
    E1 --> F1["HDMI IN 2"]
    E2 --> F2["HDMI IN 1"]
    E3 --> F3["HDMI OUT"]
    F1 --> G1["HDMI IN 2"]
    F2 --> G2["HDMI IN 1"]
    F3 --> G3["HDMI OUT"]
Setting
Device Preferences
Setting > Device Preferences > Advances
System advanced setting
\* Daisy chain multiple displays setting
The Daisy chain splicing supports 2x2 and 3x3 splicing modes. Please enter the Split screen code of the device according to the corresponding splicing position in the figure below. When full-screen signal display is required, please set the Mode to: 000.
Note: Video Rotate needs to be set to 0 when setting the daisy chain splicing mode.
| Advanced | |
| MAC | C8:E1:30:FF:FF:F0 |
| Screen ID | 00 |
| Failover | ON |
| Split Screen Mode | 000 |
| OTA | ON |
| Video Rotate | 0 |
| OSD Rotate | 90 |

Setting
Device Preferences
Setting > Device Preferences > Advances
System advanced setting
* Daisy chain multiple displays setting
Split Screen Code
2x2 mode 1
| Display 1Split Screen Code:211 | Display 2Split Screen Code:212 |
| Display 3Split Screen Code:221 | Display 4Split Screen Code:222 |
2x2 mode 2
| Display 1Split Screen Code:212 | Display 2Split Screen Code:222 |
| Display 3Split Screen Code:211 | Display 4Split Screen Code:221 |
Setting
Device Preferences
Setting > Device Preferences > Advances
System advanced setting
* Daisy chain multiple displays setting
Split Screen Code
3x3 mode 1
| Display 1Split Screen Code:311 | Display 2Split Screen Code:312 | Display 3Split Screen Code:313 |
| Display 4Split Screen Code:321 | Display 5Split Screen Code:322 | Display 6Split Screen Code:323 |
| Display 7Split Screen Code:331 | Display 8Split Screen Code:332 | Display 9Split Screen Code:333 |
3x3 mode 2
| Display 1Split Screen Code:313 | Display 2Split Screen Code:323 | Display 3Split Screen Code:333 |
| Display 4Split Screen Code:312 | Display 5Split Screen Code:322 | Display 6Split Screen Code:323 |
| Display 7Split Screen Code:311 | Display 8Split Screen Code:321 | Display 9Split Screen Code:331 |
Setting
Device Preferences
Setting > Device Preferences > Advances
System advanced setting
Backlight auto adjust
| Current Backlight | 2 |
| Environment Brightness | 97 |
| Backlight Control Mode | Auto |
| Backlight_Auto_L Environment Brightness | 2000 |
| Backlight_Auto_H Environment Brightness | 30000 |
| Backlight Adjust | 50 |
Current Backlight: current device screen brightness
Environment Brightness: ambient brightness
Backlight Control Mode: Device brightness control mode (automatic, manual)
Backlight_Auto_L Environment Brightness: The lower limit value of the environment brightness when automatically adjusting the brightness. For example, if the setting value is 2000, when the environment brightness is between 0-2000, the device brightness will be automatically adjusted between 0% -40% .
Setting
Device Preferences
Setting > Device Preferences > Advances
System advanced setting
Backlight_Auto_H Environment Brightness: The upper limit value of the environment brightness when automatically adjusting the brightness. For example, when the setting value is 30000, when the environment brightness is between 2000-30000, the device brightness will be automatically adjusted between 40%-100%.
When the external environment is greater than 30000, the brightness of the device is 100%.
Backlight Adjust: When the device brightness control is manual, the device brightness adjustment value.
Alert Temperature Adjust

When the internal temperature of the device exceeds the value set by Alert Temperature: the brightness of the device is forcibly reduced to 50%. When the temperature drops by 10^ C, the original brightness control will be restored.
Setting
Device Preferences
Setting > Device Preferences > Sound
Volume setting

Setting
Device Preferences
Setting > Device Preferences > Storage
Storage information

Setting
Device Preferences
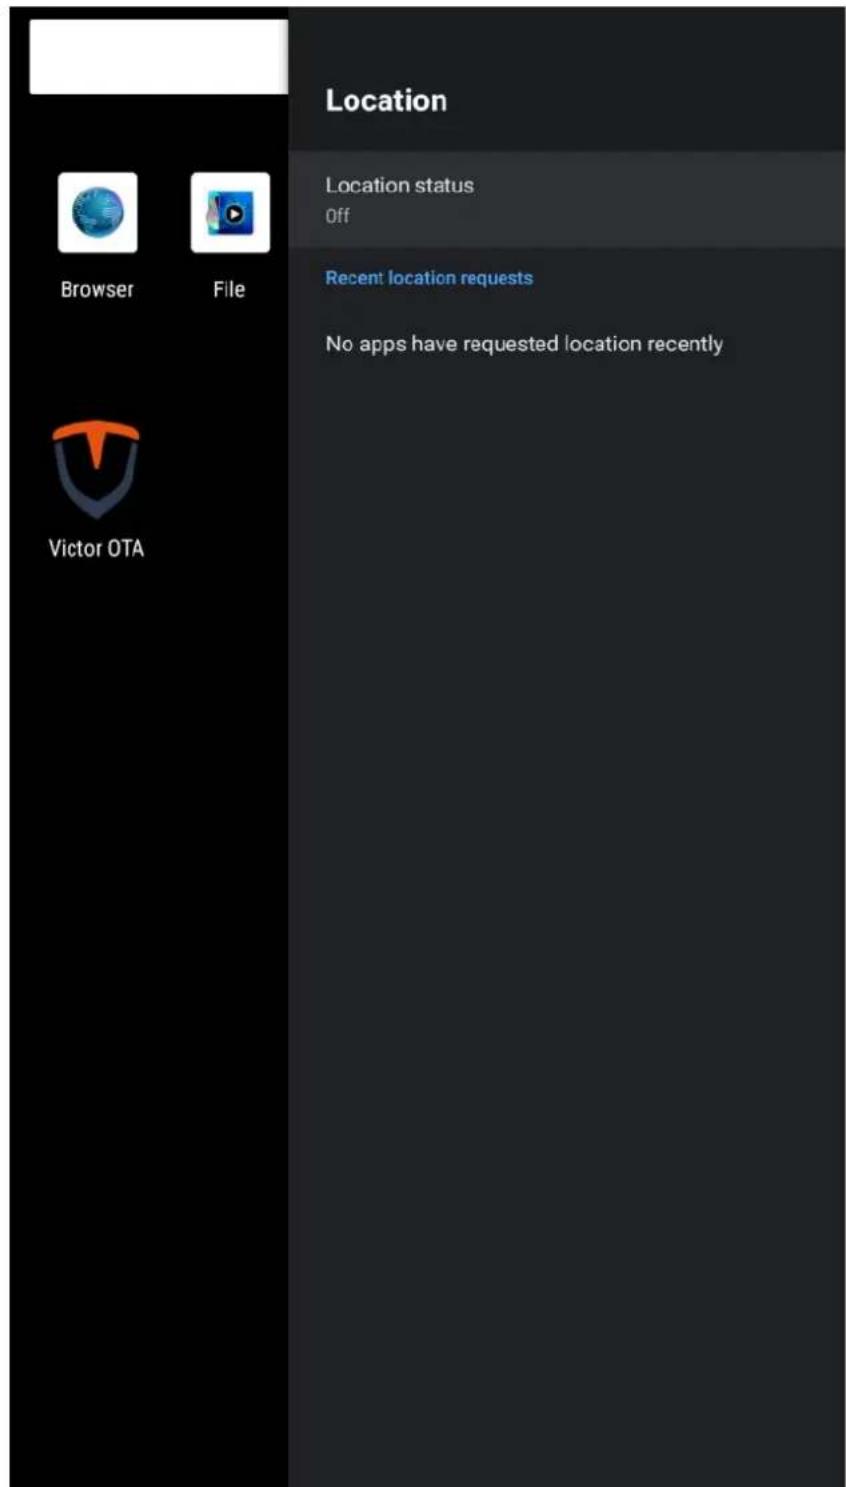
Setting > Device Preferences > Location
Location setting
Setting
Device Preferences
Setting > Device Preferences > Security & restrictions
Security & restrictions setting

Setting
Device Preferences
Setting > Device Preferences > Reset
Reset to factory settings

Setting > Remotes & Accessories
Remotes & Accessories(Bluetooth switch)

Victor OTA
> Victor OTA
Online update software

Software Upgrade Guide
STEP1
Unzip the upgrade file (mstarupgrade. Bin) and copy it to the root directory of the USB drive.

STEP2
Insert the USB drive into the USB port of the machine.

natural_image
Close-up of electrical connectors and cables with a red circle highlighting a component (no visible text or symbols)STEP3
Power on the machine to upgrade and reboot automatically, pull out the USB drive after the upgrade.

Hisense


- TABLE OF CONTENTS
- User Guide
- Browser
- > Browser
- File Management
- > File
- >GPlayer
- -Play video:
- -Play pictures:
- -Play videos and pictures:
- > GPlayer
- Operating Instructions
- GTest
- > GTest
- Live TV
- > Live TV
- Setting
- Network& Internet
- Network & Internet
- \* Network Connecting
- Apps
- Apps Management
- Device Preferences
- Language setting
- System advanced setting
- - MAC
- - Screen ID
- - Failover
- - Split Screen Mode
- -OTA
- - Video Rotate
- - OSD Rotate:
- - Boot Source
- - Boot time
- - MSC Ver
- - Moniting Ver
- - System Ver
- - Current Backlight
- - Environment Brightness
- - Backlight Control Mode
- - Backlight\_Auto\_L Environment Brightness
- System advanced setting.
- - Backlight\_Auto\_H Environment Brightness
- - Backlight Adjust
- - Current Volume
- - Volume Adjust
- - Reboot Time
- - Power On Time Set
- - Power Off Time Set
- - Monitoring Connection Status
- - Alert Temperature
- - Alert Fan
- - Auto Fan Tem
- - Fan Control Mode
- - Fan Manual Control
- \* Daisy chain multiple displays setting
- HDMI connection:
- Alert Temperature Adjust
- Victor OTA
- > Victor OTA
- Online update software
- Software Upgrade Guide
- STEP1
- STEP2
- STEP3
- Hisense
Brand : HISENSE
Model : 55WF25E
Category : Screen