
KGS H 60 1B - Sink Kernau - Free user manual and instructions
Find the device manual for free KGS H 60 1B Kernau in PDF.


| Product Type | Kitchen Sink |
| Brand | Kernau |
| Model | KGS H 60 1B |
| Width | 600 mm |
| Depth | 500 mm (typical) |
| Height | 200 mm (bowl depth) |
| Material | Stainless Steel (grade 304) |
| Finish | Brushed Satin |
| Number of Bowls | Single Bowl |
| Installation Type | Top-mount (Drop-in) |
| Faucet Holes | 1 (center) |
| Drain Size | 3.5 inches (90 mm) |
| Weight | 8.5 kg |
| Sound Dampening | Rubber undercoating pads |
| Included Accessories | Drain kit, mounting clips, template |
| Cleaning Instructions | Wipe with mild soap and soft cloth; avoid abrasive cleaners |
| Maintenance | Rinse after use; dry to prevent water spots |
| Safety | Rounded corners; anti-splash rim |
| Spare Parts Availability | Drain assembly, mounting clips, rubber gaskets |
| Certifications | CE, RoHS |
Frequently Asked Questions - KGS H 60 1B Kernau
User questions about KGS H 60 1B Kernau
0 question about this device. Answer the ones you know or ask your own.
Ask a new question about this device
Download the instructions for your Sink in PDF format for free! Find your manual KGS H 60 1B - Kernau and take your electronic device back in hand. On this page are published all the documents necessary for the use of your device. KGS H 60 1B by Kernau.
USER MANUAL KGS H 60 1B Kernau
INSTRUKCJA MONTAŻU I UŻYTKOWANIA ZLEWOZMYWAKÓW GRANITOWYCH
natural_image
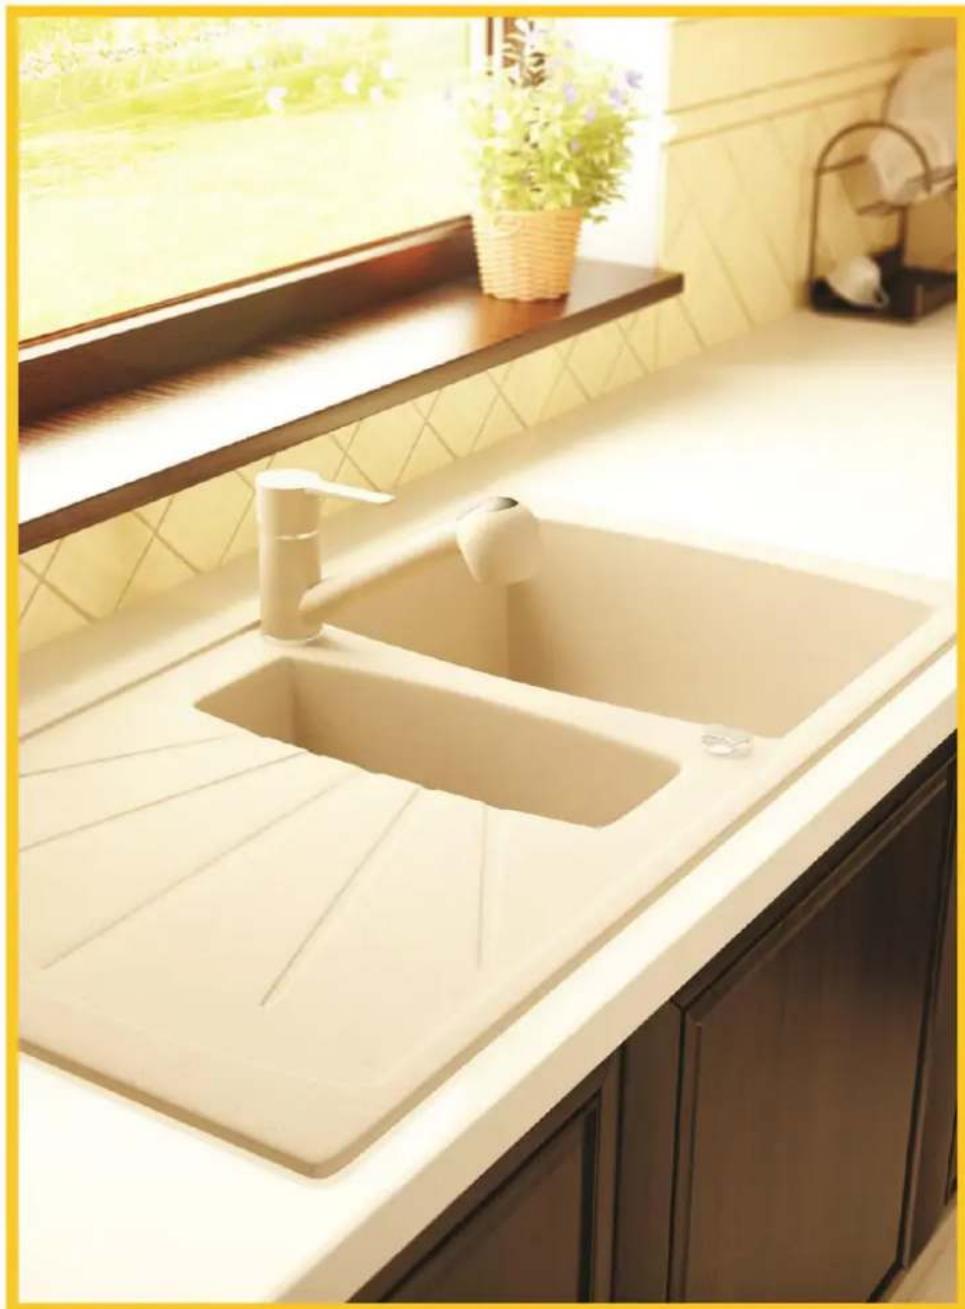
Modern kitchen sink with two rectangular cutouts and a window overlooking the window (no text or symbols visible)www.kernau.com
SZANOWNI KLIENCI,
natural_image
Symbol of a trash bin crossed with a diagonal line, representing no waste or discharge (no text or labels)natural_image
Modern kitchen sink with two rectangular cutouts, set against a tiled wall and window (no text or symbols visible)www.kernau.com
VÁŽENÍ ZÁKAZNÍCI,
natural_image
Symbol of a trash bin crossed with a diagonal line, representing waste or discharge (no text or labels)natural_image
Modern kitchen sink with two rectangular cutouts and a window overlooking greenery (no text or symbols visible)www.kernau.com
DEAR CUSTOMER,
You have become a user of KERNAU' granite sink. The sink has been designed and made to meet your expectations and will certainly become an integral part of a kitchen furnished in a modern way.
In order to use the sink as good as possible, you are advised to read the information below and keep it for reference.
We wish you satisfaction by selecting the sink of our brand.
KERNAU
INSTALLATION
The product supplier is not liable for any damages caused during installation due to failure to observe the principles of these instructions.
Please read the details below carefully to avoid any activities which may damage the sink permanently.
- It should be checked prior to starting sink installation if no damages have been caused in transport.
- Use extra caution when installing the sink holders to avoid the risk of injury. It is recommended to use safety gloves.
- It is recommended that the sink is installed by a qualified installer because incorrect installation may void the guarantee.
- The surfaces the sink is mounted to must have appropriate bearing capacity to withhold the load caused during installation and in use.
- Degrease the surfaces onto which silicone will be applied.
- Be careful to level the surface onto which the sink is to be installed.
- Prepare water supply and water drain in advance before installing the sink.
- The sink can be used only after 12 hours from installation.
- A subjective impression on differences in shades can occur in case of granite sinks due to lighting conditions and different shapes.
- Mount the sink with original accessories only, adapted to the given type of sink.
• The product is sold without a tap.
- Tap installation instructions should be supplied by the tap manufacturer.
- The sink should be mounted in such a way that its disassembly is possible without having to destroy elements of kitchen furnishing.
- The sink installation procedure may differ from this shown in the sink manual as it depends on the specific conditions of the environment where the sink is placed.
- Do not discard the templates, packaging and instructions before finishing installation.
- Care should be taken that the overflow hole is kept clear thus securing the flat from being flooded.
- If water needs to be kept in the chamber, insert a normal or automatic plug, depending on the sink accessories.
- An automatic plug is controlled by turning the plug control knob in the clockwise direction or by lifting a special lever in the tap for controlling the automatic plug.
- In order to keep the sink in the proper aesthetic and technical condition, the sink should be used according to its intended use and situations should be avoided likely to cause mechanical, technical or chemical damages.
- Do not place any keys, screws or nuts on the sink surface. Special care should be taken during maintenance and repair of utility systems and water supply systems when multiple iron and rust particles are contained in water after starting the systems. Even short contact with rusty items, rubbing or scratching is sufficient for rusty stains to appear on a granite sink after certain time.
INSTALLATION
- Remove the sink from its package.
- Put the template to the tabletop and draw an inner side of the template on the tabletop using a soft pencil. To prevent the template from moving, it is advised to stick a self-adhesive tape underneath, paying special attention to the location of chambers and of the entire sink in relation to the tabletop edges, elements of the kitchen furniture and other parts of furnishing in the direct neighbourhood.
- Remove the template and cut out the shape of the contoured hole with a jigsaw.
- Apply a 2-3 mm thick layer of silicone onto the polished sink surface.
- Insert the sink into the cut out opening and press it, remove excess silicon after mounting, if needed.
- Install a siphon and a tap.
- The sink can be used only after 12 hours from installation.
- Do not place strong sources of heat on the sink surface (discolouring).
PRODUCT CARE AND MAINTENANCE
- The sink is intended for household use. In order to keep the sink in the excellent aesthetic and technical condition, the sink should be used according to its intended use and situations should be avoided likely to cause mechanical, technical or chemical damages.
- Clean the sink with washing liquid or with clean water with delicate cleaning agents added containing no abrasive substances, strong inorganic acids or solvents. Kernau offers a special cream cleanser for cleaning sinks which removes dirt, fat or any kind of soiling effectively. It is recommended to dry the sink surface with a soft cloth after each use. This allows to prevent limescale stains.
- Avoid leaving any strongly discolouring agents on the sink surface (coffee, tea, vegetable juice, red wine), which may create the haze effect difficult to remove.
- Remove any stronger dirt with a cream cleanser dedicated to Kernau sinks. Rinse the sink well with water after cleaning and grease lightly with edible oil.
- Drain outlets and siphons should be cleaned periodically with generally available market products, by following the given product manufacturer's recommendations.
- Prevent any limescale deposits from forming if water is hard. Scale deposits are best removed with diluted vinegar or with generally available cleaning agents. Such deposits can be avoided by wiping the sink dry - this should be done daily each time after use.
- The sink may be damaged if cutlery or other hard items are thrown into the sink.
- If the product is provided with a plate (water drain masking element), special care should be used to look after and maintain the space under the plate - it is recommended to clean the plate from the bottom and the place where the sink surface is contacting the plate at least once a week.
- Surface of the sink is not resistant to high heat, and you should not place hot objects on it, as it may cause irreversible discoloration and/or damage. A heat pads should be used for this purpose.
Please observe the above hints as they largely influence the use and appearance of the sink.
ENVIRONMENTAL PROTECTION
The packing materials used are environmental friendly and recyclable.
natural_image
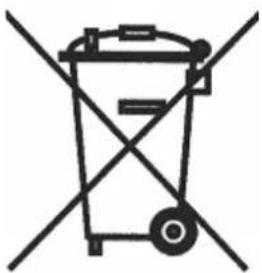
Symbol of a trash bin crossed with a diagonal line, representing no waste or discharge (no text or numbers present)The above symbol on the product or its package means that the product must not be managed as a municipal water. It should be transferred to an appropriate collection point instead. By ensuring proper scrapping you contribute to prevention of potential adverse consequences for environment and human health, which may occur if this product is disposed improperly. For more details on product recycling, please contact the local municipal office, waste disposal point or the store where the product has been purchased.
KERNAU
— Witaj w domu —
KERNAU POLSKA
Brand : Kernau
Model : KGS H 60 1B
Category : Sink