
Helix E 6X.2 - Loudspeaker Audiotec Fischer - Free user manual and instructions
Find the device manual for free Helix E 6X.2 Audiotec Fischer in PDF.


| Product Type | Coaxial Speaker System |
| Model | Helix E 6X.2 |
| Brand | Audiotec Fischer |
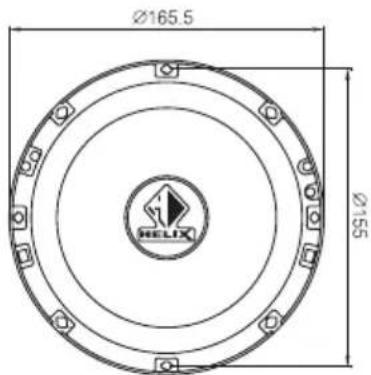
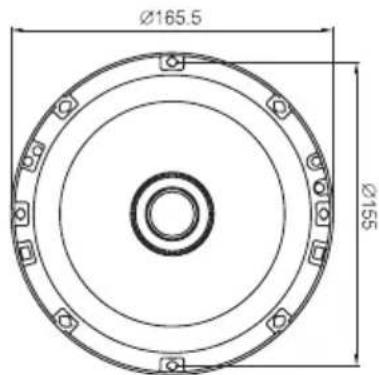
| Speaker Size (Diameter) | 165 mm (6.5 inches) |
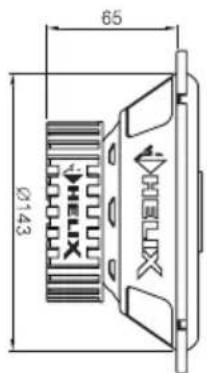
| Installation Depth | 65 mm (2.56 inches) |
| Power Handling RMS | 60 Watts |
| Power Handling Max | 180 Watts |
| Frequency Response | 55 Hz – 22,000 Hz |
| Sensitivity | 91 dB (1W/1m) |
| Impedance | 4 Ohms |
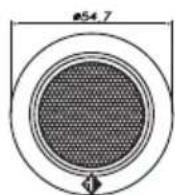
| Tweeter Size | 19 mm (0.75 inch) silk dome |
| Tweeter Magnet | Neodymium |
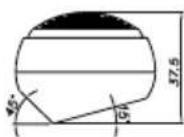
| Tweeter Adjustability | 360° pivotable, 25° tiltable |
| Woofer Cone Material | Woven fiberglass |
| Woofer Surround | Specially shaped rubber |
| Crossover Type | Separate inline crossover with 6 dB slope |
| Tweeter Protection | Integrated |
| Grille | Included |
| Basket Design | HELIX design with ventilation holes |
| Recommended Installation | By authorized dealer; avoid water exposure |
| Warranty | Limited, against manufacturing defects |
Frequently Asked Questions - Helix E 6X.2 Audiotec Fischer
User questions about Helix E 6X.2 Audiotec Fischer
0 question about this device. Answer the ones you know or ask your own.
Ask a new question about this device
Download the instructions for your Loudspeaker in PDF format for free! Find your manual Helix E 6X.2 - Audiotec Fischer and take your electronic device back in hand. On this page are published all the documents necessary for the use of your device. Helix E 6X.2 by Audiotec Fischer.
USER MANUAL Helix E 6X.2 Audiotec Fischer
natural_image
Exterior view of a black HELIX F-82C-2 speaker with visible sound waves and speaker components (no text or symbols on main body)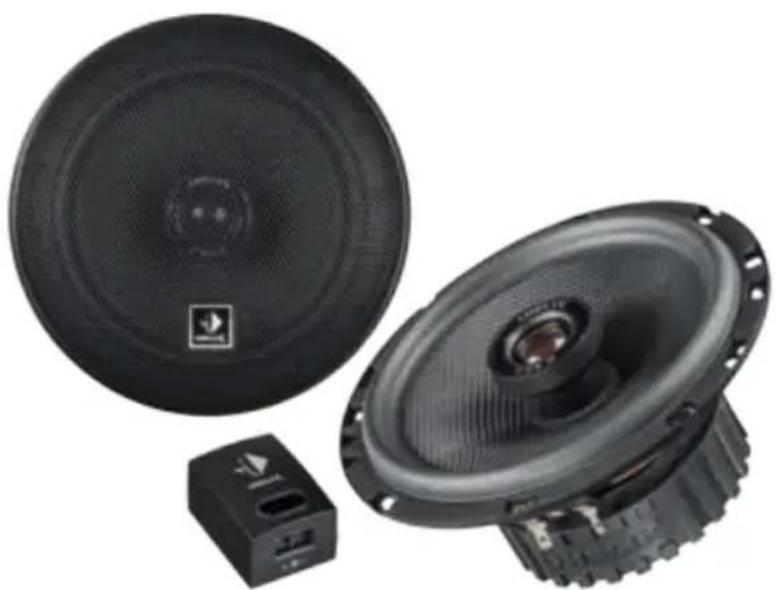
natural_image
Exterior view of a black speaker with two circular plates and a small electronic device (no text or symbols visible)E 62C.2 / E 52C.2 / E 42C.2
E 6X.2 / E 5X.2 / E 4X.2
Component- and coaxial speaker systems
E 4X.2E 42C.2 / E 4B.2
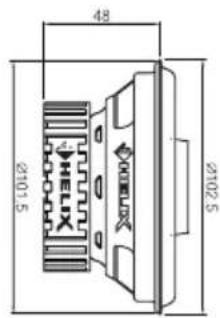
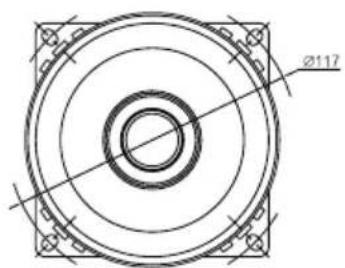
E 5X.2E 52C.2 / E 5B.2
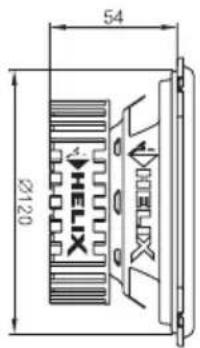
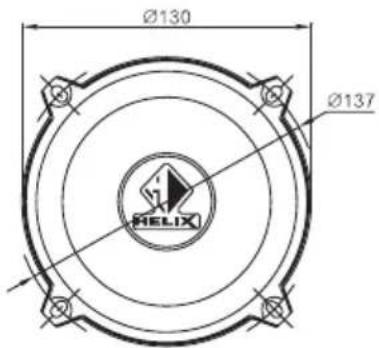
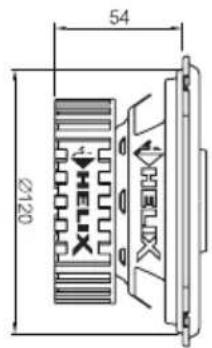
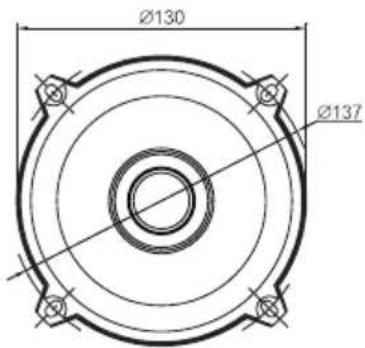
E 6X.2E 62C.2 / E 6B.2
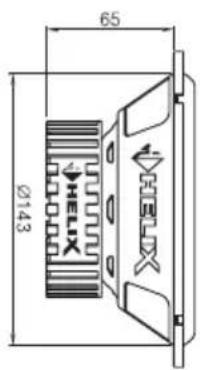
E 1T
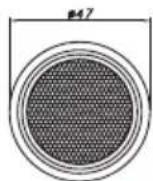
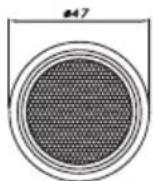
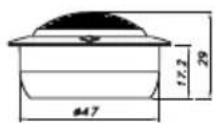
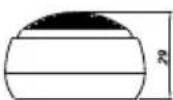
Einbau Tieftöner
natural_image
Diagram of a funnel pouring into a container with screw base (no text or symbols)versenkter Einbau
natural_image
Diagram of a laboratory filtration setup with funnel, condenser, and evaporator (no text or labels)natural_image
Diagram of a mechanical assembly showing a component being inserted into a housing, with no visible text or symbols.Congratulations on your purchase of this high-quality HELIX speaker system.
This system highlights best quality, excellent manufacturing and state-of-the-art technology.
After 30 years of experiences in research & development of audio products this speaker system generation sets new standards.
We wish you many hours of enjoyment with your new HELIX speakers.
Yours
AUDIOTEC FISCHER Team
General instructions
General instructions for installing a HELIX speaker system
To prevent damage to the speakers and possible injury, read this manual carefully and follow all installation instructions. This product has been checked for proper function prior to shipping and is guaranteed against manufacturing defects.
For a proper performance and to ensure full warranty coverage, we strongly recommend to get this product installed by an authorized HELIX dealer. If you choose to perform your own installation read the following information and precautions carefully. Failure to follow the stated precautions may result in personal injury and/or damage to the audio system or vehicle.
-
Always make sure that the speaker will fit into the intended mounting location and that there is adequate depth for the magnet system.
-
Check for adequate space between speaker and window, window crank, power window mechanism, seat, rear deck torsion bars, and other items which may interfere with the speaker's mounting. This is very important if any hole cutting is required. Detailed size information is indicated in the dimension section of this manual. Take care that the mounting surface is flat and free from all obstructions.
-
Do not mount the speakers where water may splash on them.
-
The quality of the installation has a significant effect on the overall performance of the speaker system. Treat each installation step with a high degree of attention.
-
Avoid low frequency cancellation caused by air leakage between the speaker basket and the mounting surface (e.g. mounted on a bended or uneven surface or mounted in an oversized hole).
-
Mounting panel reinforcement may be necessary in some cases in order to ensure a stable, torsion-free and even surface. This can be achieved by mounting the speaker on a metal or wooden sub-baffle behind the body or door panel. Consult an installation specialist for further advices.
-
In most cases you can use the original speaker mounting locations at the doors, body panels or the rear deck. If these are not available you have to prepare your own secure installation place. Due to their structural integrity and accessibility the precut mounting holes should be used whenever possible.
Important:
Never cut any metal that is an integral part of an automobile's safety or structural car body.
General instructions for connecting HELIX speaker systems
We strongly recommend that you operate the complete audio system at low volume before final installation. This will allow a trial listening test before securing the loudspeakers into their mounting locations.
Make sure that all speaker wiring is fully protected from cutting or wear at sharp edges. This can lead into a short circuit which might damage your head unit, amplifier and/or speaker system.
Make sure that all speaker wires have sufficient length in order to reach the speaker terminals without stress on the wire or connectors.
General instructions for mounting HELIX speaker systems
Once you have tested the complete speaker system and have confirmed correct operation, turn off the audio system and prepare the loudspeaker for final mounting.
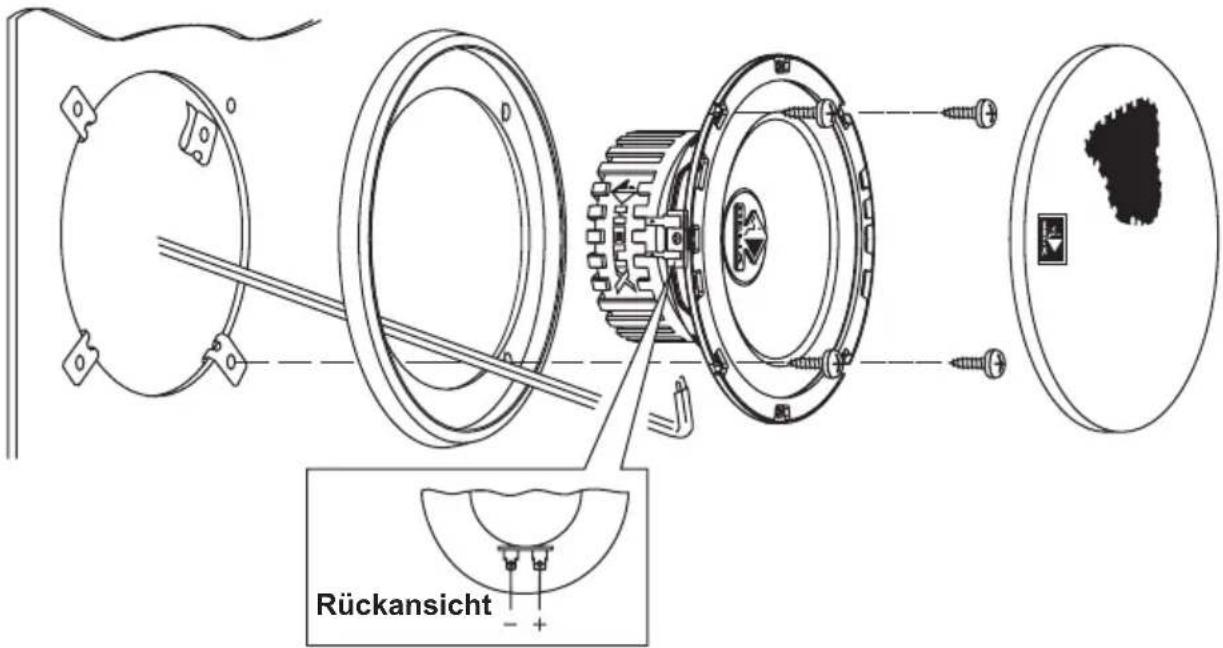
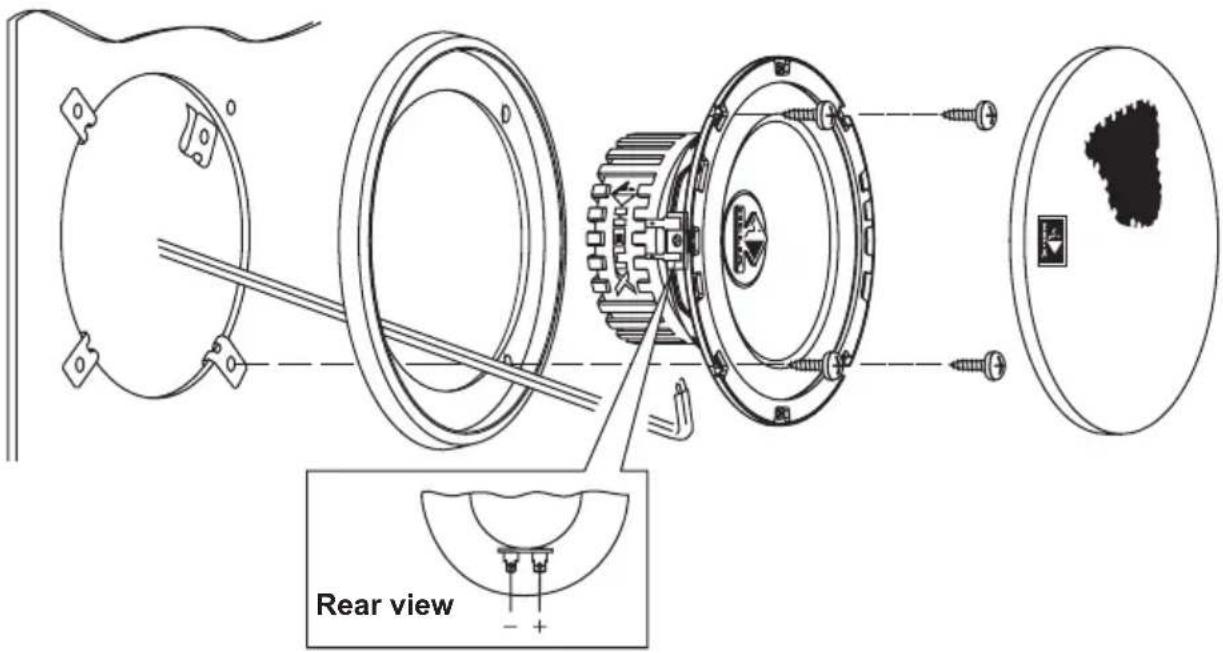
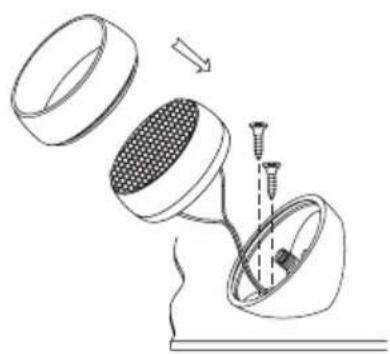
- Place the loudspeaker in the mounting position as shown in the illustration "Mounting the woofer".
- Fix the speaker with its mounting ring in its installation place and check if all screws are in the right position to the fixing holes. Use the included screw clips to secure the screws. Tighten all screws evenly.
- Attach the mesh to the mounting ring.
Features
Component systems
- Woofer with very stiff and non-resonating woofer cones made from woven fiberglass
- Specially shaped rubber surround for larger effective cone area and increased maximum excursion
- 1 inch / 25 mm silk dome tweeter with neodymium magnet for brilliant and smooth treble response
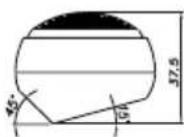
- Tweeters are 25^ tiltable for perfect alignment with listening position
- Individual HELIX design basket with additional ventilation holes for better voice coil cooling and high power handling
- Complex, separate crossover with 6/12 dB slope, bandstop filter, tweeter protection and adjustable tweeter level
- Grille included
Coaxial systems
- Woofer with very stiff and non-resonating cones made from woven fiberglass
- Specially shaped rubber surround for larger effective cone area and increased maximum excursion
- 0.75 inch / 19 mm silk dome tweeter with neodymium magnet for brilliant and smooth treble response
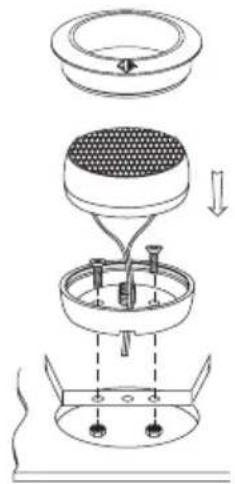
- Tweeters are 360^ pivotable and 25^ tiltable for perfect alignment with listening position (E 5X.2 / E 6X.2)
- Individual HELIX design basket with additional ventilation holes for better voice coil cooling and high power handling
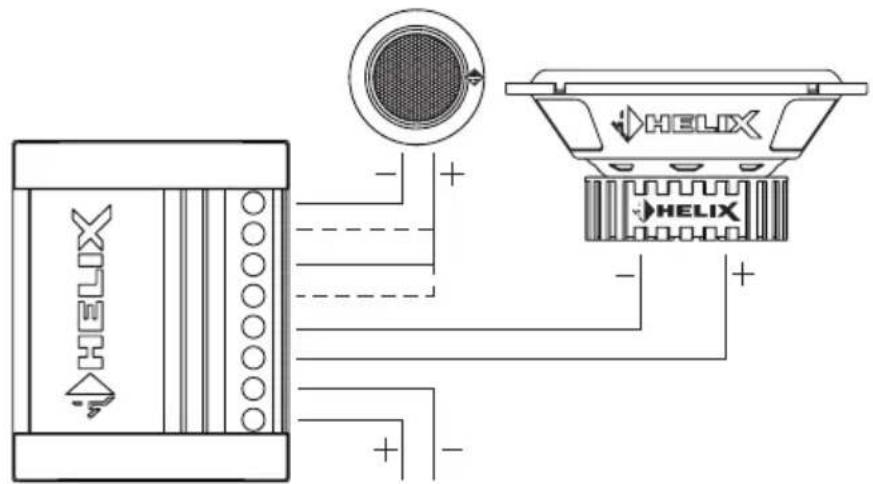
- Separate inline crossover with integrated tweeter protection
- Grille included
E 4X.2E 42C.2 / E 4B.2
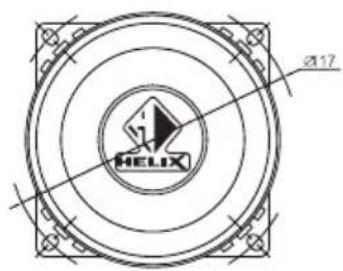
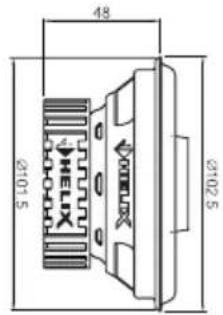
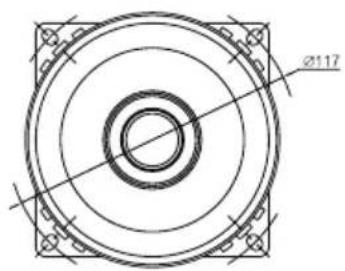
E 5X.2E 52C.2 / E 5B.2
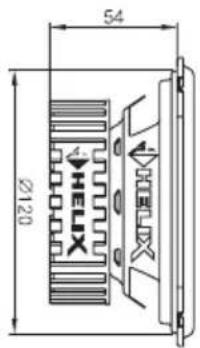
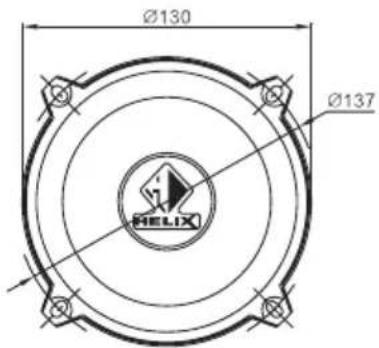
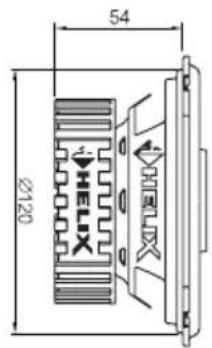
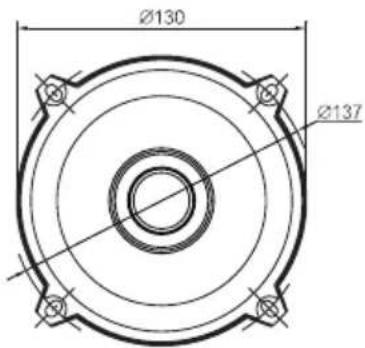
E 6X.2E 62C.2 / E 6B.2
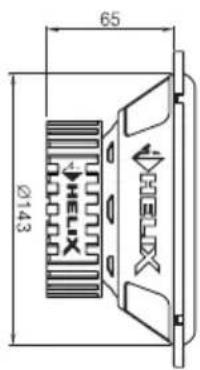
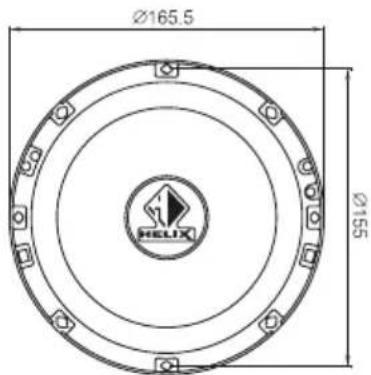
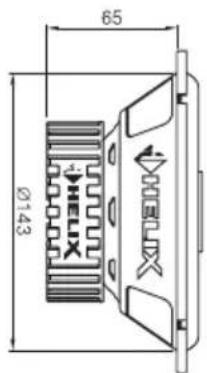
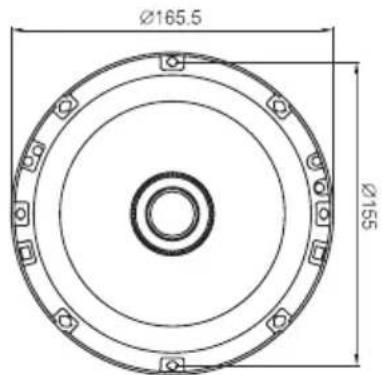
E 1T
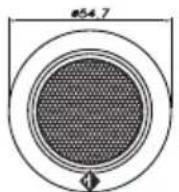
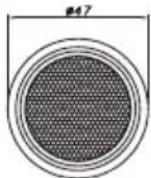
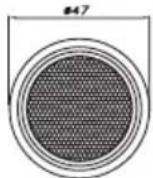
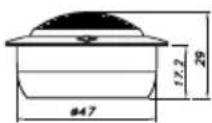
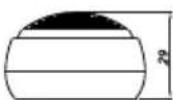
Mounting the woofer
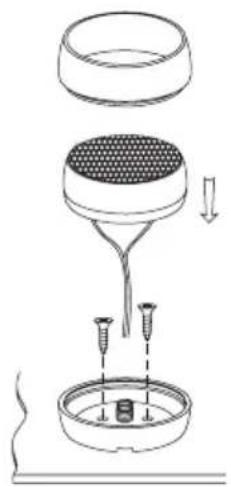
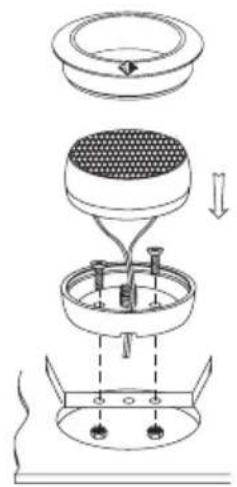
Mounting the tweeter
Surface mount Flush mount
natural_image
Diagram of a gasifier or reactor with cooling tower and heat exchanger (no text or labels)Angle mount
natural_image
Diagram of a mechanical assembly showing a component being inserted into a housing, with no visible text or symbols.Connecting the crossover
Technical Data
Component systems:
| E 62C.2 E 52C.2 E 42C.2 | |||
| Power handling RMS / Max. 75 / 220 Watts 60 / 180 Watts 50 / 150 Watts | |||
| Frequency range 50 Hz - 25,000 Hz 60 Hz - 25,000 Hz 75 Hz - 25,000 Hz | |||
| Sensitivity 91 dB 1W / 1m 90 dB 1W / 1m 89 dB 1W / 1m | |||
| Impedance 4 Ohms 4 Ohms 4 Ohms | |||
| Diameter W / T 165 mm / 25 mm; 6.50" / 1" | 130 mm / 25 mm; 5.25" / 1" | 100 mm / 25 mm; 4" / 1" | |
| Installation depth W / T | 65 mm / 17.5 mm; 2.56" / 0.70" | 54 mm / 17.5 mm; 2.05" / 0.70" | 48 mm / 17.5 mm; 1.89" / 0.70" |
| Crossover | Separate, 6/12 dB slope, bandstop filter, tweeter protection and adjustable tweeter level | Separate, 6/12 dB slope, bandstop filter, tweeter protection and adjustable tweeter level | Separate, 6/12 dB slope, bandstop filter, tweeter protection and adjustable tweeter level |
Coaxial systems:
| E 6X.2 | E 5X.2 | E 4X.2 | |
| Power handling RMS / Max. 60 / 180 Watts 50 / 150 Watts 40 / 120 Watts | |||
| Frequency range 55 Hz - 22,000 Hz 65 Hz - 22,000 Hz 80 Hz - 22,000 Hz | |||
| Sensitivity 91 dB 1W / 1m 90 dB 1W / 1m 89 dB 1W / 1m | |||
| Impedance 4 Ohms 4 Ohms 4 Ohms | |||
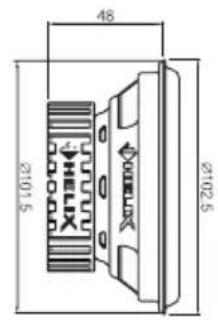
| Diameter | 165 mm; 6.50" | 130 mm; 5.25" | 100 mm; 4" |
| Installation depth | 65 mm; 2.56" | 54 mm; 2.13" | 48 mm; 1.89" |
| Crossover | Separate inline cross-over with 6 dB slope and integrated tweeter protection | Separate inline cross-over with 6 dB slope and integrated tweeter protection | Separate inline cross-over with 6 dB slope and integrated tweeter protection |
Warranty Disclaimer
The limited warranty comply with legal regulations. Failures or damages caused by overload or improper use are not covered by the warranty.
Please return the defective product only with a valid proof of purchase and a detailed malfunction description.
Technical specifications are subject to change! Errors are reserved!
For damages on the vehicle and the speaker caused by handling errors of the speaker system we can't assume liability.
AUDIOTEC
FISCHER
Brand : Audiotec Fischer
Model : Helix E 6X.2
Category : Loudspeaker