Z11 Pro - Vacuum Cleaner Kogan - Free user manual and instructions
Find the device manual for free Z11 Pro Kogan in PDF.


User questions about Z11 Pro Kogan
0 question about this device. Answer the ones you know or ask your own.
Ask a new question about this device
Download the instructions for your Vacuum Cleaner in PDF format for free! Find your manual Z11 Pro - Kogan and take your electronic device back in hand. On this page are published all the documents necessary for the use of your device. Z11 Pro by Kogan.
USER MANUAL Z11 Pro Kogan
natural_image
Exterior view of a Kuwait Gas washing machine (no text or symbols visible)V11 PRO CORDLESS 29.6V STICK VACUUM CLEANER
KAVACSTV11A
To reduce potential fire risks, electric shock or injury, always observe the basic safety prevention measures during use, including but not limited to the following:
Power supply
- This product is powered by a 29.6V DC lithium battery. Do not use any other model or capacity of the battery. Only use the original battery supplied by Kogan.
- If the battery has any malfunction or abnormality, stop using the product immediately and contact Kogan.com for replacement.
- Always hold by the power plug when connecting and disconnecting to avoid damaging the cord.
During use
- Do not use this machine outdoors or in humid areas or grasp it with wet hands.
- If the machine becomes physically damaged, placed outdoors or falls into water, cease usage immediately and contact Kogan.com.
- To avoid blockages, don't place large objects into the suction nozzle of the vacuum cleaner. Keep the suction nozzle away from lint, hair and other objects that may cause a blockage and frequently clean the appliance.
- To avoid injury, keep your hair, clothes, fingers and other body parts away from the suction nozzle and movable parts.
- Avoid sucking in any burning or smoking garbage, such as cigarette ends, matches, soot and other objects.
- Do not use the vacuum cleaner to clean flammable substances or liquids, such as gasoline or places where there may be gasoline, kerosene, paint, alcohol, detergent, etc.
- Do not use the vacuum cleaner before installing the filter.
• Turn off the machine before connecting or replacing any accessories. - Keep the vacuum cleaner indoors and use it in dry rooms only.
- Do not use it for other purposes unless otherwise specified in the manual.
- Do not use the vacuum cleaner as a toy. Children nearby must be supervised.
- Be careful when cleaning the stairs.
- Use the machine correctly according to the manual. Only use accessories recommended by Kogan.
text_image
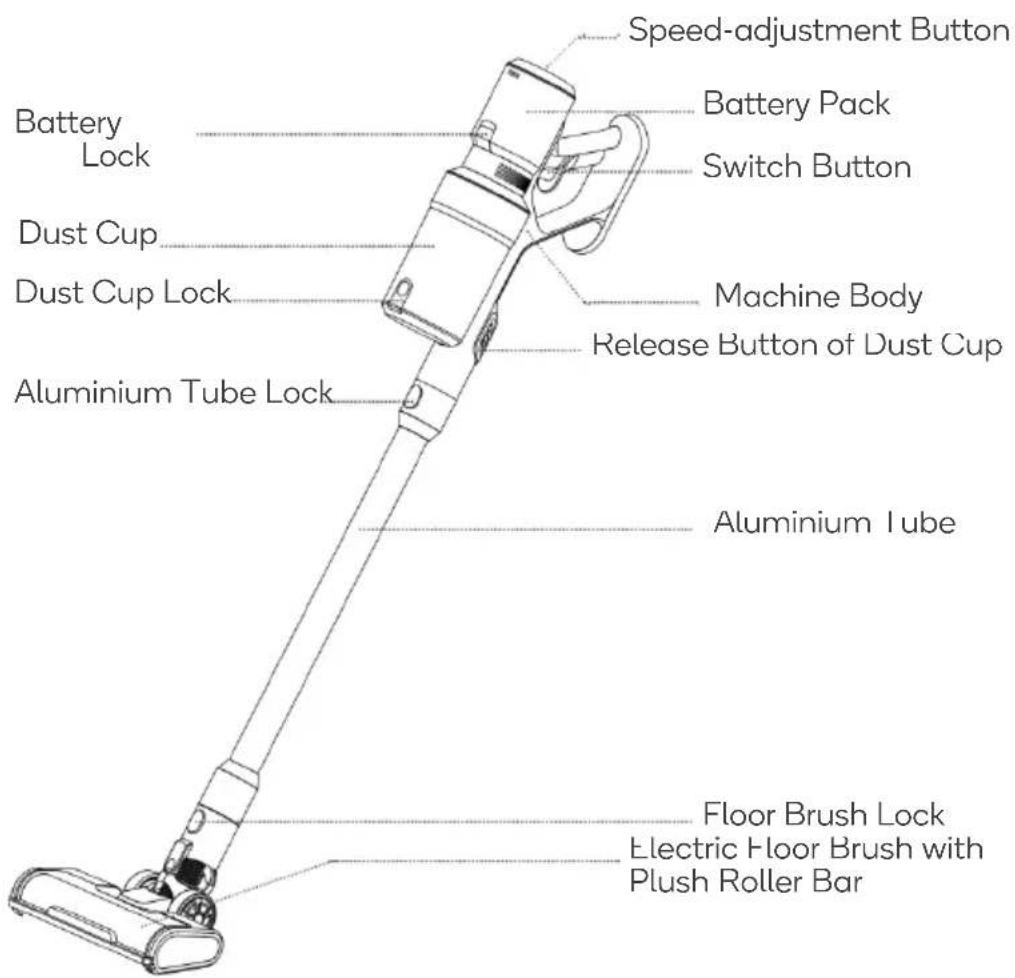
Battery Lock Dust Cup Dust Cup Lock Aluminium Tube Lock Speed-adjustment Button Battery Pack Switch Button Machine Body Release Button of Dust Cup Aluminium Tube Floor Brush Lock Electric Floor Brush with Plush Roller BarINSTALLATION
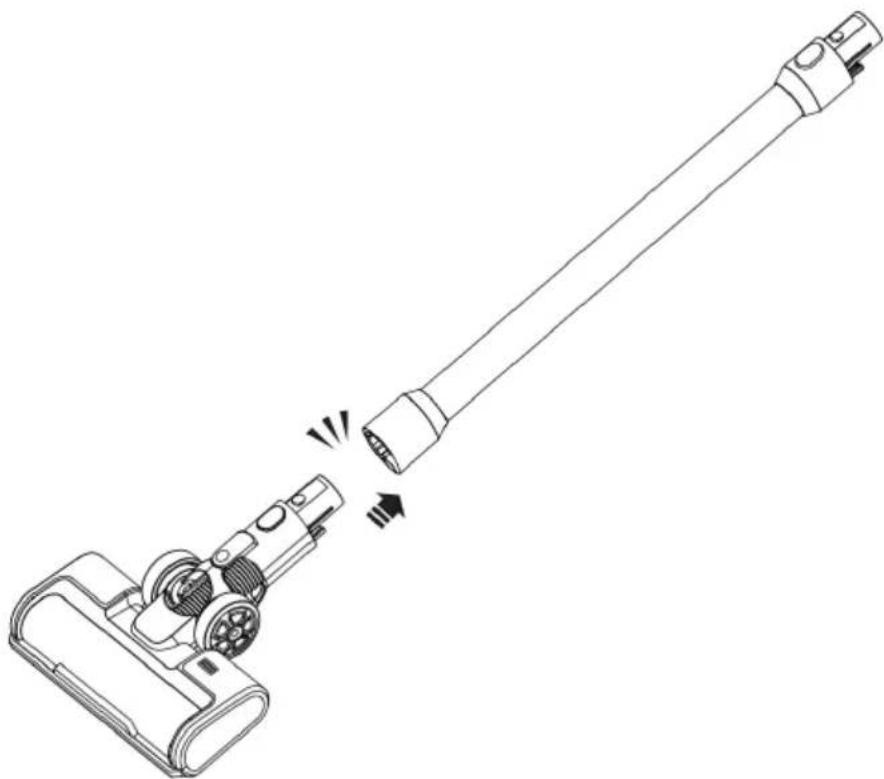
Electric Brush Installation
- Align the electric main brush to the extension wand connector and push it gently. It will connect with an audible click.
(To disassemble, press the lock button and detach).
natural_image
Line drawing of a handheld vacuum cleaner with a long shaft and internal components, showing a close-up of the handle (no text or symbols)Extension Wand Installation
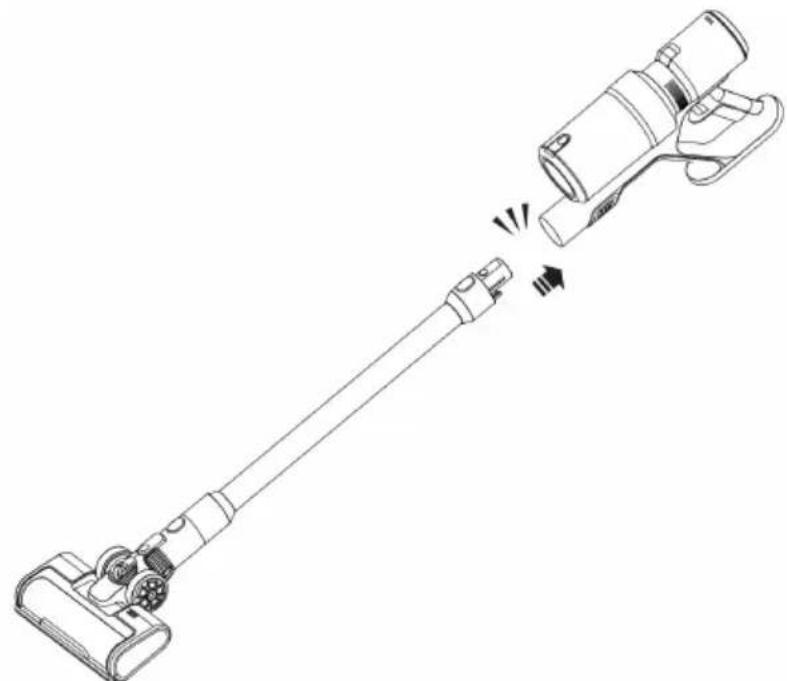
- Connect as above and the floor brush or other accessories with the other end as illustrated.
- Alternatively, connect the floor brush to clean hard surfaces such as floor and ceramic tiles or undercoat carpet.
- Alternatively, connect the crevice nozzle or 2-in-1 bristle brush to clean difficult-to-reach areas such as ceilings, curtains and air conditioning inlets. To disassemble, press the lock button and detach.
natural_image
Line drawing of a vacuum cleaner with a handle and lever assembly (no text or symbols)Installation
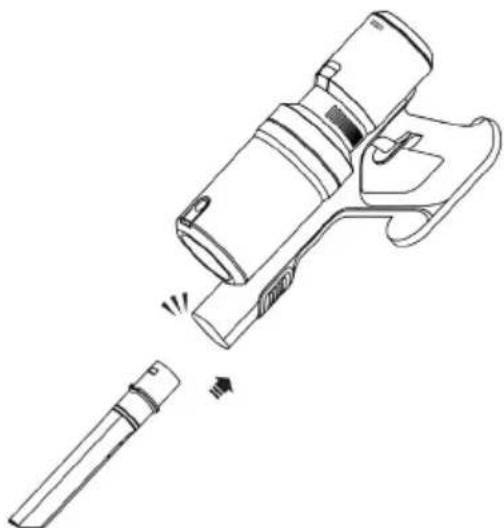
- Align the crevice nozzle to the machine body connector and push it gently; it will click into place. To disassemble, press the lock button and detach.
natural_image
Line drawing of a handheld device with a cylindrical body and a separate cylindrical component, showing no text or symbols.Dust Cup Installation and Removal
- Push the button under the machine body forward and the dust cup assembly will pop up. Then rotate the dust cup assembly anticlockwise to remove.

natural_image
Three technical line drawings of mechanical components with no visible text or symbolsRoller Brush Replacement
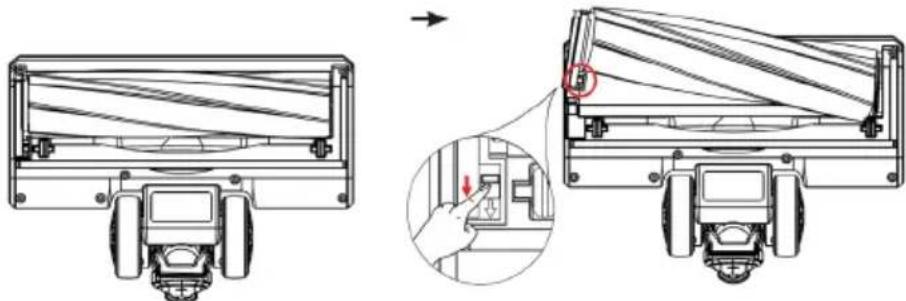
natural_image
Technical illustration of a truck-mounted device showing front and side views with a hand inserting a component (no text or symbols)1. Turning on cleaner
• After installing all parts, turn on the switch button at the handle to start operation.
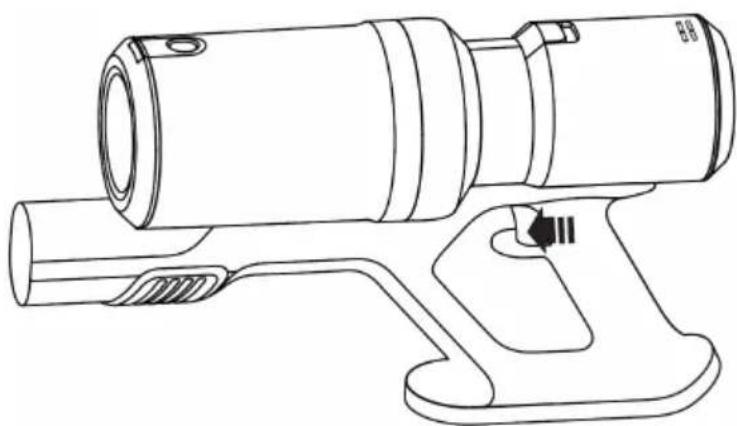
natural_image
Line drawing of a handheld device with a cylindrical lens and handle (no text or symbols)2. Suction adjustment
- Suction power can be set to three levels by pressing the suction adjustment button on the top of the machine body. There are three LED indicator lights on the button: the blue indicator light for low, the pink-purple indicator light for medium and the red indicator for high.
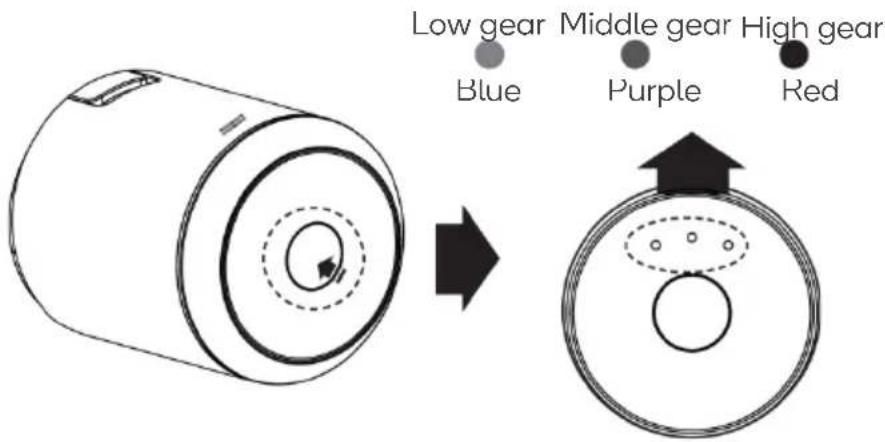
text_image
Low gear Middle gear High gear Blue Purple Red3. Charging and indicator light
- Connect the power adapter with the battery pack and turn on at the outlet to start charging.
The three indicator lights will flash when the machine is charging and become solid when it is fully charged.
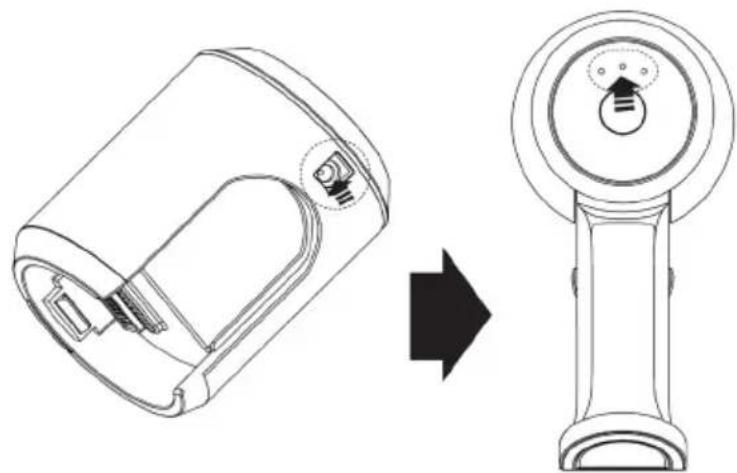
natural_image
Technical line drawing of a device component before and after assembly (no text or symbols)OPERATION
Cleaning Method 1:
natural_image
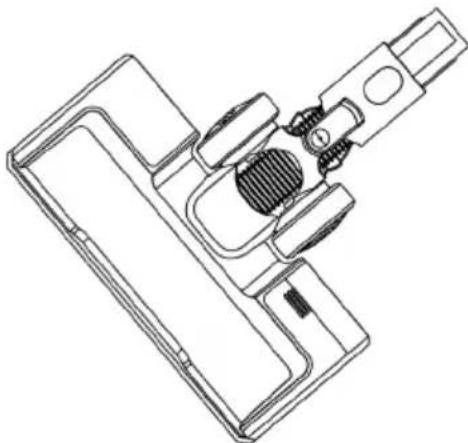
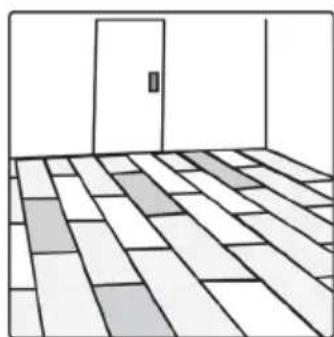
Technical line drawing of a mechanical device with no visible text or symbolsThis is suitable for cleaning hard surfaces such as floor and ceramic tiles and the undercoat carpet.
Example:
natural_image
Interior view of a room with tiled floor and door (no text or symbols)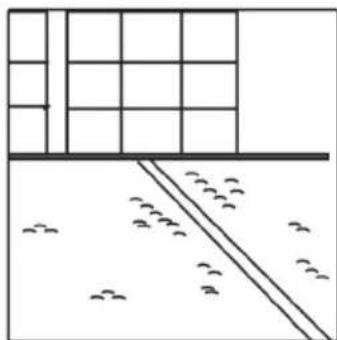
natural_image
Simple line drawing of a grid layout with scattered birds and birds on the ground (no text or symbols)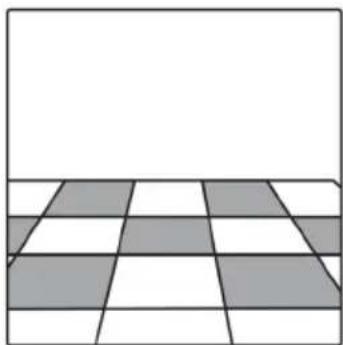
natural_image
Grid pattern with alternating shaded and unshaded squares (no text or symbols)- Quickly remove dust thanks to the built-in independent motor and large plush roller brush rotating at high speed.
- Flexibly and thoroughly clean thanks to the horizontal rotation (270°) and vertical rotation (90°) of floor brush.
- Clean dark and dead angles such as sofa bottoms due to the front LED light.
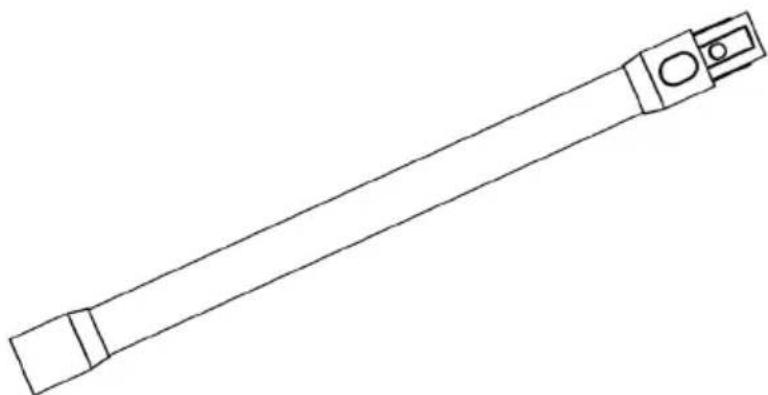
Cleaning Method 2:
natural_image
Line drawing of a long, elongated mechanical component with no text or symbols- Convenient to install, easy for vertical cleaning and easy on the back thanks to the one-key snap joint.
- Good for cleaning high places such as ceilings, roofs, air conditioners and curtains due to compatibility with different brush heads.
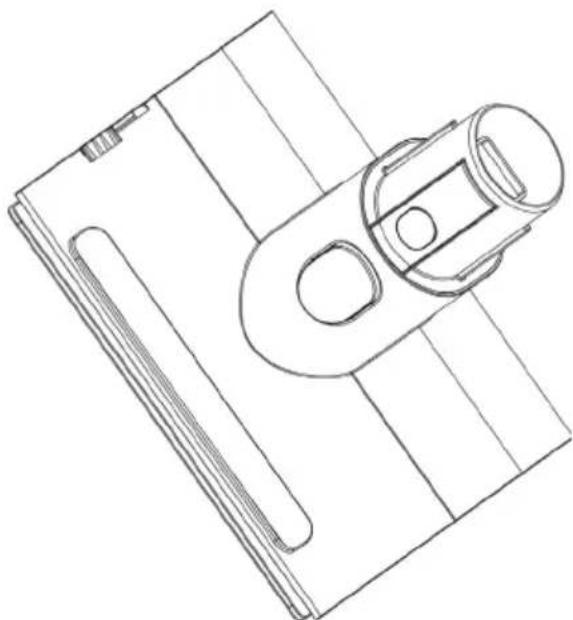
Cleaning Method 3:
natural_image
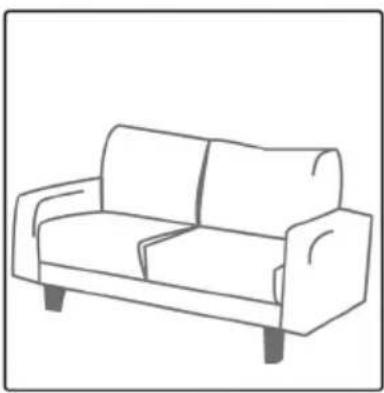
Technical line drawing of a mechanical component with a cylindrical housing and rectangular base (no text or symbols)• Suitable for cleaning fabrics such as mattresses and sofas.
Example:
natural_image
Line drawing of a two-seater sofa with armrests and legs (no text or symbols)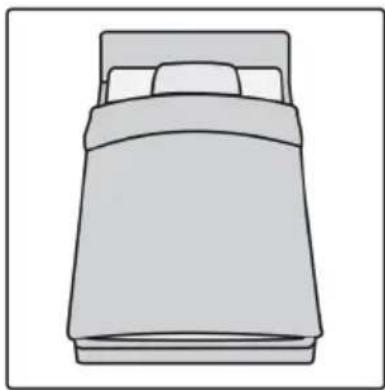
natural_image
Simple line drawing of a bed with four pillows and a blanket (no text or symbols)- Driven by its built-in independent motor, the roller can rotate at a high speed and collect particles such as pollen and hair on bedding, improving sleeping health.
Cleaning Method 4:
natural_image
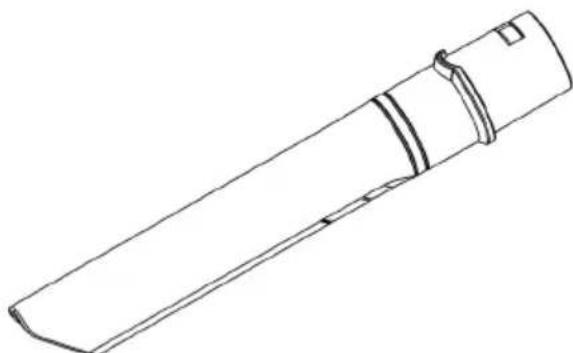
Line drawing of a cylindrical object with a flanged end and a small protrusion (no text or symbols)This is suitable for cleaning various crevices and narrow areas in the household and car.
Example:

natural_image
Line drawing of a two-seater sofa with armrests and legs (no text or symbols)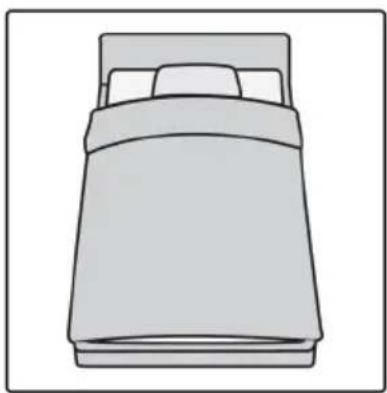
natural_image
Simple line drawing of a bed with two pillows and a blanket (no text or symbols)Cleaning Method 5:
natural_image
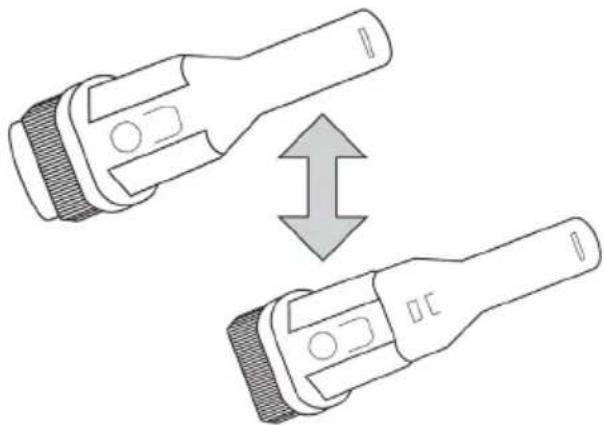
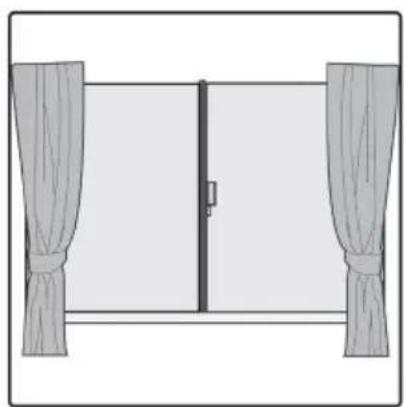
Diagram of two handheld devices with bidirectional arrow indicating equivalence (no text or symbols)- The brush is suitable for cleaning the places such as curtain, car interior and air conditioner where hair can collect.
natural_image
Simple line drawing of a double door with curtains on both sides (no text or symbols)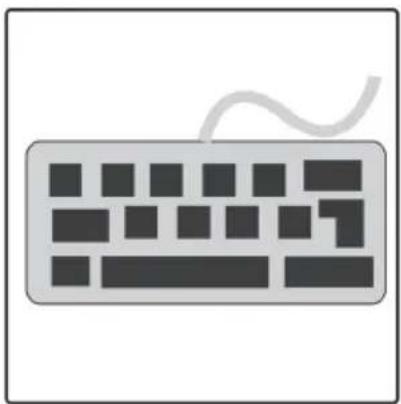
natural_image
Illustration of a classic computer keyboard with a wavy line on top (no text or symbols)- The one-key extensible brush can suck and clean simultaneously and remove dust efficiently.
• A slim and soft hairbrush can deeply clean the fabrics such as curtains and sofas.
• The fine hairbrush can deeply clean small areas such as computer keyboards.
CLEANING & CARE
During use:
- Please do not let the unit get too close to hot objects such as heaters and cigarette butts.
Before use:
- To prevent damage, remove large and sharp objects from the vicinity. Do not vacuum any inflammable objects or liquids, such as gasoline, cigarette or alcohol.
Daily Storage
- For long-time storage, store the machine in a cool and dry place and avoid direct sunlight or humidity.
Emptying and cleaning dust cup:
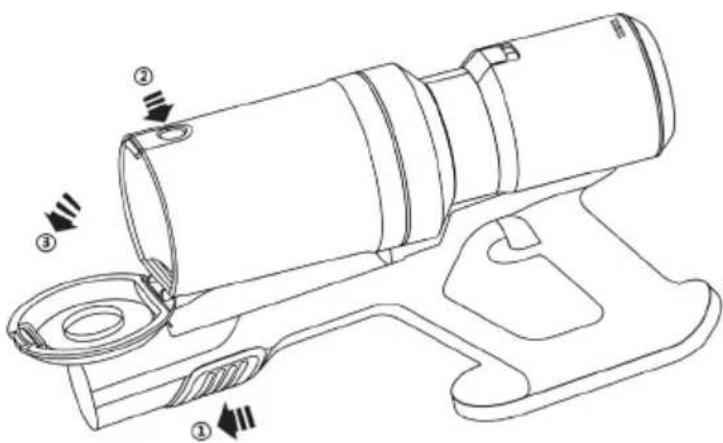
- Push the button under the machine body forward and the dust cup assembly will pop open (Refer to the previous installation instructions), allowing dust to be emptied into a dustbin or a garbage bag.
- As illustrated below, press the bottom lock of the dust cup to open the cup cover and dump the dust.
text_image
Technical diagram of a mechanical device with numbered components and directional arrows indicating assembly or assembly steps.Replacing/cleaning HEPA filter
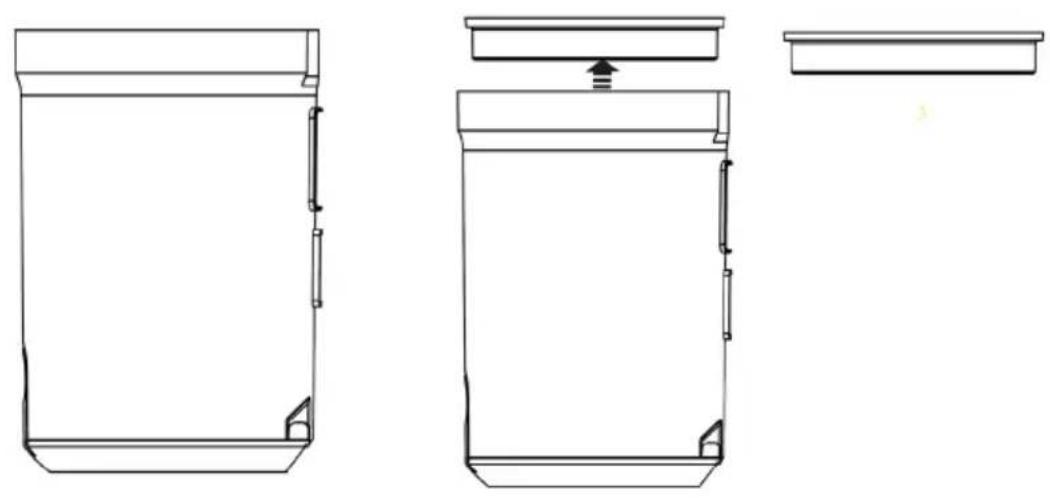
- Separate the dust cup from the machine body as per previous installation instructions.
- Remove the top filter element of dust cup and clean it with a soft hairbrush or put the cup in warm water for washing. Before next use, ensure the dust cup and filter element are completely dry.
Notice: Before using, please ensure all filters are installed in the correct position.
TROUBLESHOOTING
| Issue | Possible cause | Solution | |
| 1 | Not turning on | Battery depleted | Check battery and replace if required |
| 2 | Weak suction power | • Dust cup filled with dust• The battery power low | • Clean dust cup• Connect power adapter |
| 3 | Dust leakage | ||
| 4 | No suction after connecting floor brush | Dust cup filled with dust | Remove dust and clean dust cup. |
SPECIFICATIONS
| Rated power | 400W |
| Battery configuration | Li-ion 2000mAh 29.6V |
| Charging time | 2-3 hours |
| Noise level | 75dB |
| Outer dimension | 1172 x 256 x 217mm |
| Weight (Net/Gross Weight) | 2.9kg/4.6kg |
| Capacity of Dust Cup | 500ml |
IN THE BOX
 | 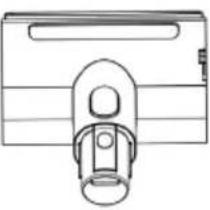 | 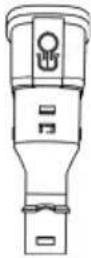 | 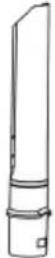 | [dwyx] |
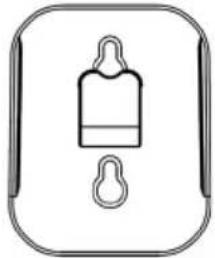
| Wall Bracket | Motorised Mattress Brush | 2-in-1 Bristle Brush | Long Crevice Nozzle | Charger |
Need more information?
We hope that this user guide has given you the assistance needed for a simple set-up.
For the most up-to-date guide for your product, as well as any additional assistance you may require, head online to help.kogan.com
kōgan